Wrap a little wreath love using different trims. I'm sharing these projects on Studio 5 today, and they're are so much fun to put together. All you need are the following supplies:
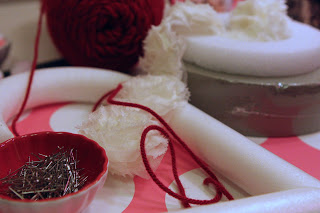
* Wreath Form: (available at your local store) Note: Floral wreaths can sometimes be found at the dollar store.
* Rosette Trim: Search local fabric, trim, craft, or scrapbook stores for this trim. A few scrapbooking companies that sell this style of trim include: American Crafts, BoBunny, Maya Road, and Webster's Pages.
* Straight Pins
* Yarn
* Toppings: Ideas include: beaded trim, pom pom trim, and tulle.
Rosette Wreath
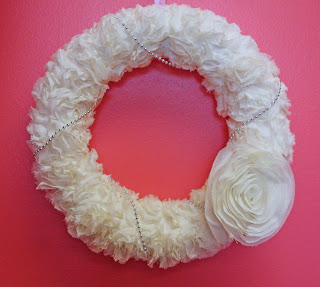
Inspired by this post on the amazing Maya Road blog, I started by making a few rosette-trim wreath (like the one above)s. Here’s how:
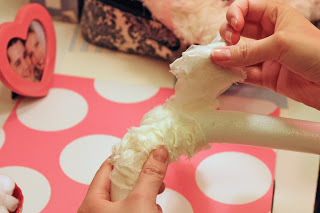
1. Pin your trim in place on the wreath. I used this stunning trim from Maya Road.
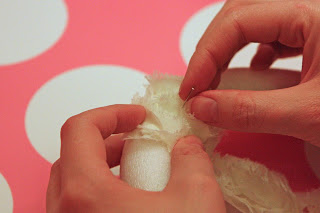
2. Wrap the rosette trim around the wreath base. Note: For a fluffier wreath, wrap the wreath with two layers of trim.
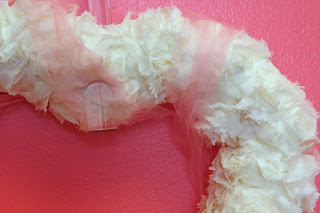
3. Once your wreath is wrapped, you can top it with a second trim (beaded trim, pom poms, tulle, etc.) and/or other accents (rosette flowers, hearts, etc.)
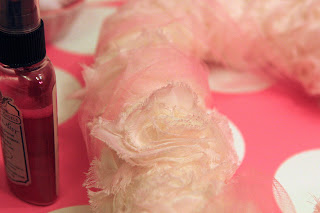
4. If you want to, you can also add a light misting of sparkle and/or color with spray ink. If you look closely you'll see pink ink has been applied to the creme rosettes.

Yarn Wreath
Lately, I’ve seen several yarn-wrapped wreaths in the creative world, like this cute example. Yarn-wrapped wreaths take more time to create than the rosette variety, but they sure look cute. The steps are similar.
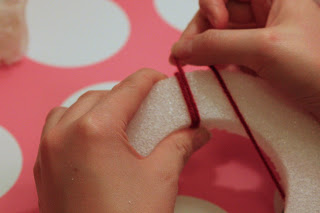
1. Pin yarn in place.

2. Wrap yarn around base. Note: You may want to start with a thicker or fuzzy yarn, which is easier to wrap as you’re practicing.
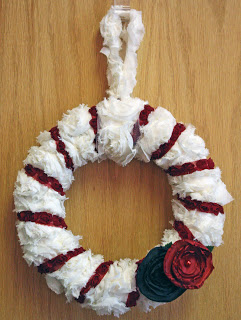
3. Dress up your yarn wrapped wreath. For this project, I used the Valentine’s Day garland I made here.


These are happy projects to try for any holiday or season. Do you hang wreaths for seasons beyond Christmas? If so, I’d love to know what holidays or seasons you find yourself all wrapped up in wreath fun.
I leave you with a few more wreath creations I've put together. Enjoy!
I topped this one with a smaller Rosette trim and some layered rose flowers, both from Maya Road.

You'll find some beaded trim and a large silk flower finishing this wrapped wreath, both of which I purchased at JoAnn crafts.
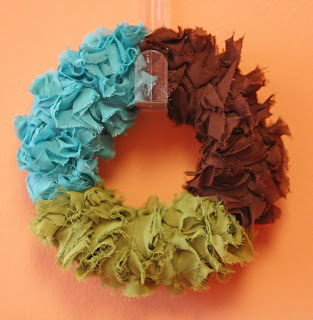
And this spring variation was created with colored rosette trim from Webster's Pages.
Cheers!
P.S. To see more of my Studio 5 crafting segments, please check out the Creating Keepsakes website, where we have a complete archive. Thanks so much!