The Heart of My Art (and a NSD giveaway!)


Hello and welcome! If you've made your way here today, I'm willing to guess you're either a member of my family or a scrapbooker? Safe bet? I hope you're here seeking Nat'l Scrapbooking Day (NSD) info, as I have some brilliant celebratory business for you.

Today's Happy Happenings!

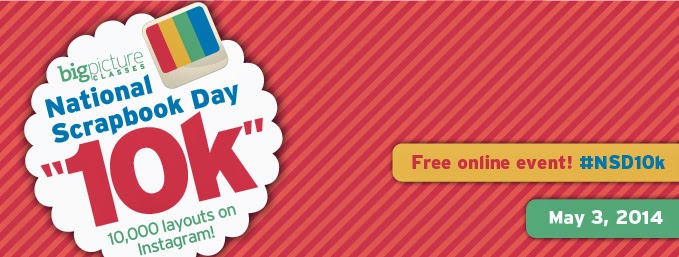
1. Big Picture Classes National Scrapbook Day 10K event is happening now. As a member of their 10K Team, I know I can't wait to add a layout or two to the Instagrams. Will you? Still on the fence? Well, there are prizes involved, and this is Insta-history in the works, friends. Need I say more?


2. Scrapbook & Cards Today: Nope, it's not Monday, but it is NSD, so I'm delighted to be paying Scrapbook & Cards Today an extra visit this week, sharing this layout and giving away some awesome delights. More on the layout in a moment!

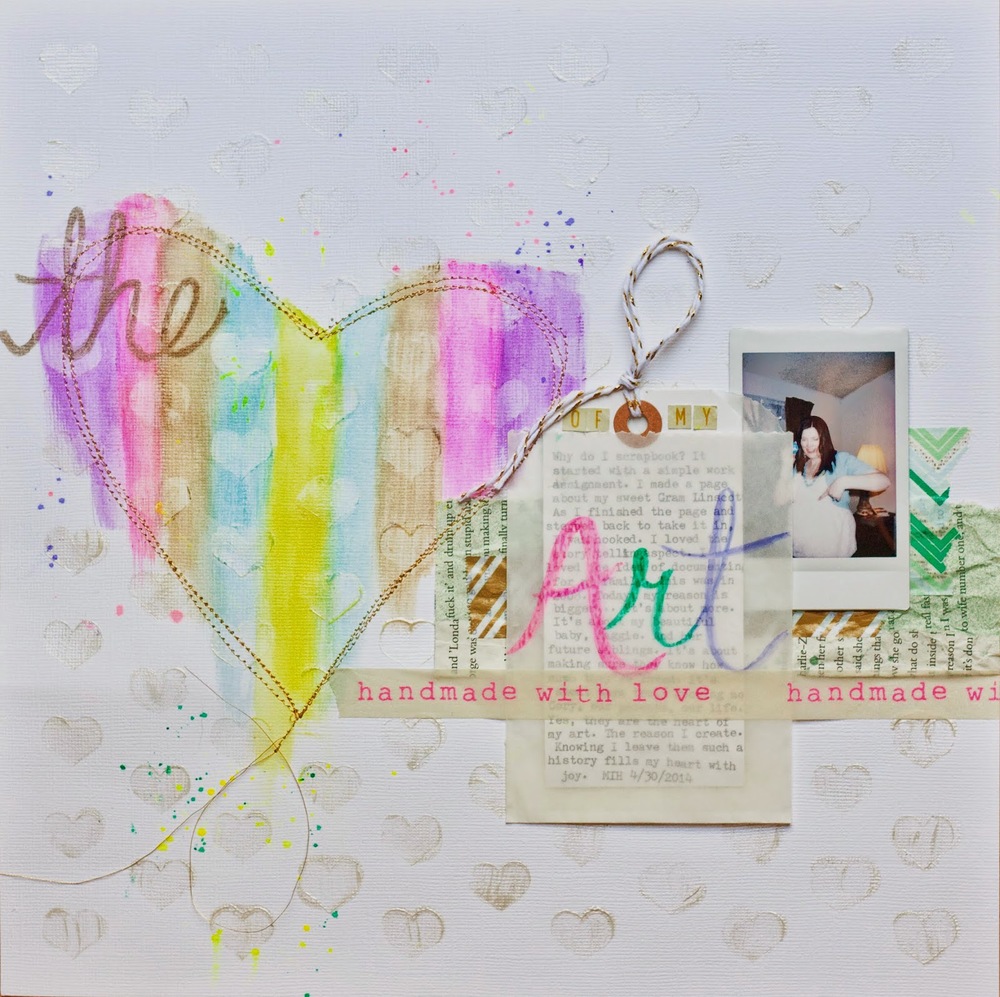
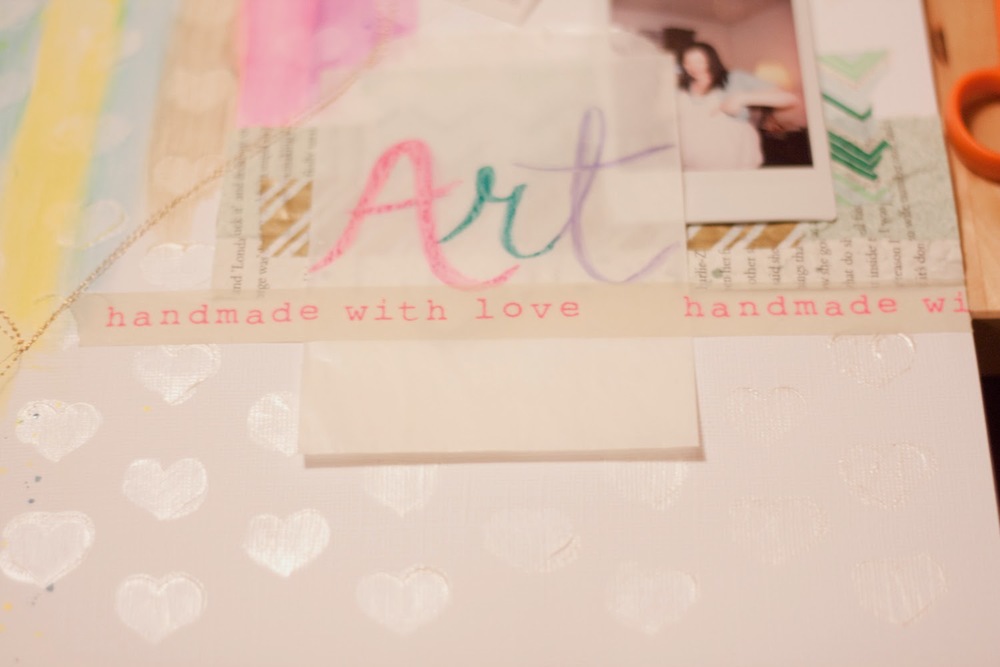
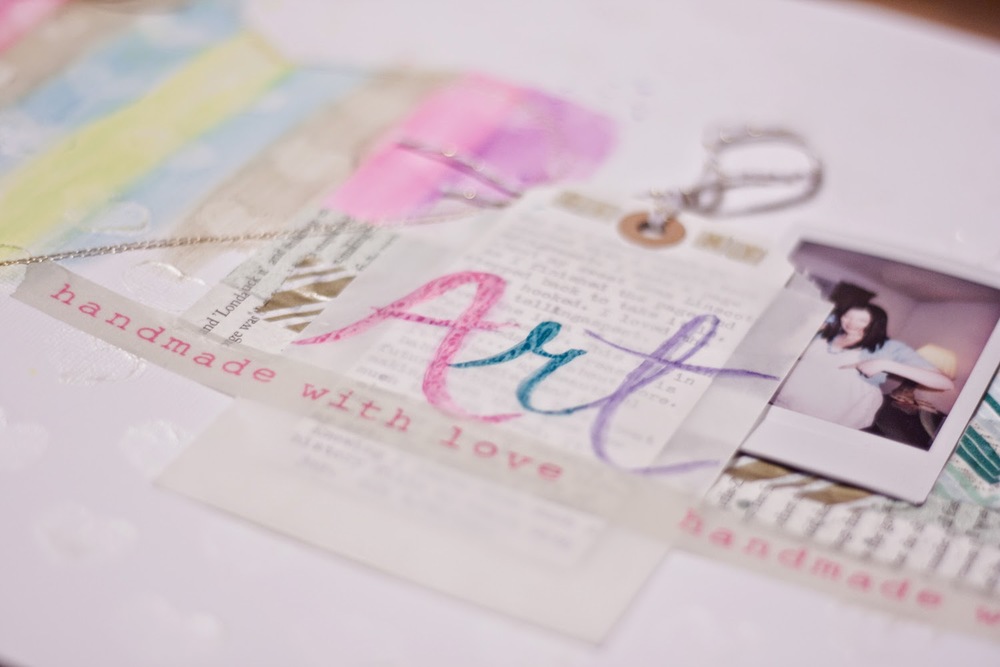
The Heart of My Art by Megan Hoeppner. Supplies: Cardstock: American Crafts; Textured paint (Glimmerz): Shimmerz; Heart stencil: Heidi Swapp; Pigment sticks (Gelatos): Faber-Castell; Washi tape: Hazel & Ruby and Paper Source; Glassine bag: SRM Stickers; Stickers: Fancy Pants Designs; Spray ink: Studio Calico; Shipping tag: Office Max; Baker's twine: Whisker Graphics; Pens (Gold Sharpie; White Gelly Roll): Newell Rubbermaid and Sakura of America; Photo: Fuji Film (INSTAX Mini); Other: Gold thread. 


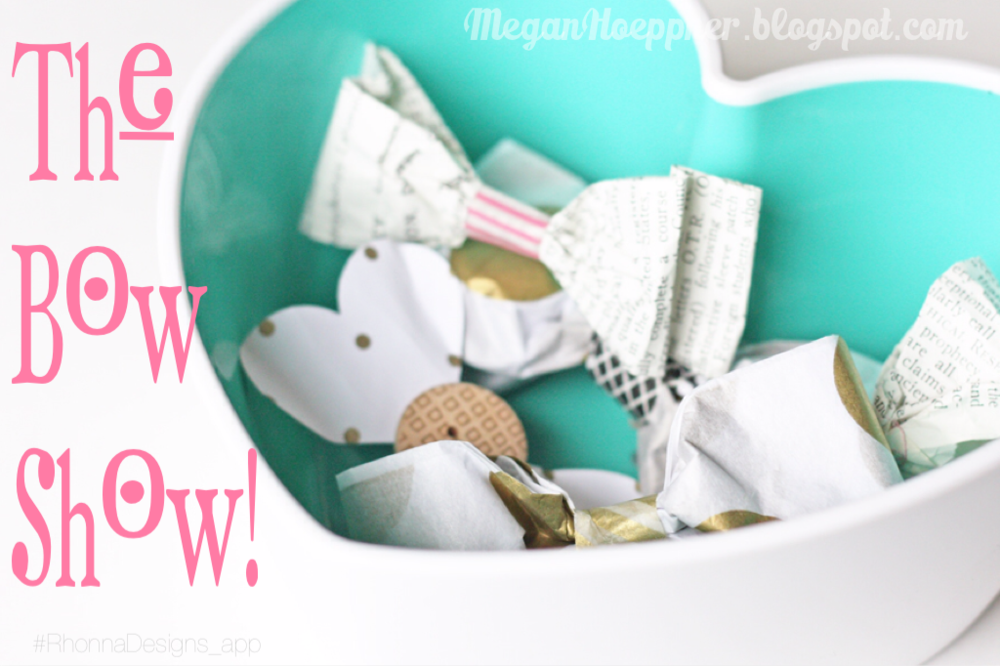
3. Giveaway! Yes, it wouldn't be a holiday without a scrapbooking prize, so I'm offering a mystery box full of scrapbooking goodies to one lucky commenter on this here post. Simply leave your comment between now and Tuesday, May 6, including your email address, for a chance to win. Excellent!

Image credi


Okay, back to my The Heart of My Art layout. This was a first for me—going super mixed media with a page. But it's about art, so I wanted to give it a go. if the idea interests you, here are a few of the steps I took, broken down:


Do It To It

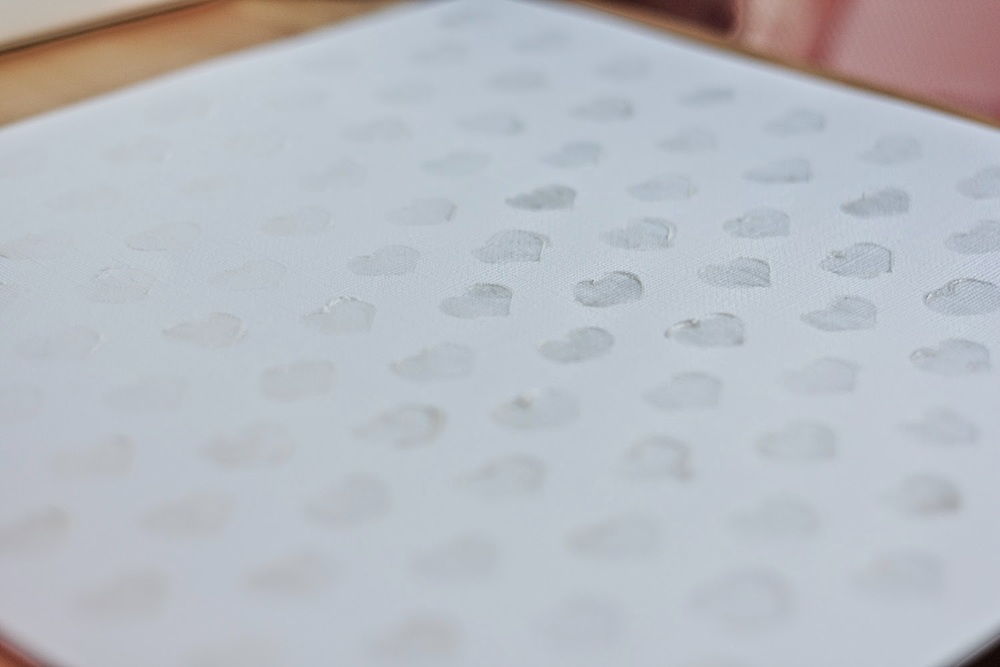
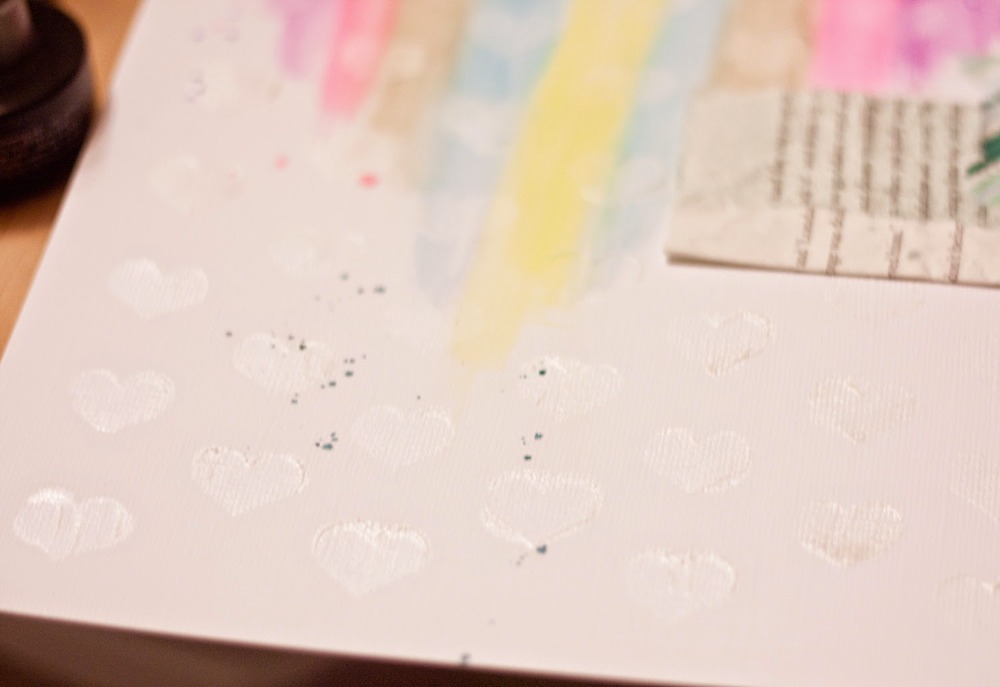
1. I used the Heidi Swapp heart stencil that I recently purchased while at the Portland Creating Keepsakes Convention as a background.


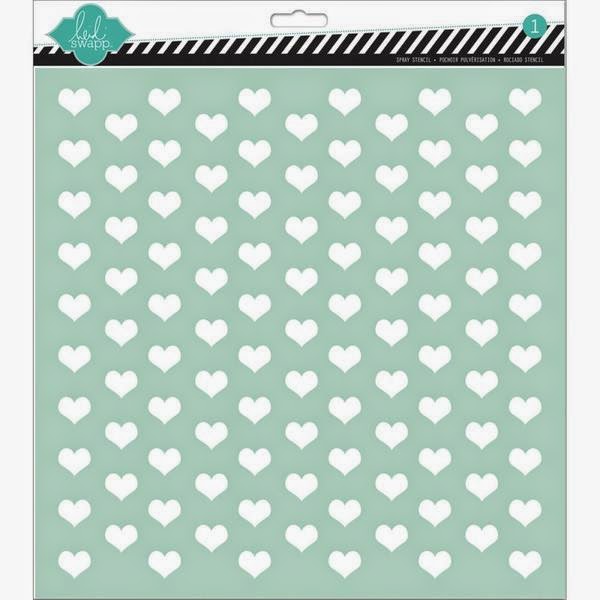
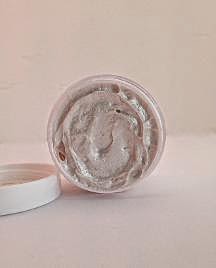
I paired it with this amazing jar of Spun Sugar (white) Dazzlerz by Shimmerz to create a cool, textured, almost watermark effect across the back of my page. Dazzlerz are gorgeous, smooth, paints that have a heavier texture than a basic paint. They are M-A-Zing!

Image credit: Enchanted Dreams Shop


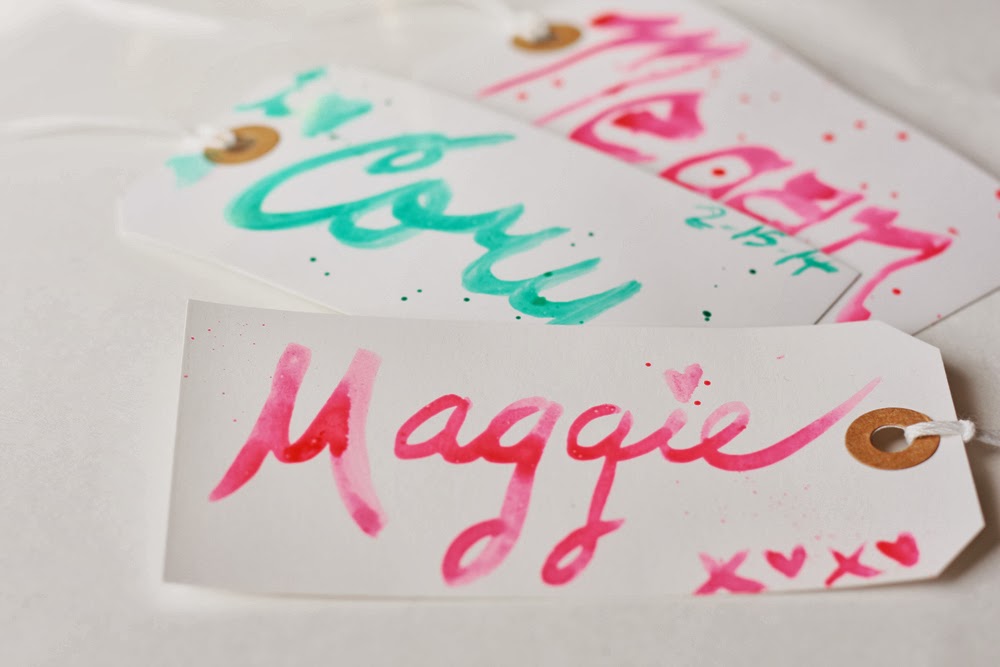
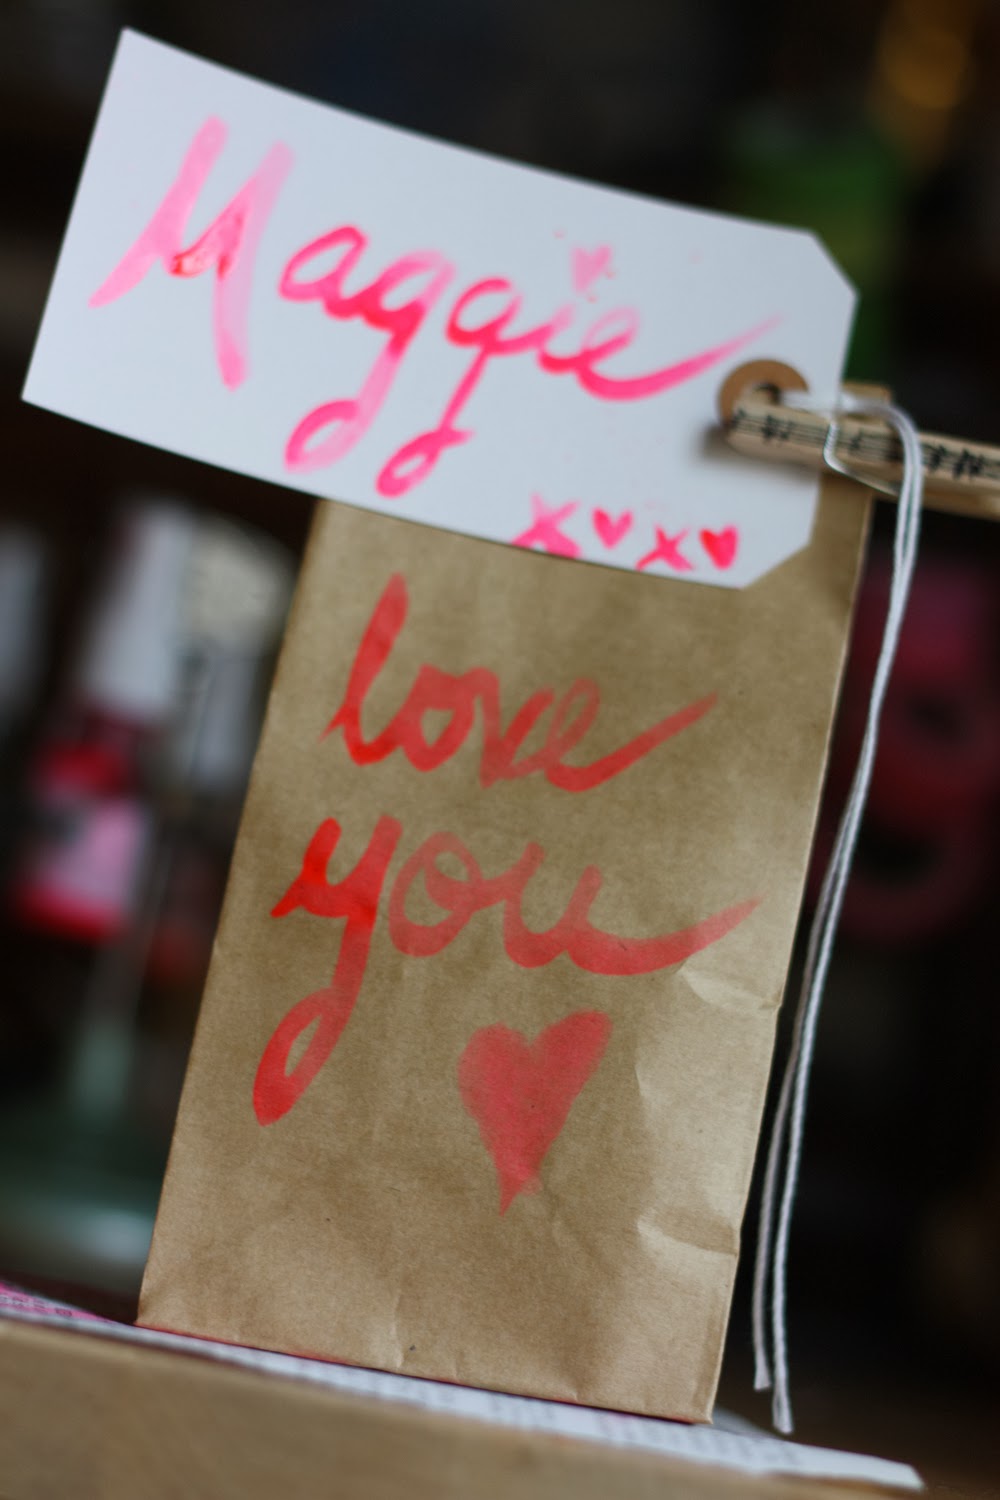
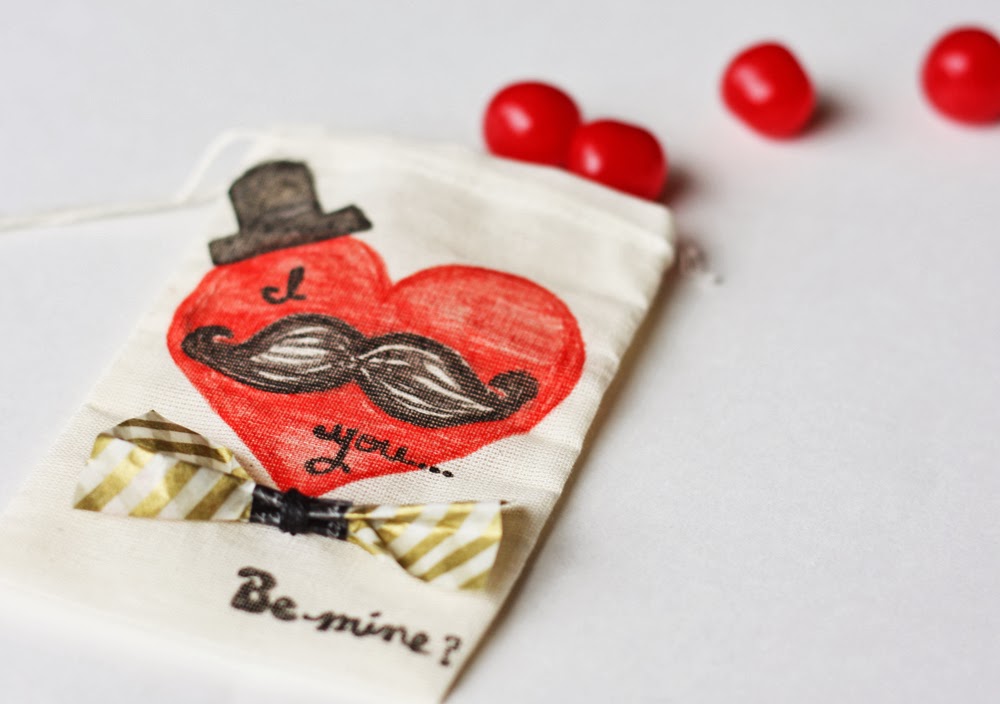
2. Inspired by this cute dress (from Target) I bought Maggie for my Aunt's surprise party last month...


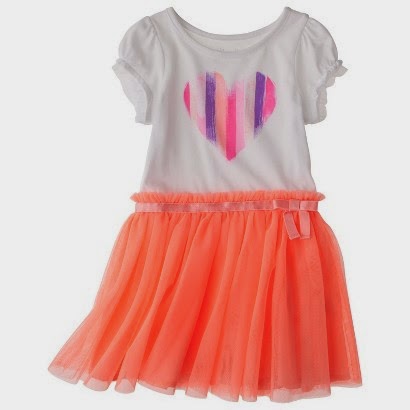
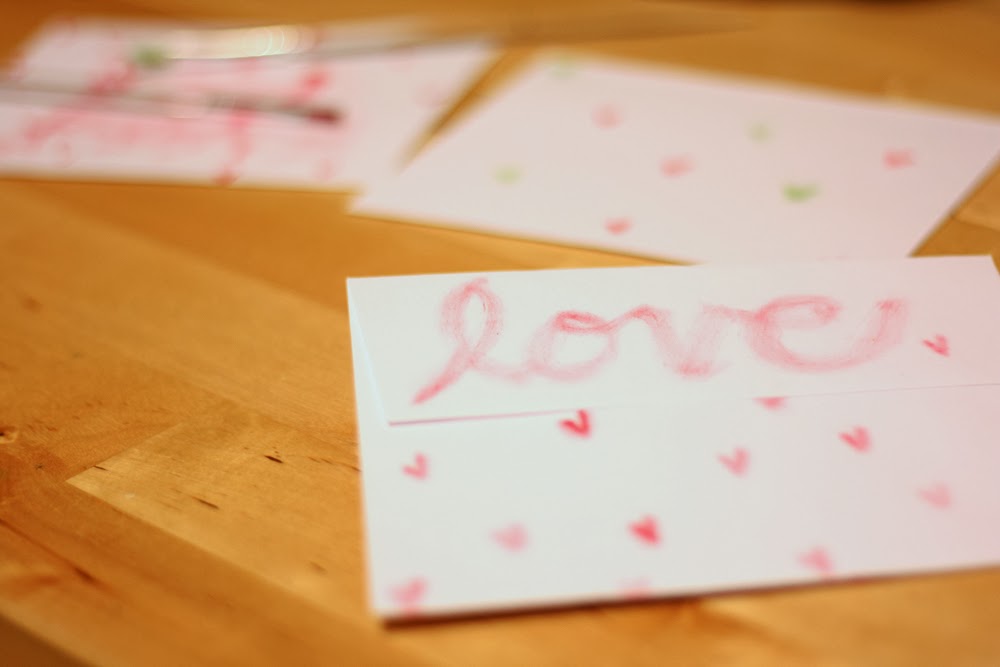
I wanted to create a similar watercolor/heart look, so I started by drawing a heart on the now dry heart background using my beloved white Gelly Roll by Sakura.


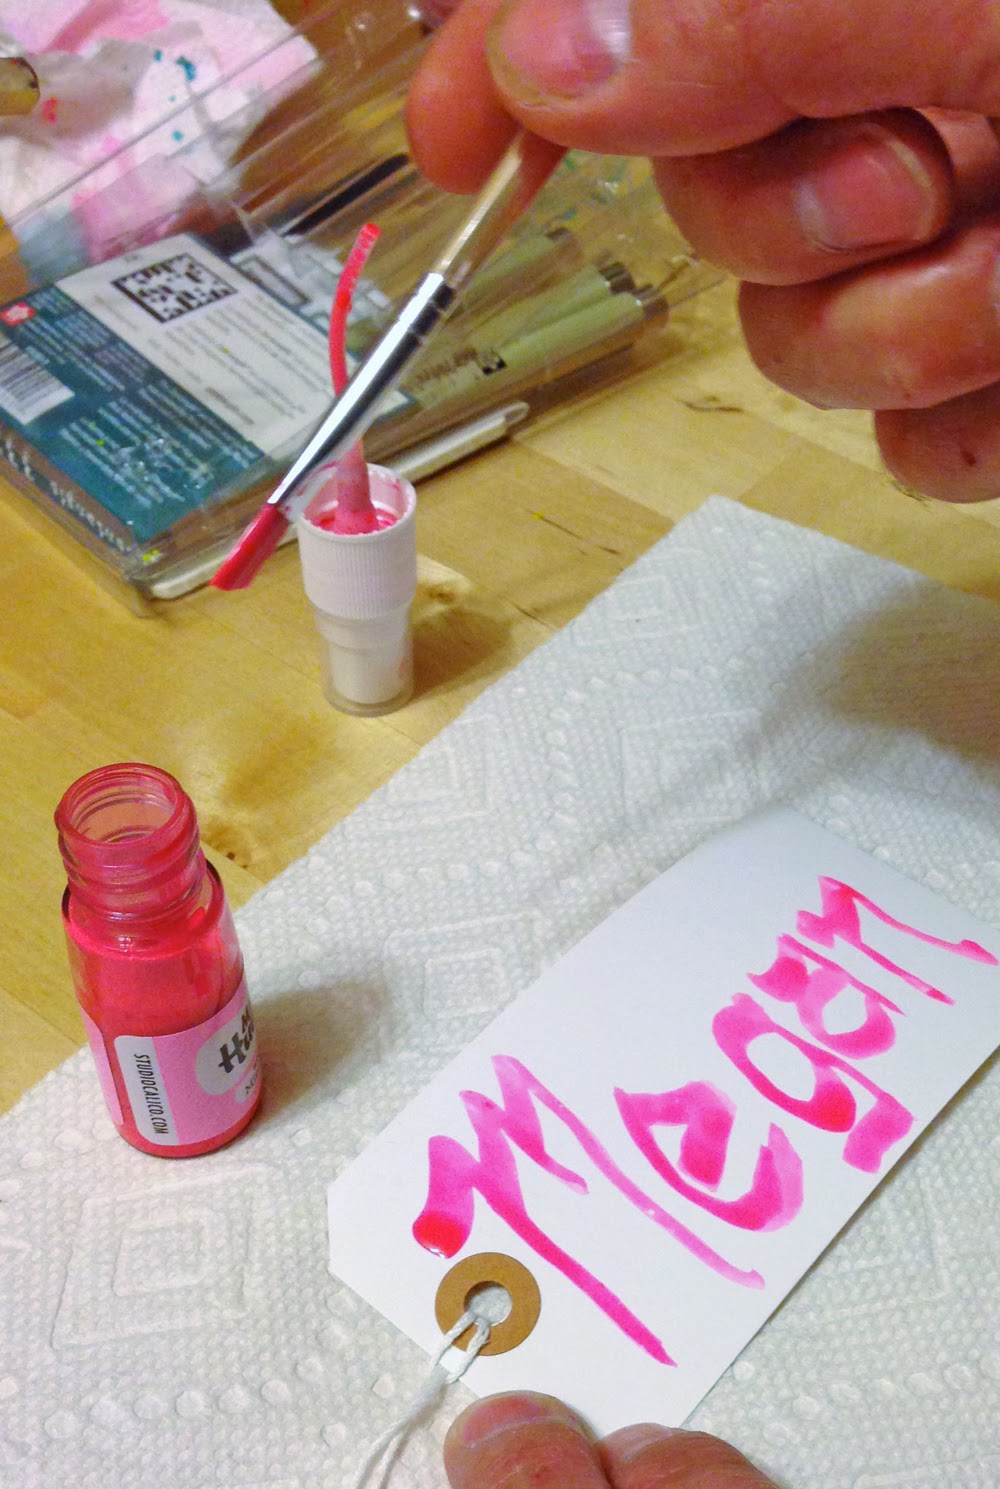
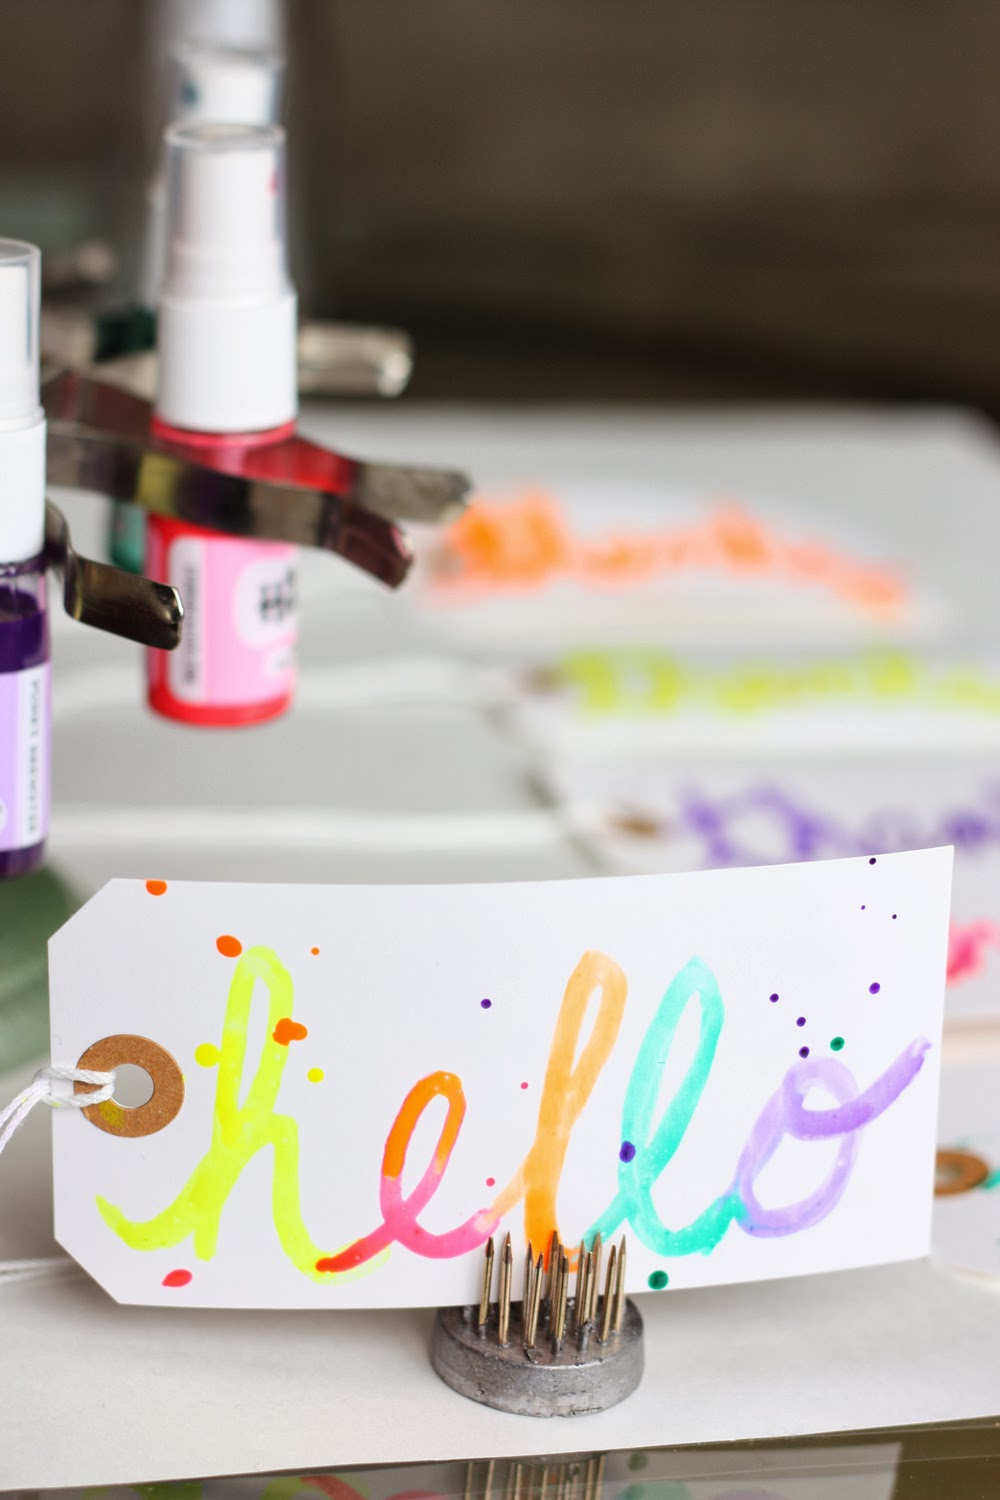
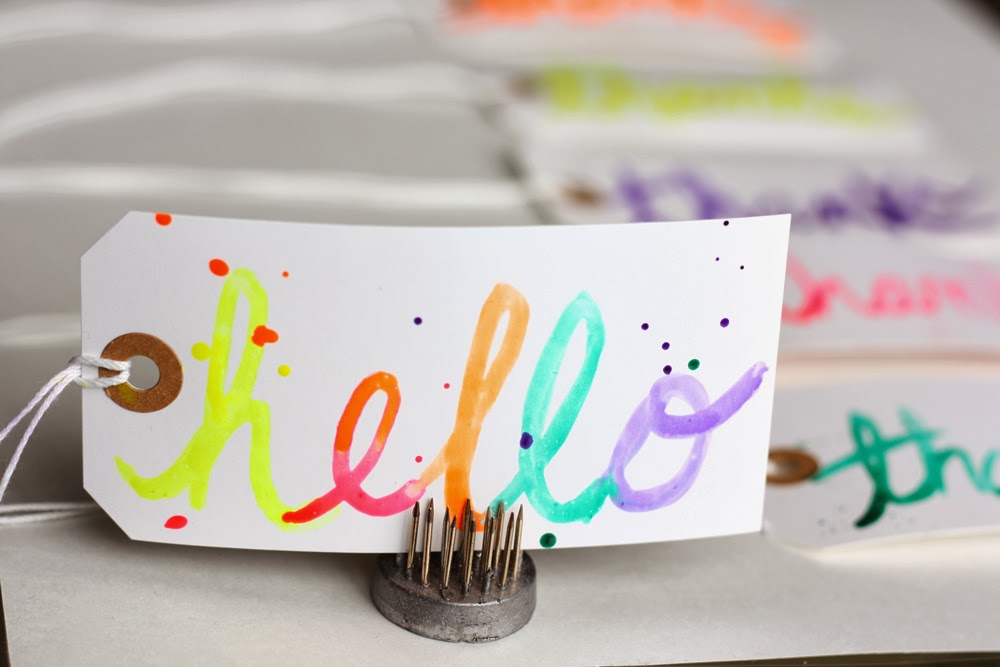
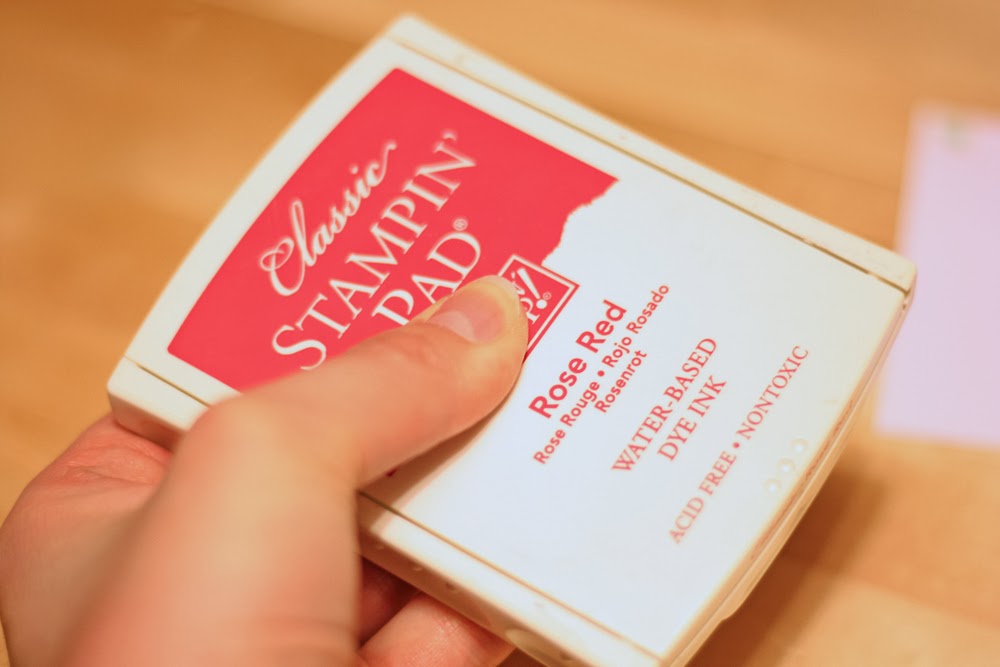
Then I drew strips of color down the heart, with more color towards the top of the heart, using my Faber-Castell Gelatos—another awesome product!


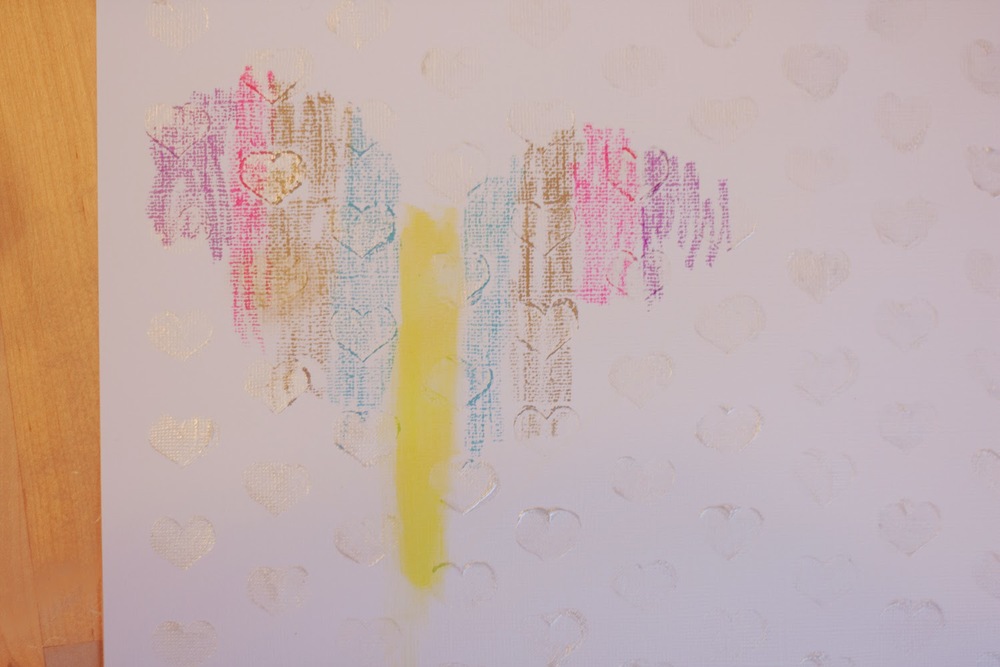
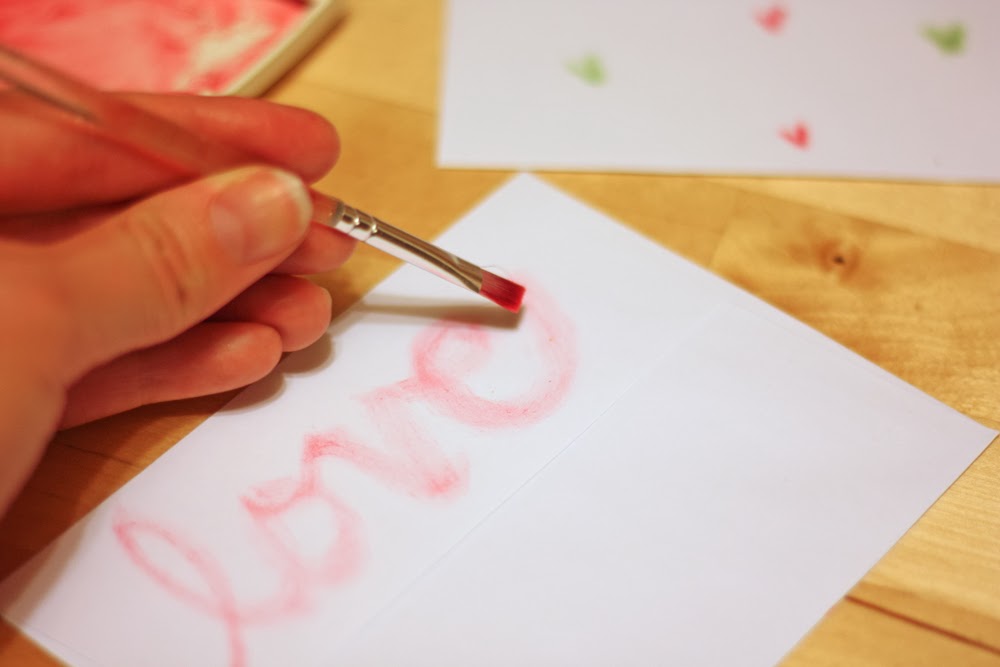
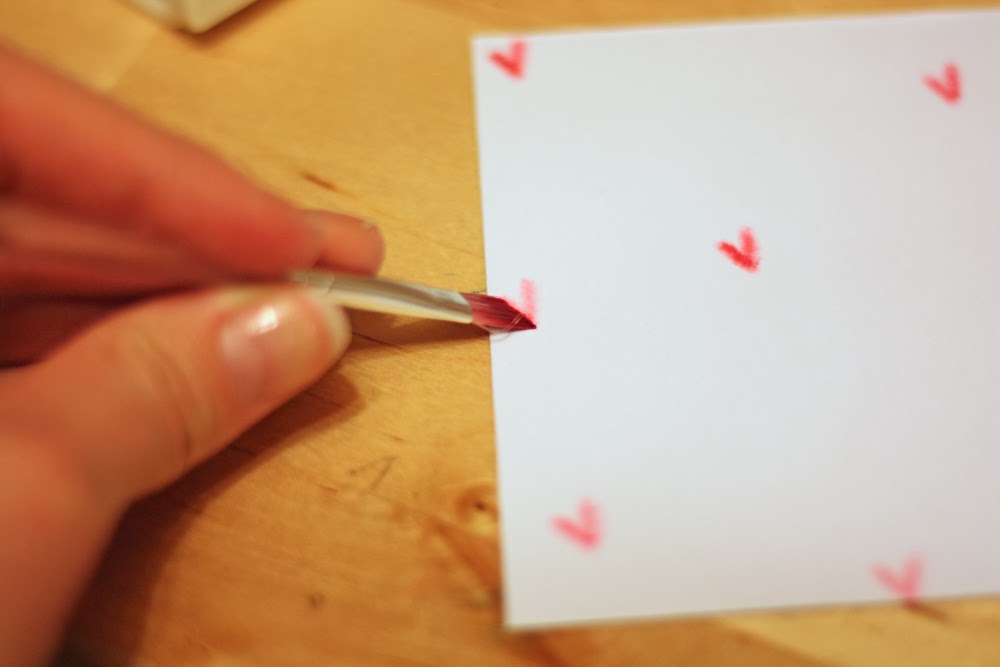
3. Using a paintbrush and some water, I blended the Gelato color columns down the length of my heart, adding more Gelato where I felt it needed it.


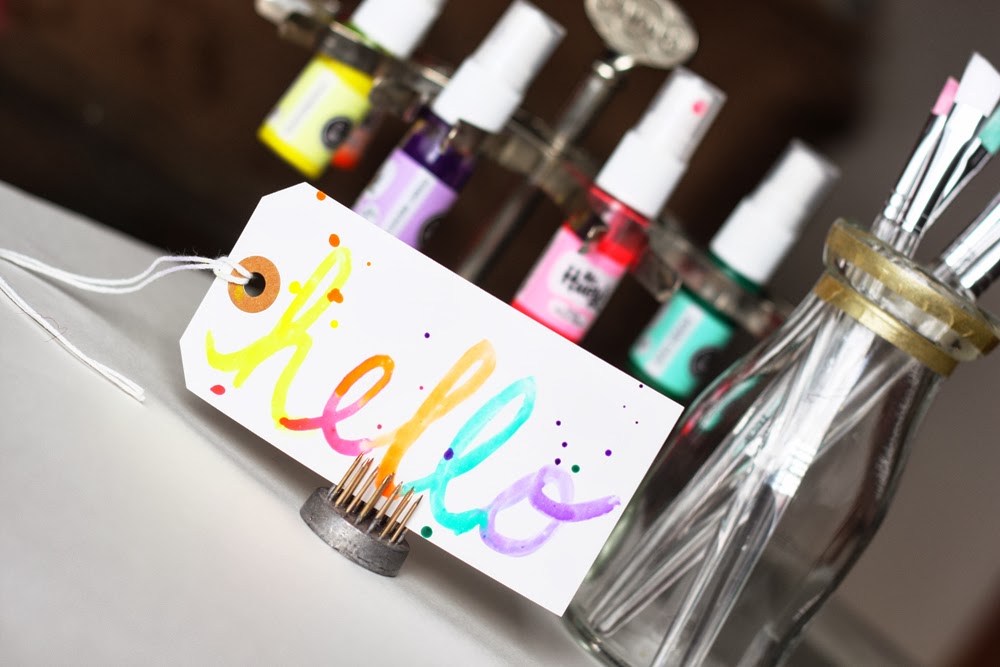
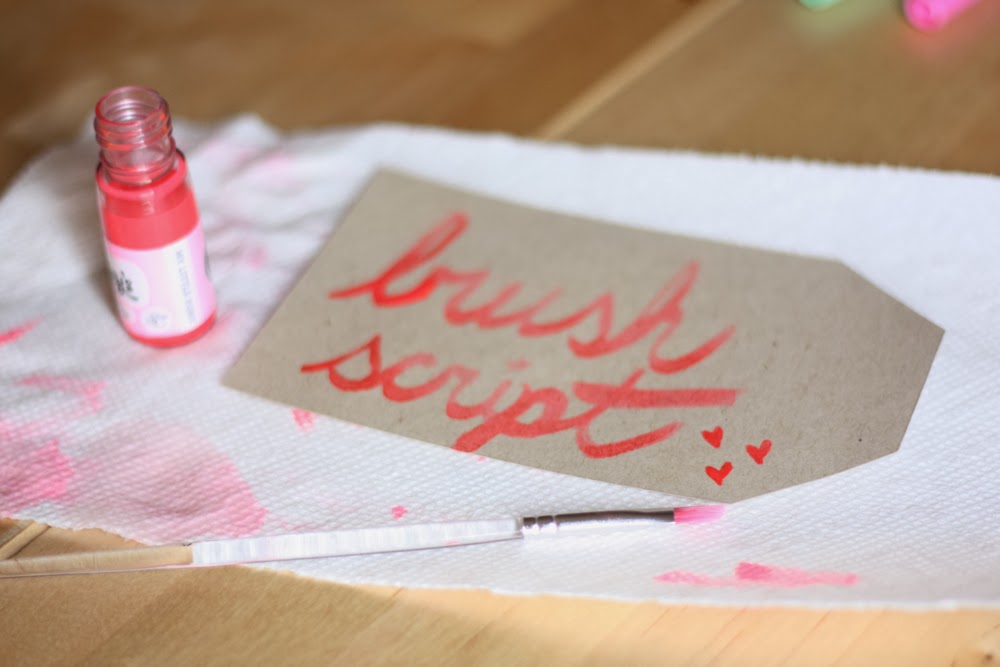
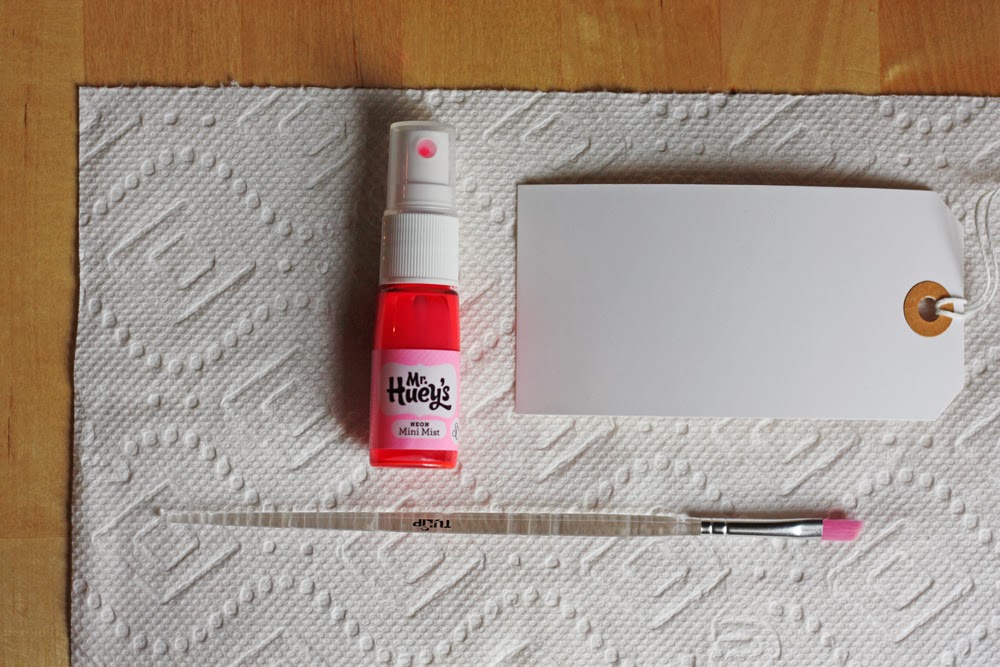
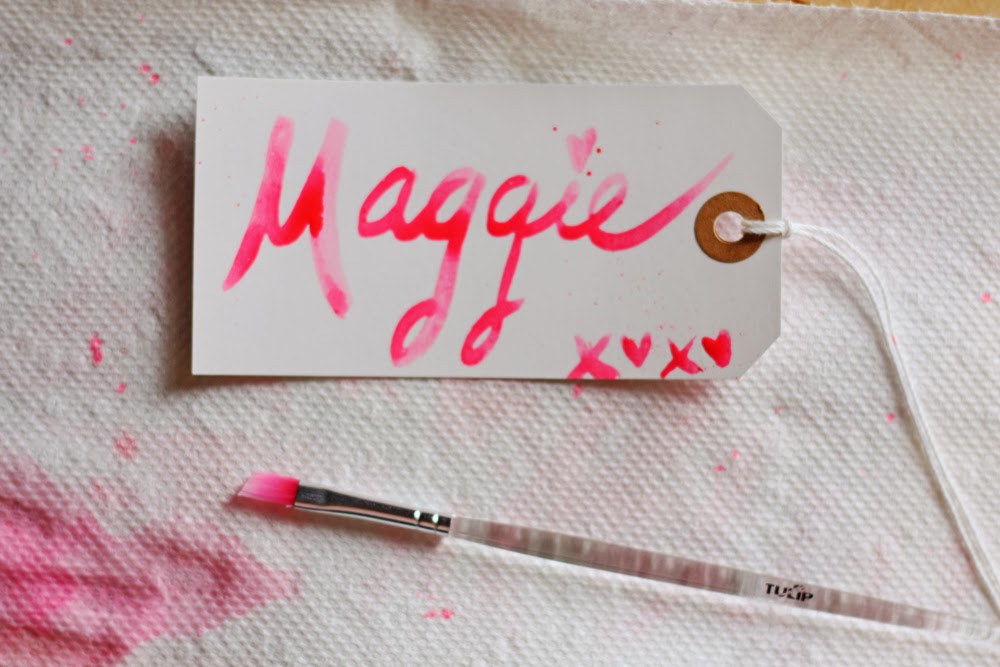
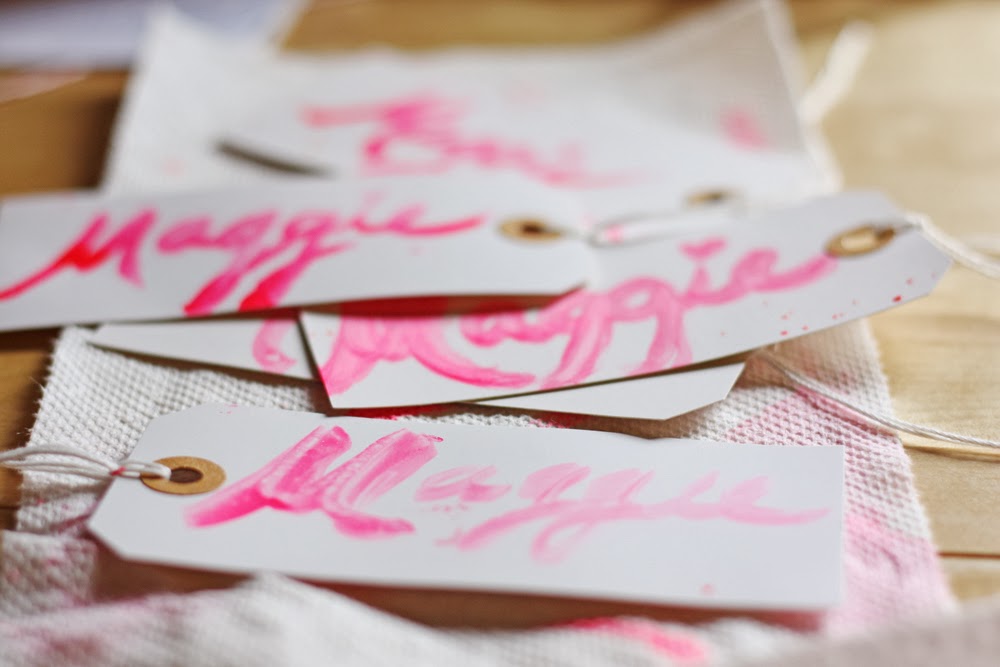
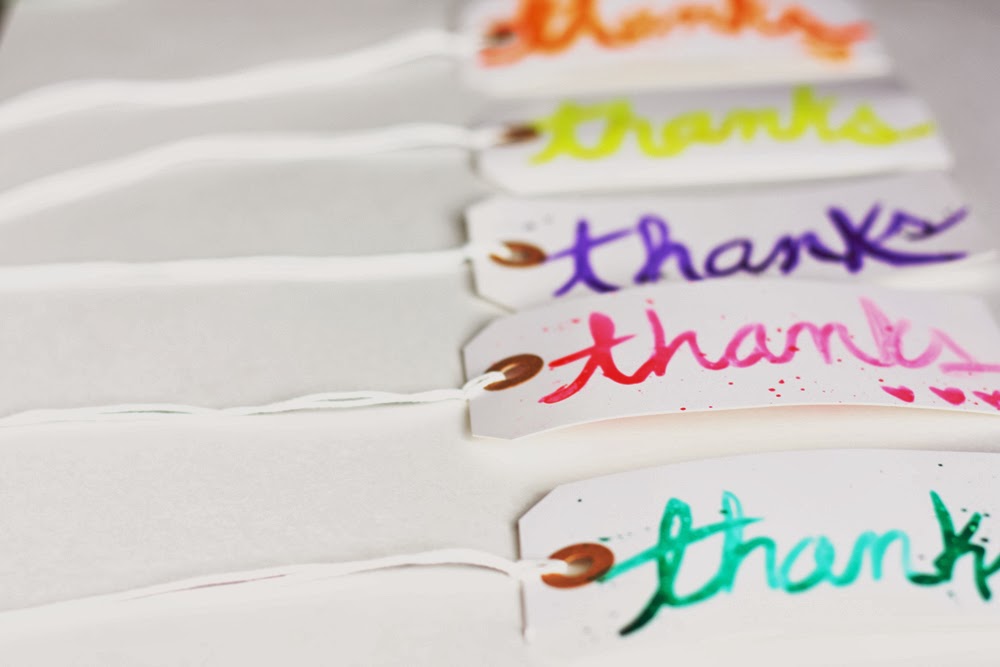
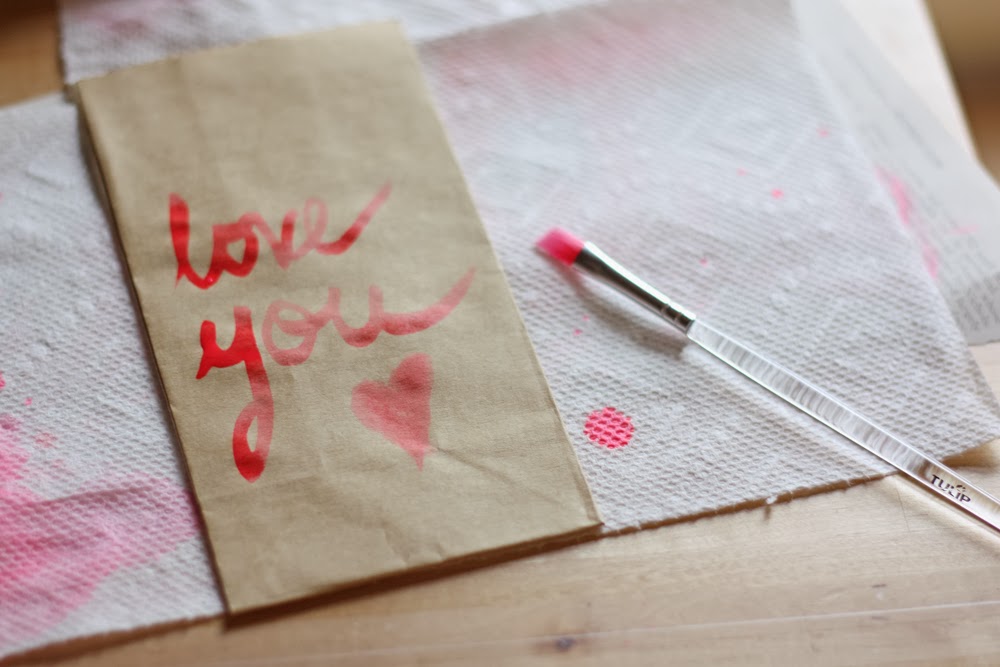
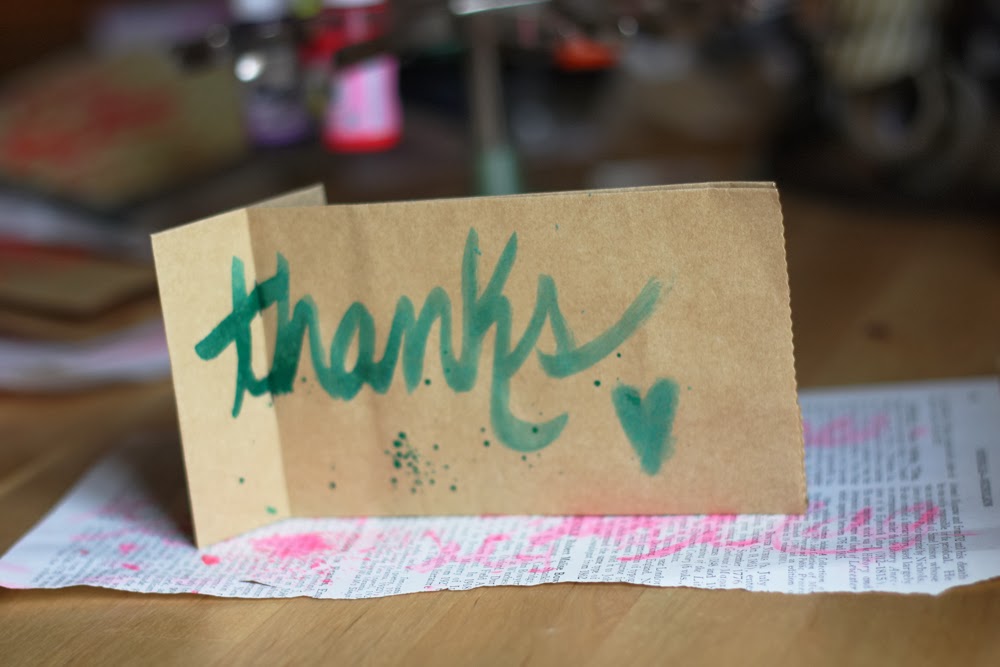
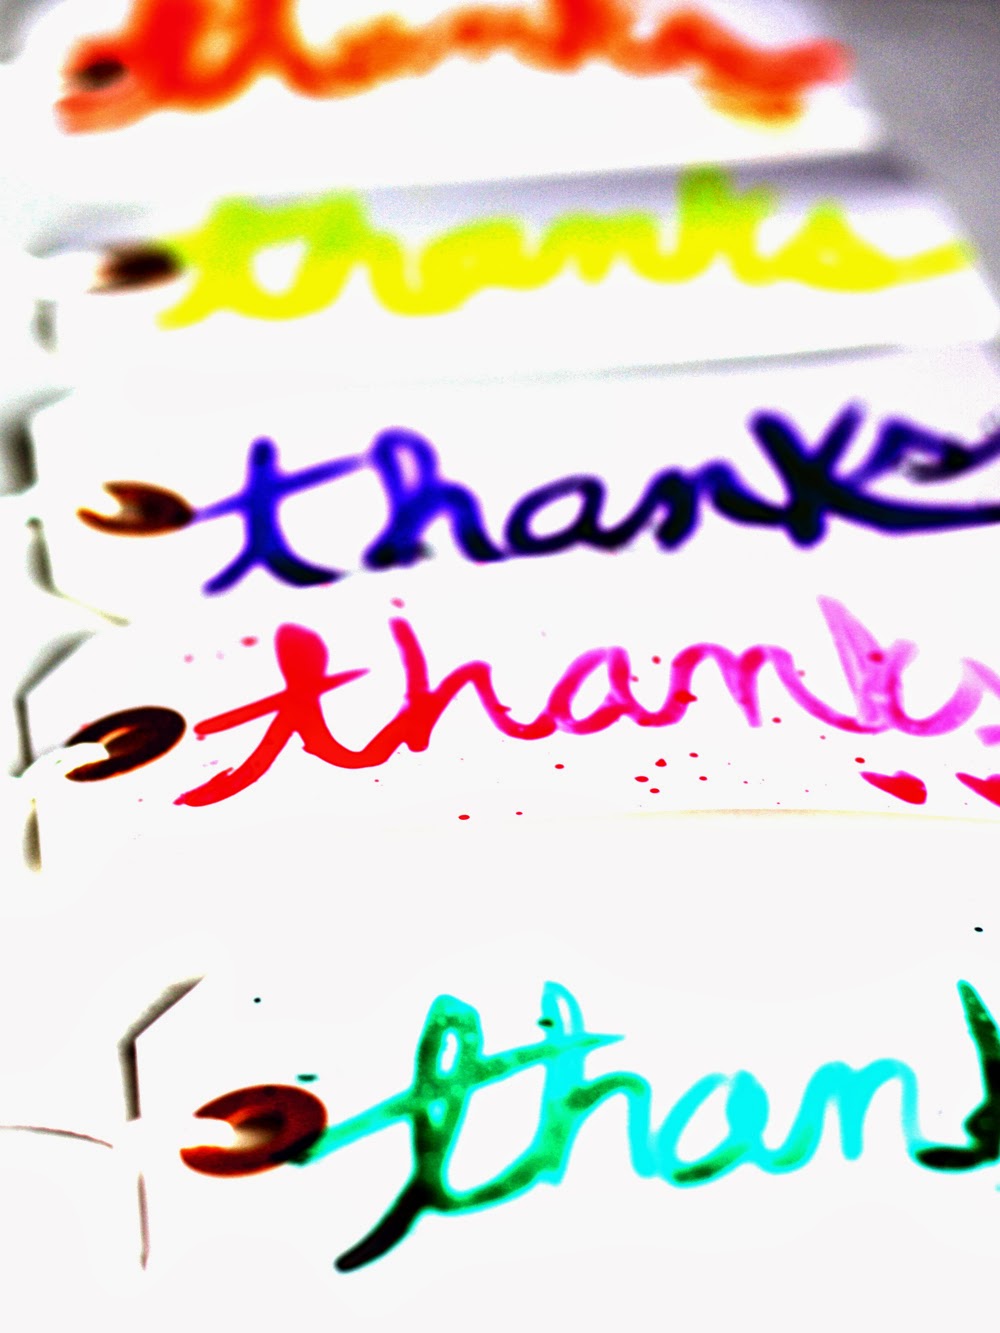
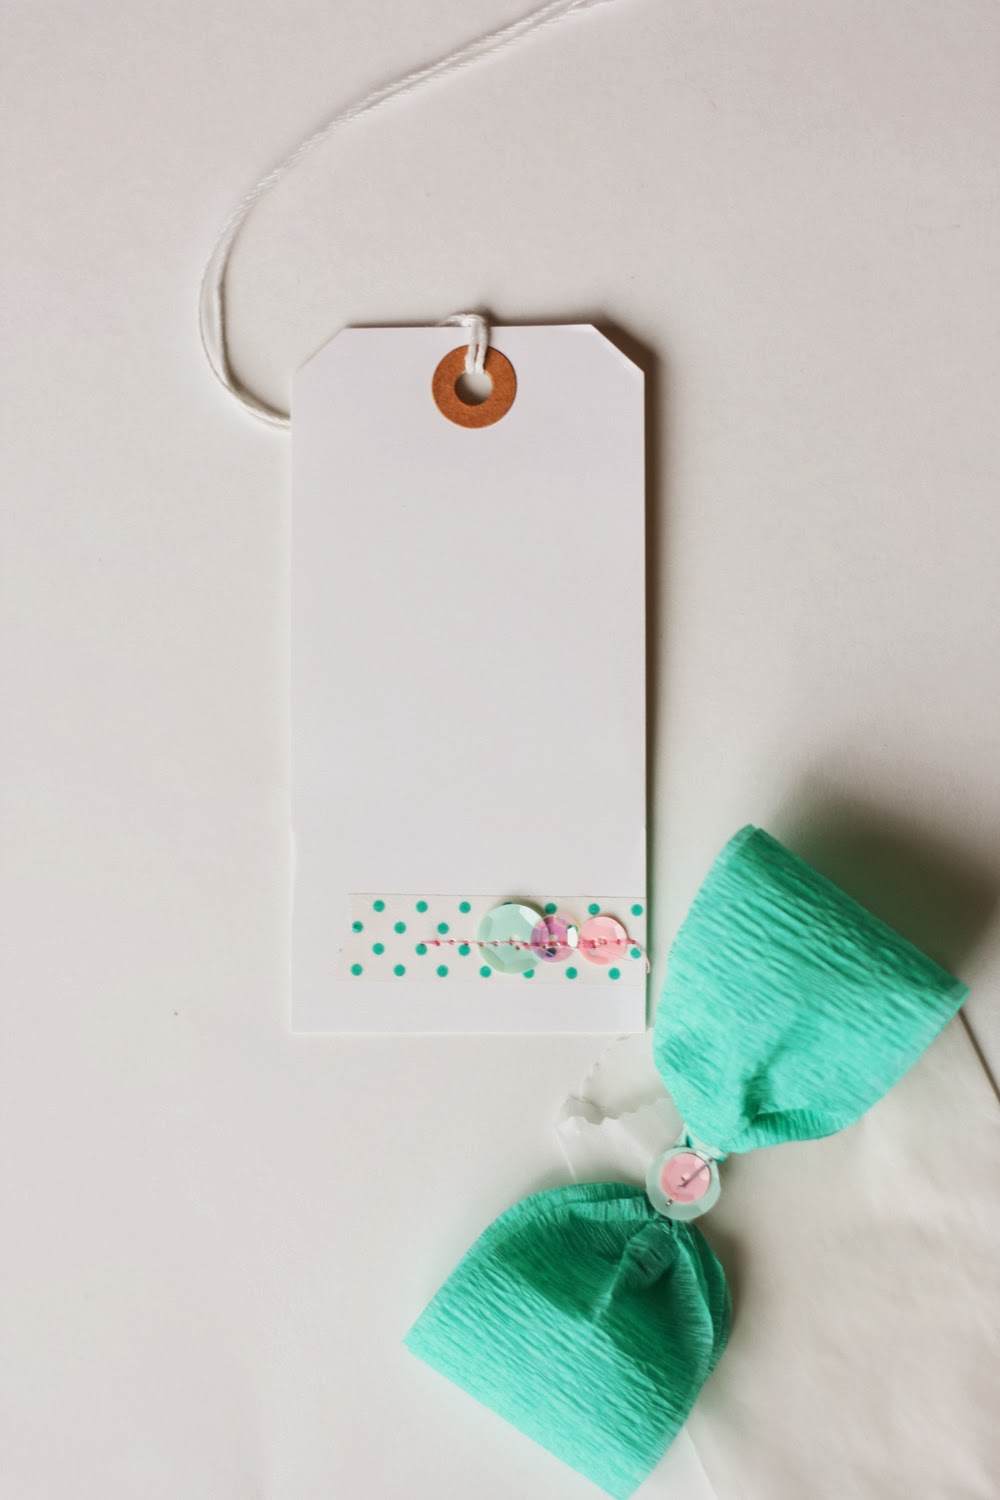
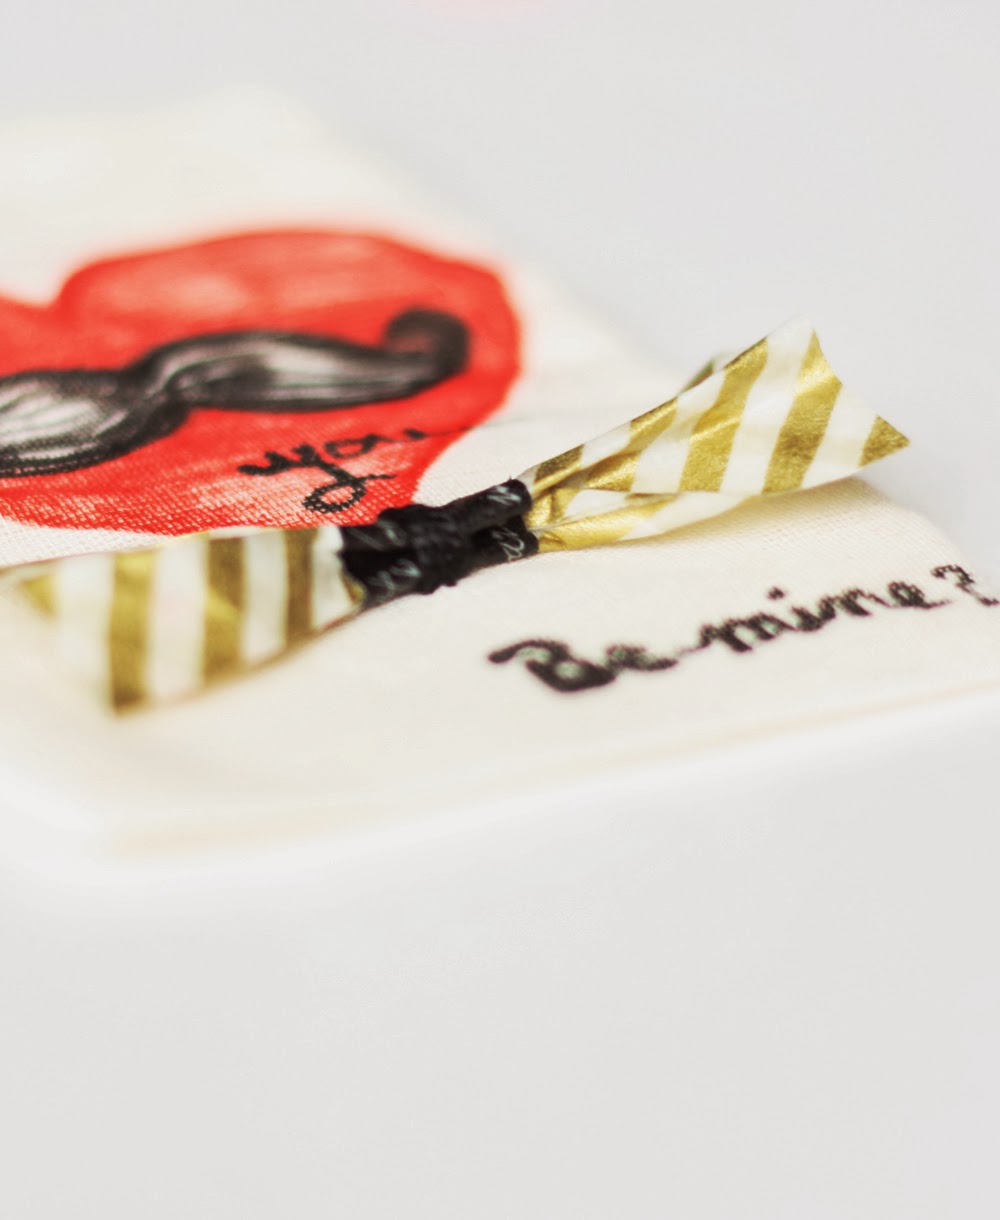
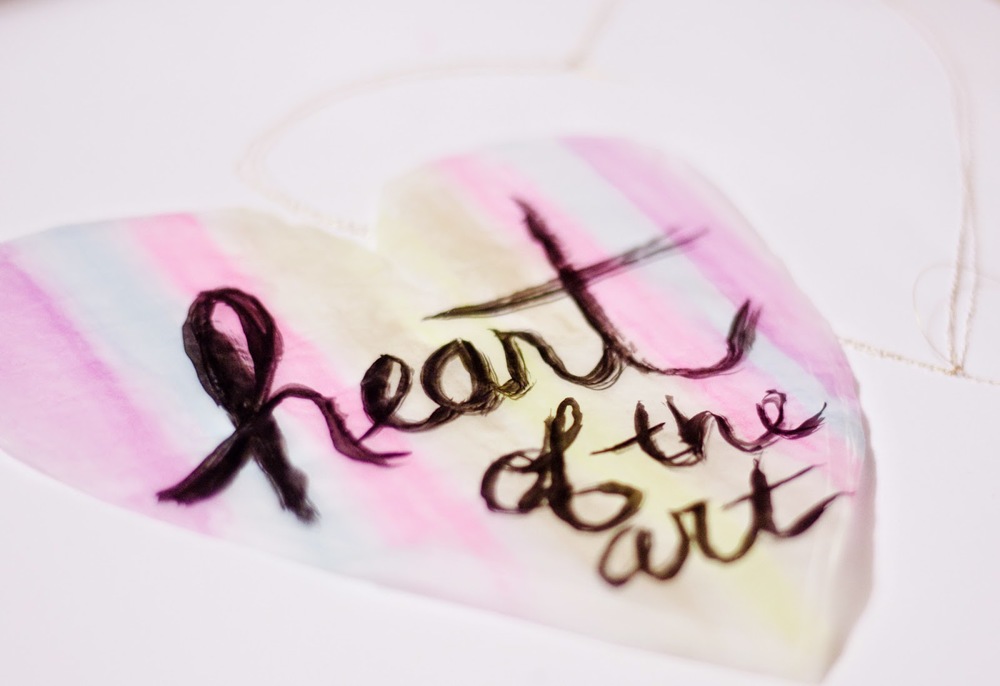
4. Keeping with the paintbrush business, I then wrote the word "art" on an SRM Stickers glassine bag, using my spray ink, just as I did in this tutorial. This is something I'll definitely be doing again. Loved the look on the glassine!


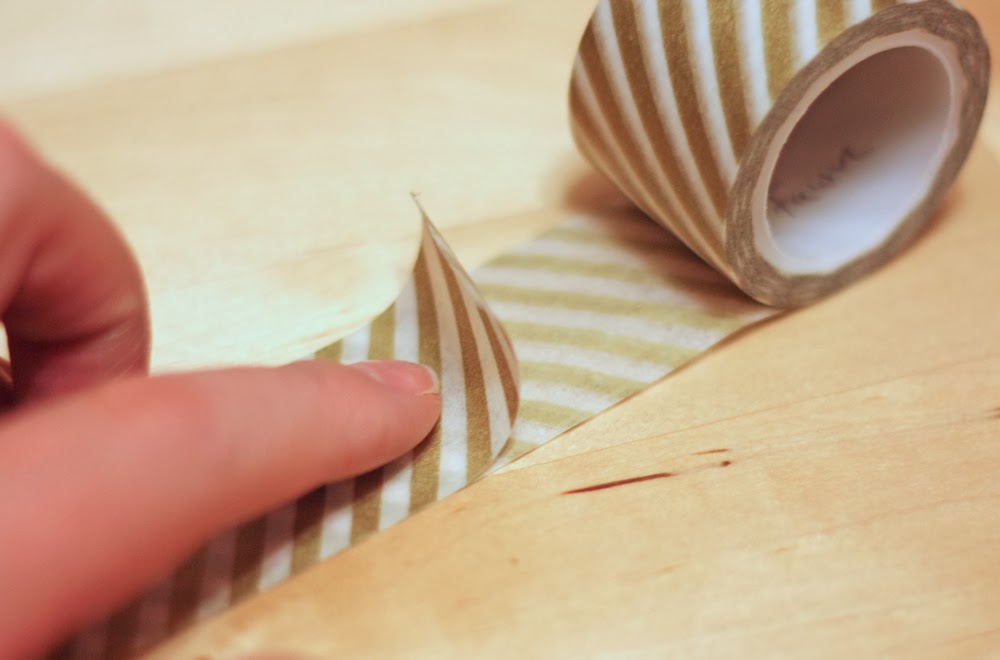
5. Back to the layout, I added a strip of some of my fav washi, the Fat Roll by Hazel & Ruby, to the side of the page, layering over some misted book paper, which I tore from a book. I then added another strip of gold washi in a slightly thinner size.


Secret revealed: See that bit of black peeking out from behind the book paper? Yeah, that's an area of brush script that didn't go so well. No need to start over, however. No way! I just improvised and this book-paper/washi grouping was born.

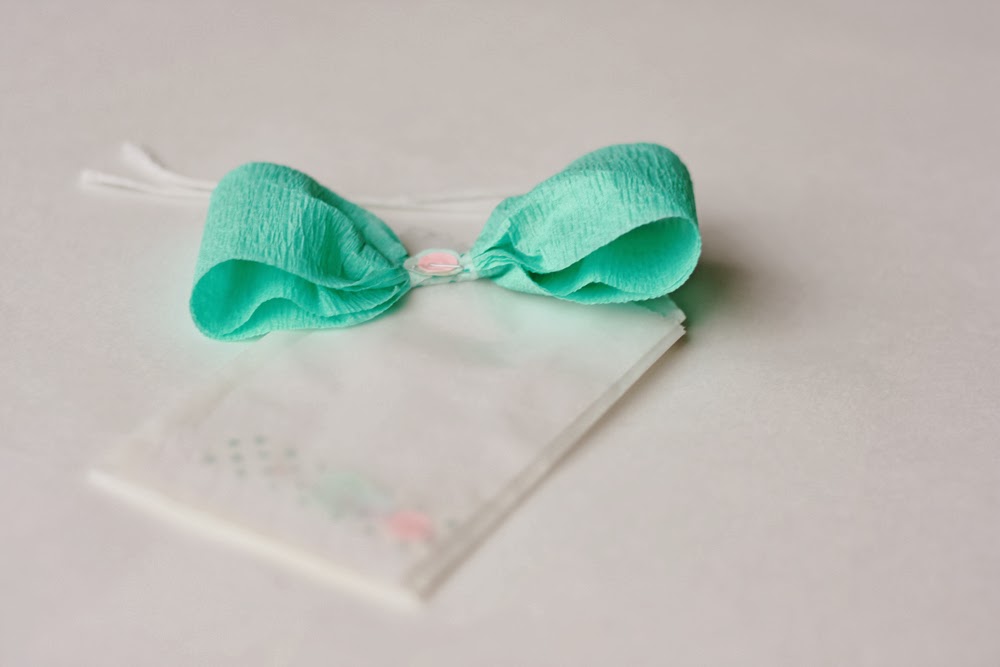
6. Once the glassine bag was dry, I positioned it to the layout, making sure to only place my adhesive down the center, backside of the bag so it wouldn't show. I then added a strip of my new "handmade with love" washi tape from Paper Source. Gosh, I love this tape!


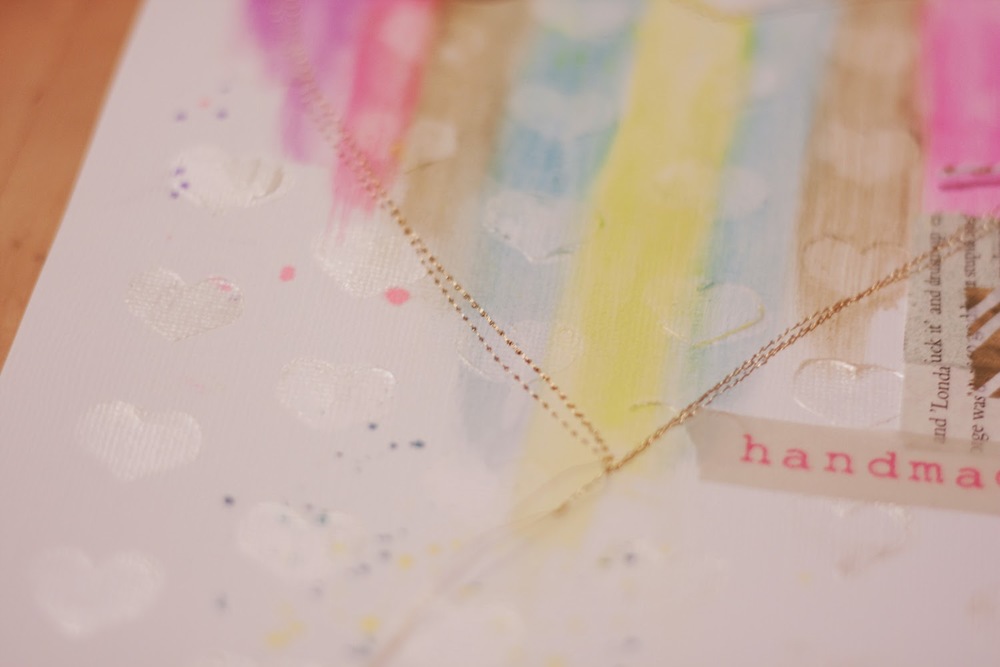
7. Time to sew! I added some machine stitching using my fav gold metallic thread, following my white Gelly Roll lines of the heart. I purposefully went outside of those lines a bit to keep it less linear. And I purposefully stitched over a bit of the bag and book-paper row to make the elements feel more connected on the page.


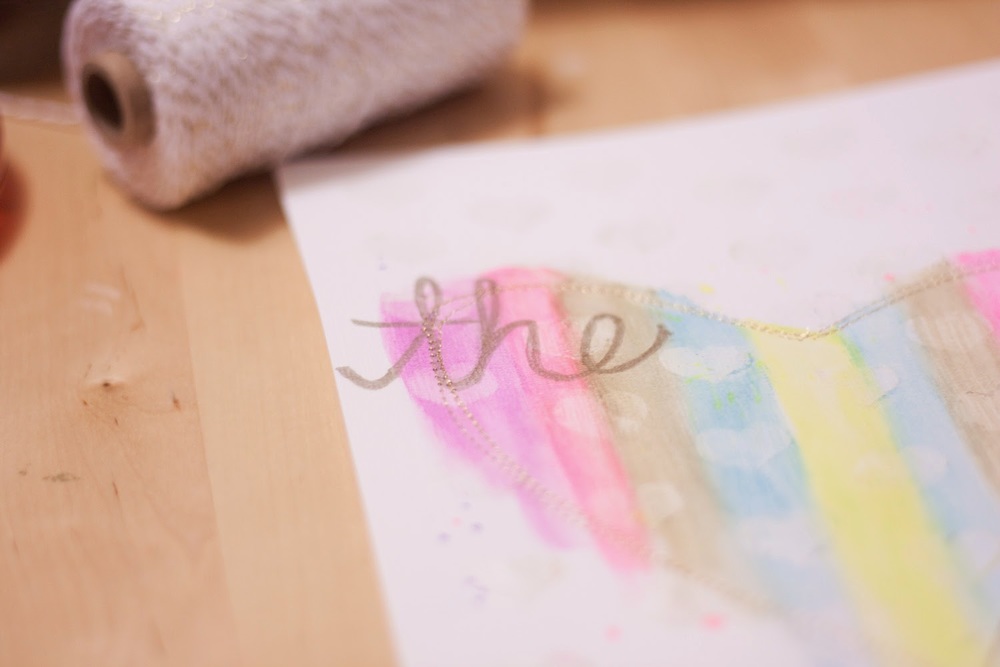
9. For the word "The" in my title, I simply wrote using a metallic gold Sharpie. It took a few coats to make it really show up well.


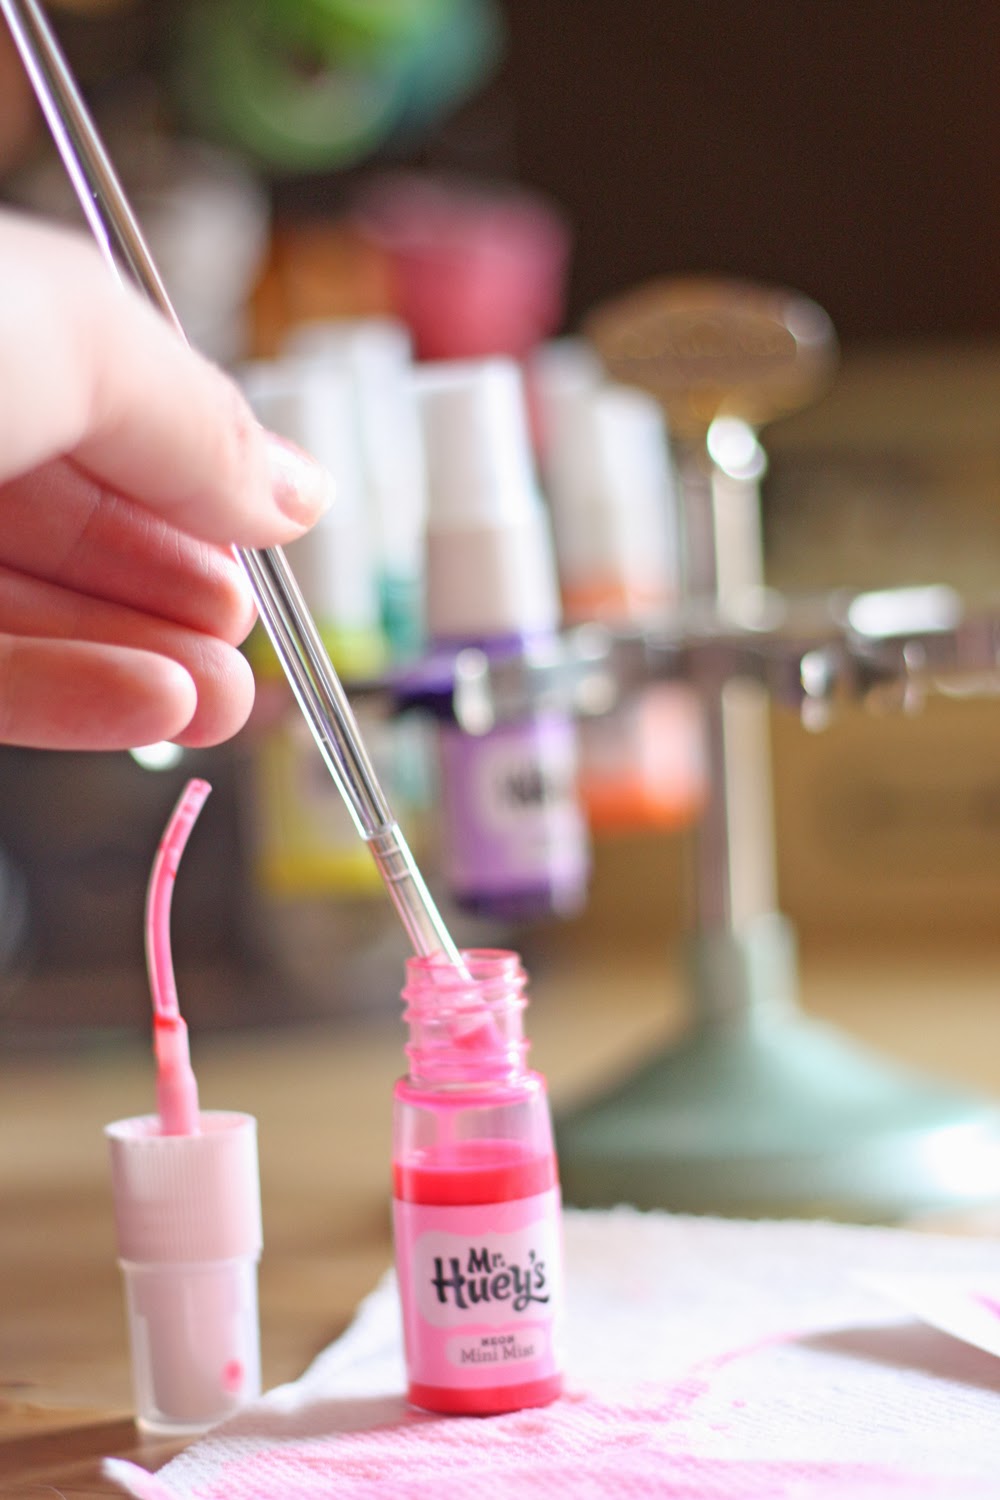
10. Wanting to enhance the "art" effect a bit more, I added some spray-ink splatter by removing the nozzles of my Mister Huey's and lightly tapping on them while holding them over the coordinating color column in the heart.


11. I added the words "of my" at the top of my tag using tiny stickers from Fancy Pants Designs. typed my journaling on a 2"x4" shipping tag, using my typewriter. I like the way the black letters slightly show through the glassine bag, both acting as a subtle print (to complement the book paper) and indicating there's a story in waiting without putting too much of my words out in the open. This was a personal story to tell, and I didn't want too much of it revealed on the surface.


12. The HEART of my ART, when it comes right down to it, is preserving our stories from my Maggie and her future sibling(s), so I simply added an old Instax Mini photo  taken of me while pregnant with Mags to complete the page.


For more on the significance and story behind this page, I hope you'll check out my post today on the Scrapbook & Cards Today Magazine blog. And don't forget to upload the fun you create today on Instagram with the hashtag #NSD10k (or in the BPC gallery). Both the magazine and BPC are offering pretty sweet prizes today, so there's even some added incentive in there for ya! :)

Oh, and don't forget the ol' goodie box o' delights being offered here. Hope you'll enter.

Happy NSD, friends! Thanks a bunch for making my blog a small part of your celebration today!

Cheers!

Brush Script: My Attempt


If you came to brush up on the latest there is to know about the art of creating a brush script, you're probably in the wrong spot. Scratch that—you are in the wrong spot. But if you came to see a novice test her hand at this art of creating a script font using liquid color, I'm happy to welcome you aboard!


Over on the Scrapbook & Cards Today blog, I share a great deal about the up-and-coming trend of brush script. I invite you to take a look for more about products available, trend experts and artists, and even classes being offered on creating this cool look.

Painting at Grandma's house. Circa... 1988 (ish).

Here, I'm simply going to explore a few self-taught approaches to creating my script using a paintbrush and two different forms of ink: spray and dye. I've always LOVED playing with paint and paper, so this was a fun world to explore.

Spray Ink Painting
Let's start with spray. These are the tools I used:

Mister Huey's spray ink by Studio Calico; shipping tag from Office Depot; paper towel c/o Mr. Brawny; Tulip paintbrush by iLovetoCreate

First things first—the ink. I simply unscrewed a bottle of my Mister Huey's spray ink and dipped my brush right in. No muss. No fuss.


I practiced on basic shipping tags, though any paper surface should do. Ideally, I imagine watercolor paper would be the way to go, but I'm not certain about this. And I didn't have any on hand, so the shipping tags would have to do.


As you can see, it takes some practice to get the hang it. Good thing I have a massive box of shipping tags, eh?


I thought it would be fun to turn the tags into thank-you tags to go with the handmade goods I occasionally sell, so I set to writing many "thanks!"


To create the splatter effect, I simply held the nozzle of my Mr. Huey's bottle above the tag and tapped on in . I did this after I wrote "thanks."

I liked practicing the same word over and over for a few reasons:

1. I could compare and contrast outcomes as I painted at different angles/different amounts of pressure/different quantities of ink/etc.

2. I could see how the effect would change with different ink colors.

3. Like snowflakes, no two pieces of brush script art are going to be identical. It's fun to see how they each get their own splash of personality.


This hobby is so fun, I even managed to convince Cory to try it with me. He's a good sport!


I love how everybody's handwriting is going to make their brush script unique!


Yes, it was a regular family affair.


Eventually, I spread my wings and tried other surfaces, such as little gift bags.


Now, all I needed was a little clothespin (Crate Paper) to make a Valentine's Day package for Miss Maggie D.


From bags, I decided to get real carried away and go multi-color with my strokes. Whaaaaat?!? Yes, it's true!


To do this, I would suggest starting with the lightest shade and progressing to the darkest to avoid ink cross contamination.


A few things I picked up along the way:

1. Drag the brush at the beginning and end of words to enhance the look (like the U on my bag above). It looks more hand-painted this way or something (vs. making a clean cut at a word's end).

2. If you're using a flat brush, as I was (probably not the ideal choice), hold it on its side for a finer font.

3. Be careful where you start and stop. The start/stop marks will show. I did my best to complete an entire word before lifting my brush, and then I'd simply go back over areas as needed. NOTE: Don't over go-over. You can quickly add too much color by going back over. I messed up many a tag this way.

Know Before You Go
As I've said, I'm far from a trained expert on the matter. If you're seeking more formal training (and who could blame you?), I suggest you check out Studio Calico's new Life Scripted online class, happening now. It looks like lots of fun, and students have had great things to say about it.

Image credit: Studio Calico
Ink Pad Painting
Back in the day, I worked for Stampin' Up!, where I learned this cool tidbit—If you squeeze your stamp pad when it's closed, a pool of ink will form in the lid.


Okay, maybe "puddle" is the more accurate word, but it's enough ink that you can dip your paint brush and use it to try a round of scripted painting.


So I dipped a toe... errr, brush, and tested the dye-ink waters.


How does this compare to spray ink? Let's pro and con!

Pro: It's easier to control because your brush is dryer.
Con: It has a less artistic look to it (in my opinion).
Pro: It's more even coverage (if that's the look you seek).
Con: It's harder to see.

Hmmm... I suppose there's a time and a place for both approaches.

I then decided to add little hearts to my envelope. Here's how this is done. First, hold your brush at an angle, slanting it on the diagonal, and rub it back in forth on the paper.


Repeat. This time, going at the opposite diagonal, to complete the heart.


You don't have to reapply ink to the brush between each heart. If you don't, some will have less saturation and others more, giving the project more depth.


Will, that's all she wrote. While this is far from the Brush Script-ures, I hope my trial and error process has offered you some insight as you approach your own projects. And I'd love to know which approach— spray ink or ink pad — you like better.

Thanks for stopping by!


Cheers!

No Business Like Bow Business: Easy bow techniques


Just call me a bow-fessional. You know, like a bow profe... Ah, never mind. I’m about bow-punned out after all the fun I had over on the Scrapbook & Cards Today blog. If you had a chance to check out my Monday with Megan post today, you, too, know bows. 

I even shared a tutorial for making your own crepe paper bows. They’re fast, easy and oh, bow cute! (Okay, so maybe I have a pun or two left in me. Consider yourself warned.) ;) 


A dear friend of mine is expecting a baby (two of ‘em, actually), so I thought I’d make my crepe bow into a little gift tag for her shower gift. 

I simply attached the bow to an SRM Stickers glassine bag (love these!), using a stapler. But I first layered some sequins from Teresa Collins Designs and Hazel & Ruby on the center of my bow, giving the stapler one more thing to hold on to. 


I then added a little washi and a few additional sequins to a standard shipping tag to complete the look. I now have a handmade gift tag to add to my friend’s shower gift. Bow kidding. It’s that easy!


Bow the Distance!
Make bows like bow-body's business with this faster-than-fast washi-tape technique!

Do It To It
Step 1: Fold strip (approximately 5") of washi tape on itself (leaving you with a 2.5" strip).


Step 2: Pinch to form bow shape and staple to secure. 


Step 3: Wrap strip of washi tape around stapled center.


Oh, bow you didn't! Yes, I did. A washi bow in 3 easy steps.


Looks to me like this bow tie needs a Mr. 

Back to my Stained by Sharpie technique.


Just color a fella on a bitty bag. If only I'd given him a fedora instead of a top hat. He would have made Humphrey Bow-gart proud. 


And stitch the bow to the bag with a needle and some embroidery floss. 


Fill it with treats and make your mustached Mr. smile. 


But what's a Mr. without his Mrs.?


Yup! The Stained by Sharpie markers work on burlap bags, too. Isn't that awesome? 

I made her bow using dictionary paper. 


Uh oh! Looks like my candy bandit is back! Those adorable, tiny fingers are caught candy-handed. 


Bow-nus Technique
Here's one more bow for this show. The supplies you need are:


Brand new, delicious paper from My Mind's Eye; classic wood buttons from Bella Blvd.; an awesome heart punch from Fiskars (and a small circle punch, not shown); Zots from Therm O Web

Do It To It
Step 1: Punch two hearts from patterned paper. 


Step 2: Punch small circle from scrap of paper (any paper is fine as this won't be visible).


Step 3: Place adhesive in center of circle. 


Step 4: Push tips of hearts down into glue using your fingernail. 


Step 5: Place additional adhesive on back of button and attach to center of bow.


Step 6: Shape hearts to enhance bow shape. 


Have fun with this technique, trying different paper patterns and bow centers (buttons, flair, etc.). 


Bow ties—just what I needed to make Cory's Valentine's Day gift complete! More on that in another post. I've gone on for long enough today. Thanks for stopping. And remember, there's no business like bow business!

Cheers!