Welcome! Whether you hopped this way from
Michelle Hill's blog as a part of the
CKU (Creating Keepsakes University) blog hop that's going on today or you just happened by, I'm happy you're here.
Let's talk burlap wrap!
Wanting to share my love of burlap with you, I'm giving you a sneak peek at something special I'm working on for my CKU class students. Shhhhh... don't let the cat out of the burlap bag. ;)
(I'm teaching at our special CKU reunion event next month. Woot! But more on that in a minute.)
Let's paint some burlap.
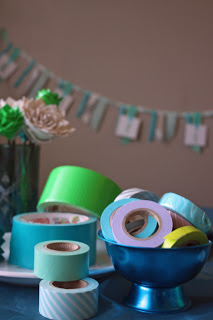
Supplies you'll need:
- Burlap bag(s) (or canvas, or paper, or any style you fancy)
- Note: My bags are from Jamali Garden, a fab floral shop in NYC. If you're reading this from NYC and wouldn't mind picking me up some more, please let me know. I promise to make it worth your while. :)
- Acrylic paint
- Note: I used the new and lovely Martha Stewart line of paints in Summer Haze blue and Wedding Cake white. I purchased these at Michaels. Check out my girl, Marth, talking up her paints.
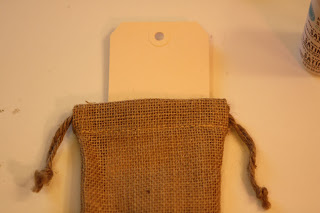
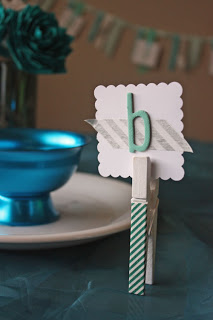
- A tag or scrap of cardstock
- Paint brush or sponge
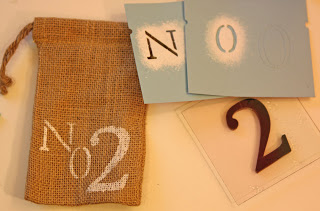
- Foam stamps and/or number stencils
- Note: I used the Monogram Serif Stencil set from MSC.
- The foam stamps are a former Creating Keepsakes kit. I'm afraid it's no longer available, BUT you will get to play with these stamps if you take my Got Your Number class at CKU. (Again, more on that soon.)
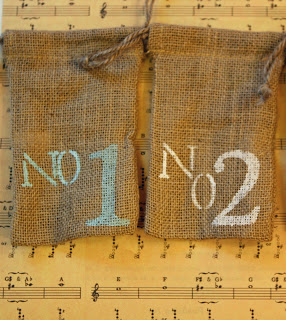
Ready, Freddy? It's as easy as either stenciling or stamping a number on a bag with your paint.
Note: Because this is a special treat for my CKU class, which has a number theme, I used numbers, but you can do this with anything--a monogram, an ampersand sign (&), a heart--anything!
Before you paint, make sure you insert a heavy scrap (i.e. tag, cardstock, or cardboard) into the bag to keep the paint from bleeding through. Muy importante.
I stenciled the
No. and stamped the
2.
The burlap took the paint beautifully. Well... except for the glitter paint. It didn't show up as well. But I do like the subtle, almost water-mark look it creates. Do you see the 3?
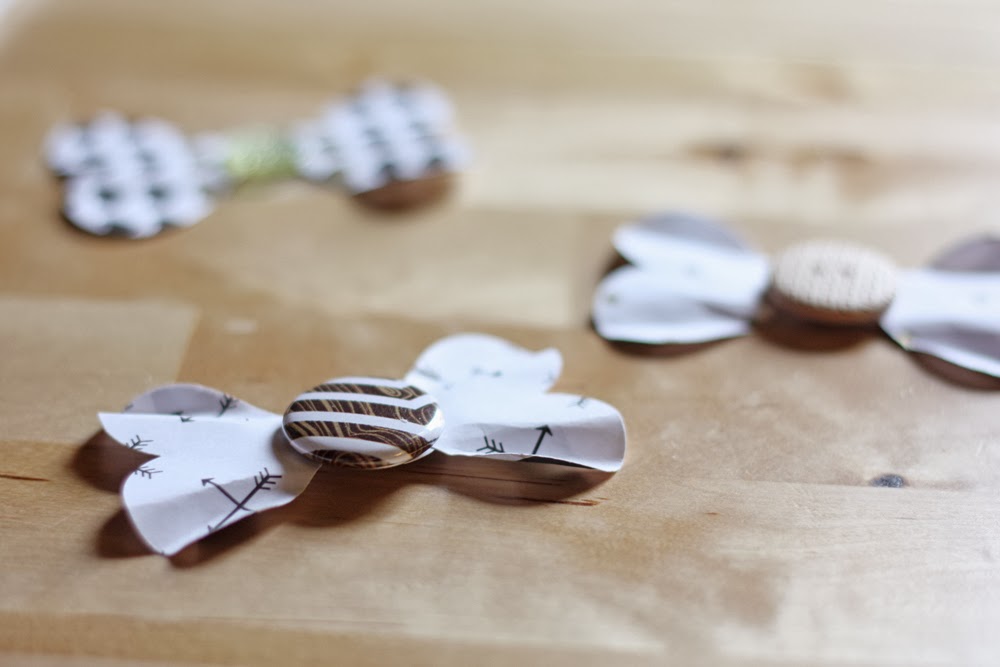
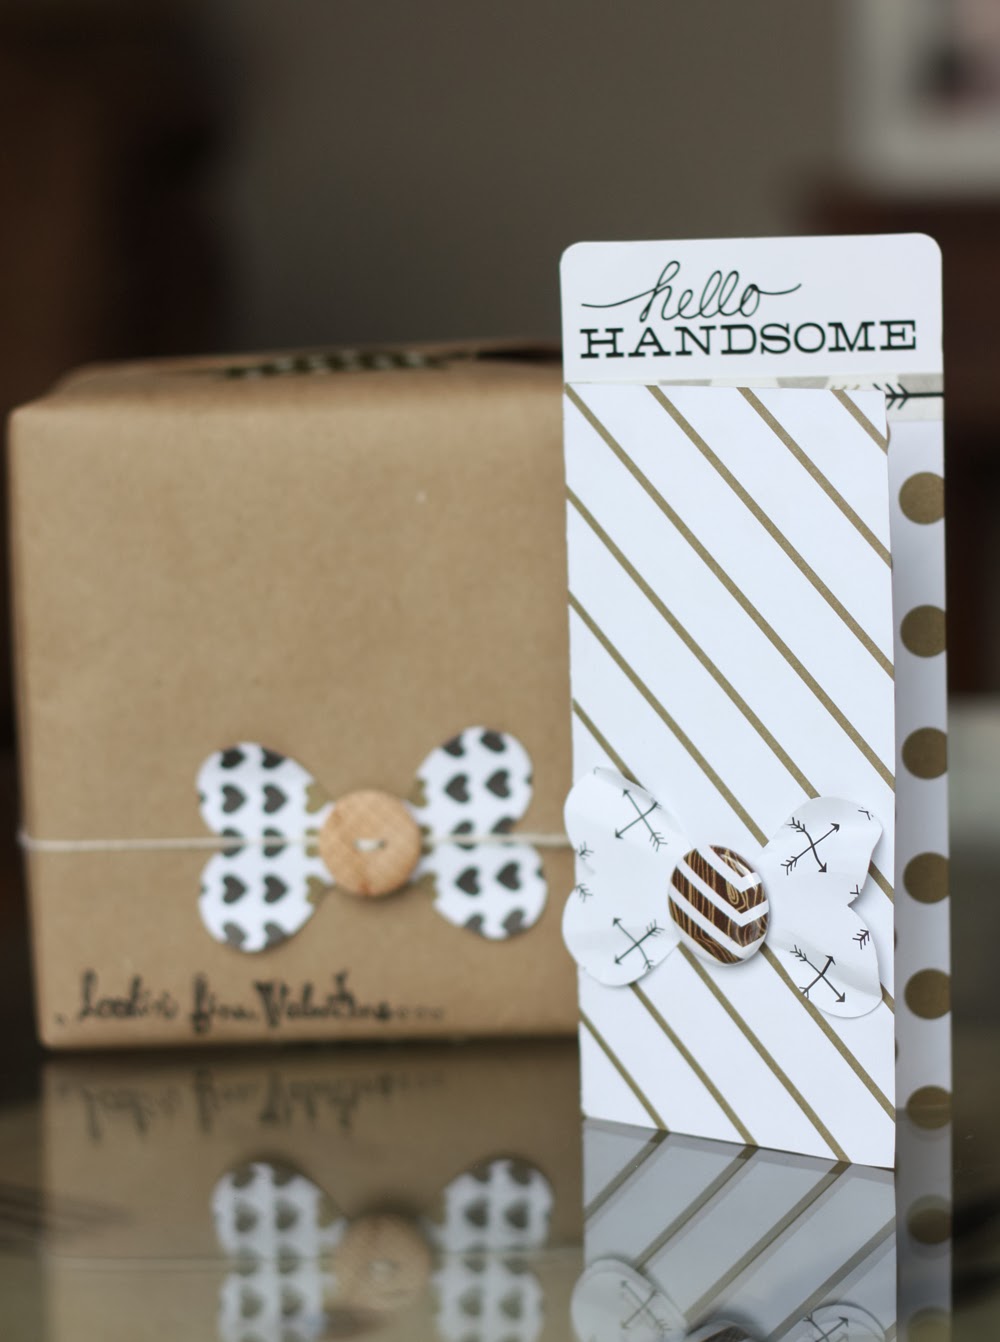
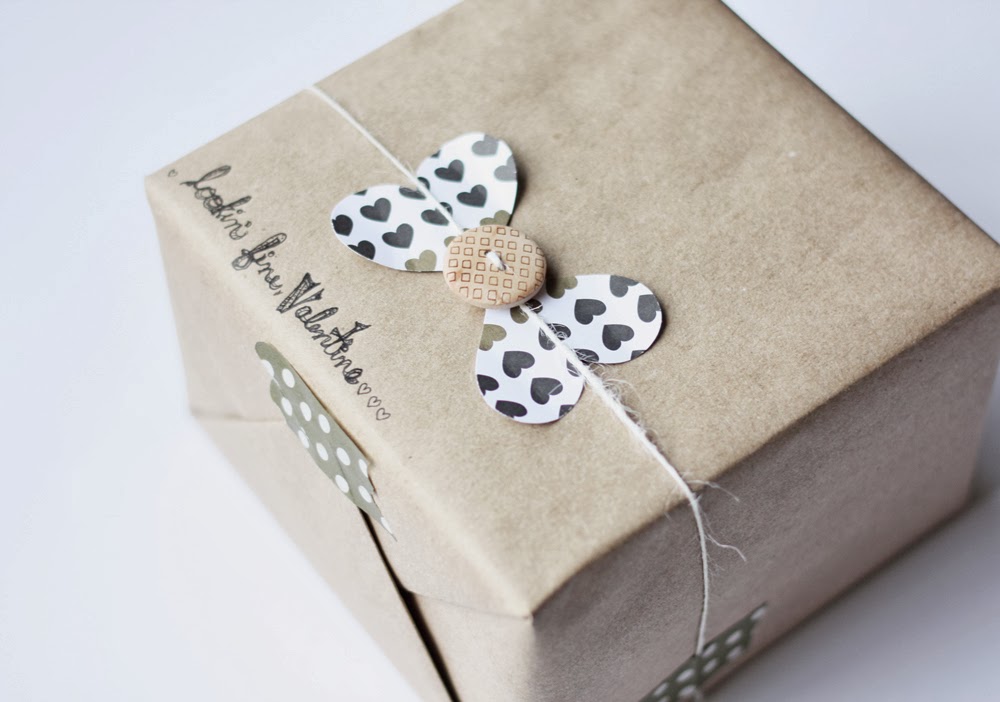
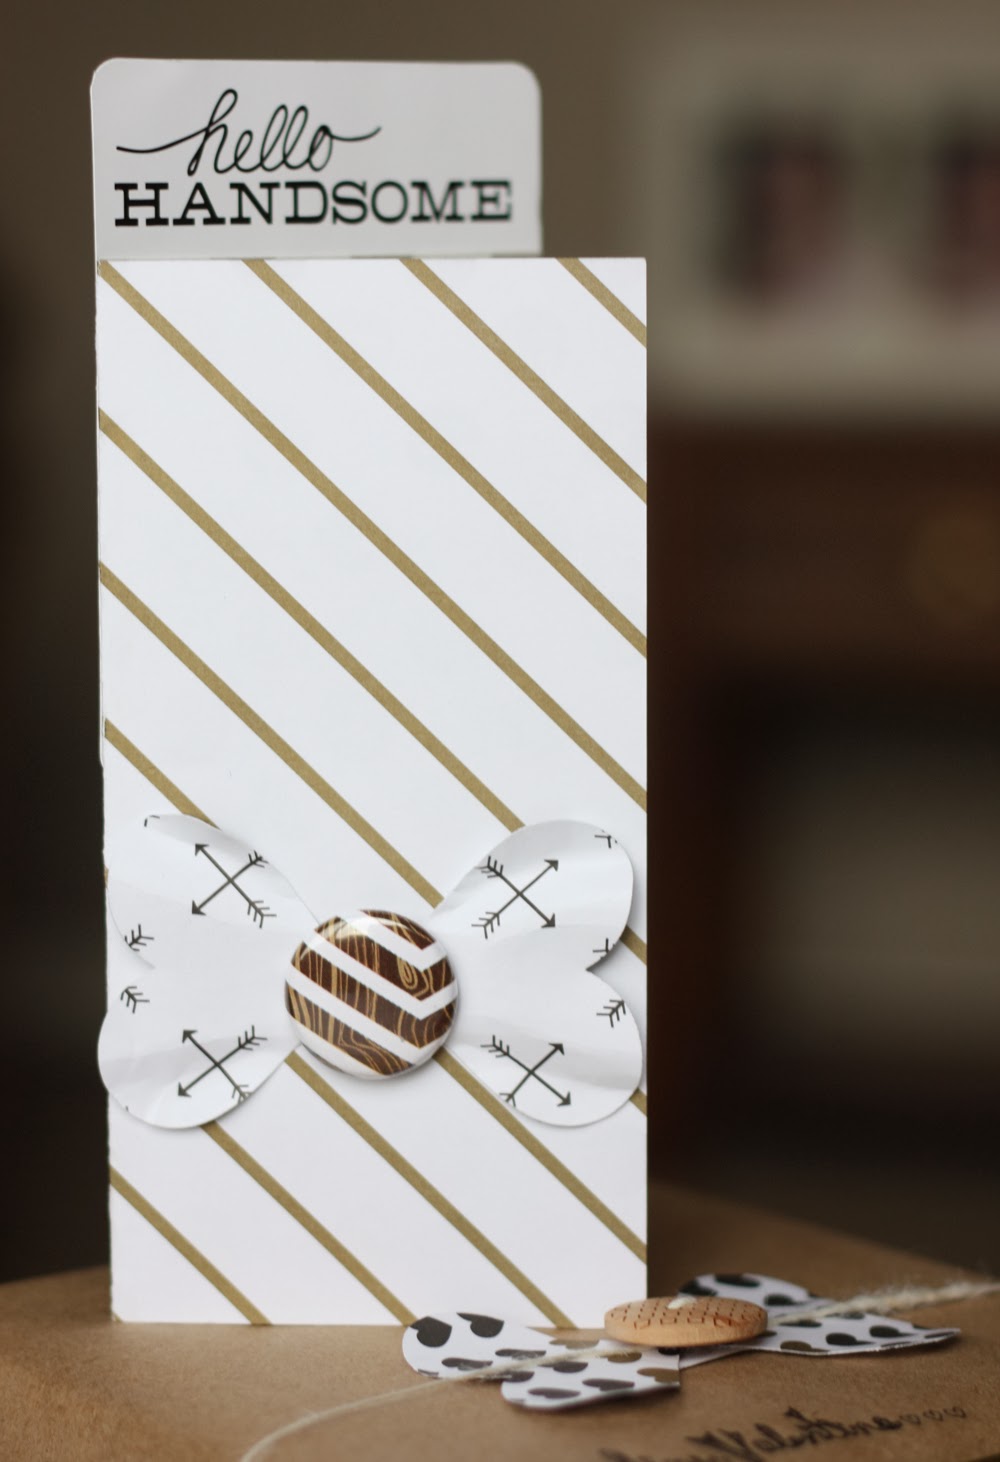
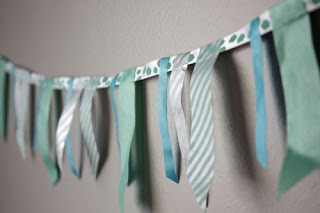
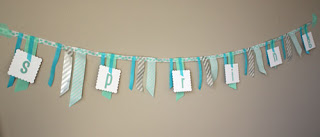
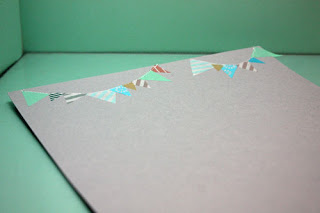
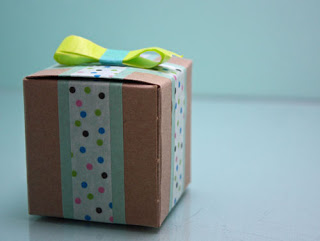
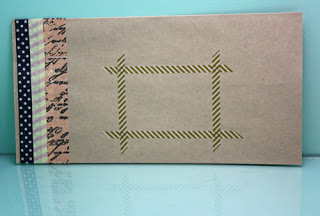
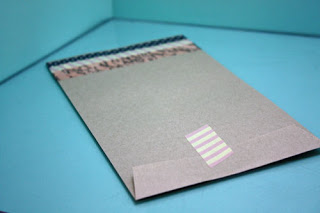
Make any gift stand out with this quick and easy gift-wrap project.
Now, let's talk getaways...
Calling all Creatives!
Do you like playing with paper? Fancy a little fabric and sewing? How about the oh-so-popular mixed media craze? Are you a beading babe? If you're anything like me, you said "YES!" to all of these questions. (I know how we creative peeps are.) Whether you like one craft specifically or dabble in several areas, you're going to love the CKU Reunion!
I feel very blessed to be joining this fantastic
group of instructors as a teacher at this highly anticipated event.
I imagine you recognize many of these friendly faces. Each of these talented gals have something unique and inspiring to offer you during this fun-filled weekend.
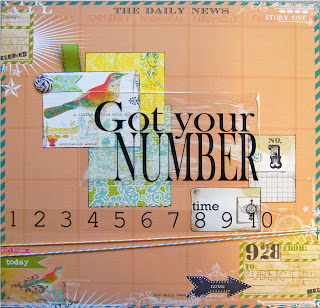
My Class: Got Your Number
Anyone born before 1985 knows that Jenny's # is 867-5309, but what are your digits? In my all-day album class, you'll discover that many numbers make up your beautiful life.
Huzzah! We are going to have a blast exploring our life numbers.
Take a look at what you can expect!
- A super-cool, number-based album. This includes several layouts and a 12"x12" scrapbook album.
- A special gift from me.
- Games, and lots of 'em!
- Memorable "shopping" opportunities!
- Rad giveaways. Free, it's a magic number; yes it is!
- New crafting techniques!
- An awesome class kit, sponsored by: Pink Paislee, Maya Road, Amy Tangerine for American Crafts, Jenni Bowlin, Jillibean Soup, The Crafter's Workshop, My Little Shoebox, Technique Tuesday, and more! Now, that's a kit!
I'm VERY excited about the fun to come in Sunny
San Diego, California, Oct. 27-29.
Will you be there?
There's still time
to register!
An entire weekend of creative fun for
only $295!
And once you've registered, I'd be honored if you had my number and dialed into the sure-to-be-fun
Got Your Number class.
Hop On!
Thanks for hopping in to check out my bag project and learn a little about CKU. Time to hop on to the next blogger in our line up, the stellar
Kim Watson, and see what she has in store for you. Tell her hi for me!
Note: If you're interested in starting at the beginning of this here hop, jump on over to Mou Saha's blog, where the fun begins!
One More Thing, a la Sesame Street
Before you go, here's a quick flick to enjoy. Since I'm working on my CKU class today, which is all about having fun with numbers, I've watched this gem more times than I'd like to admit. Thought we'd take one more listen together. (Click the image below to let the fun begin.)
Hope to see you at the CKU reunion next month!