Growing up, my pop always said he was going to buy us a llama and put it in the backyard. He never fulfilled his dream, but our family has always had a soft spot for llamas nonetheless.

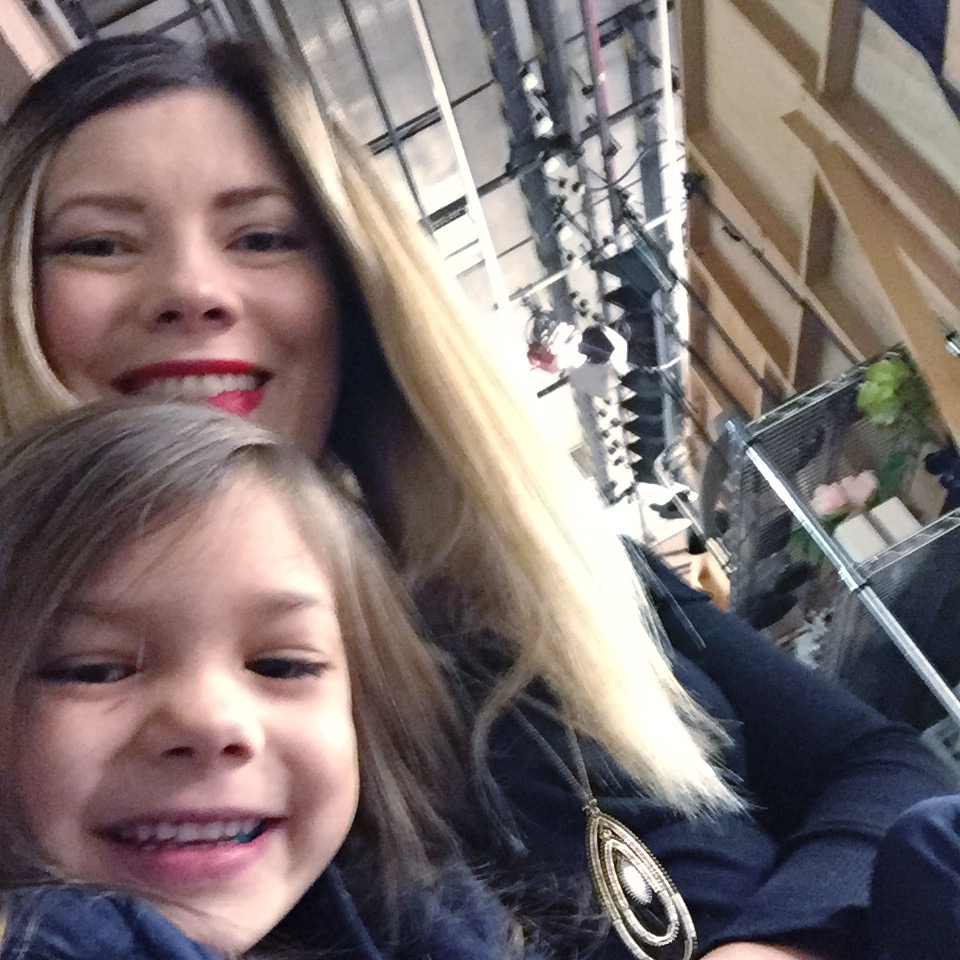
This hottie is one of three alpacas currently at The Farm at Gardner Village, a lovely local animal rescue and petting zoo.

So when the trendy Steph Bryson, Studio 5 producer, asked me to report on this adorable trend on today’s show, you bet I replied with “alpaca my bags and see you soon!” ;)


The Llama Rama trend is definitely hitting its stride in the mainstream, with stores like Target and Layers and Old Navy carrying super cute llama delights.

Let’s take a look at how to add a little llama drama to your life!
1. Home Decor

1. Llama Planter: I picked up this handsome fella at Down to Earth at Gardner Village. He can be used for plants (go figure). Or, if you’re like me and have a black thumb, he also makes a great pen holder.
2. Llama Lamp: A gift from my sis-in-law (Thanks, G!). This llama light is part of Target’s Pillow Fort collection.
3. Llama Plush: Another cutie from Target. And he was only $14! Nice! He’d look great in a baby’s room, a kid’s room, or even your room. :)
4. Llama Wall Art: This paper-plate-turned-llama was a quick after school craft Maggie and I did together. If you follow me on Instagram, you know my child is a picky crafter. She simply doesn’t care much for papercrafting. However, she really enjoyed herself with this one.

I hope this seal of approval means the project will pass your kid craft test, too.

A special thanks to Handmade Charlotte for inspiring our art with this darling idea!
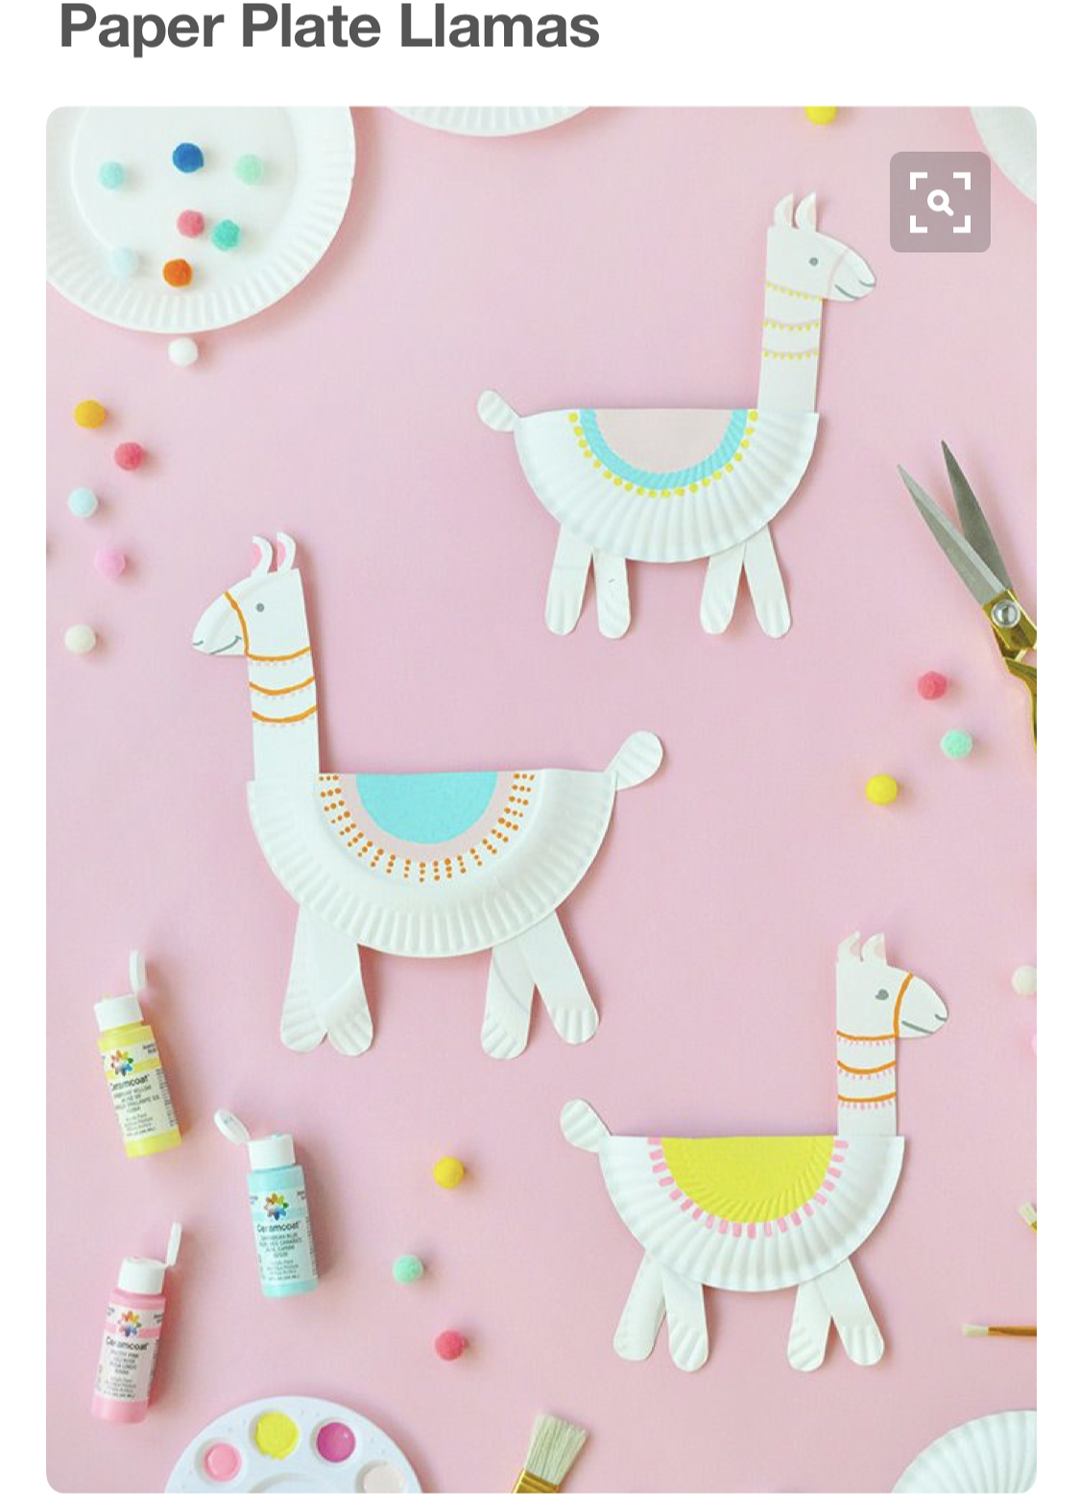
image credit: Handmade Charlotte
2. Get Your Llama Craft On!
There are many ways to work this friendly fella into your crafting. Alpaca the puffy stickers, the felt, the poms, and the yarn. You paca the imagination! We have a date to make. :)

1. Llama Banner
This one combines all the awesome fa la la la llama texture—yarn, poms, and felt. I hand cut the critters, looking at my stickers as a guide. I then used hot glue to attach the decorative extras. Oh, and I embroidered the faces.
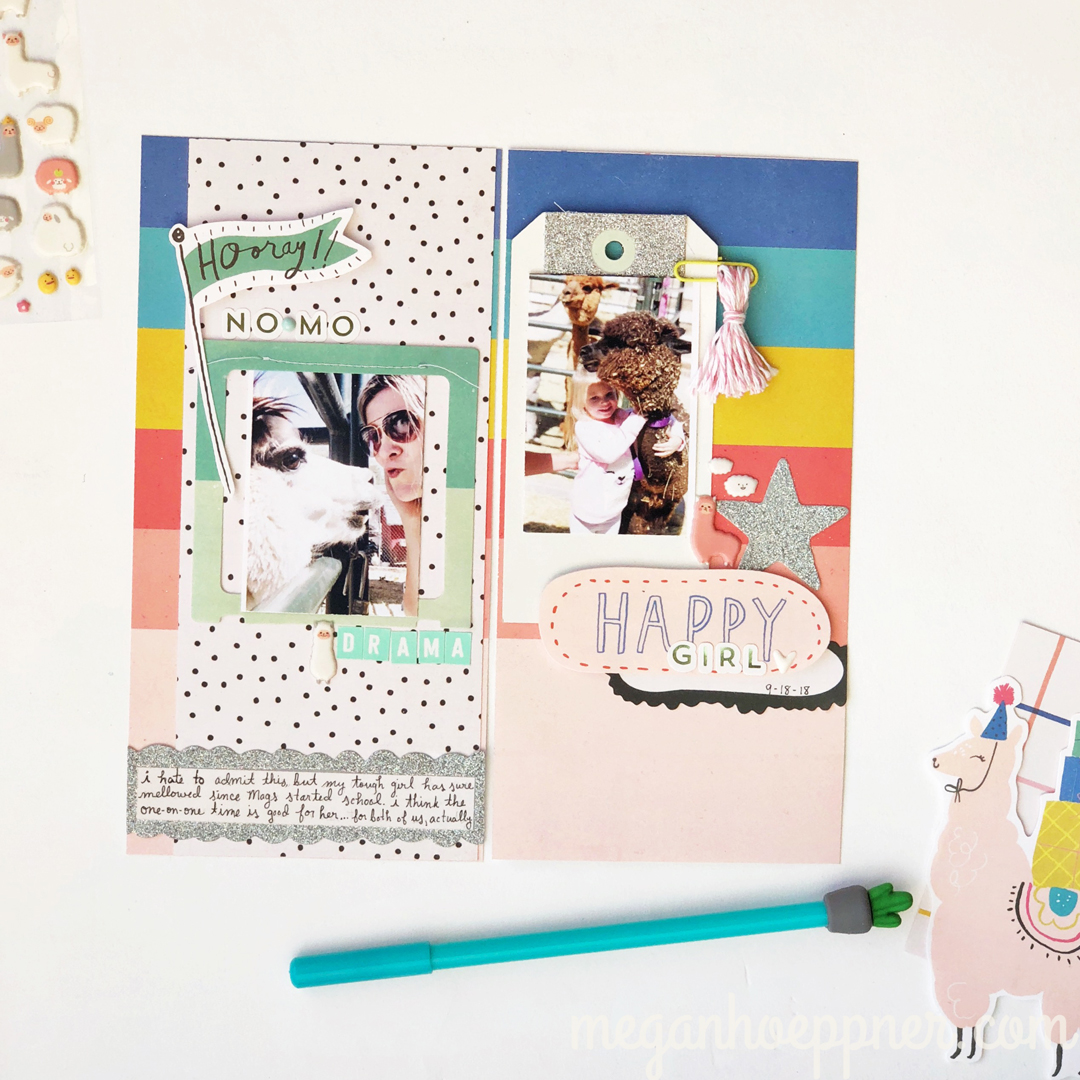
2. Llama Layout
The new Hooray line from Crate Paper is a llama lovers treasure trove. It has many party animals, including that lovable llama in a party hate. Use the pre-made cards for a quick project or start from scratching using their chipboard, die cut shapes, 3D stickers, patterned paper, and more!

I used the same line to make an accordion-folded birthday photo card. Pop may not have ever had his pet alpaca, but he can have pics of them in this greeting.

This was so easy to make. I simply cut a strip of 3x4 journaling cards from the Hooray patterned paper, not separating the cards. Instead, I scored along the lines between each design and then folded to make the accordion. I then adhered photos to two of the four cards. Using chipboard and die cut shapes, I dressed it up a bit more.

I added pom strips for added llama flair.

The back of the card is simply the back of the double-sided paper, but I did add another journaling card and a tag. The card now has lots of room for writing notes of love to our birthday guy.

If you’re sending a card across the miles, it will neatly fold down and fit inside an envelope.
3. Wear Your Llama Threads
Llama fashion is easy to come by. Just this week, I spotted this gray T at Old Navy, and the pink and orange llama top I’m wearing is at Target in the juniors section.

If only I were bitty. Kids llama gear is THE CUTEST! This shirt and the shoes are both from Old Navy. Technically, I think the sneaks are bunnies, but they can certainly pass for ‘pacas.

4. Llama Party Planning
If you’re ready to get your llama drama underway, a party is the way to go. I saw a lucious llama party set at Target (I swear I don’t work for them!). And, of course, the original piñata is… yup! A llama! Plus, check out this DARLING balloon idea by Babble.com!

That’s it for this llama love. But, before I go, I must give Brooke Walker some love. Today’s show was her last before she goes on maternity leave. Studio 5 is never the same without her. Congrats on the wonderful little babe headed your way, Brooke. She’s a lucky girl! We’ll miss you on set!
Llamaste, friends!