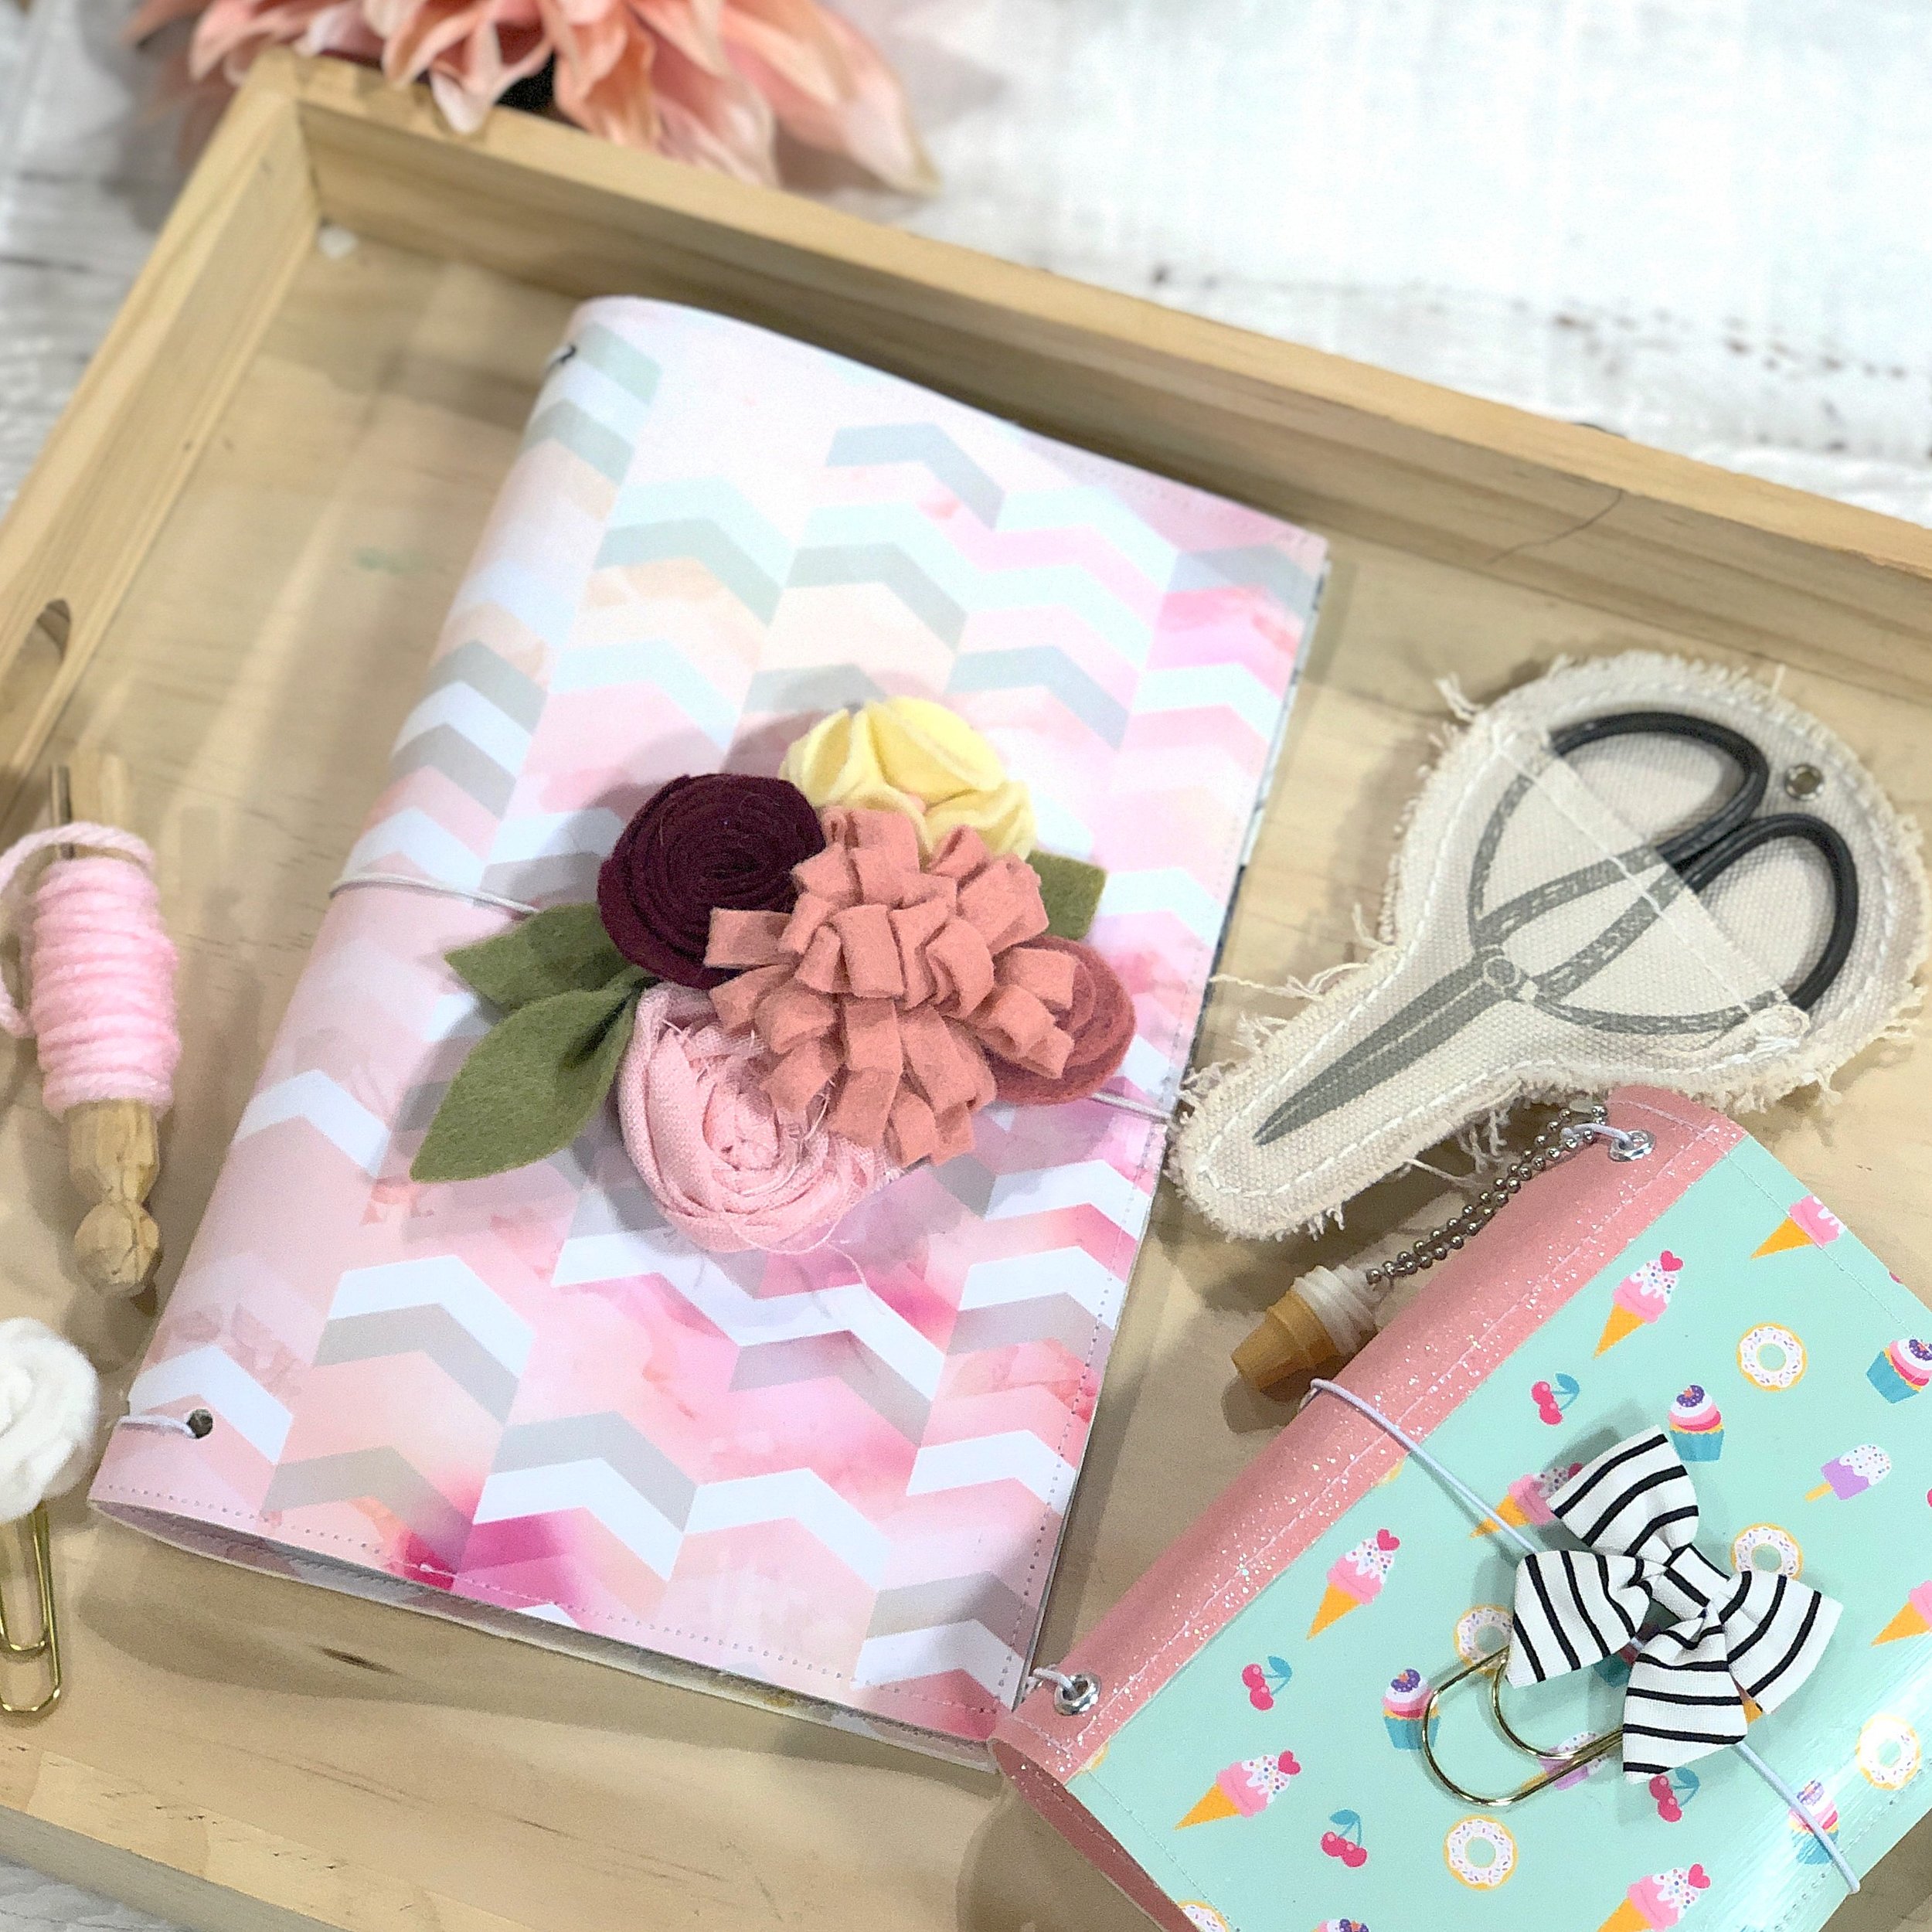
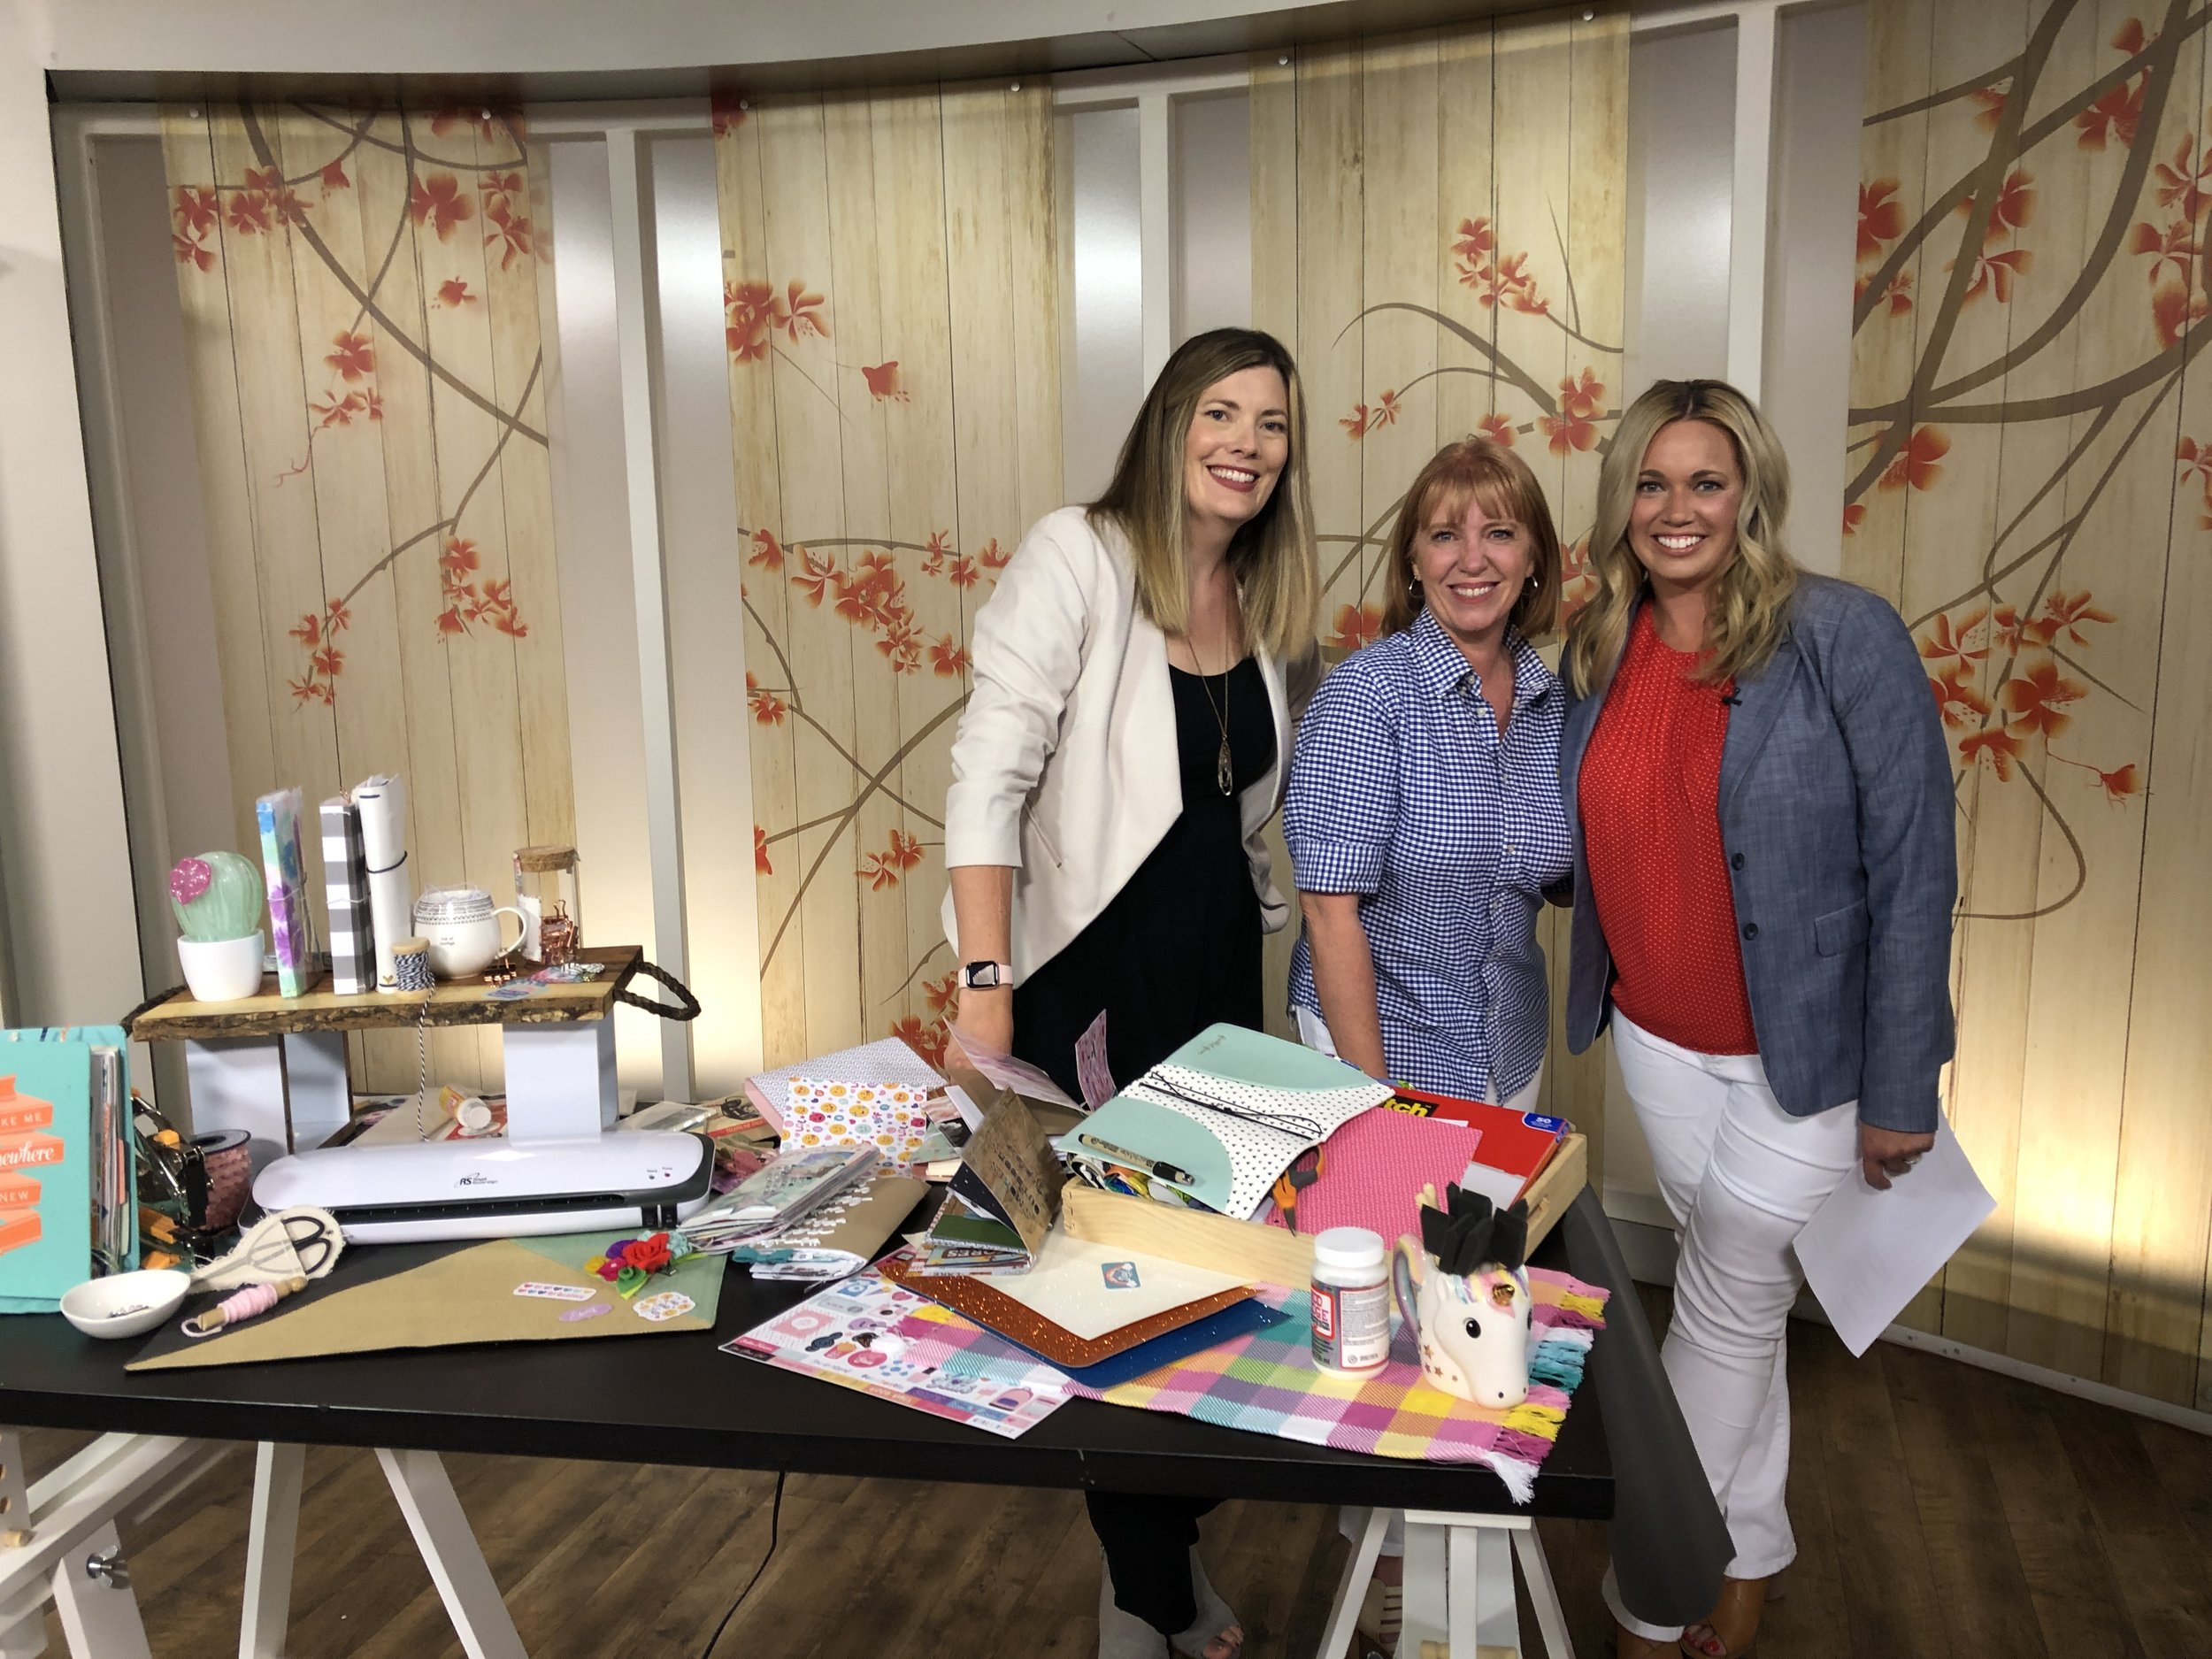
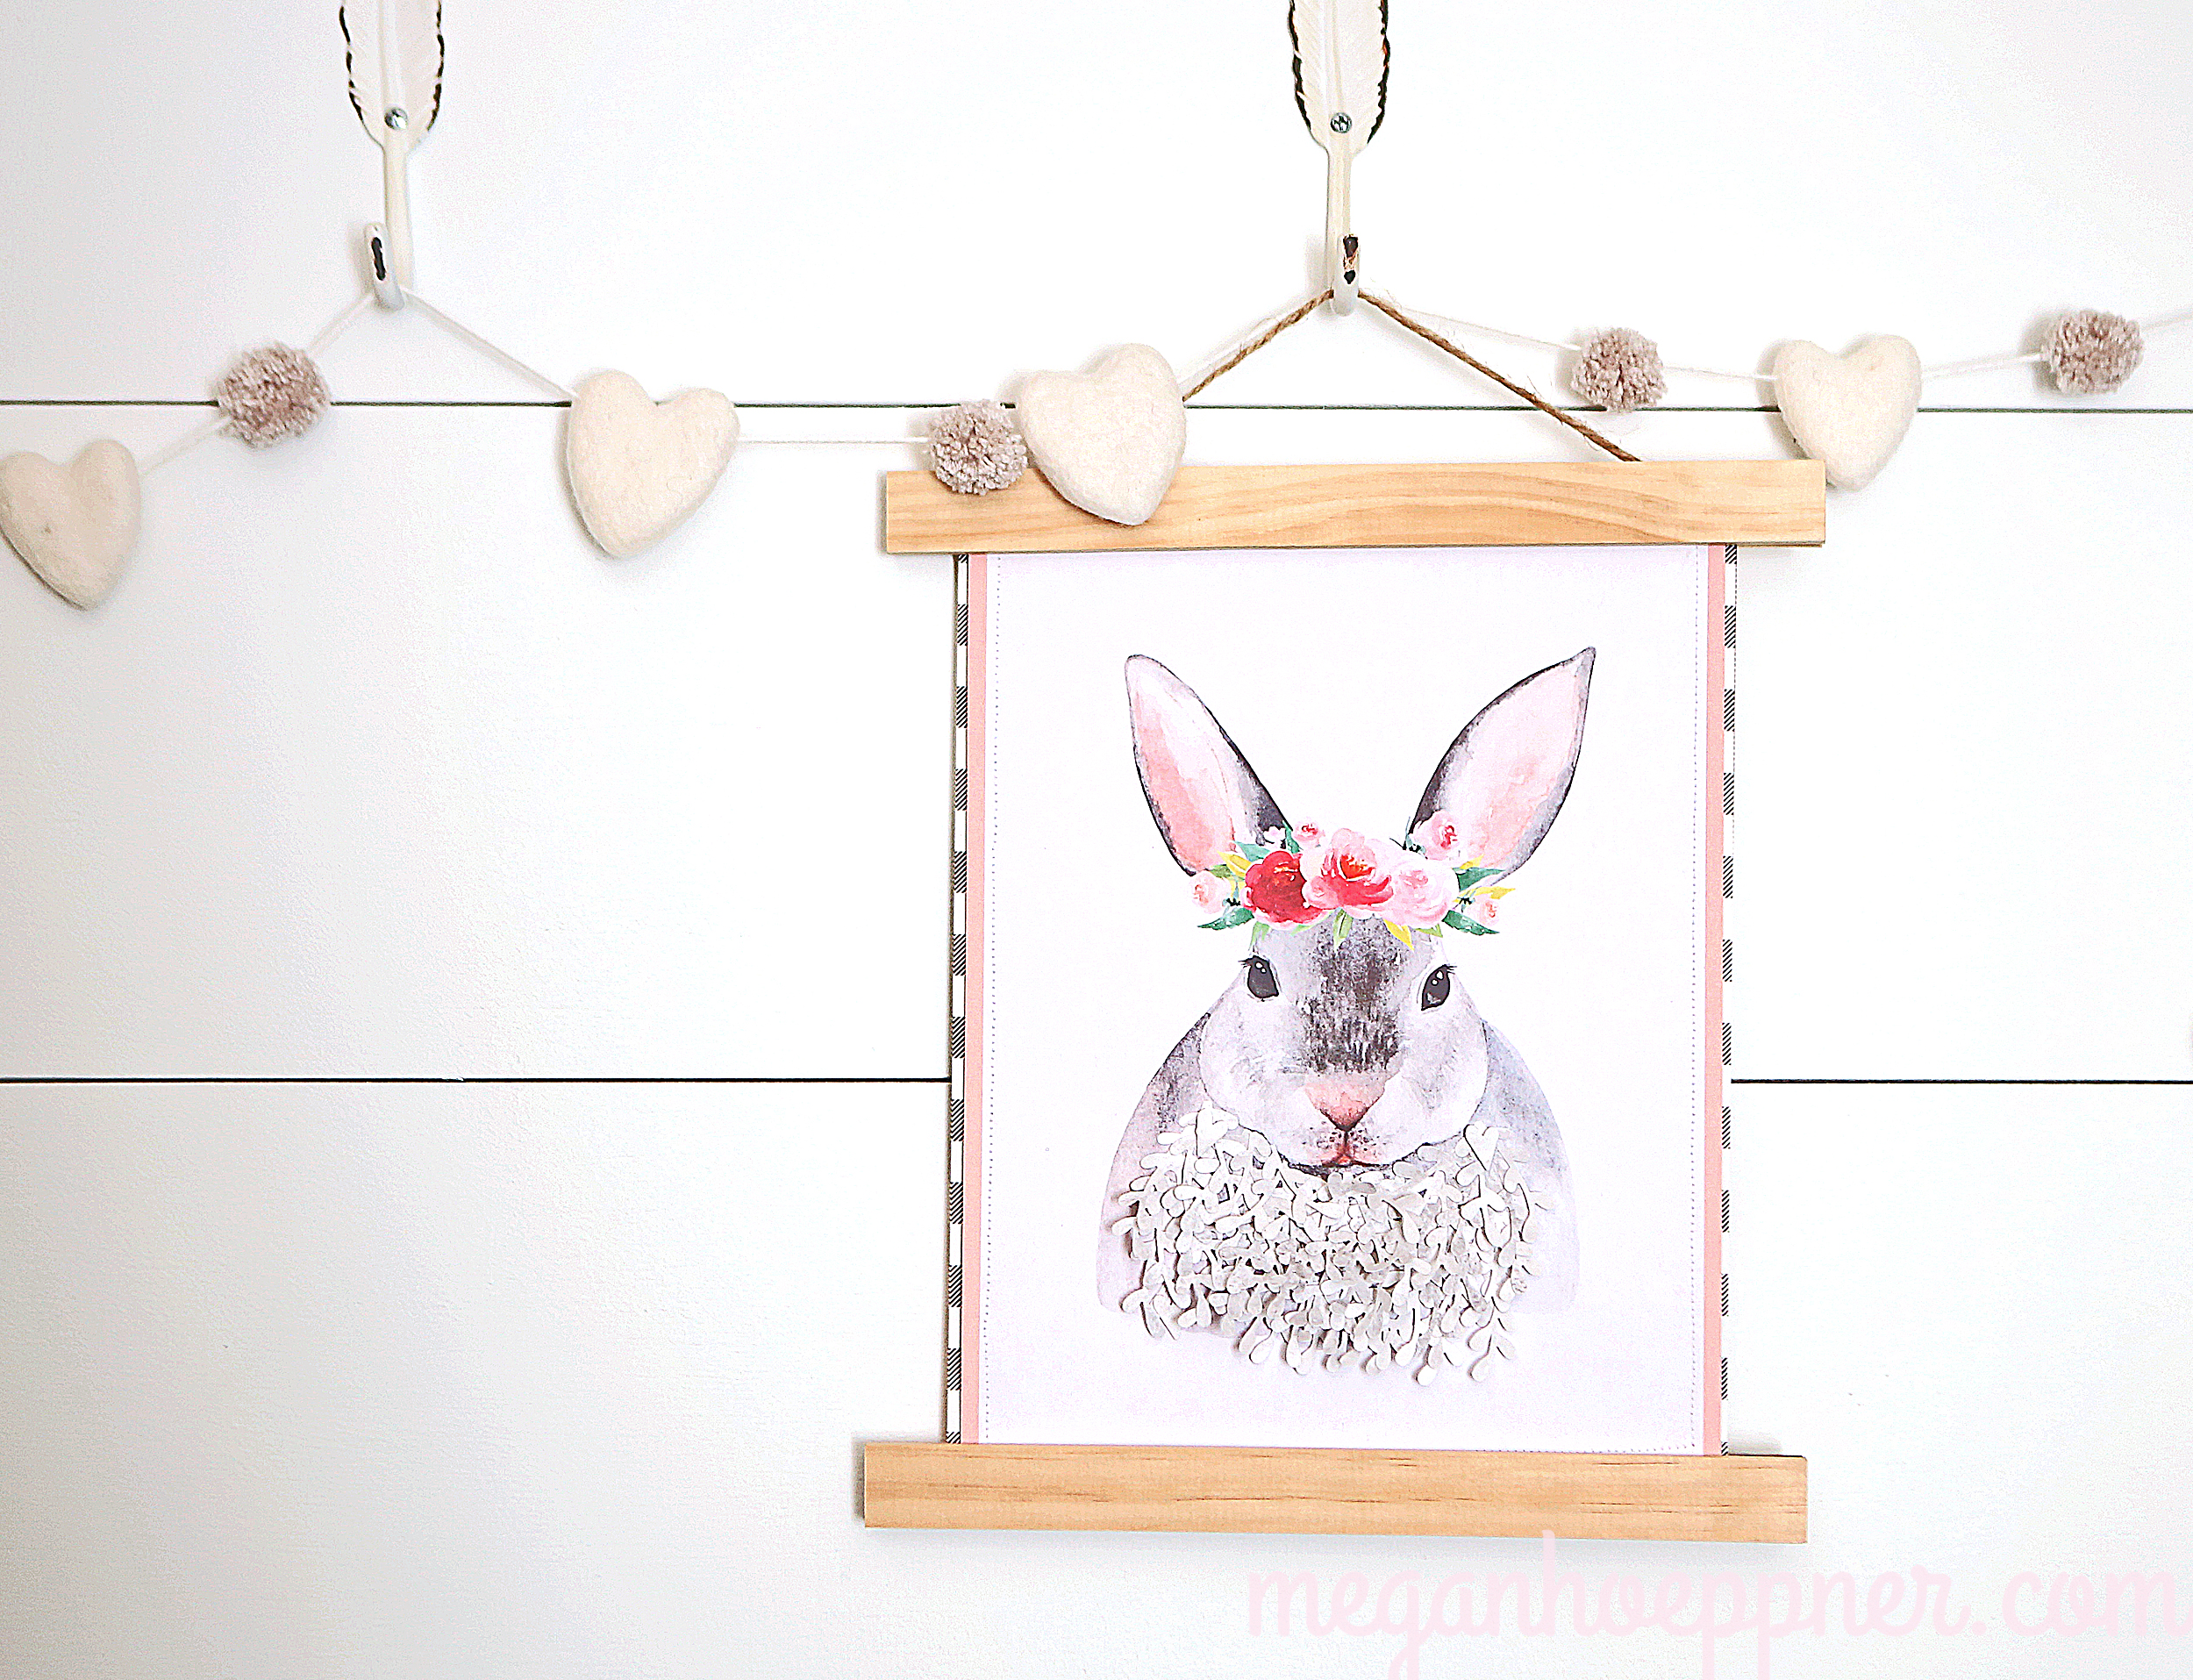
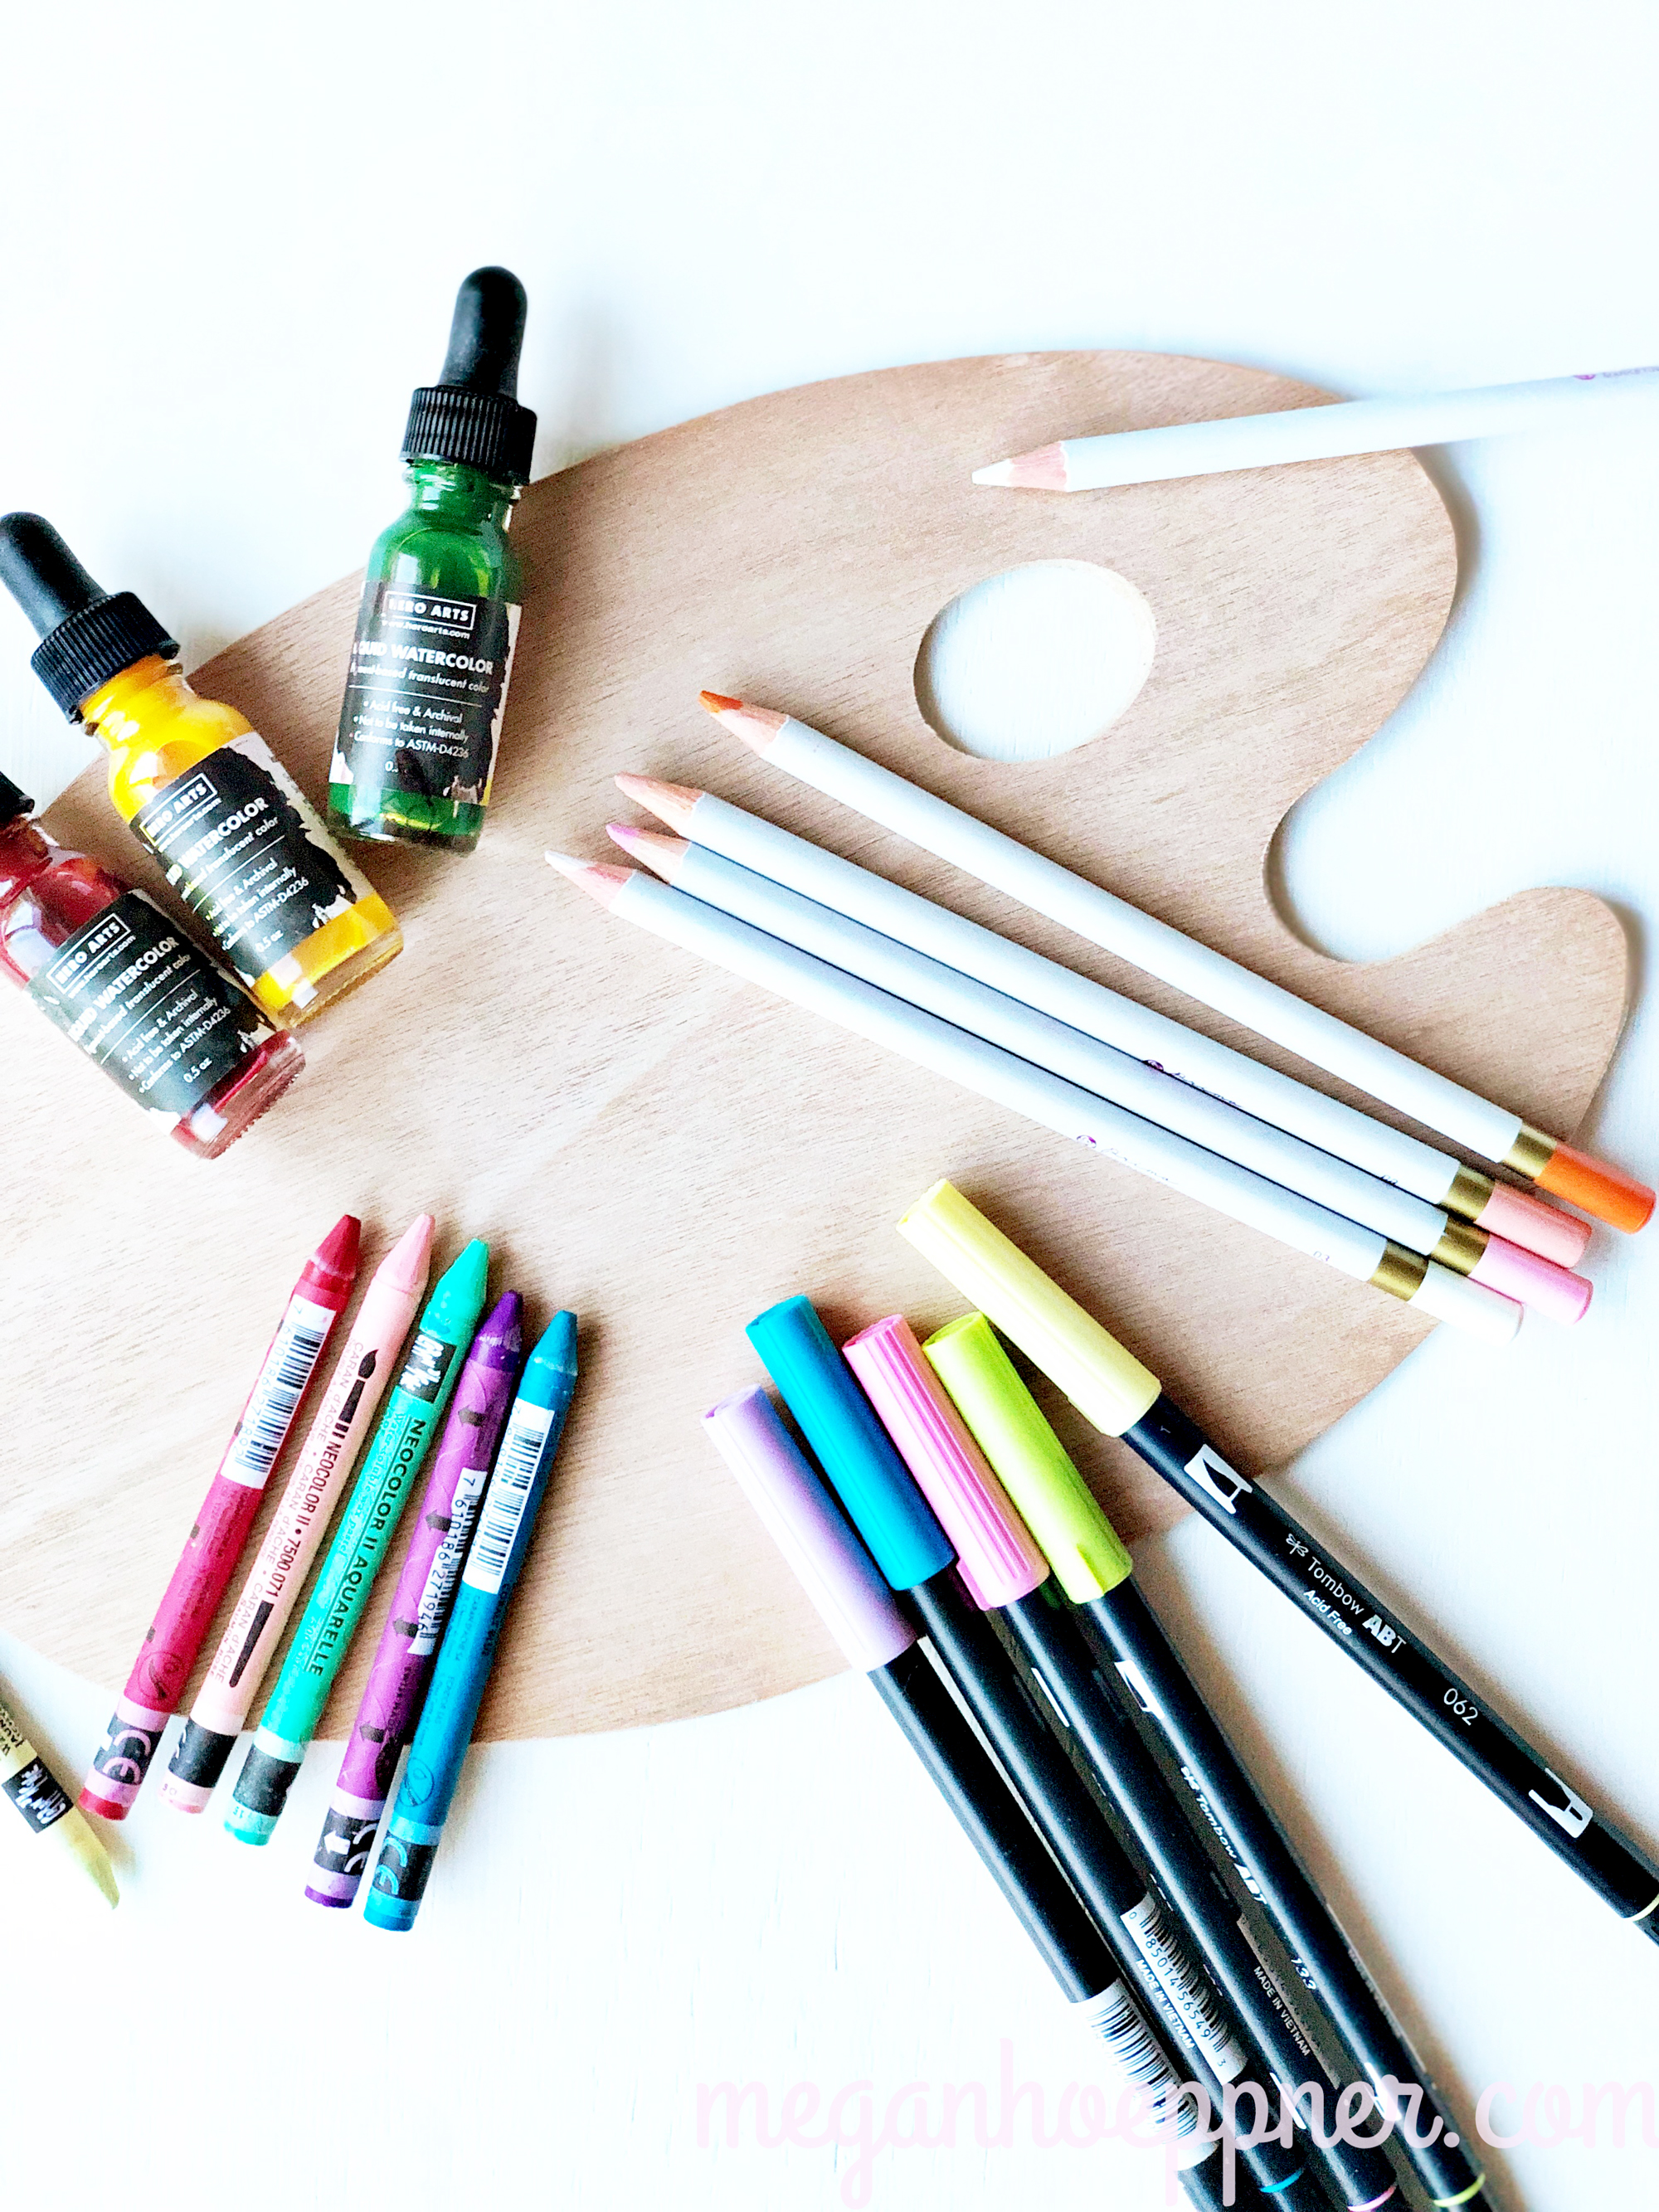
Today on Studio 5, I’m sharing easy ideas for making your own travelers notebook. I also share my favorite store-bought options (Hello, Freckled Fawn!) and insert choices in case you love the idea but don’t want to invest in the DIY aspect. Either way, I hope you’ll tune in at 11 a.m. (online and on TV [channel 5]) to learn more about these sweet creative journals/scrapbooks/sketchbooks/happiness!

IMG_8855.JPG

Thanks for having me, Studio 5. Love you guys!

IMG_8839.JPG

BE THE FIRST TO KNOW ABOUT UPCOMING CLASSES (including my DIY TN classes!)

IMG_8847 2.jpg

I love getting out in the SLC and sharing some creativity with friends. I have some great classes in the works that will be happening soon, including classes on DIY travelers notebooks (creative journals and faux leather journal covers).

Be the First to Know

Simply email me at meghoeppner@gmail.com. Nothing fancy required—you can just say add me to your class list in the subject line and I’ll do it to it.

I know you’re busy and the last thing you want is another bunch of spam filling your inbox.I assure you, that won’t be the case. In fact, I’ve been building a list for years and have yet to send a single email (#epicbusinessfail), but I intend to change that and be better about sharing my classes. I’m asked about them often and don’t do enough to get the word out. So this is my public statement to be held accountable and take the next step. :) Thanks so much for your support and interest in what I love and do!

See you at 11. Cheers!

DIY Traveler's Notebook and Inserts

Hello! Thanks for makng this a stop on your web travels today. (See what I did there? ;) ) Let’s take a look at my latest paper obsession: DIY travler’s notebook covers.

EP_summer13.jpg

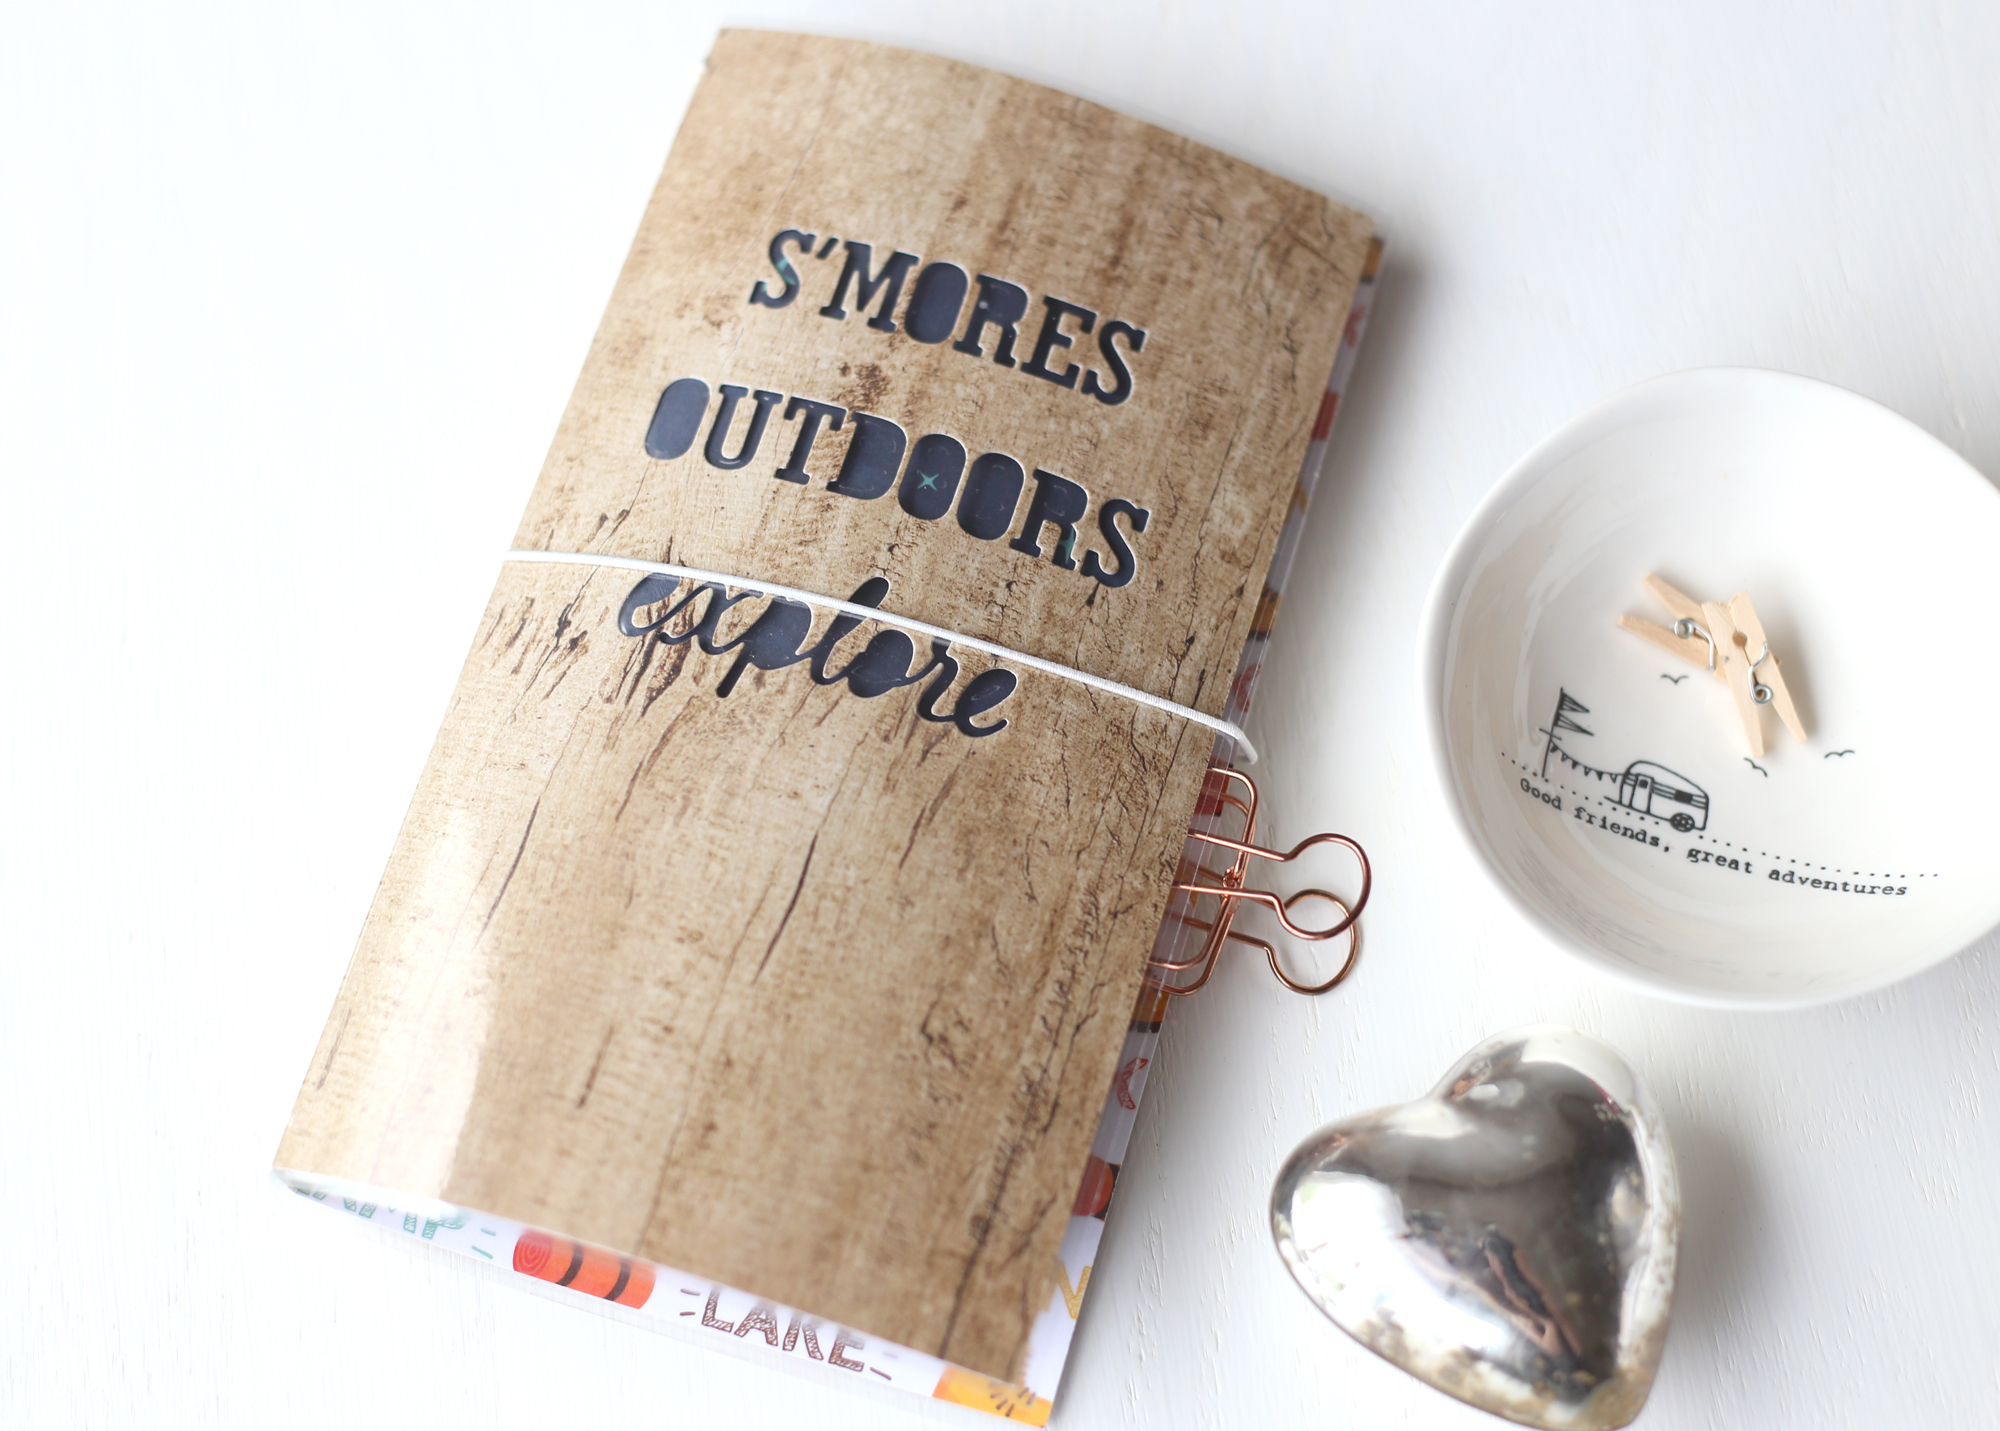
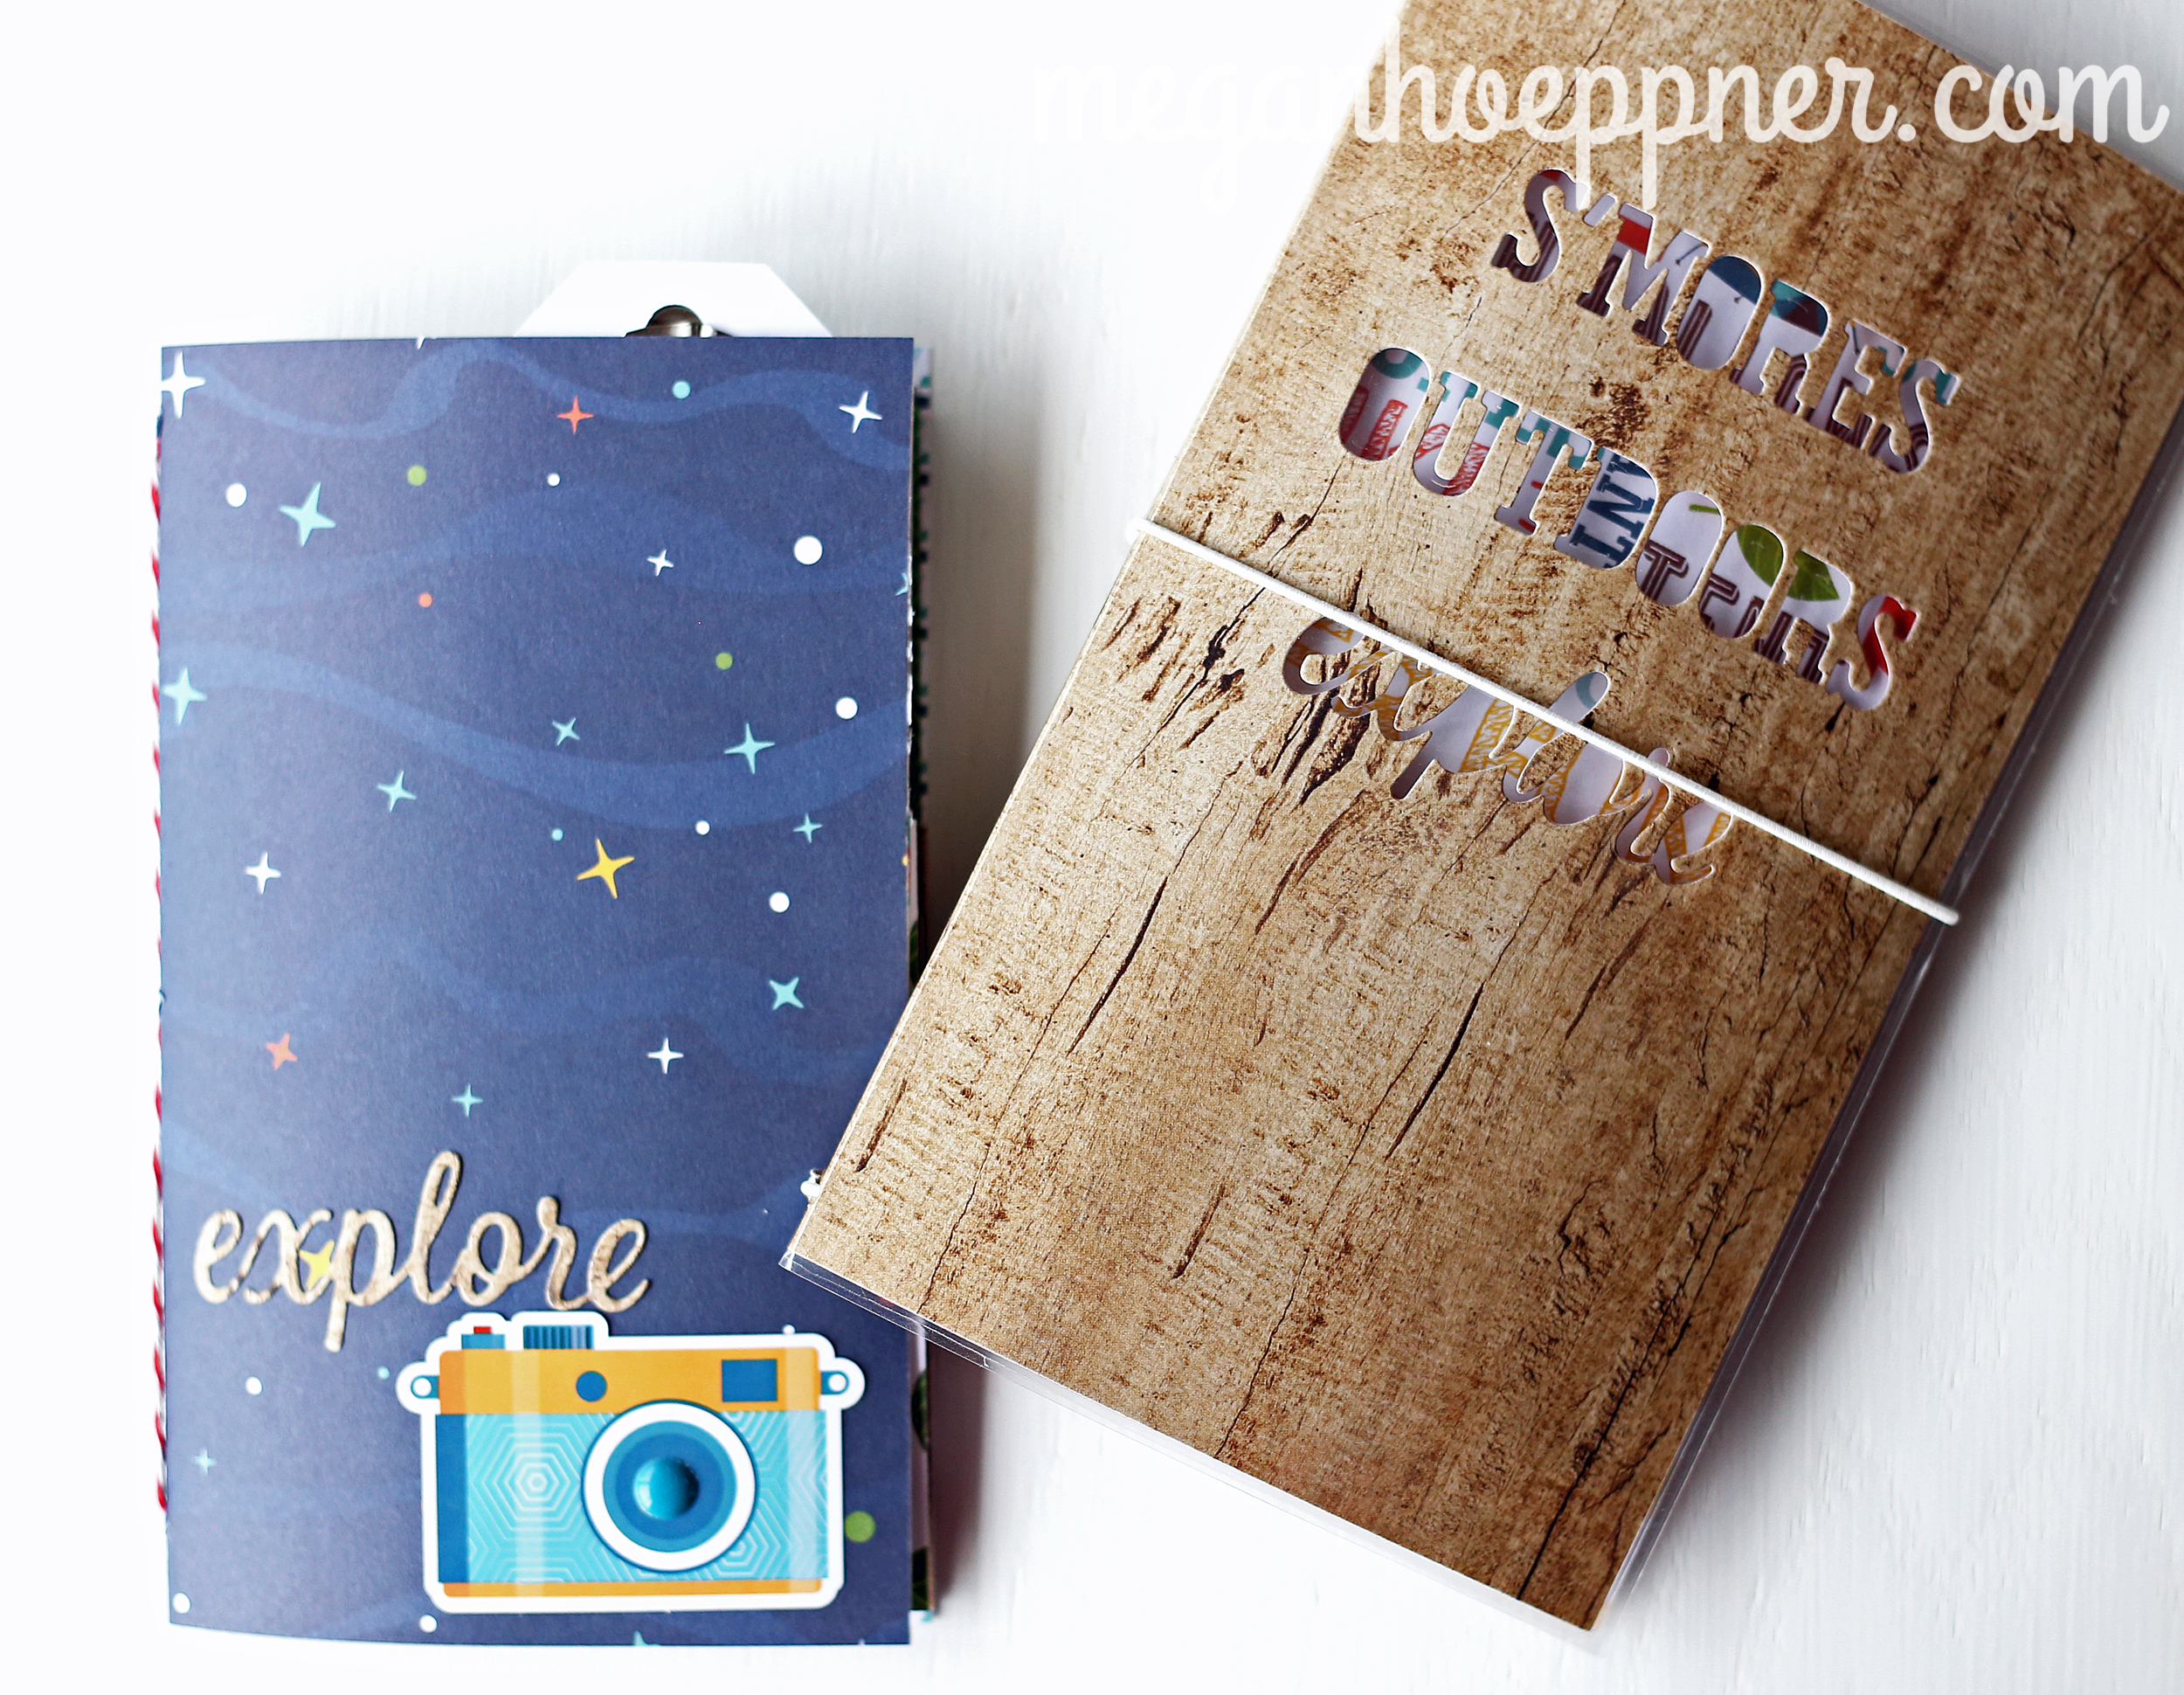
I created this project for Echo Park Paper Co., using the very delightful new Summer Adventure collection.

EP_summer1.jpg

You can read more about my process and tips for this project on the Echo Park blog.

EP_summer3.jpg

You can also see a video of the action right here OR on my YouTube channel.

I was inspired to create this project by this video on YouTube by LiveLoveScrap.

EP_summer5.jpg

DIY NOTEBOOK COVER

Step 1: Cut a piece of patterned paper to 9”x8.5” and gently fold that sheet in half (no hard creasing) so it measures 4.5”x8.5”. Open the paper back up so it's flat but with the center lightly creased/identified by your fold.

Step 2 (optional): Die cut words from your cover. (I used the Explore Outdoors Die Set by Echo Park Paper Co. to cut my outdoor phrases.)

Step 3: Pierce holes along your center fold, approximately 1/4” down from the top of the page and 1/4” up from the bottom, followed by two holes on either side of each of these holes, 1/4” over. Finally, pierce one hole approximately in the middle of the center fold line. (This should leave you with seven pierced holes (three on the top, three on the bottom, and one in the middle..)

Step 4: Score lines running parallel to your center fold, connecting your pierced holes. Fold your paper along those lines to give you your notebook shape.

Step 5: Flatten the cover back out and place it in a laminating sheet; laminate. "
NOTE: If you do not have a laminater, you can use self-laminating pouches for this step.

Step 6: Trim away any excess laminating film, re-fold your book along the scored lines to give you your cover shape, and re-pierce your holes.

Step 7: Thread elastic cording following the steps below.
NOTE: It helps to have a needle with a large eye for this, as elastic cording can be tricky to thread.


EP_summer10.jpg

A. Starting on the lower right hole, coming from the front of the cover inside, thread elastic cording, leaving approximately 6” of a tail.
NOTE: Pull your cording fairly tight, leaving only enough room to tuck a notebook insert between it and your notebook cover.

B. Thread your cording through the hole directly above the hole you just threaded. (This should have your needle now back on the outside of your cover.)

C. Thread your cording through the center hole, just to the left of the hole you came out of. Thread your needle through the center hole on the bottom of the cover. (Your needle should now, again, be on the outside of your book.)

D. Thread back in, this time using the far left hole on the bottom, followed by the far left on the top. (You should now have three bands of elastic cording running along the inside spine of your notebook cover.)

E. Your needle should now be on the outside of your notebook, at the top. Thread it back through the top, center hole. Leave approximately a 6” tail and trim the rest of your cording away from the packaging. Remove your needle.

F. Thread your first 6” tail through the needle and bring that piece of cording back through the bottom center hole. You should now have two 6” pieces of cording on the inside of your notebook cover. Meet them in the middle, tie them in a double knot, and trim away any excess. This will leave you with a total of four elastic bands running along the inside of your notebook spine.

G. Trim a new piece of elastic cording that is long enough to wrap around the center of your book one and a half times. Fold that piece in half, thread the folded side through your needle, and thread that needle through the center hole of your notebook, coming from the inside of the cover out.
NOTE: Be careful not to pull the cording all the way through the hole.

H. Leave just enough cording to wrap around your notebook as a closure, and tie a double knot to prevent the rest of the cording from pulling through the hole. Trim away any excess cording. This will leave you with a center elastic closure that will hold your notebook shut.

With your notebook cover made, you can now add DIY paper inserts.

EP_summer9.jpg

DIY NOTEBOOK INSERTS

Creating DIY notebooks to go inside your traveler’s notebook cover is easy and fun. Simply follow these quick steps:

EP_summer6.jpg

Step 1: Bundle several sheets of patterned paper and fold them in half, making sure they’re cut to measure smaller than your notebook cover when folded.

Step 2: Keep your folded sheets bundled together and pierce three holes along the center fold.

Step 3: Thread a needle with baker’s twine or embroidery floss (roughly 48” in length); thread your needle through the center hole, going from the inside of the paper bundle, out.
NOTE: Leave a tail (approximately 4”) here.

Step 4: Thread your needle through the bottom hole, coming from the outside of the bundle in. Thread back through the center hole again, going from the inside out. Thread through the top hole (outside, in). Your needle should now, again, be on the inside of your paper bundle.

Step 5: Thread your needle under the lower binding loop that’s in place and tie then tie what’s left of your thread to the original 4” tail you left in place. Tie using a double knot. Trim away any excess twin you have. Your book should now be completely bound.

EP_summer8.jpg
EP_summer1.jpg

Don’t let my lengthy list of steps fool you. These techniques really are easy to do. I just wanted to break it down to make it easier to follow for those of you reading the instructions to complete your project (vs. watching the videos). I hope I haven’t left you confused at any point in the process. If so, leave me a comment or send me an email, and I will happily answer any questions you have.

EP_summer4.jpg

I can say from my own experience and that of students I’ve taught this to—once you create these, you won’t want to stop. You’ll find yourself making books for your family and friends, too. It’s such a happy process and end results. I hope you enjoy this technique and idea.

Happy travels!


Advent Books: A Holiday Family Tradition

This is the story of how I proudly became a bag lady. It starts off as kind of a downer. You know, losing my job and all, but it has a happy ending. Promise. And it’s an ending I hope you’ll love enough to work into your own holiday celebrating.

books-mags.jpg

THE STORY OF OUR ADVENT BOOKS TRADITION

Once upon a time, there was a mama who lost her job of 8+ years. This came just before the holidays, adding to the stress and sadness of it all. At home, she had a new(ish) one-year-old baby girl, making the Christmas season more magical than ever. Unfortunately, it also happened to make the layoff that much more stressful. How was Mama Meg going to make Christmas happen when her funds were just cut in a major way?

Okay, we’ll pause the fairytale right here to say I know what you’re thinking. You’re thinking, Mama Meg, your tiny tot couldn’t care less about presents beneath the tree. Hell, Santa could deliver her an empty cereal box and she’d be overjoyed. Yes, I now know this to be true. But, as a relatively new mom, I wanted everything to be perfect and naively thought that meant pretty presents beneath the tree. Soooo… you’ll have to go with me on this one. ;)

Phew! Glad we got that cleared up. Let’s continue.

Suddenly, Mama Meg was without the money to enjoy extra holiday outings and gifts and all of the things. “Whatever will I do for my little princess,” Mama Meg sighed.

Luckily, MM’s current predicament wasn't the worst thing in the world. You see, MM enjoys a challenge and an opportunity to use her creativity to problem solve, and that’s just what she set to do. She would make the holiday season merry and bright one way or another.

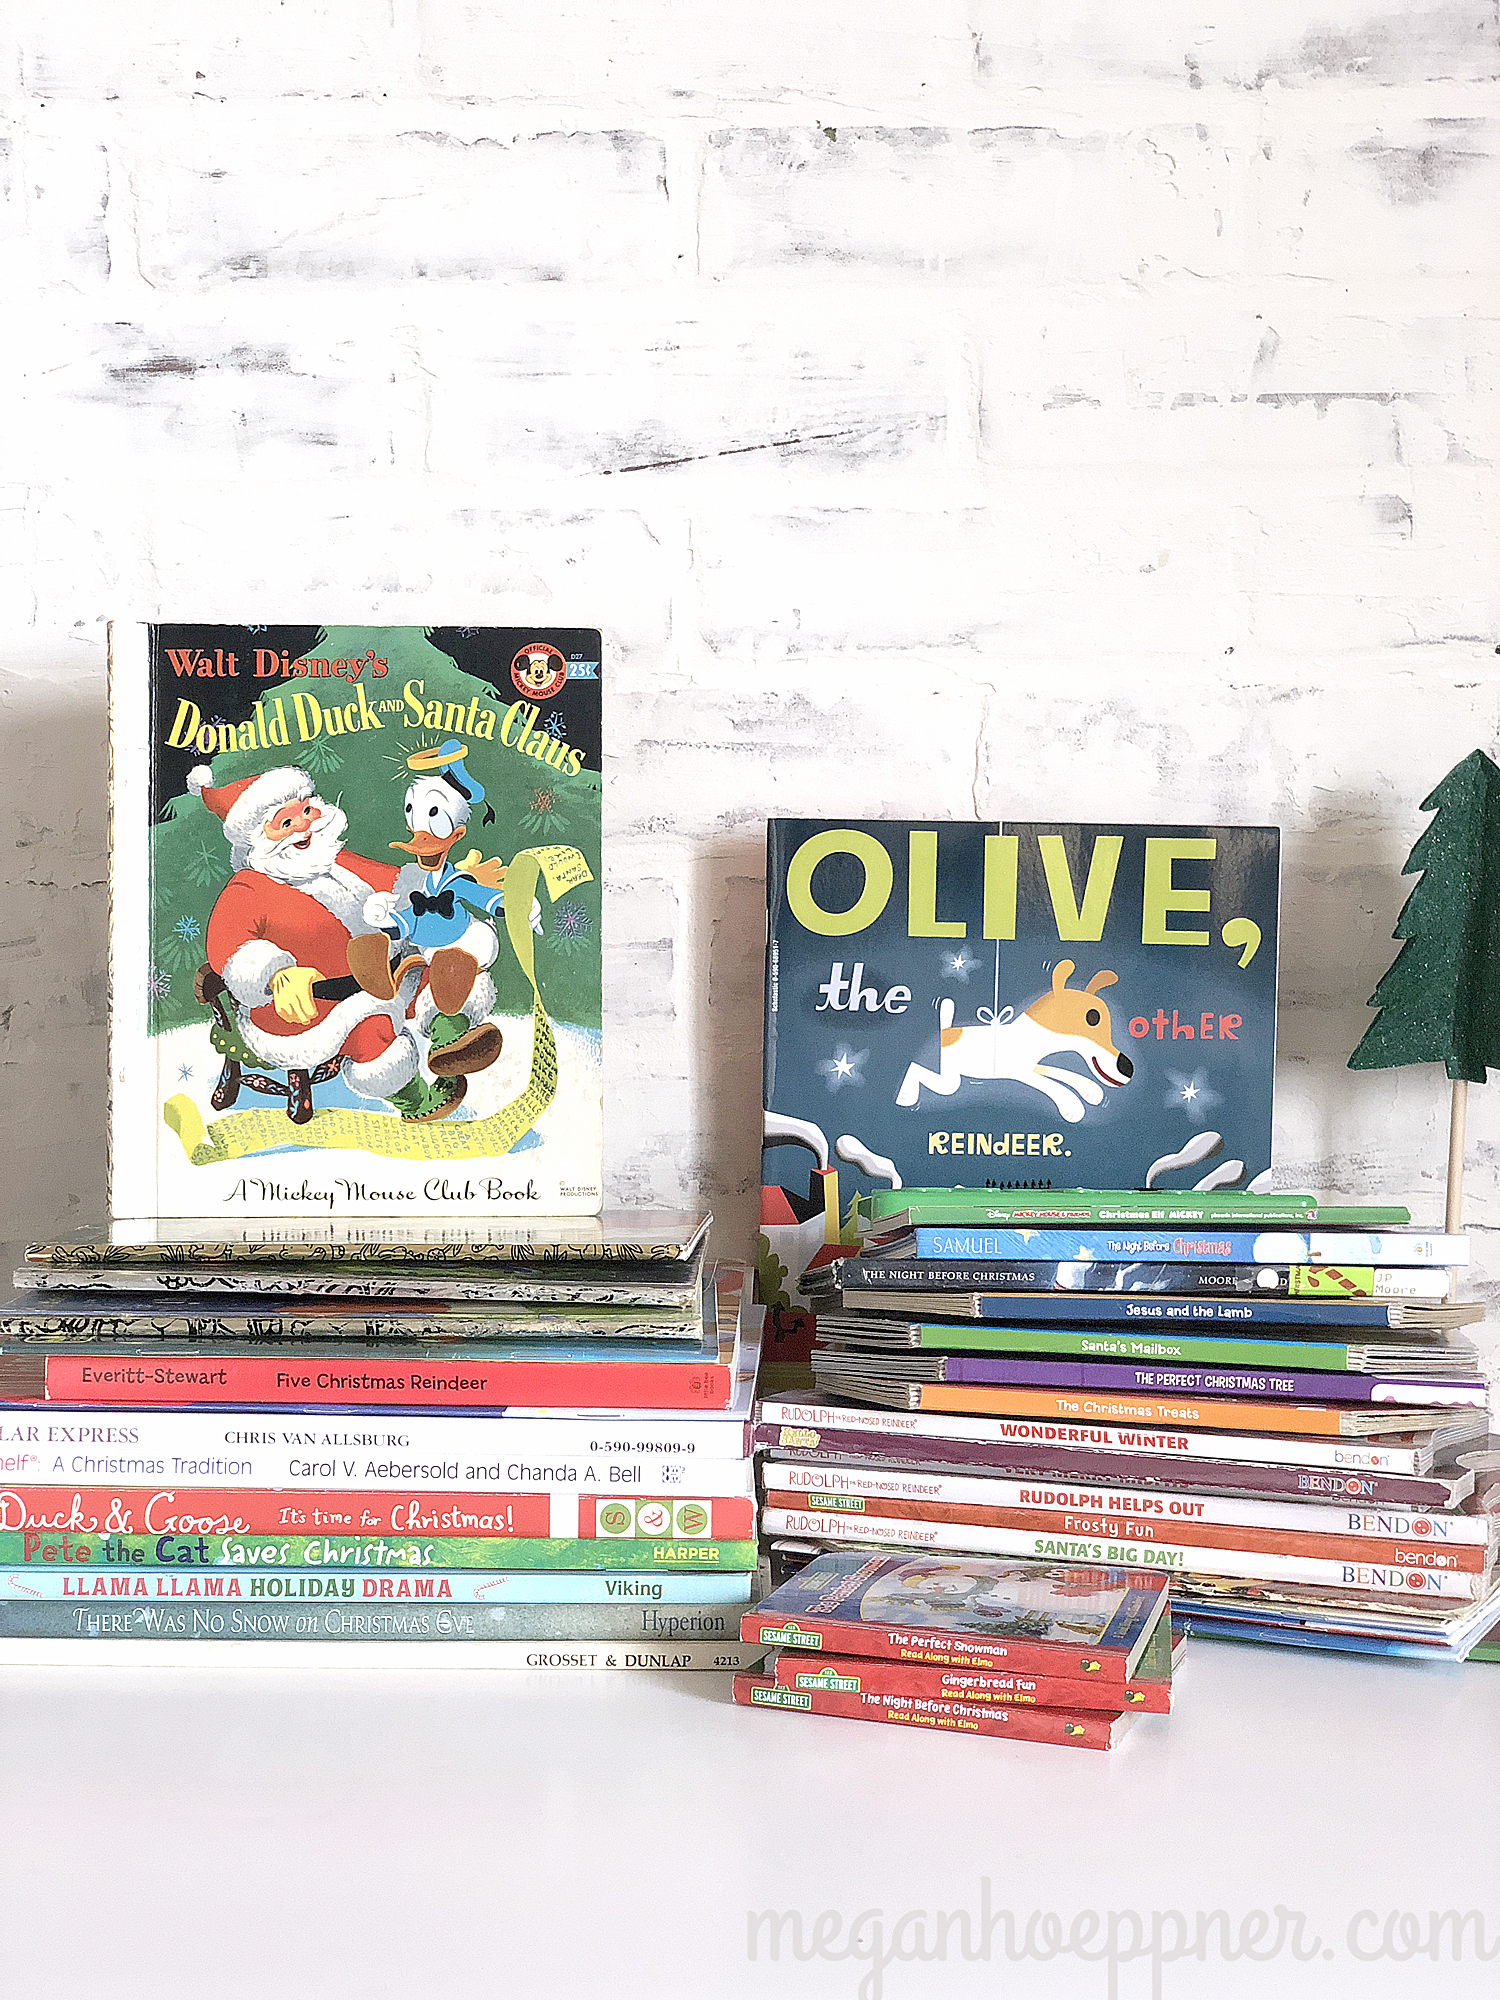
One day, while in ye olde Target shop, MM happened upon Christmas books that only cost $1. This was back in the magical days of the DOLLAR Spot, when all items were $1 in this part of the store. No, it’s true. This isn’t lore. Aww… the good old days! ;) Seeing the affordable book, MM had an idea. “I’ll give my princess the gift of books!” One Christmas book each night in December, to be exact. Just like that, the Advent Books tradition was born!

You might be wondering, did MM and Princess M live happily ever after? You bet! They even had a jr. princess join the castle chaos, making the Advent Book tradition all the more magical. Here’s what it’s all about:

books-bags2.jpg

ADVENT BOOK BAGS

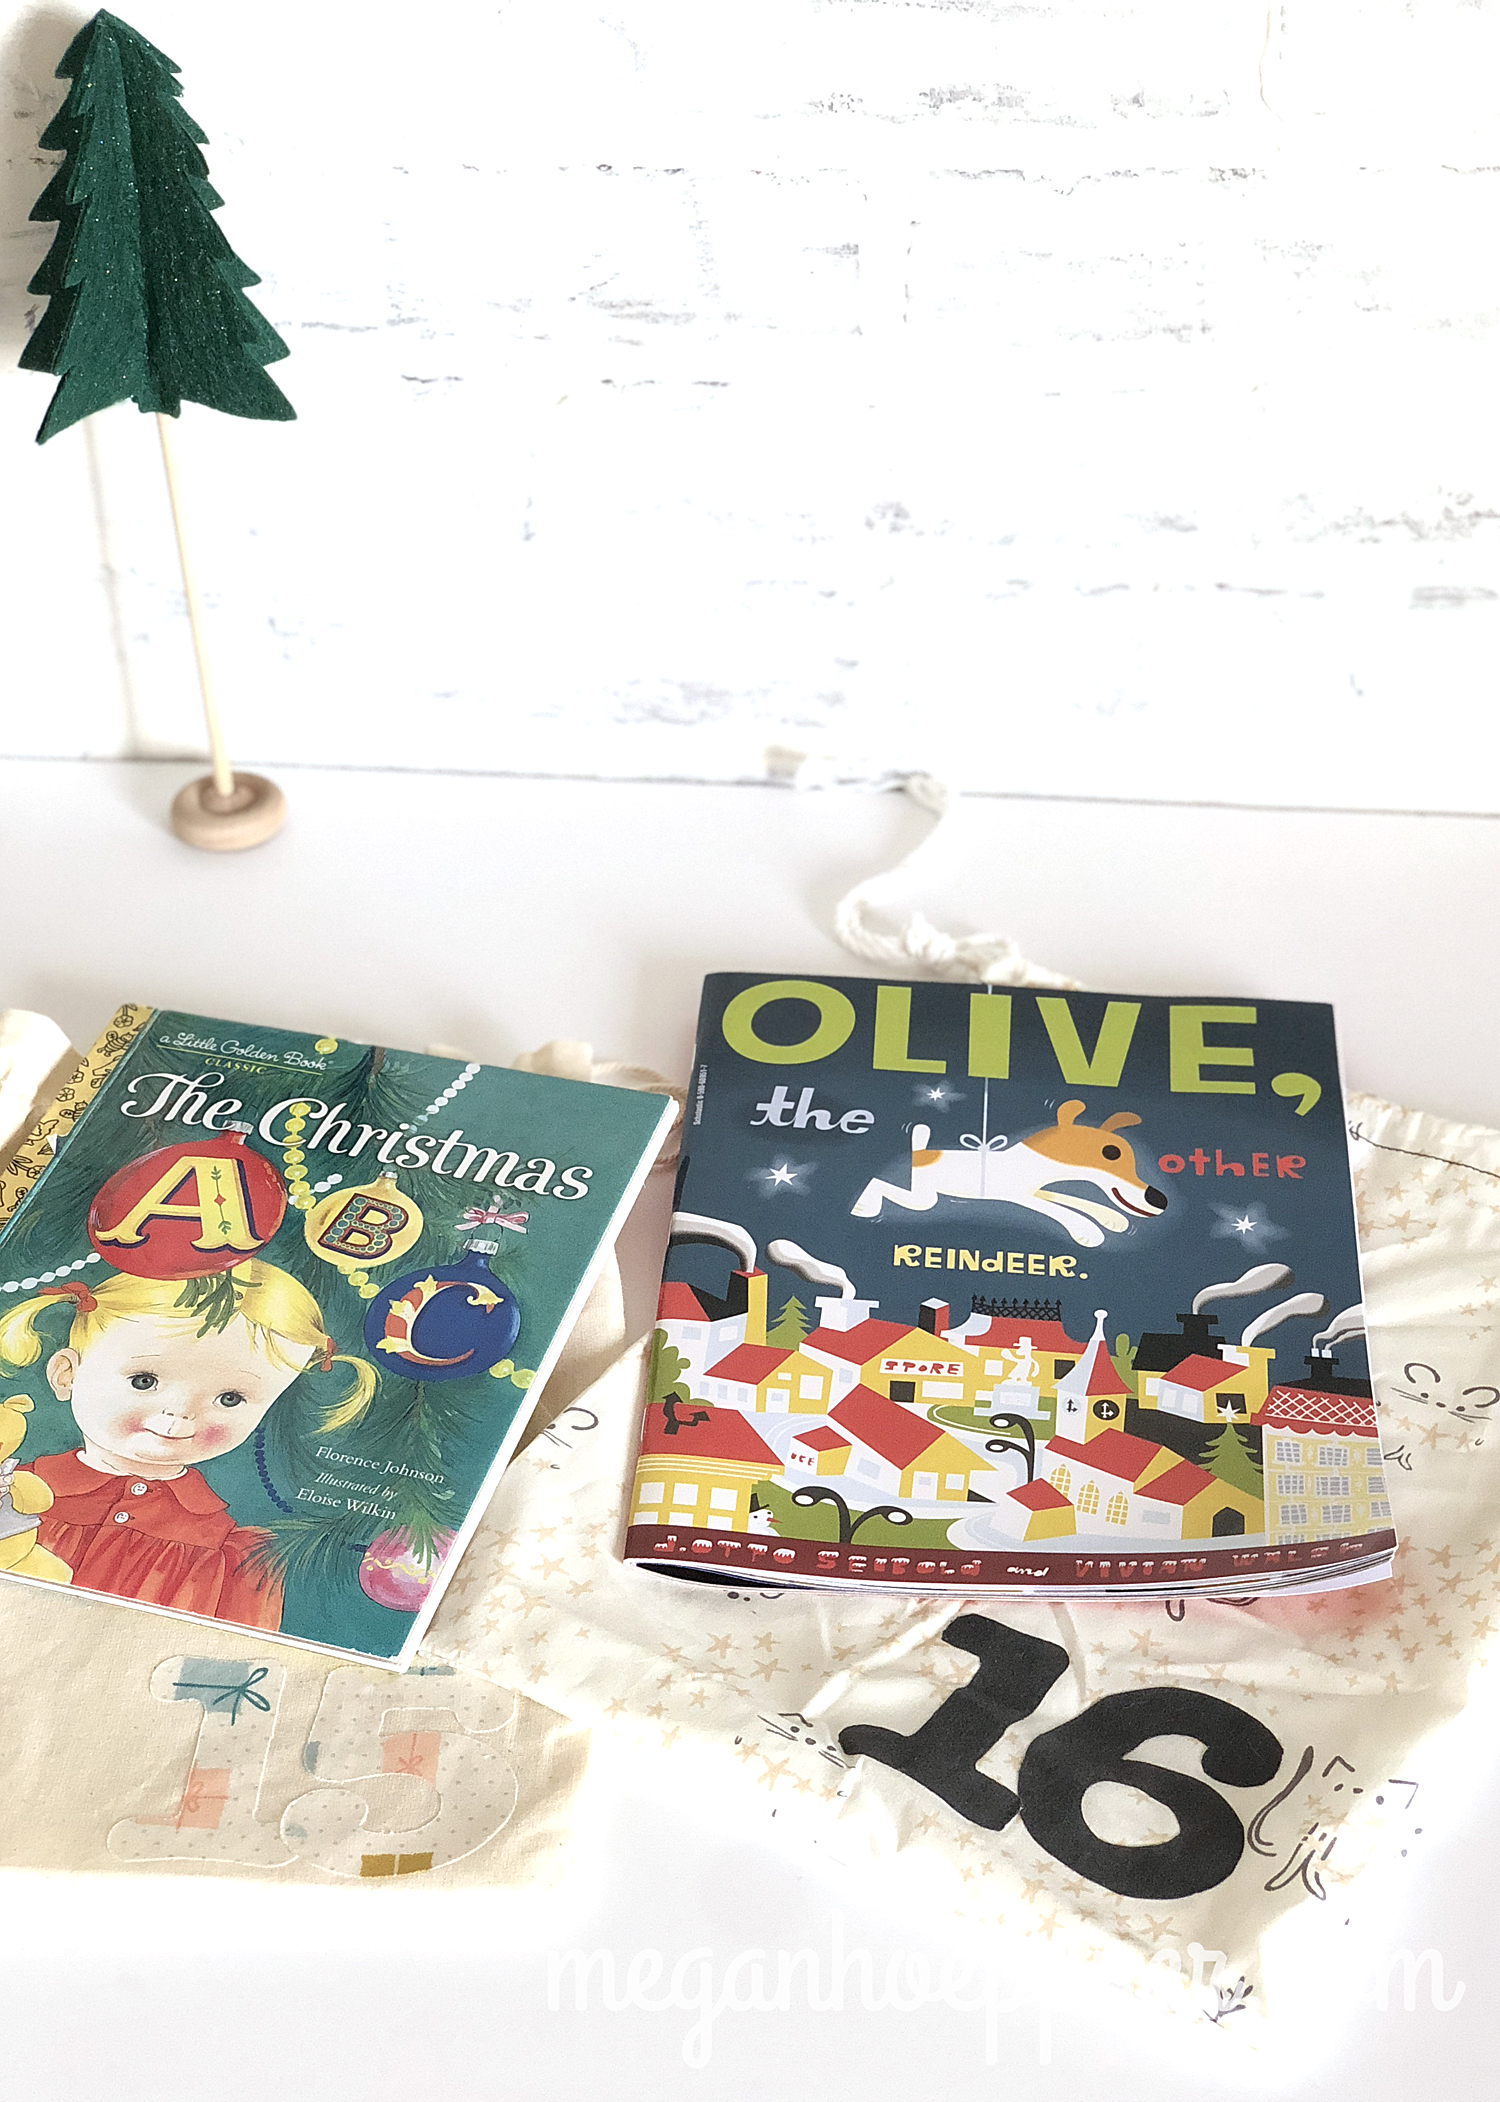
You can either create bags from cute Christmas fabric or purchase bags. And that’s if you want bags at all. For the first couple of years, I used old shirt boxes and wrapping paper. I introduced the bags when I had the funds to do so, and I’m so glad I did. They can be used year after year, which makes this project so easy to set up (with far less waste!)

books-bags1.jpg

I did a combo of handmade bags and amazon-bought canvas bags. The fun thing about the handmade is you can make them in any color scheme you want. I went with pastel Christmas to complement the trees in my girls’ rooms.

books_fabric.jpg

To my bags, I added die cut numbers (actually the same numbers I used when I made my monthly onesies). I simply ironed the numbers on by first treating the back of them with a fusible iron-on webbing.

FINDING AFFORDABLE BOOKS

Books can be expensive. I get it if that’s the first concern to jump to mind when reading this. You’re absolutely right! But there are resources for affordable options. Some of my favorites include:

books-books.jpg
  • Target. While the “Dollar Spot” may be a thing of the past, they still have the “One Spot,” which often includes $1 board books. These are especially good for younger babes, but even school-aged kids can appreciate them.

  • Dollar Tree (or your version of a dollar store). They have an entire book and coloring book section. Many of our books came from here.

  • FB area yard sale pages. Warning: These can become highly addictive. It’s so much fun finding a person looking to offload their old books. I scored some AWESOME vintage Christmas books this way.

  • Traditional yard sales. These are harder to come by this time of year, at least in these parts, but if you live in warmer waters (lucky!), this is another great place to score stories.

  • Library sales. Once a year, our city library has a massive book sale. They practically give their books away at these, making it a gold mine for this project.

  • Schoolastic book orders. If you have school-age children, the little pamphlets that come home with your kiddos are a honey hole of bargain books. I updated our collection quite a bit when Maggie started kindergarten (and kindermusik).

books_bags.jpg

Of course, you don’t have to rummage and scrounge as I did to make this fairytale a reality. That’s just the boat I found myself in when I set this tradition up. Anymore, I LOVE to visit local book stores and add a new book or two each year. It helps keep them age appropriate for Maggie, too. One of my favorite spots here in Salt Lake is Storybook Nook at Gardner Village. If you’ve seen You’ve Got Mail, it’s kind of like that. The owner loves books and brings in the cutest stories. There’s always a special seasonal assortment on display just as you enter the store.

A PLAN IN THE BOOKS

Now that you have your books, it’s time for a plan. Ask yourself if there are any other holiday traditions that could impact your book opening order. For example, I always give my girls an ornament on Dec. 1, which just happens to be Book Bag #1, so I put the smaller ornament bags in Book Bag #1.

books-ornaments.jpg
books-ornaments1.jpg

Book Bag #1 also contains our Elf on the Shelf book. It’s something we get going at the first of the month, so it makes sense to have it first.

books-elf.jpg

On Christmas Eve, we read The Night Before Christmas and open new jammies, so that book and the jams can be found in Book Bag #24.

books_PJs.jpg

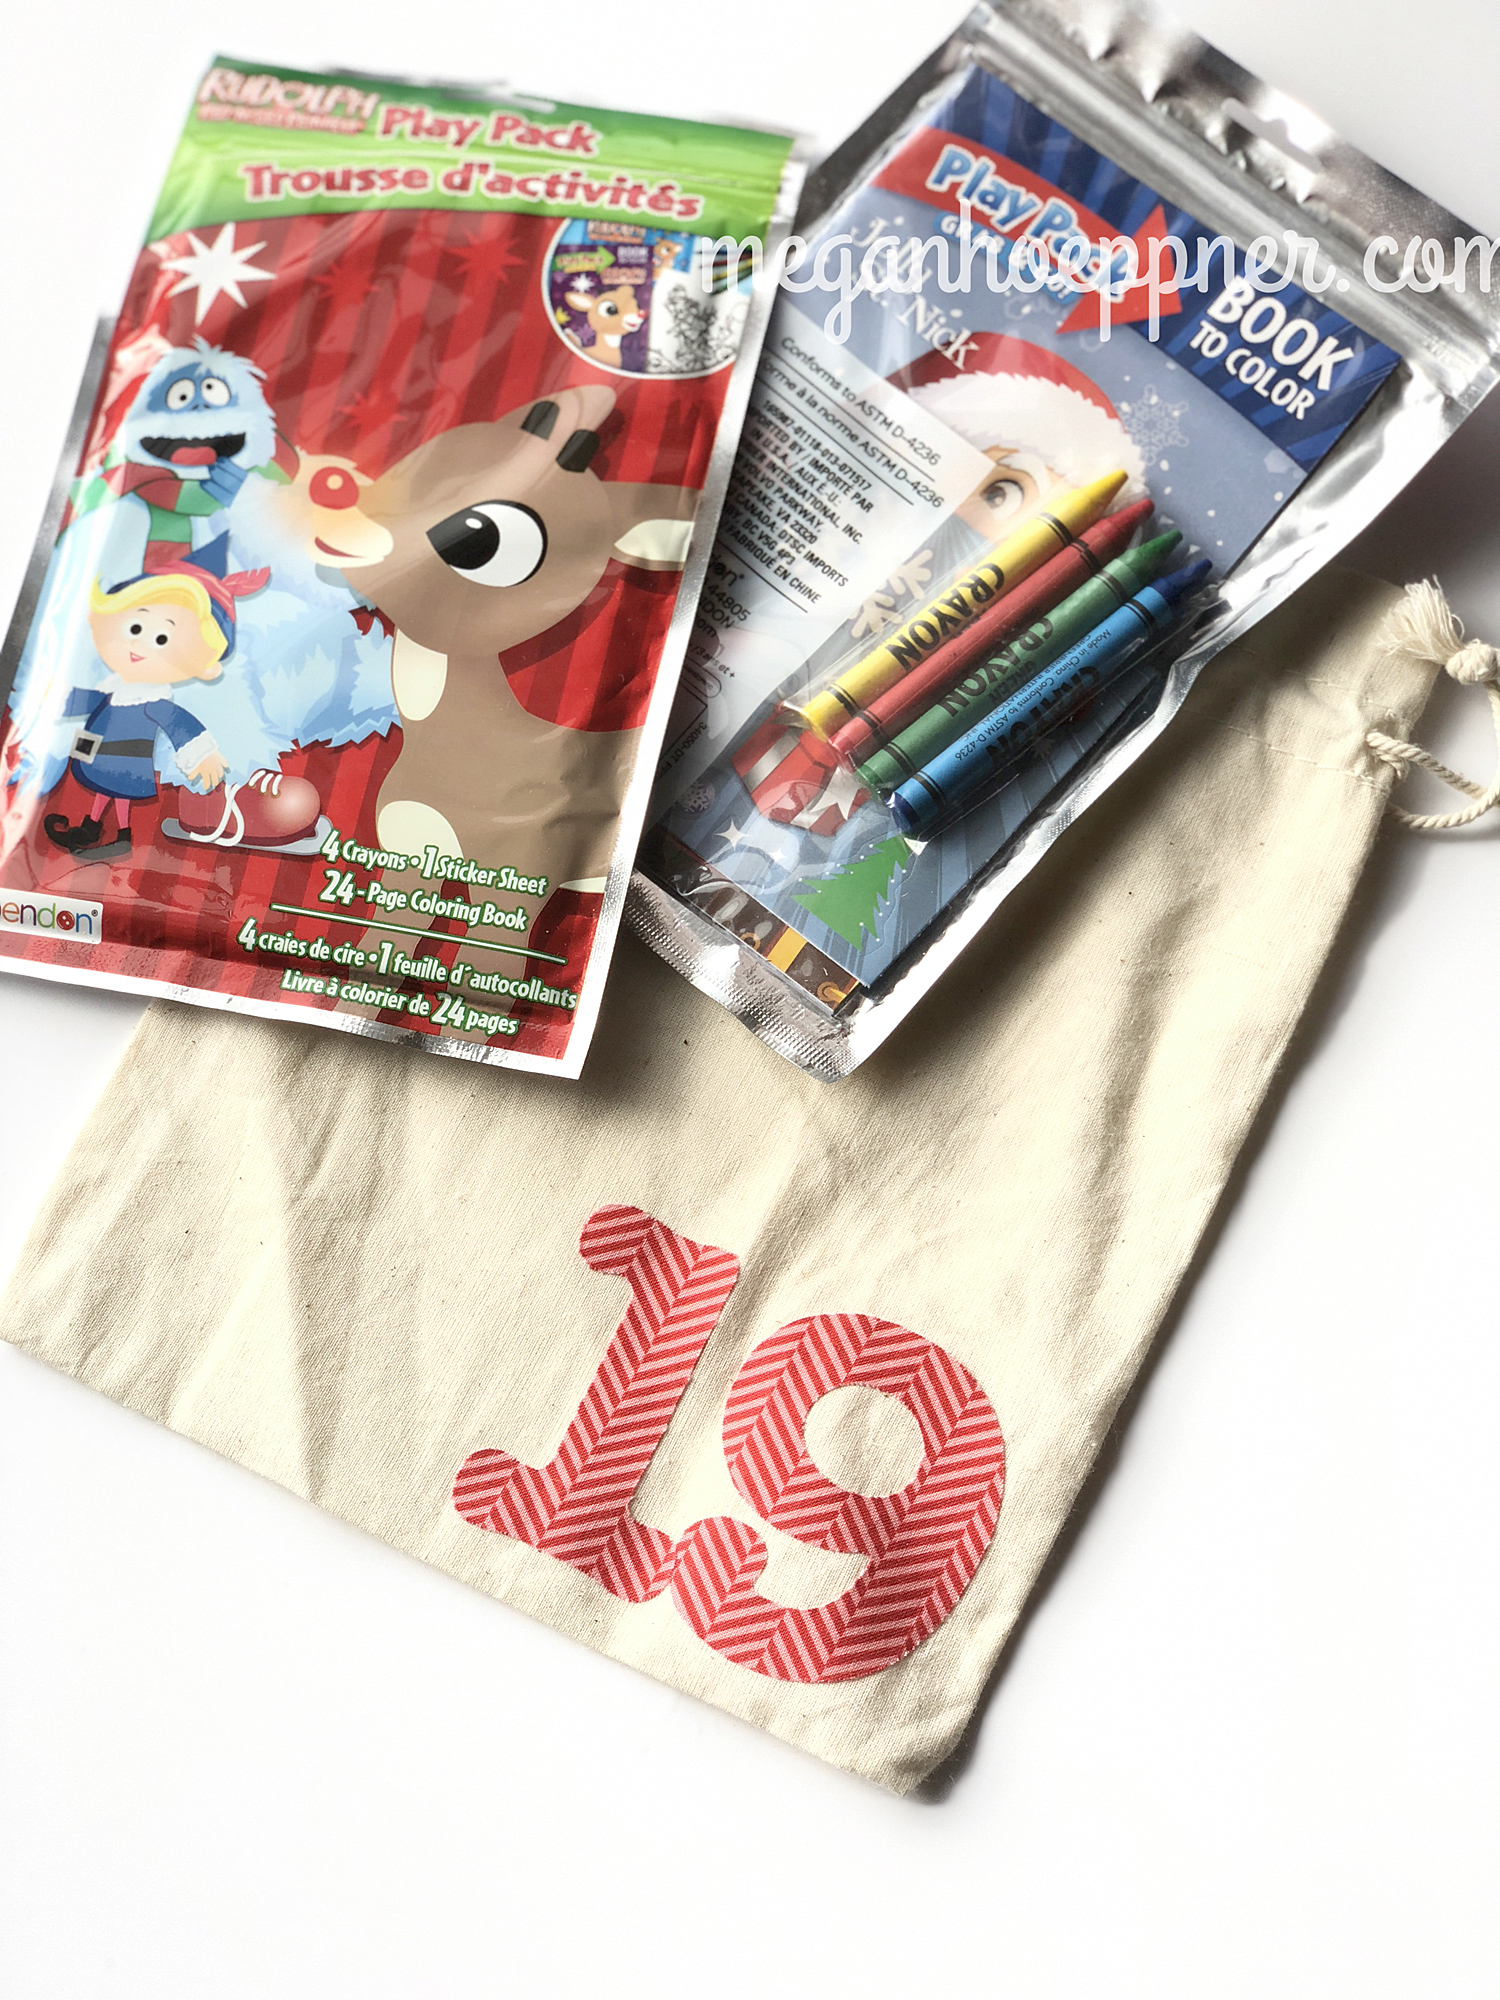
Occasionally, I work other surprises into the bag, such as little coloring books or a holiday movie. I try to do this rarely so I don’t have to replenish my stock from year to year, but it is a nice change of pace on weekend nights.

books-games.jpg

WHERE WE READ

Each of my girls have their own small Christmas trees in their rooms, so we put the books ‘neath their trees. It makes it super easy to open one at bedtime and snuggle in for story time.

books_tree.jpg

Now that I have two kiddos, I split the books. Half are under one tree and the other half are under the other. We just move from room to room to read. Perhaps I’ll eventually have enough for each kiddo to open a book each night, but I don’t think that’s necessary. Opening and reading together is fun. As Santa would say, sharing is caring!

THE HEALTHY (AND CHEAP!) ADVENT APPROACH

No chocolate or expensive trinkets here. Just books that we can read year after year. Seems like a win to me. Okay, so maybe I also sneak treats in the bags from time to time, but that’s totally optional, you know, if you have self control and all. ;)

I’ve wanted to blog about this tradition for years but never seemed to find the time. Do I have time today? No, not really. But it’s high time I share. I already have my cute neighbor now doing this with her kiddos. Want to join us? We’d love to have you in our Advent Books club. :)

books-mags.jpg

What are your holiday traditions? I’m a sucka for the tradition and love reading about what others do. Drop me a line here or on IG or FB if you have something fun to share. Not fun? I’ll pass. (I kid. I kid. I’d love to read anything you do that makes the holiday feel like “the holidays” to you.)

Thanks for seeing this story to its end. I hope it leaves you feeling inspired.

Cheers!
Megan

Make a Bitty Haunted House Decoration

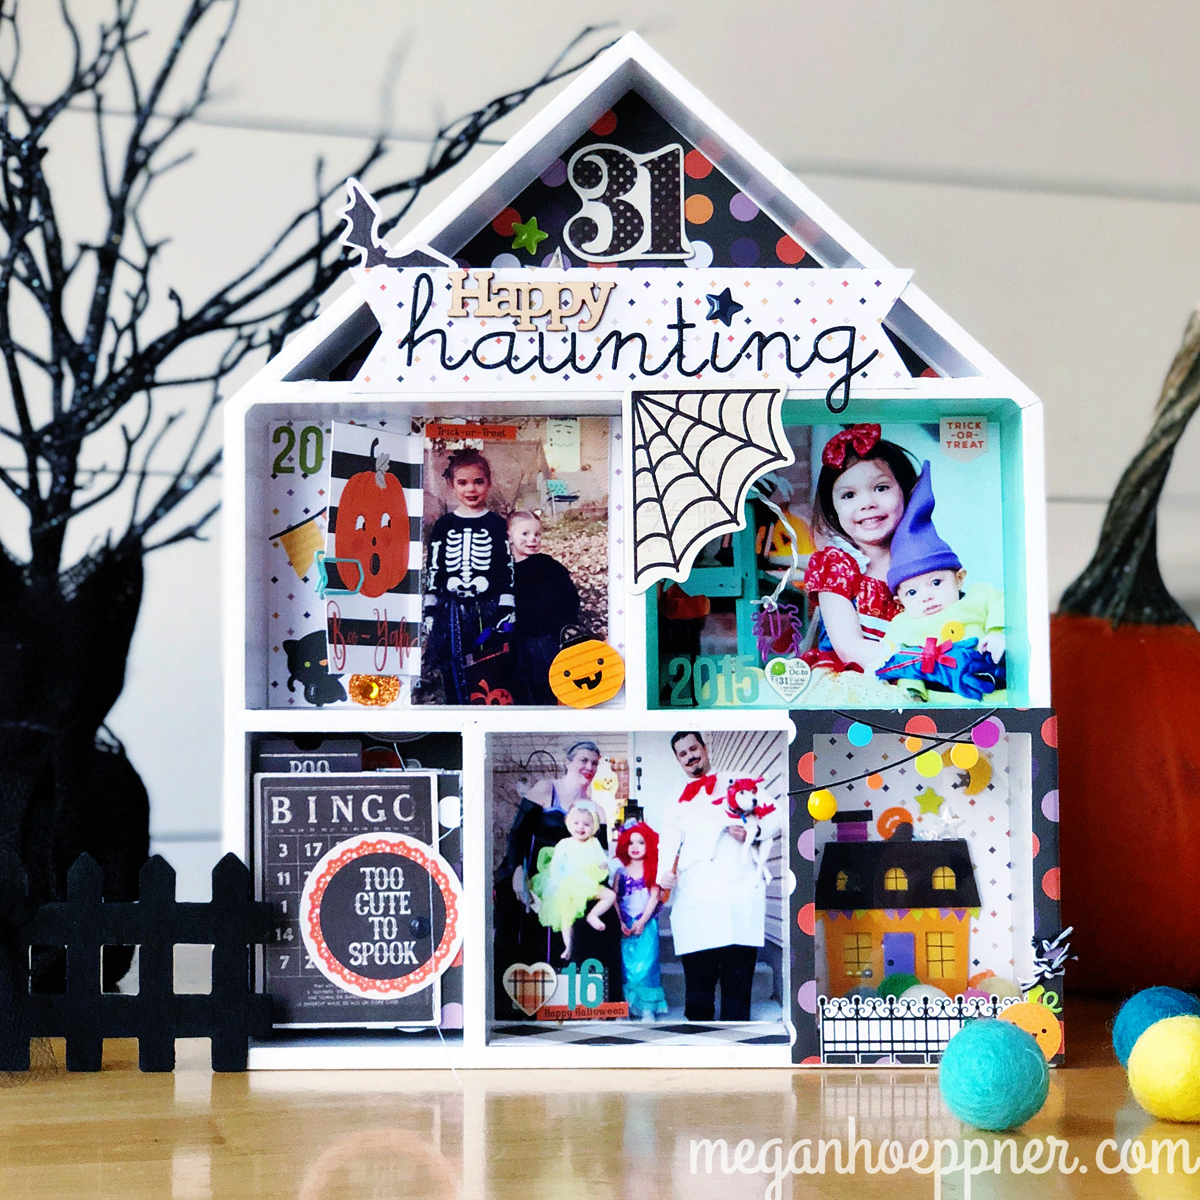
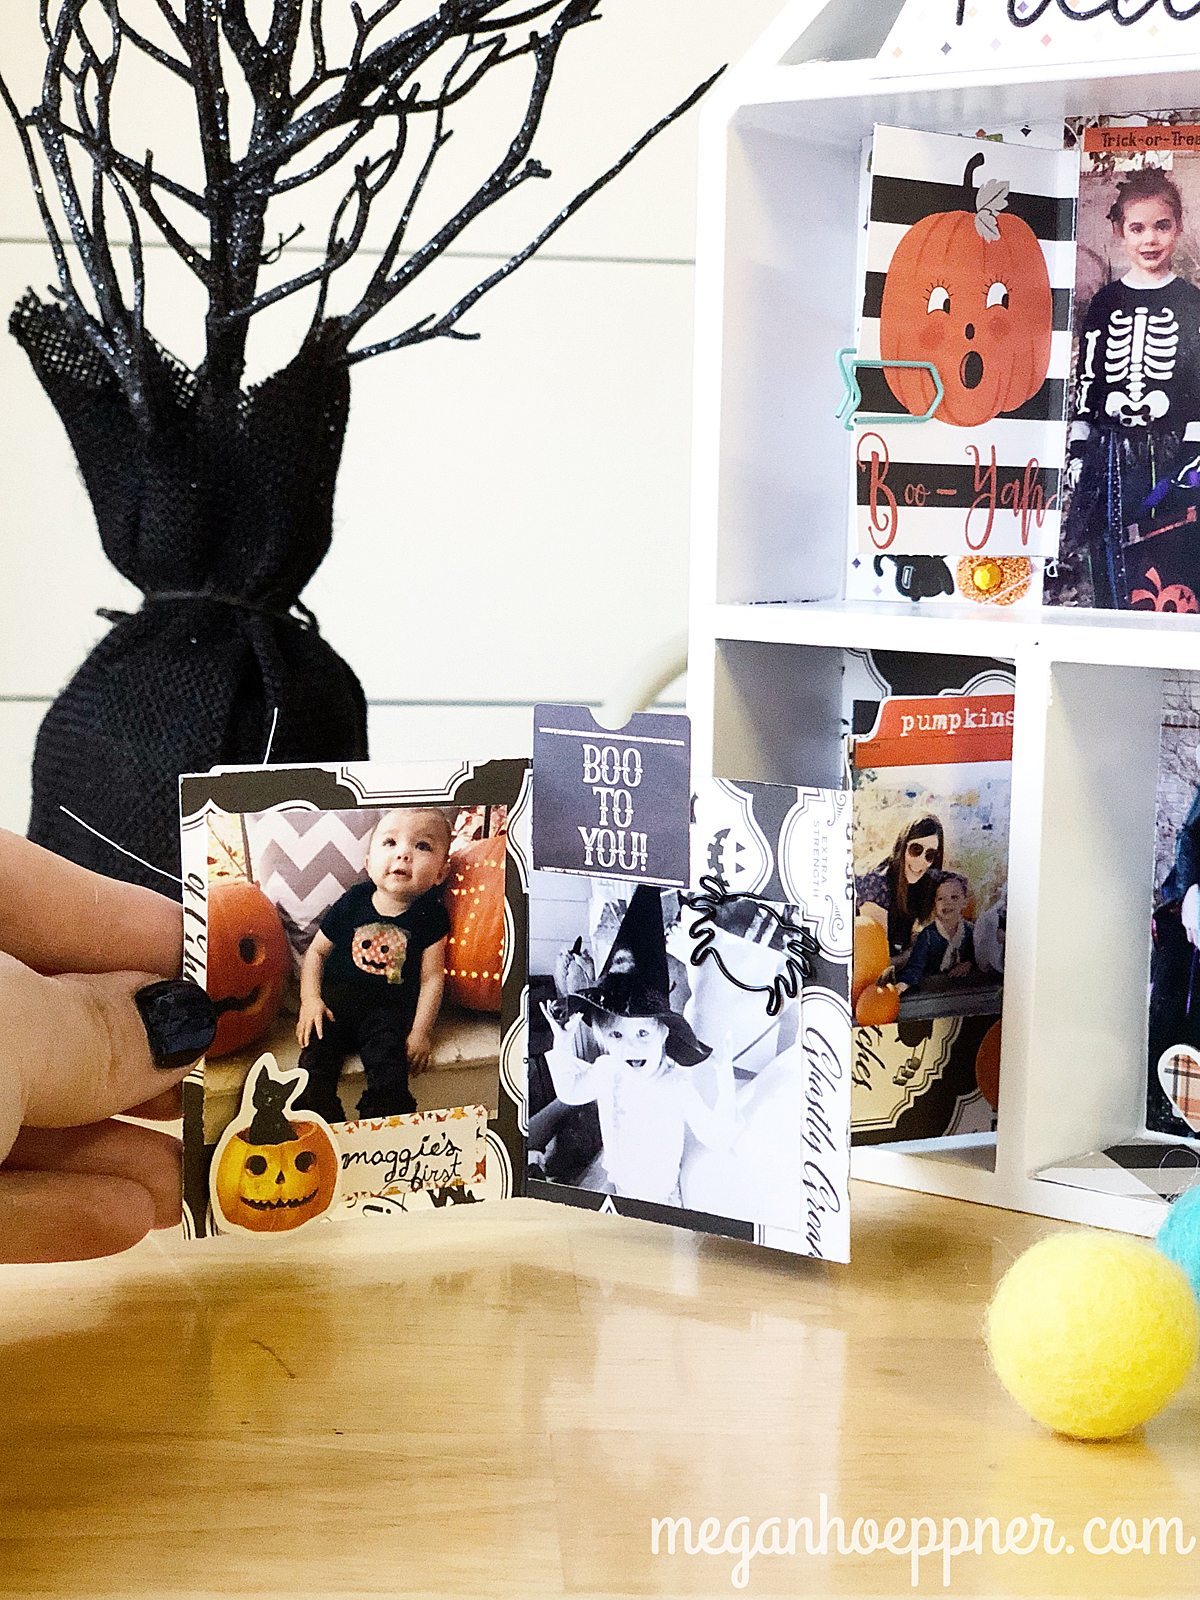
Your full-size house isn’t the only one to decorate this season. Create a bitty shadowbox house to display your favorite Halloween photos. Heck! Why not make a house for every holiday? They’re fun and easy to do.

house shadow box project
S5_oncamera.jpg

Embrace the box’s depth by filling the little compartments with layers of detail. In this frame, I used Queen & Co’s Rectangle Shaker Kit to create an interactive shaking element.

Queen & Company Shaker

This window pulls out to reveal an accordion-folded section, made with paper from Echo Park Paper Co. and embellishments from Simple Stories. So cute!

Simple Stories Halloween paper

Surprise! Add journaling/written details behind a little flap. The paper clip helps indicate the lifting mechanism.

Echo Park Paper Company paper

PRODUCT SWAP

If you’re here because you already watched the show and are interested in participating in my planner swap, check out this photo on my Instagram account to sign up. It’s a fun way to get new supplies and enjoy a little snail mail.

planner supplies

THEMED PHOTOS SHOOTS BY JENNIFER LYN LANCE

If you’re here because you want details on the AWESOME Freak Show/Circus photo shoot we participated in, you’ll want to check out Jennifer Lyn Lance on Facebook.

Photo Credit: Jennifer Lyn Lance

Photo Credit: Jennifer Lyn Lance

She has new themed shoots all the time and also does gorgeous photos for your favorite occasions—newborn, cake smashing, holiday, and more!

Photo Credit: Jennifer Lyn Lance

Photo Credit: Jennifer Lyn Lance

No matter your reason for stopping by, I’m sure glad you did. Many thanks for giving me some of your e-time. XOXO

Cheers!