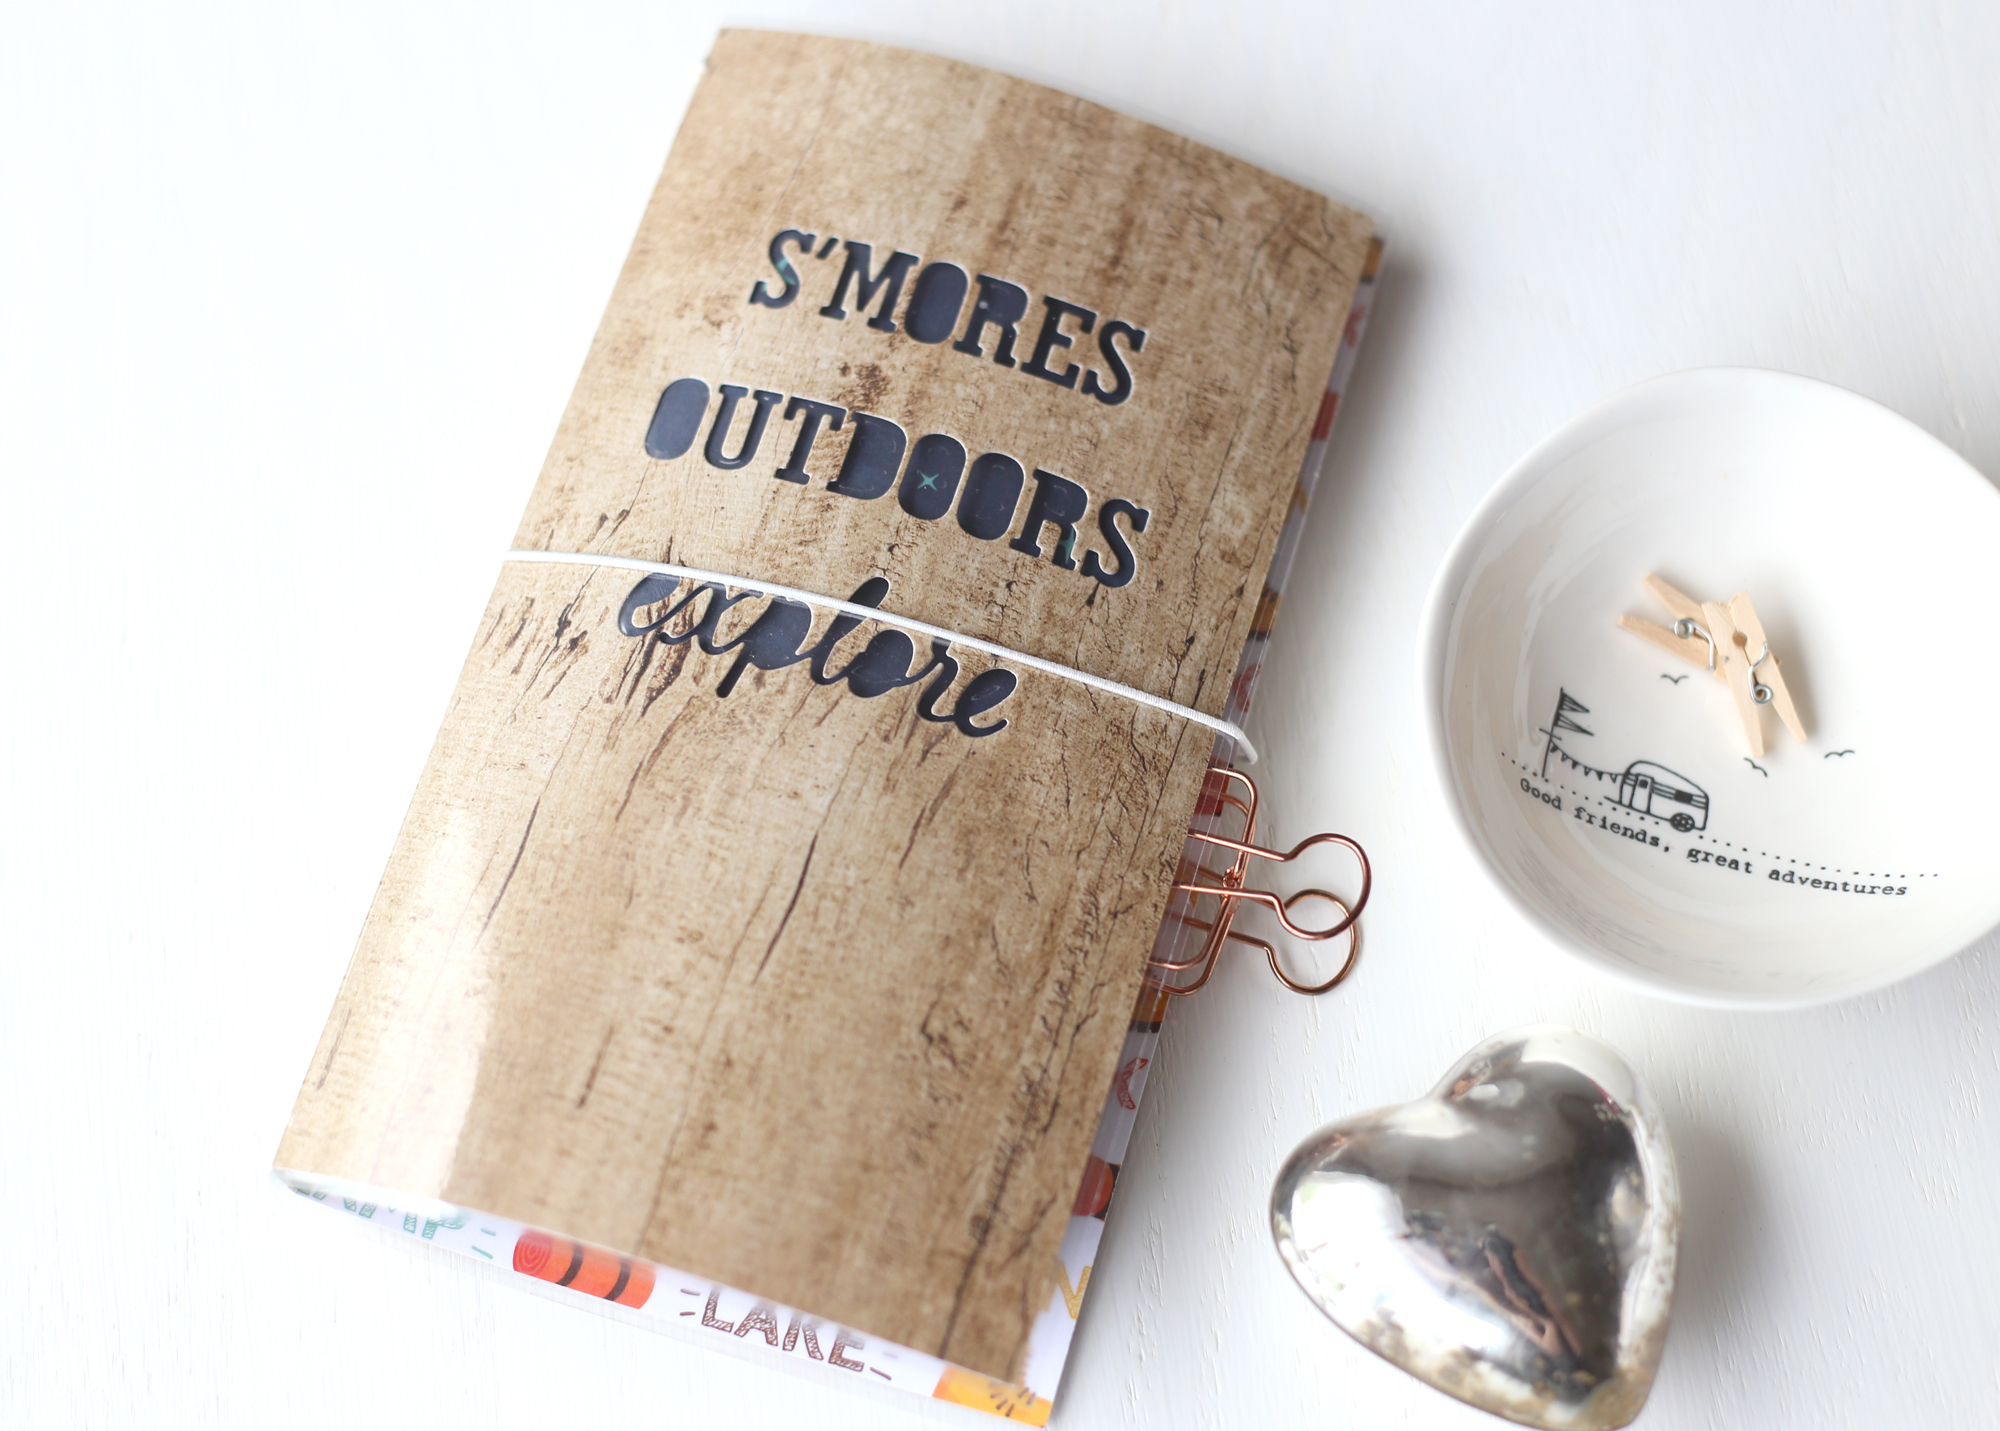
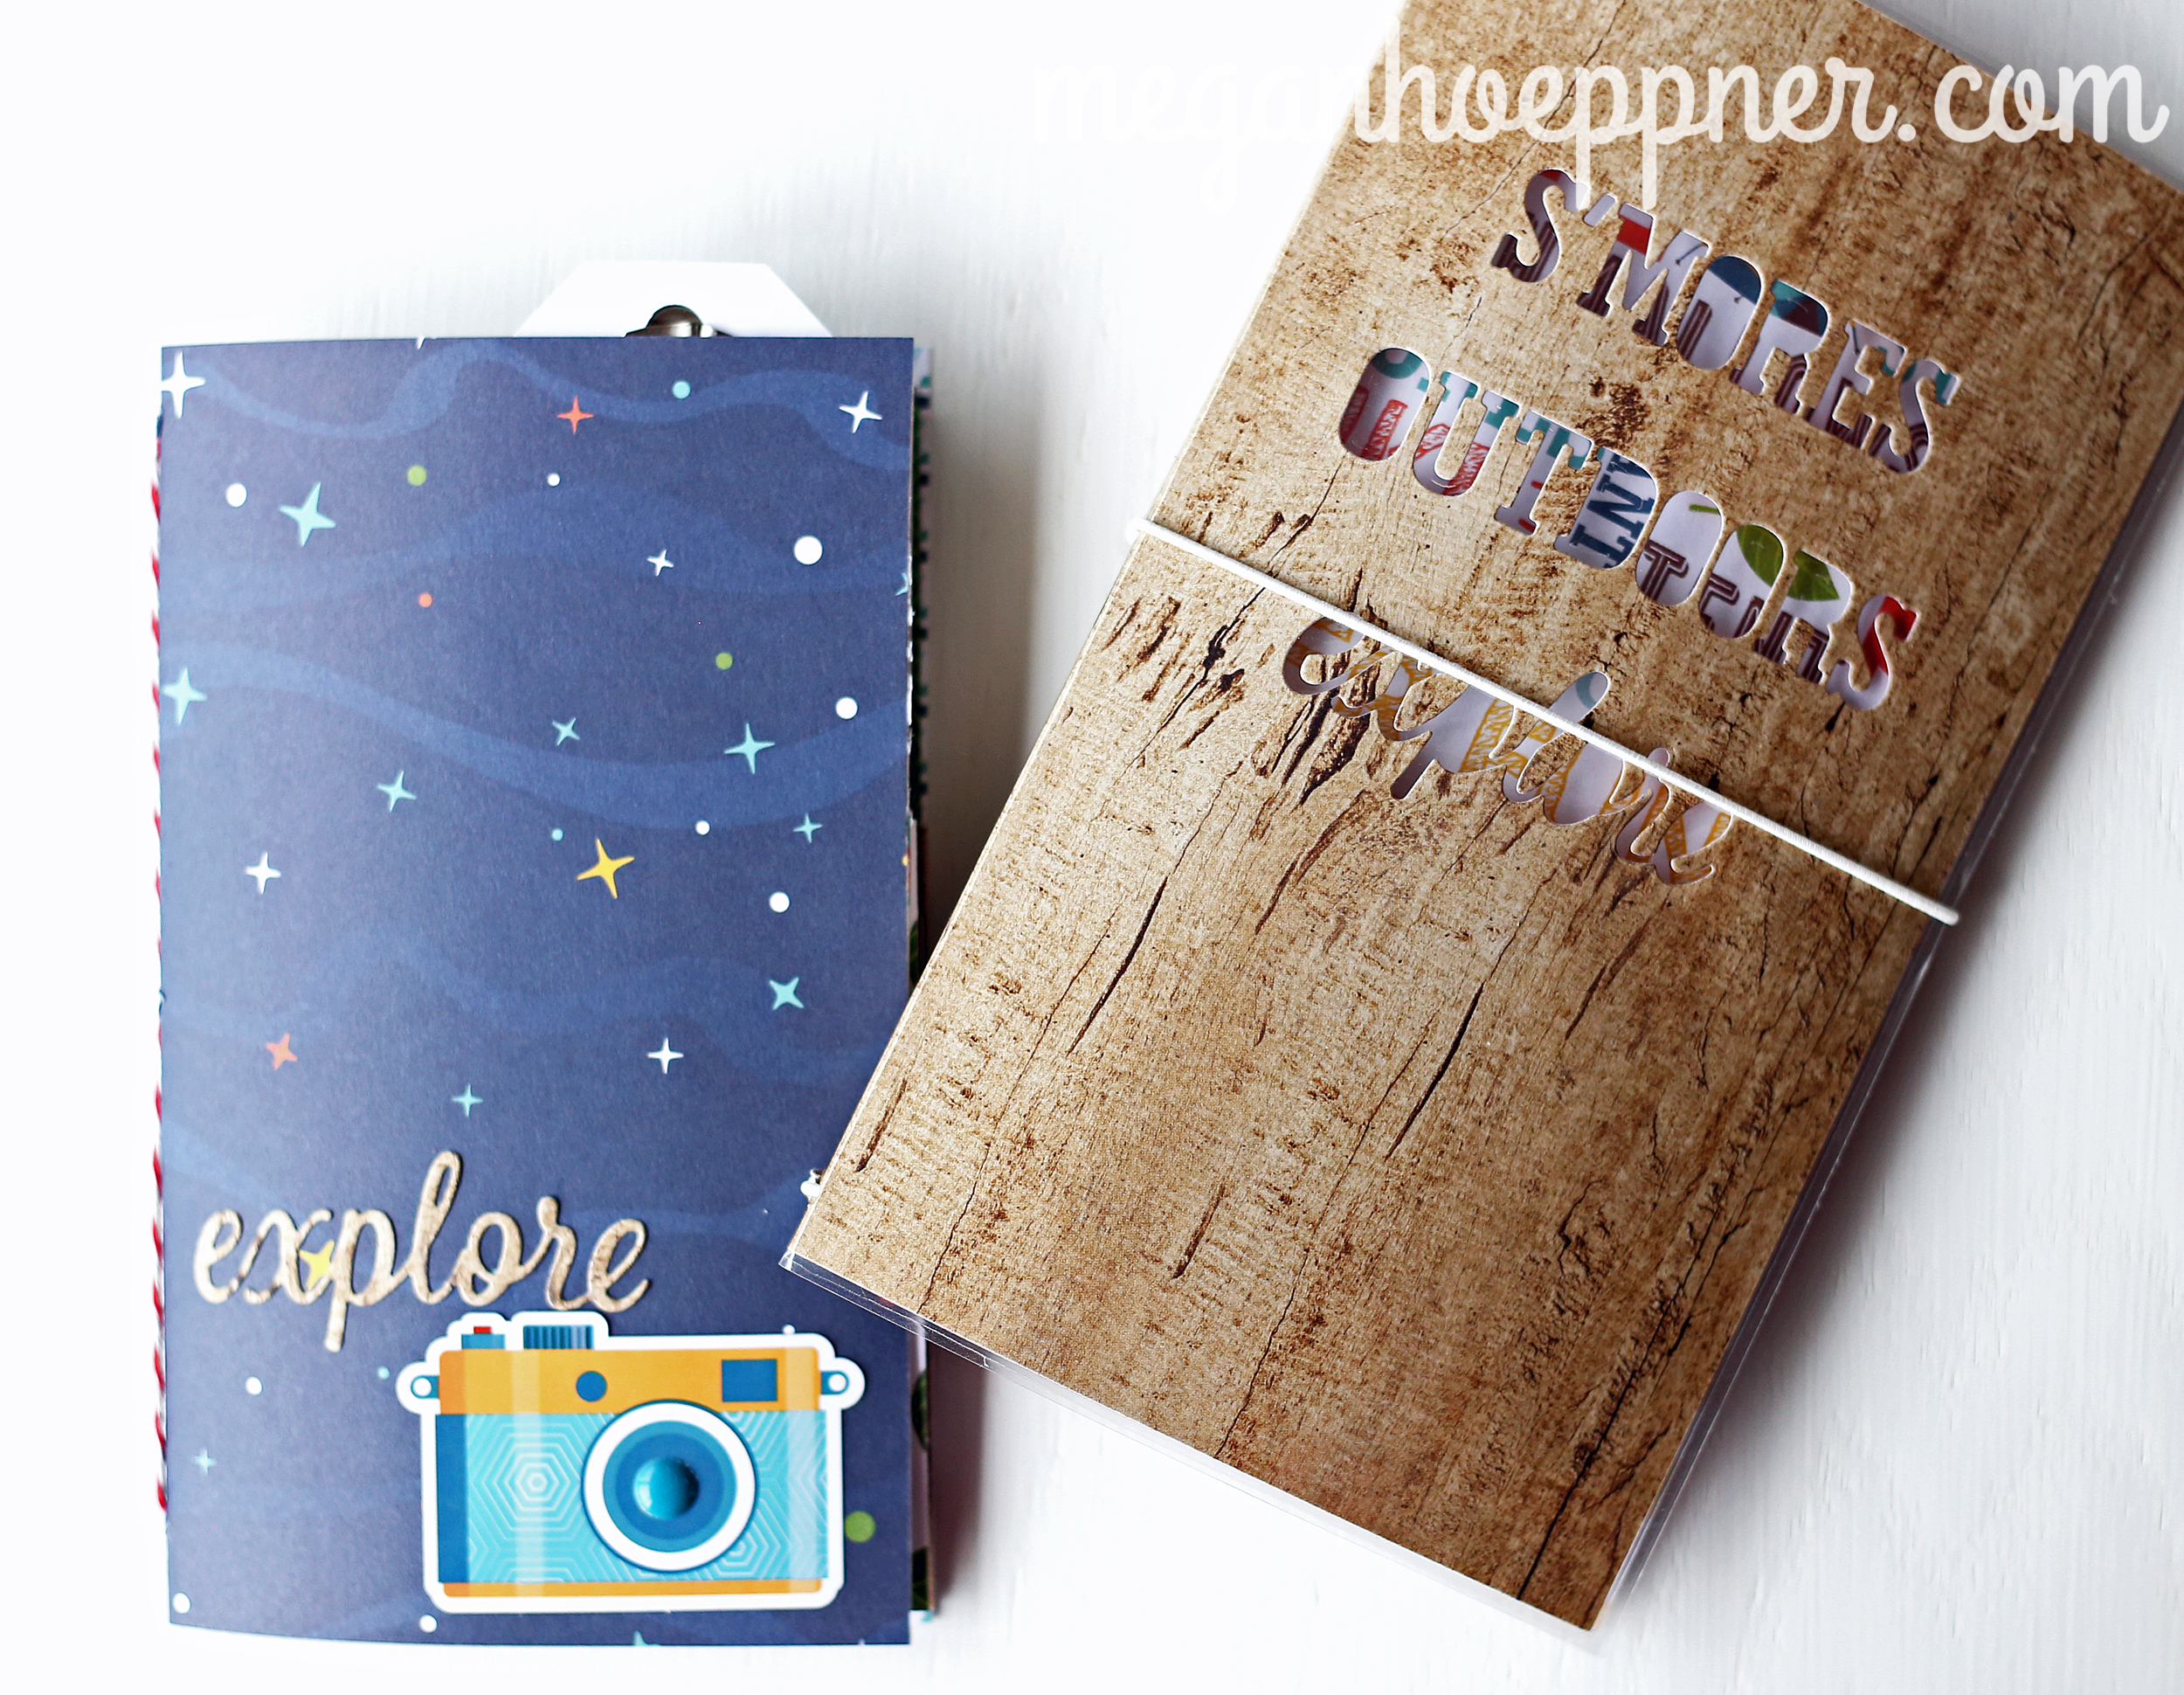
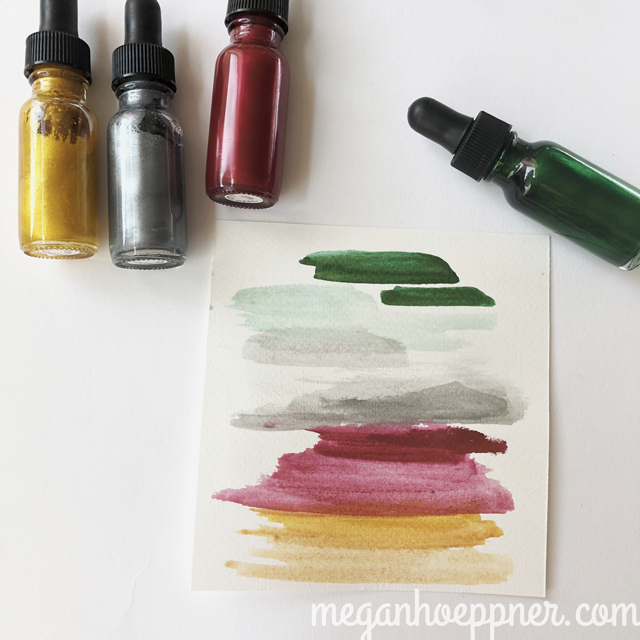
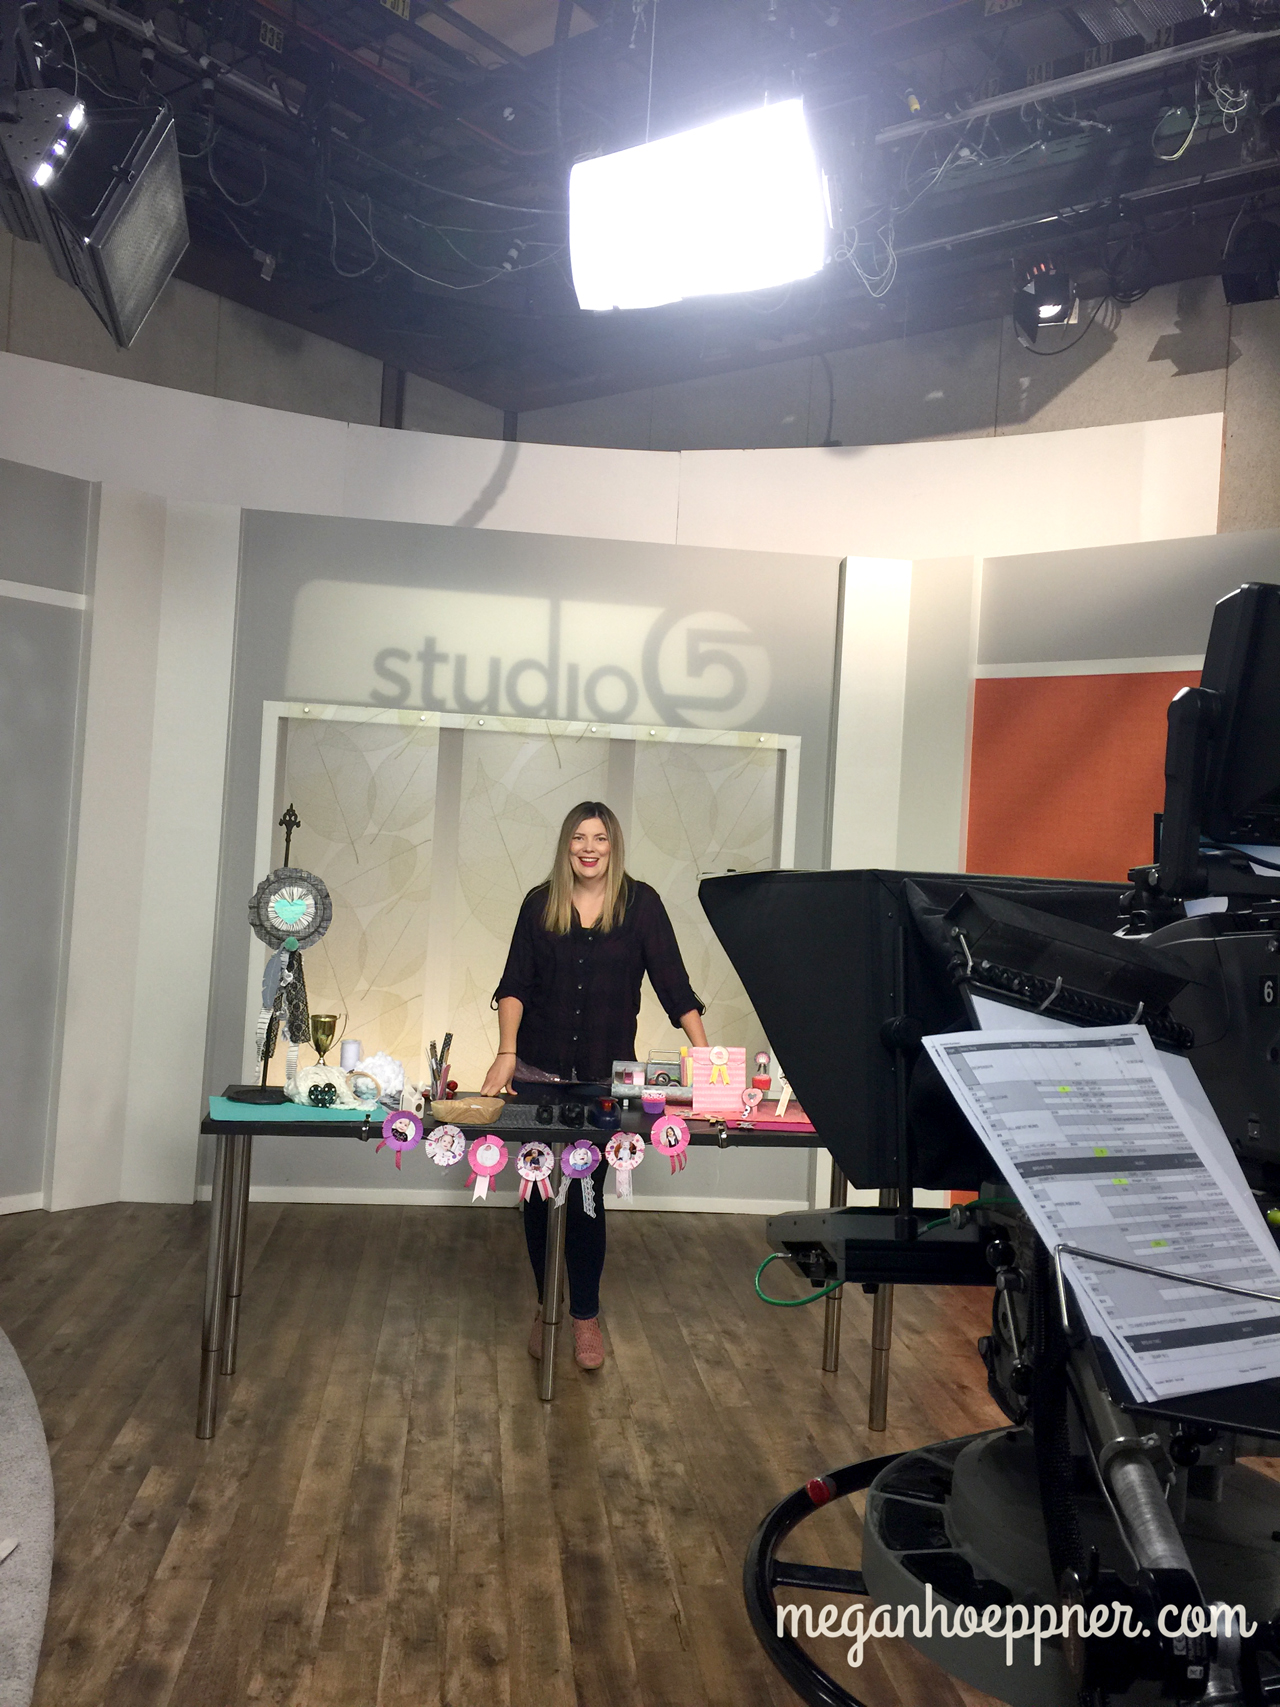
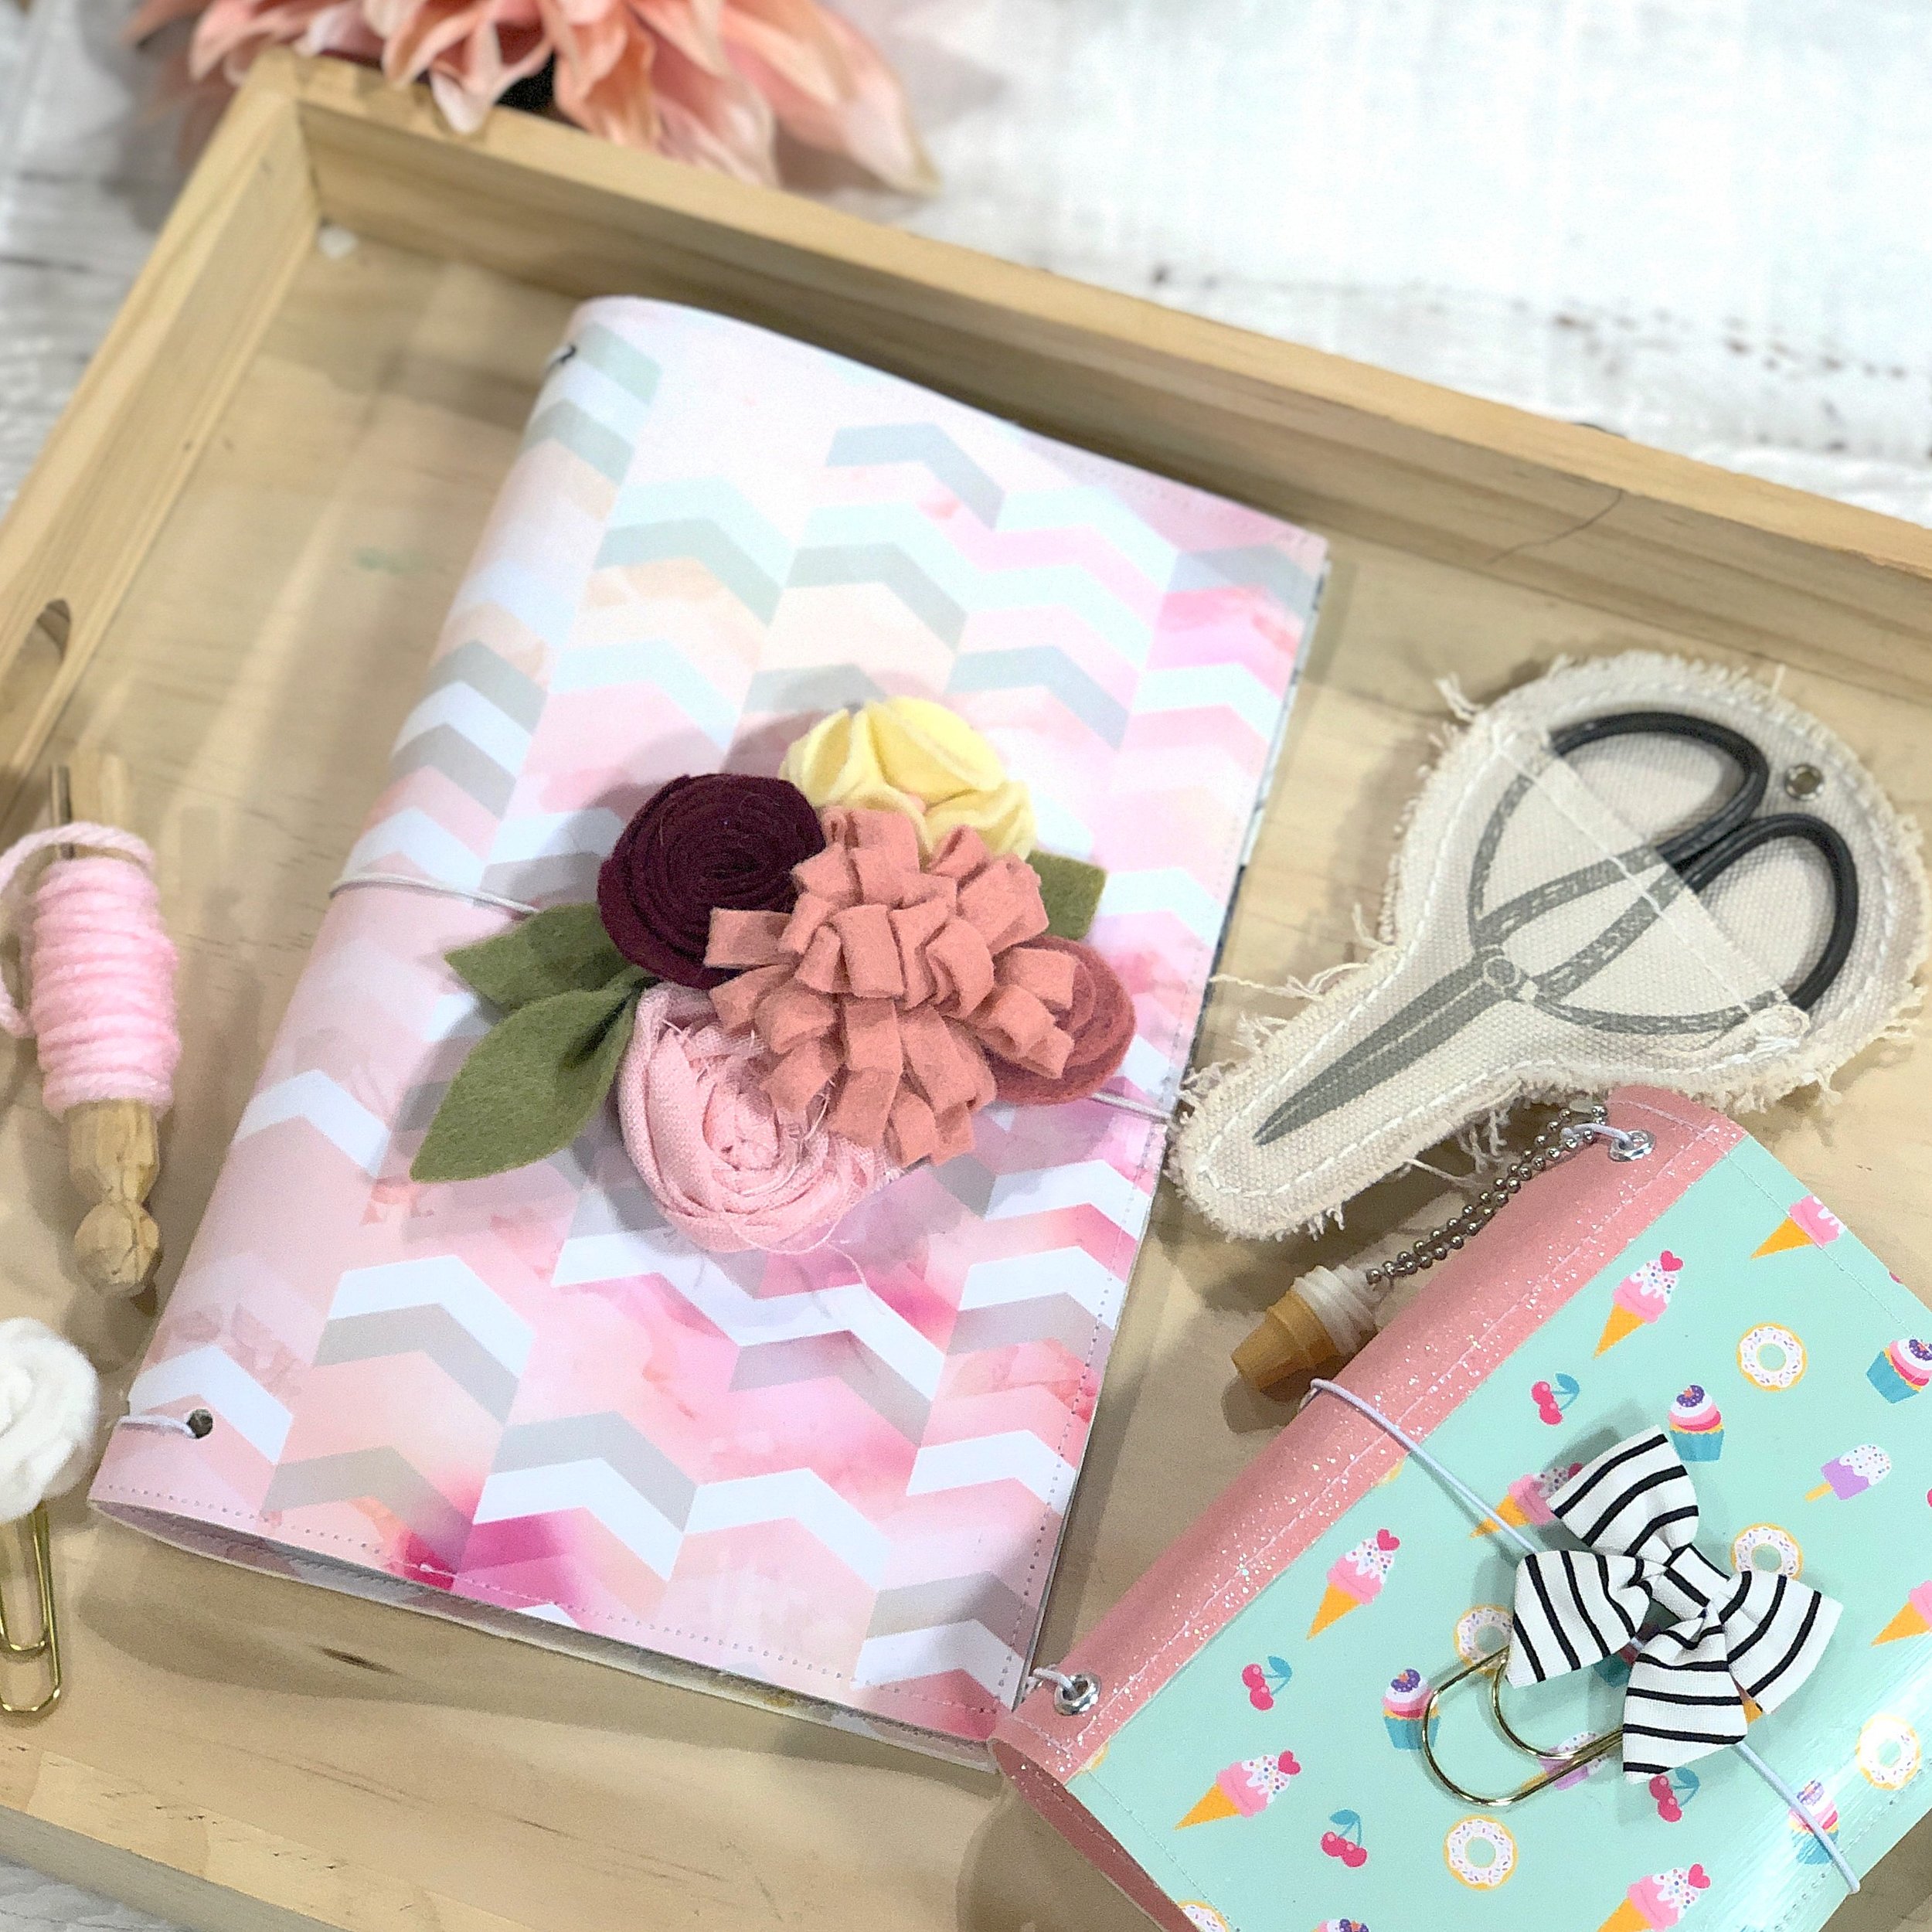
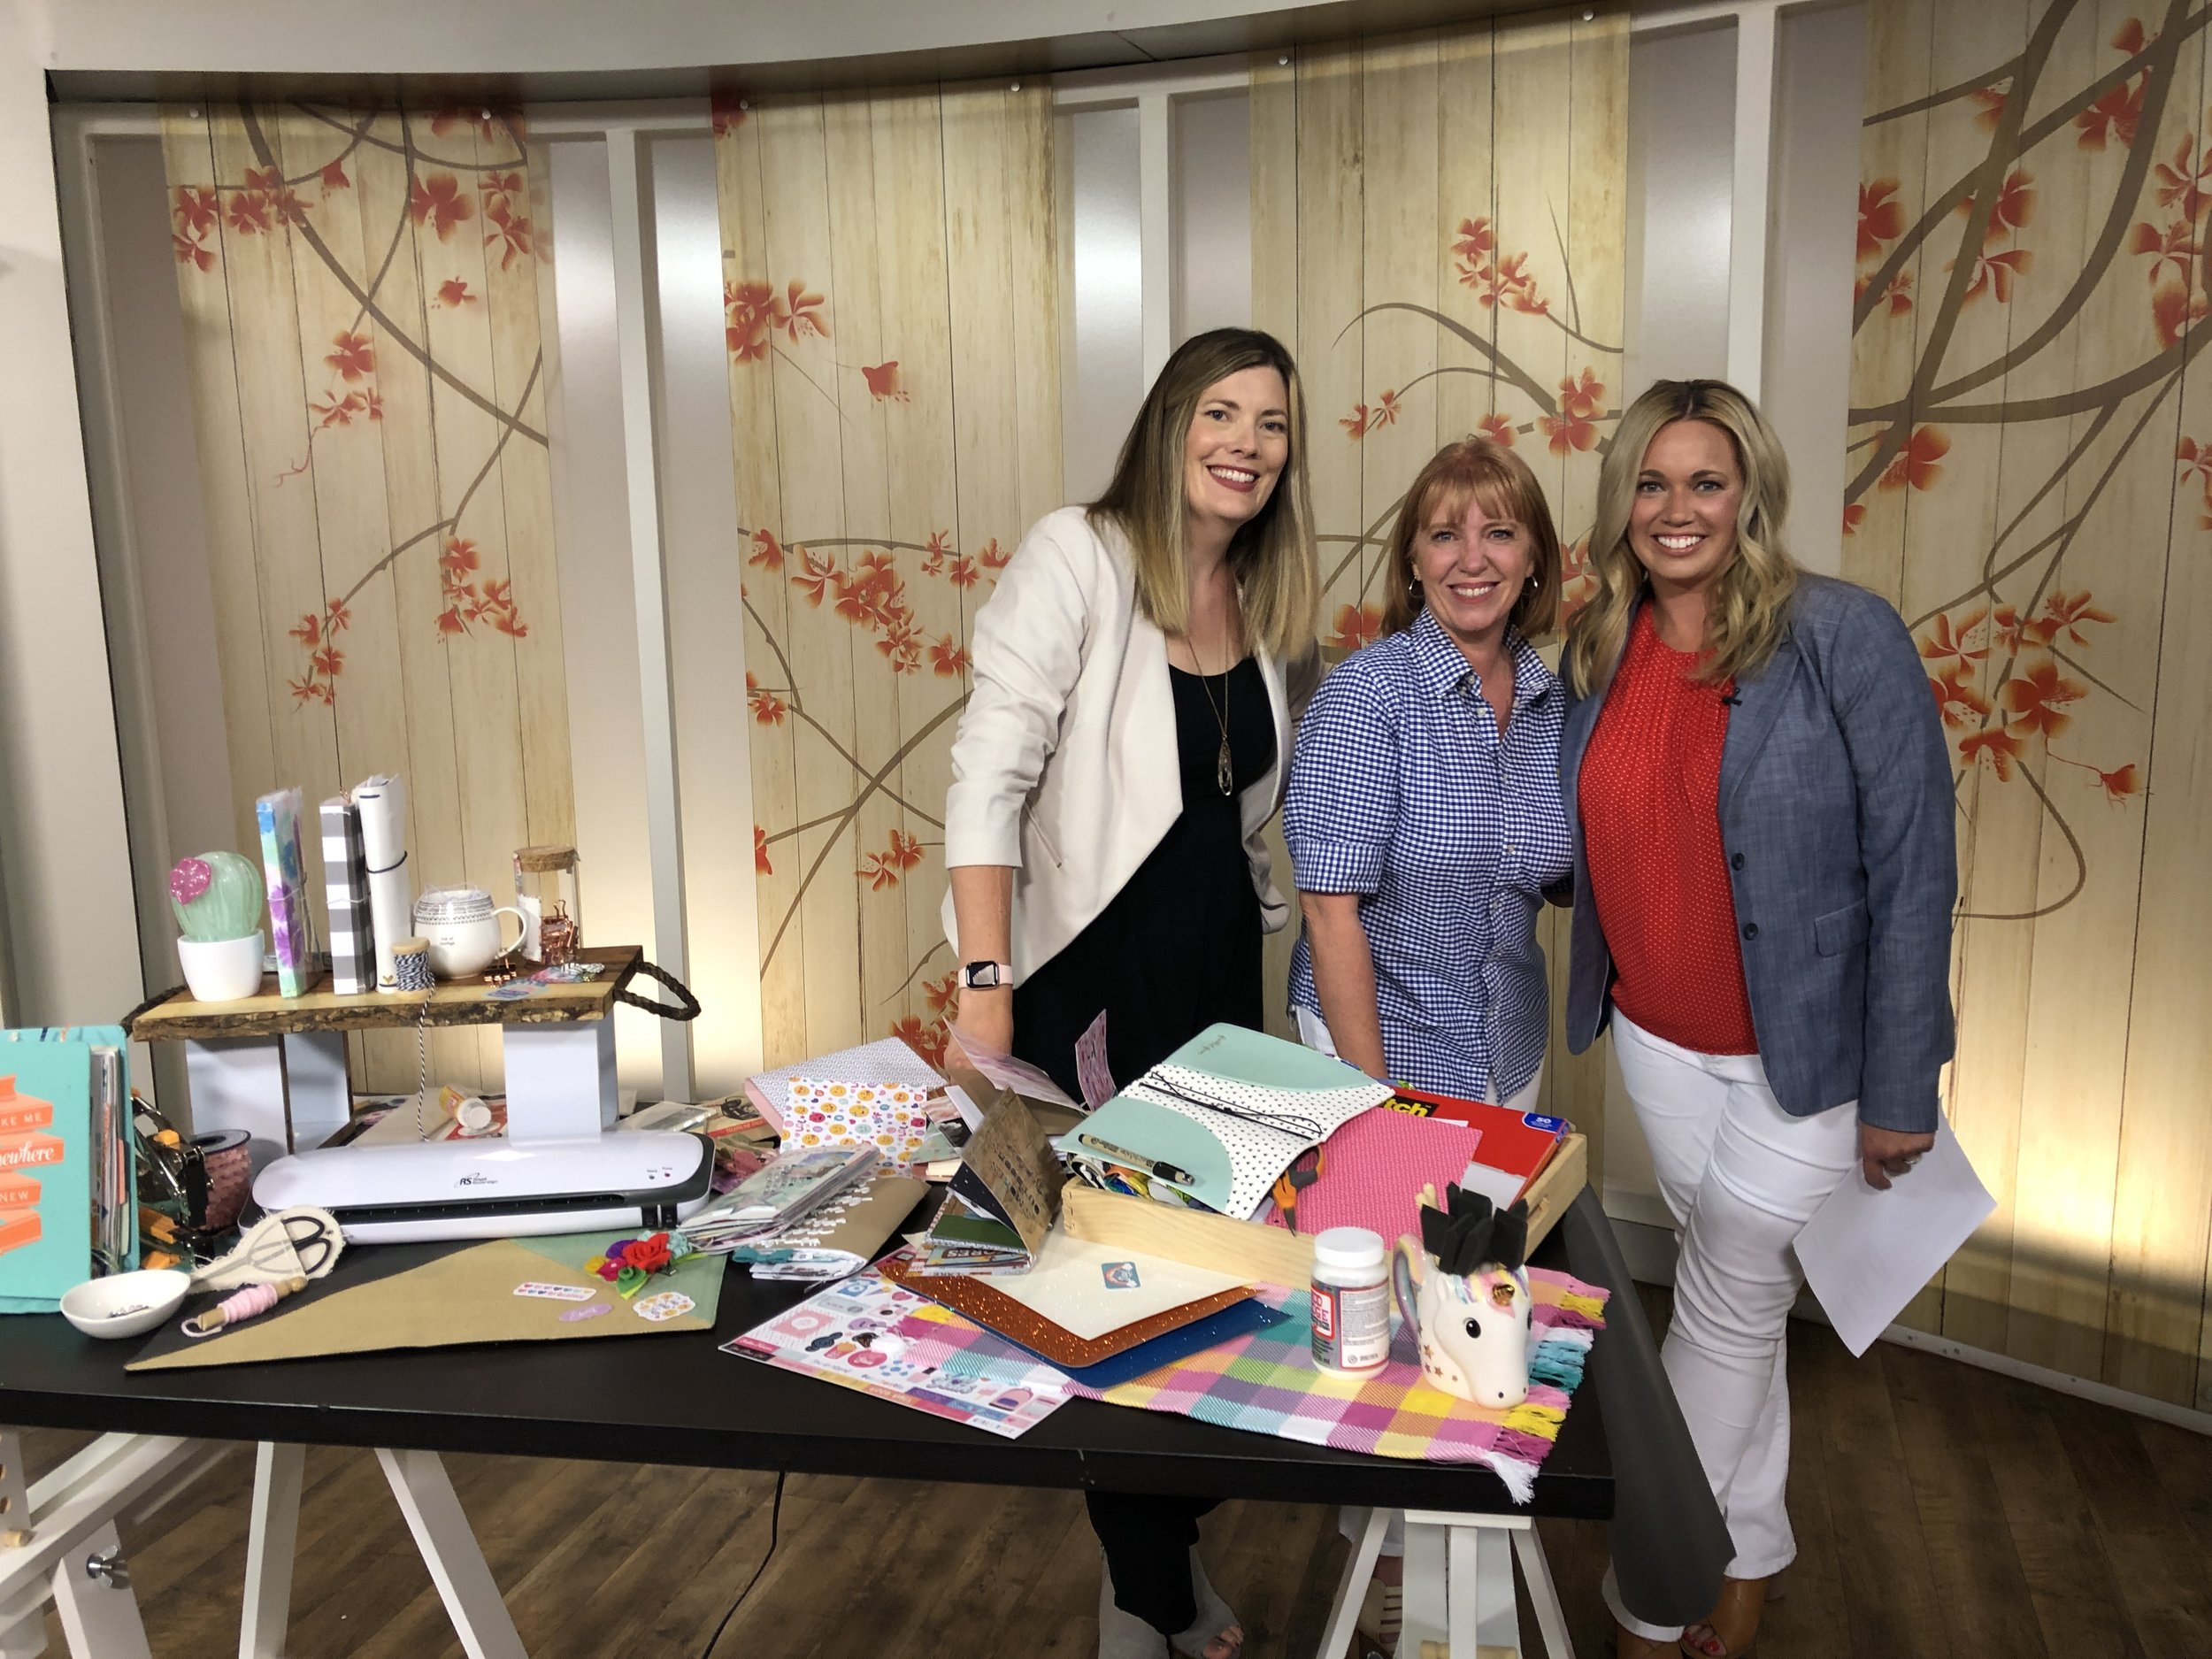
Today on Studio 5, I’m sharing easy ideas for making your own travelers notebook. I also share my favorite store-bought options (Hello, Freckled Fawn!) and insert choices in case you love the idea but don’t want to invest in the DIY aspect. Either way, I hope you’ll tune in at 11 a.m. (online and on TV [channel 5]) to learn more about these sweet creative journals/scrapbooks/sketchbooks/happiness!

IMG_8855.JPG

Thanks for having me, Studio 5. Love you guys!

IMG_8839.JPG

BE THE FIRST TO KNOW ABOUT UPCOMING CLASSES (including my DIY TN classes!)

IMG_8847 2.jpg

I love getting out in the SLC and sharing some creativity with friends. I have some great classes in the works that will be happening soon, including classes on DIY travelers notebooks (creative journals and faux leather journal covers).

Be the First to Know

Simply email me at meghoeppner@gmail.com. Nothing fancy required—you can just say add me to your class list in the subject line and I’ll do it to it.

I know you’re busy and the last thing you want is another bunch of spam filling your inbox.I assure you, that won’t be the case. In fact, I’ve been building a list for years and have yet to send a single email (#epicbusinessfail), but I intend to change that and be better about sharing my classes. I’m asked about them often and don’t do enough to get the word out. So this is my public statement to be held accountable and take the next step. :) Thanks so much for your support and interest in what I love and do!

See you at 11. Cheers!

DIY Traveler's Notebook and Inserts

Hello! Thanks for makng this a stop on your web travels today. (See what I did there? ;) ) Let’s take a look at my latest paper obsession: DIY travler’s notebook covers.

EP_summer13.jpg

I created this project for Echo Park Paper Co., using the very delightful new Summer Adventure collection.

EP_summer1.jpg

You can read more about my process and tips for this project on the Echo Park blog.

EP_summer3.jpg

You can also see a video of the action right here OR on my YouTube channel.

I was inspired to create this project by this video on YouTube by LiveLoveScrap.

EP_summer5.jpg

DIY NOTEBOOK COVER

Step 1: Cut a piece of patterned paper to 9”x8.5” and gently fold that sheet in half (no hard creasing) so it measures 4.5”x8.5”. Open the paper back up so it's flat but with the center lightly creased/identified by your fold.

Step 2 (optional): Die cut words from your cover. (I used the Explore Outdoors Die Set by Echo Park Paper Co. to cut my outdoor phrases.)

Step 3: Pierce holes along your center fold, approximately 1/4” down from the top of the page and 1/4” up from the bottom, followed by two holes on either side of each of these holes, 1/4” over. Finally, pierce one hole approximately in the middle of the center fold line. (This should leave you with seven pierced holes (three on the top, three on the bottom, and one in the middle..)

Step 4: Score lines running parallel to your center fold, connecting your pierced holes. Fold your paper along those lines to give you your notebook shape.

Step 5: Flatten the cover back out and place it in a laminating sheet; laminate. "
NOTE: If you do not have a laminater, you can use self-laminating pouches for this step.

Step 6: Trim away any excess laminating film, re-fold your book along the scored lines to give you your cover shape, and re-pierce your holes.

Step 7: Thread elastic cording following the steps below.
NOTE: It helps to have a needle with a large eye for this, as elastic cording can be tricky to thread.


EP_summer10.jpg

A. Starting on the lower right hole, coming from the front of the cover inside, thread elastic cording, leaving approximately 6” of a tail.
NOTE: Pull your cording fairly tight, leaving only enough room to tuck a notebook insert between it and your notebook cover.

B. Thread your cording through the hole directly above the hole you just threaded. (This should have your needle now back on the outside of your cover.)

C. Thread your cording through the center hole, just to the left of the hole you came out of. Thread your needle through the center hole on the bottom of the cover. (Your needle should now, again, be on the outside of your book.)

D. Thread back in, this time using the far left hole on the bottom, followed by the far left on the top. (You should now have three bands of elastic cording running along the inside spine of your notebook cover.)

E. Your needle should now be on the outside of your notebook, at the top. Thread it back through the top, center hole. Leave approximately a 6” tail and trim the rest of your cording away from the packaging. Remove your needle.

F. Thread your first 6” tail through the needle and bring that piece of cording back through the bottom center hole. You should now have two 6” pieces of cording on the inside of your notebook cover. Meet them in the middle, tie them in a double knot, and trim away any excess. This will leave you with a total of four elastic bands running along the inside of your notebook spine.

G. Trim a new piece of elastic cording that is long enough to wrap around the center of your book one and a half times. Fold that piece in half, thread the folded side through your needle, and thread that needle through the center hole of your notebook, coming from the inside of the cover out.
NOTE: Be careful not to pull the cording all the way through the hole.

H. Leave just enough cording to wrap around your notebook as a closure, and tie a double knot to prevent the rest of the cording from pulling through the hole. Trim away any excess cording. This will leave you with a center elastic closure that will hold your notebook shut.

With your notebook cover made, you can now add DIY paper inserts.

EP_summer9.jpg

DIY NOTEBOOK INSERTS

Creating DIY notebooks to go inside your traveler’s notebook cover is easy and fun. Simply follow these quick steps:

EP_summer6.jpg

Step 1: Bundle several sheets of patterned paper and fold them in half, making sure they’re cut to measure smaller than your notebook cover when folded.

Step 2: Keep your folded sheets bundled together and pierce three holes along the center fold.

Step 3: Thread a needle with baker’s twine or embroidery floss (roughly 48” in length); thread your needle through the center hole, going from the inside of the paper bundle, out.
NOTE: Leave a tail (approximately 4”) here.

Step 4: Thread your needle through the bottom hole, coming from the outside of the bundle in. Thread back through the center hole again, going from the inside out. Thread through the top hole (outside, in). Your needle should now, again, be on the inside of your paper bundle.

Step 5: Thread your needle under the lower binding loop that’s in place and tie then tie what’s left of your thread to the original 4” tail you left in place. Tie using a double knot. Trim away any excess twin you have. Your book should now be completely bound.

EP_summer8.jpg
EP_summer1.jpg

Don’t let my lengthy list of steps fool you. These techniques really are easy to do. I just wanted to break it down to make it easier to follow for those of you reading the instructions to complete your project (vs. watching the videos). I hope I haven’t left you confused at any point in the process. If so, leave me a comment or send me an email, and I will happily answer any questions you have.

EP_summer4.jpg

I can say from my own experience and that of students I’ve taught this to—once you create these, you won’t want to stop. You’ll find yourself making books for your family and friends, too. It’s such a happy process and end results. I hope you enjoy this technique and idea.

Happy travels!


Paper Crafting with Patches

"Sew it, stick it, do somethin' with it." That's the tagline on the packaging of one of the patches. Isn't it perfect?! There is so much you can do with these little textured treats. Whether you sew it on or use it as a sticker, you're sure enjoy working with this up and coming crafting trend. Think beyond clothing and backpacks to paper crafting. Patches are a quick and easy way to add texture without adding bulk. Use them on albums, scrapbook pages, cards, gift wrap, and home decor. 

patches.JPG

About the Patch

Many are sticky-backed, some are iron-ons, and others are meant to be stitched on. 

Like the enamel pins, patches seem to be a throwback to the '80s. They're back in a big way! Of course, you can use them on your clothing. In fact, many clothes are currently designed with patch designs already in place, like this cute Cat & Jack pack that I picked up at Target (which Maggie promptly claimed as her own).

patches_pack.JPG

Where Are They?

Patches are available locally at stores such as Target, Michaels, and Hot Topic. You can also find them online. There are so many to choose from. You'll find something for everybody. Try searching "iron-on patches" or "embroidered patches." I have a Pinterest board with a few fun possibilities. Prepare to be '80s inspired! ;)

Paper Craft Using Patches

Pair patches with fabric bags to create fun gift wrap or even add them directly to the fabric liner of your planner. Both are fun iron-on options. The peel-and-stick variety stick very well, so proceed with caution but also know they'll stay put, even on textured surfaces like this awesome Jillibean Soup frame.

patches_halloween.JPG

Of course, patches are a natural partner to pair with paper projects. They're flat, so they work well on scrapbook pages.

patches_mermaid.JPG

Maggie loved making a quick card and gift bag. You might say these are stickers with pizazz, making they quite kid friendly.

patches_card and bag.JPG

Some are small enough to make awesome planner extras. Taco Tuesday anyone?

patches-planner.JPG

As Seen On TV

I'll share even more ideas today at 11:00 AM on Studio 5 (Utah channel 5 if you're in the 'hood, otherwise, you can watch live streaming here).

patches_display.JPG

Thanks to My Production Assistant

I have to give a special shoutout to my help. She made going to the show more fun (which I didn't know could be possible). Thanks, Mags!

patches_Nov17_Megan-Mags.JPG

Upcoming Classes

I'm so excited to have four local classes coming up. I'd love to see you at any or all of them. Space is extremely limited, but I'd be happy to give you dibs. To receive an e-mail when class sign-ups are posted, please email me at meghoeppner@gmail.com and I'll add you to my mailing list. I hope to see you there! :) The classes are:

1. Wreath Making

2. Creative Planning (November and December classes)

3. Creative Journaling Using a Bullet Journal

Cheers!