The Bow Must Go On: Bow-inspired gift wrap

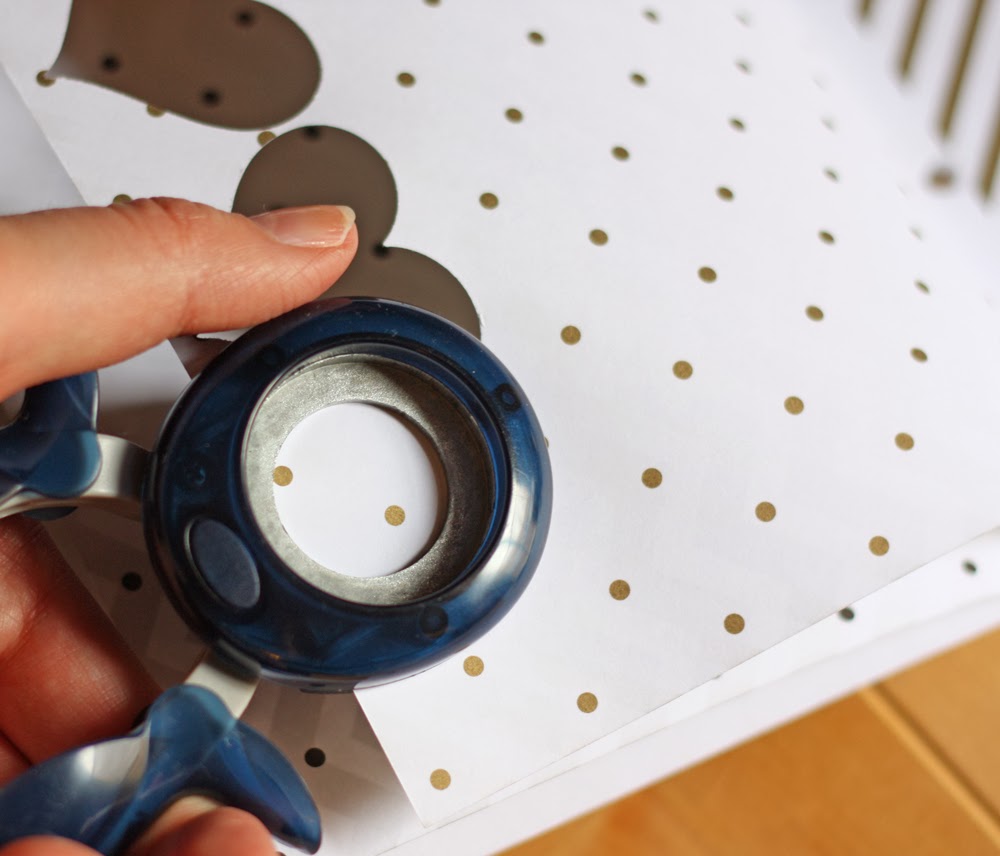
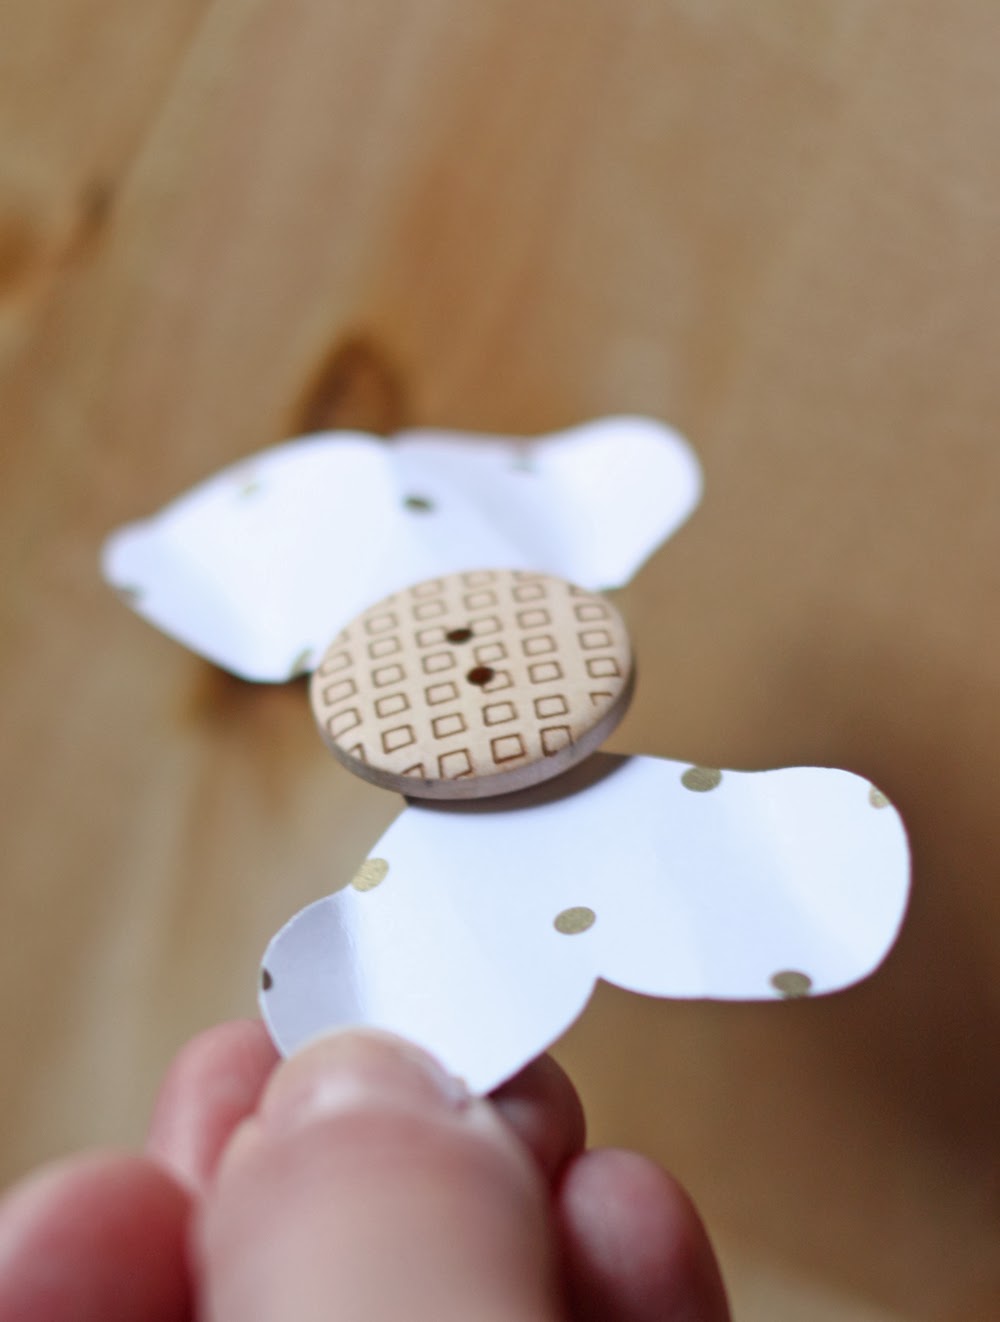
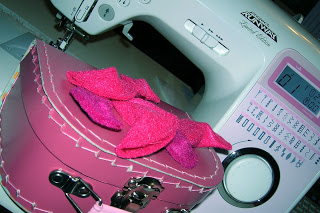
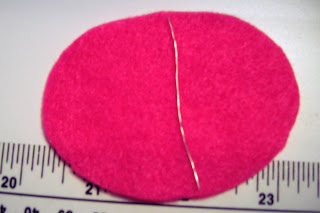
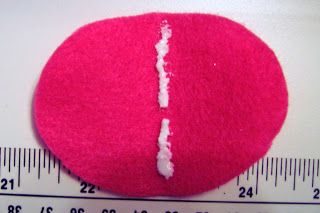
Dapper Dan, is that you? Oh, no, it's just the bow show, continuing after the fun had on Monday with Megan my bow tutorials.


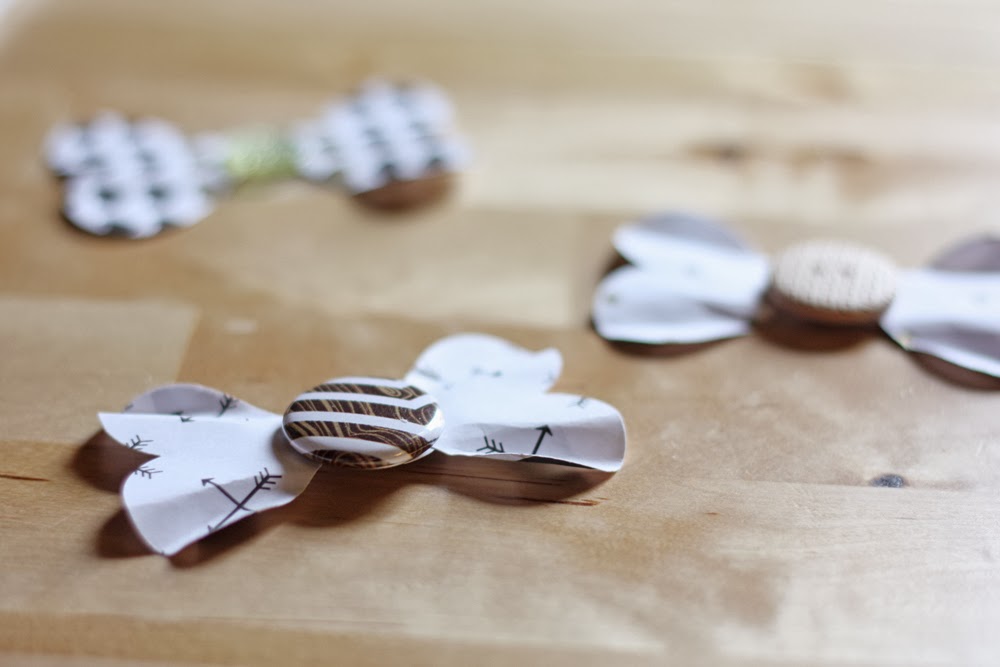
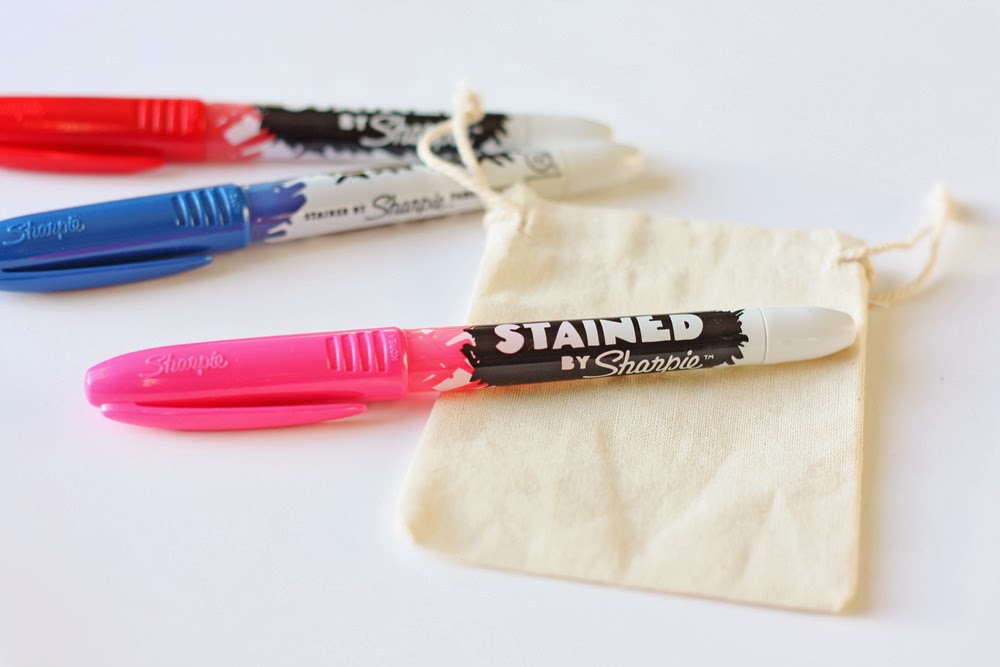
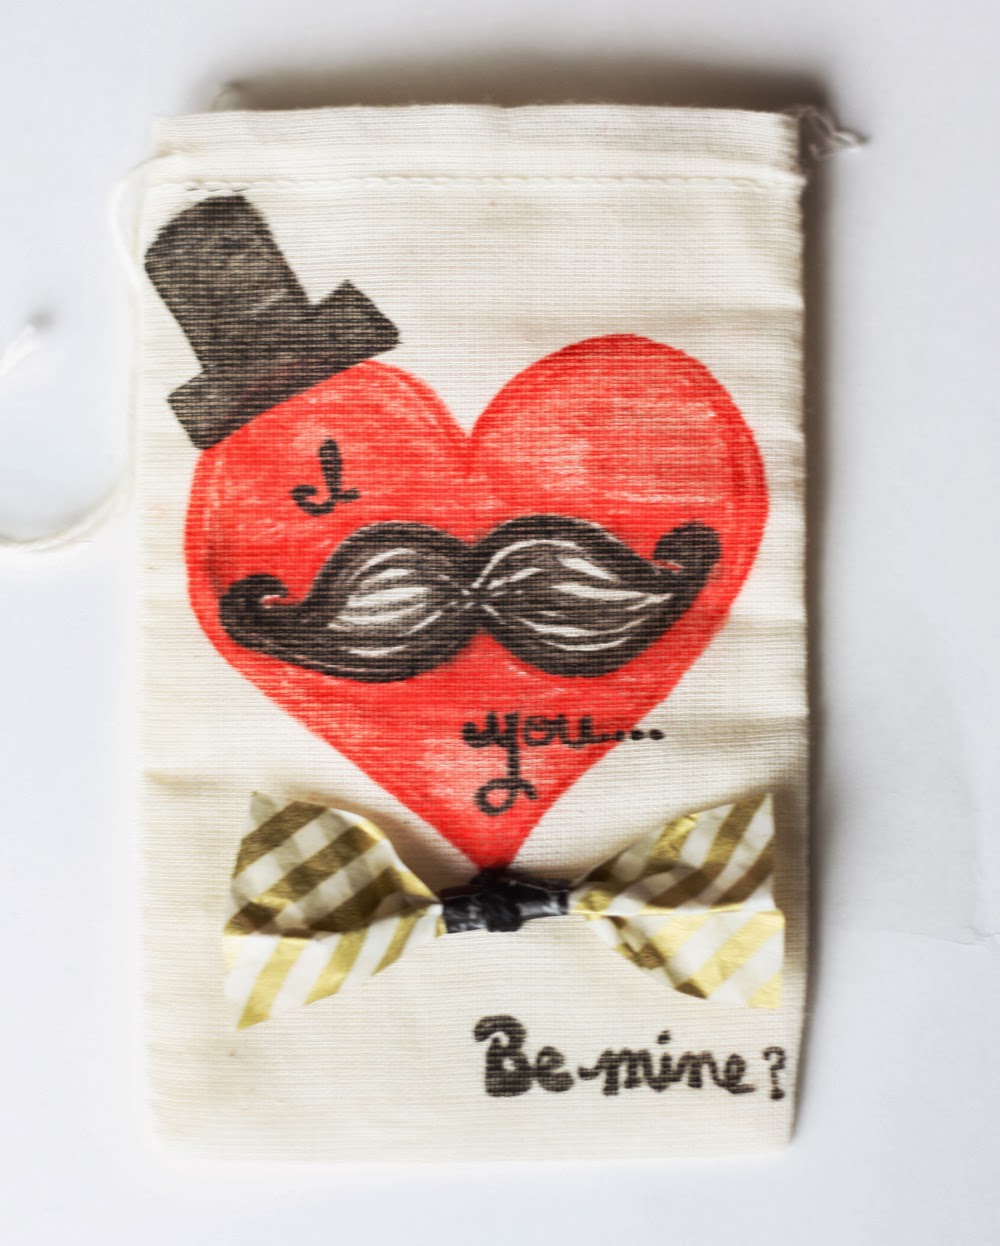
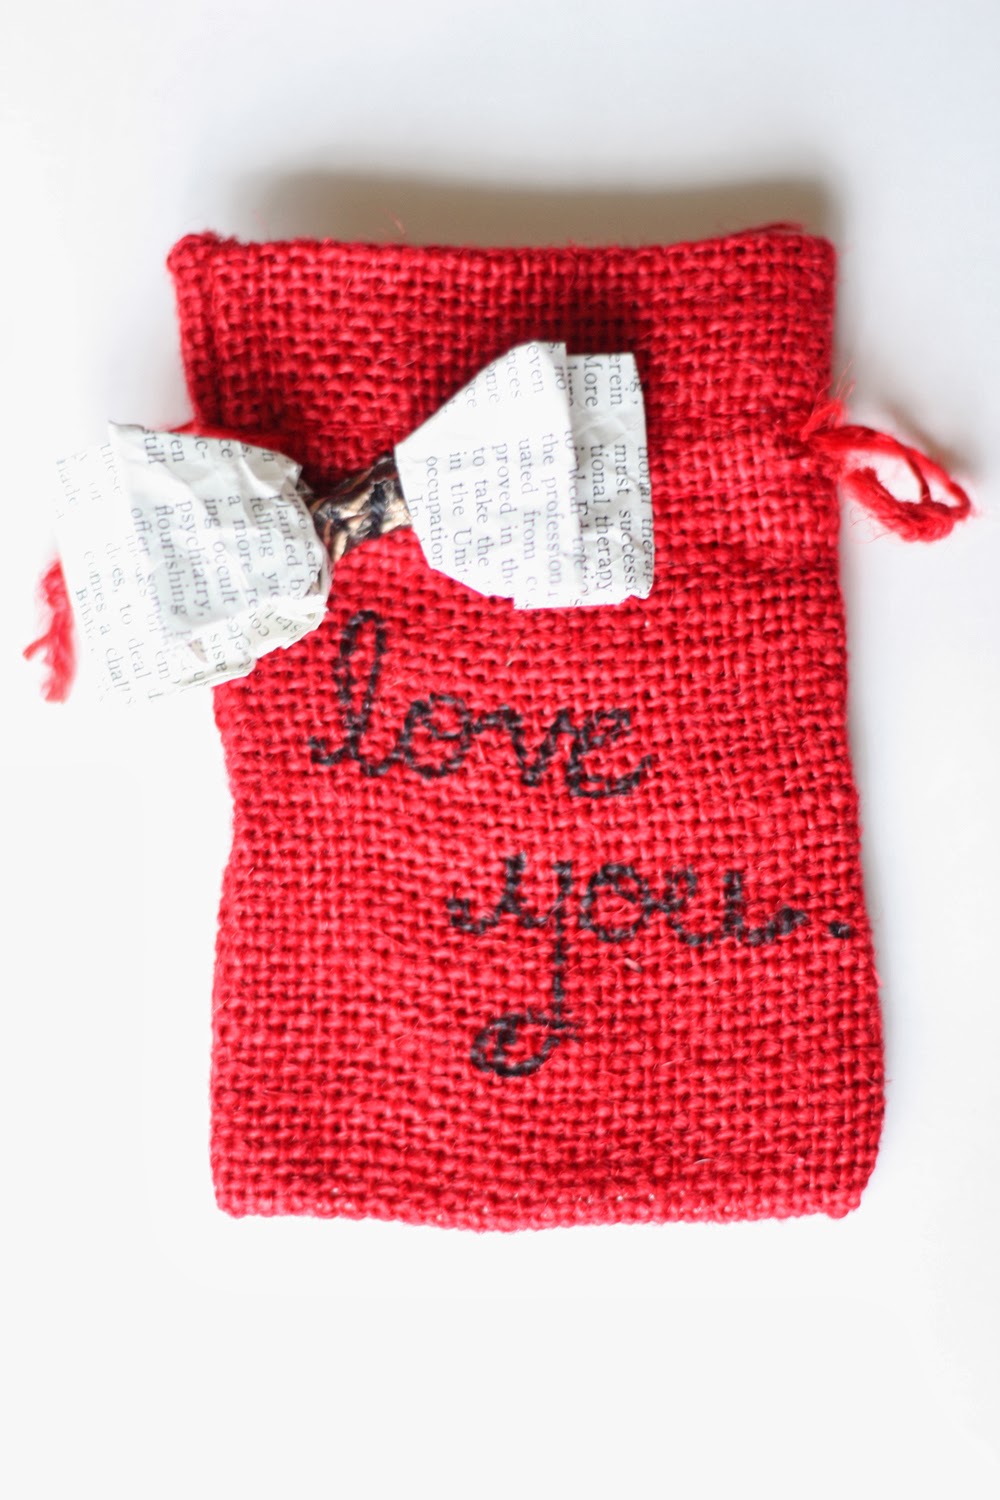
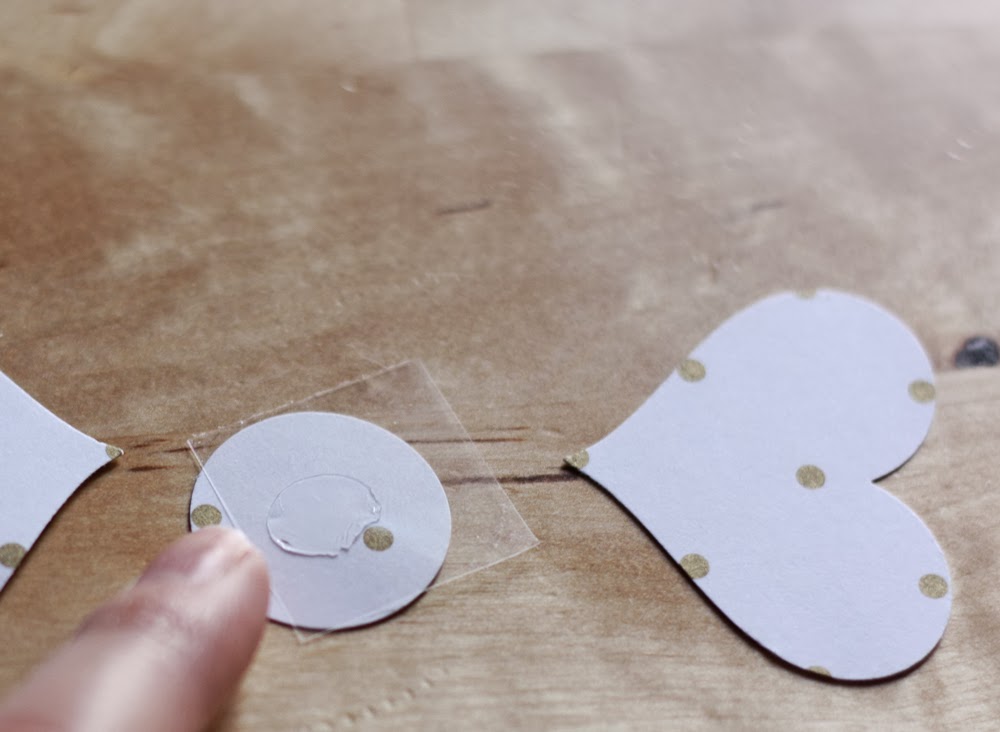
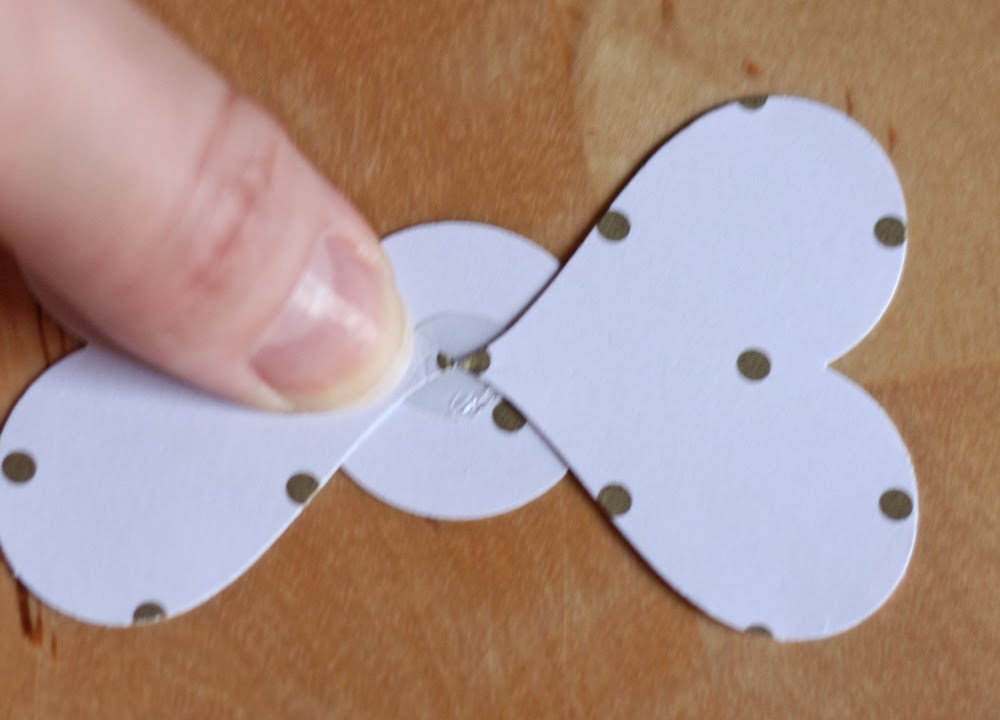
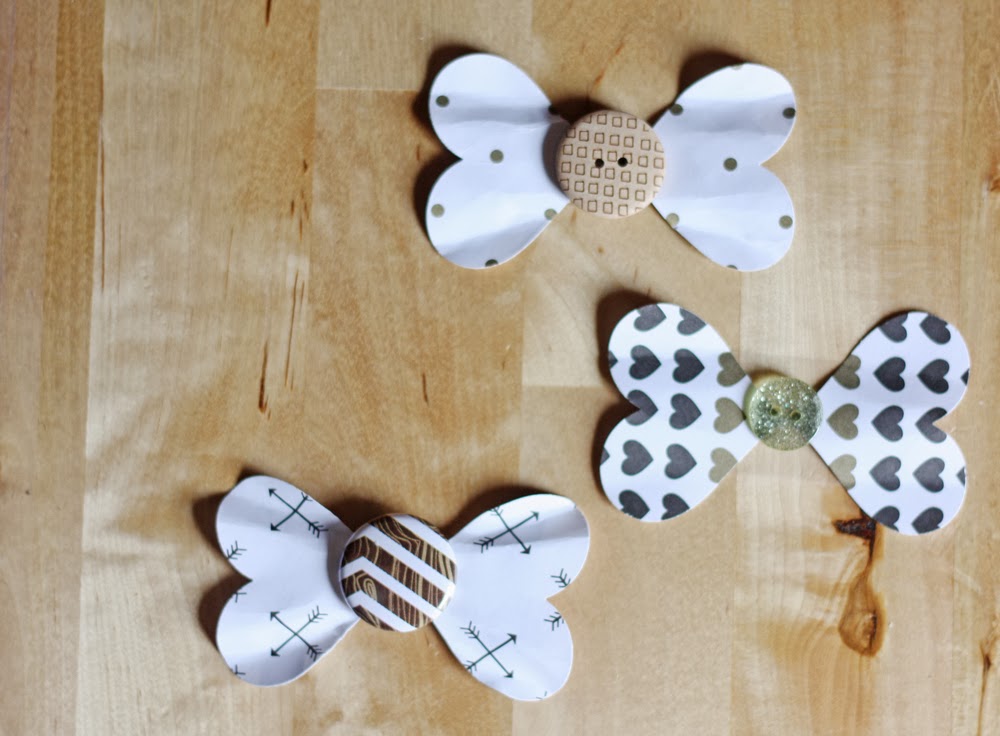
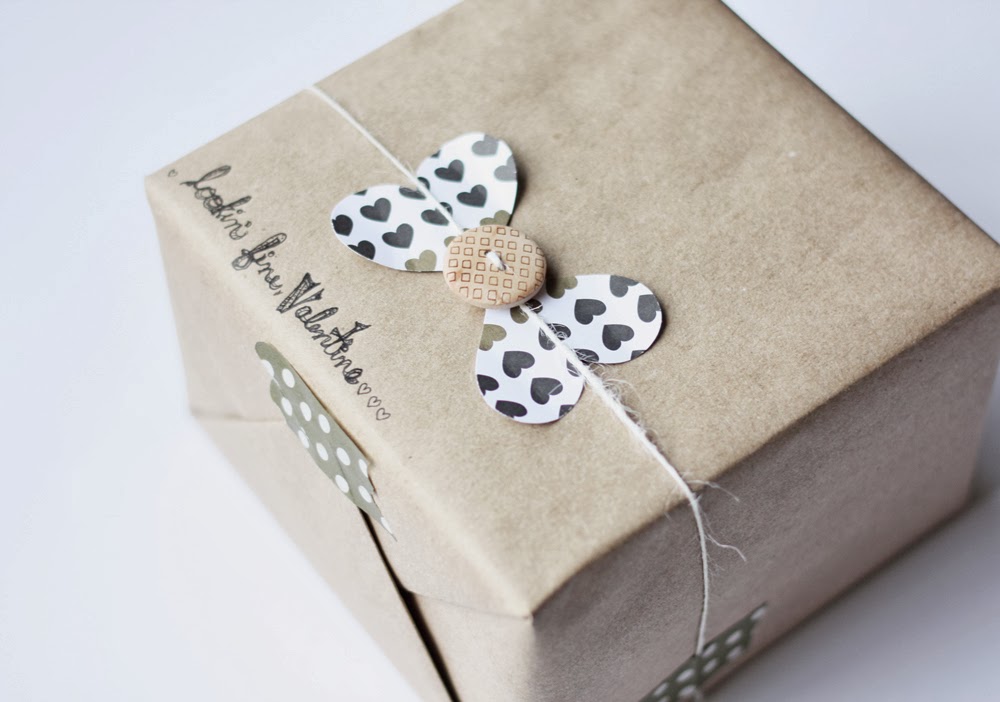
I put a few of those bows to good use on a couple of debonair designs for my handsome Valentine.


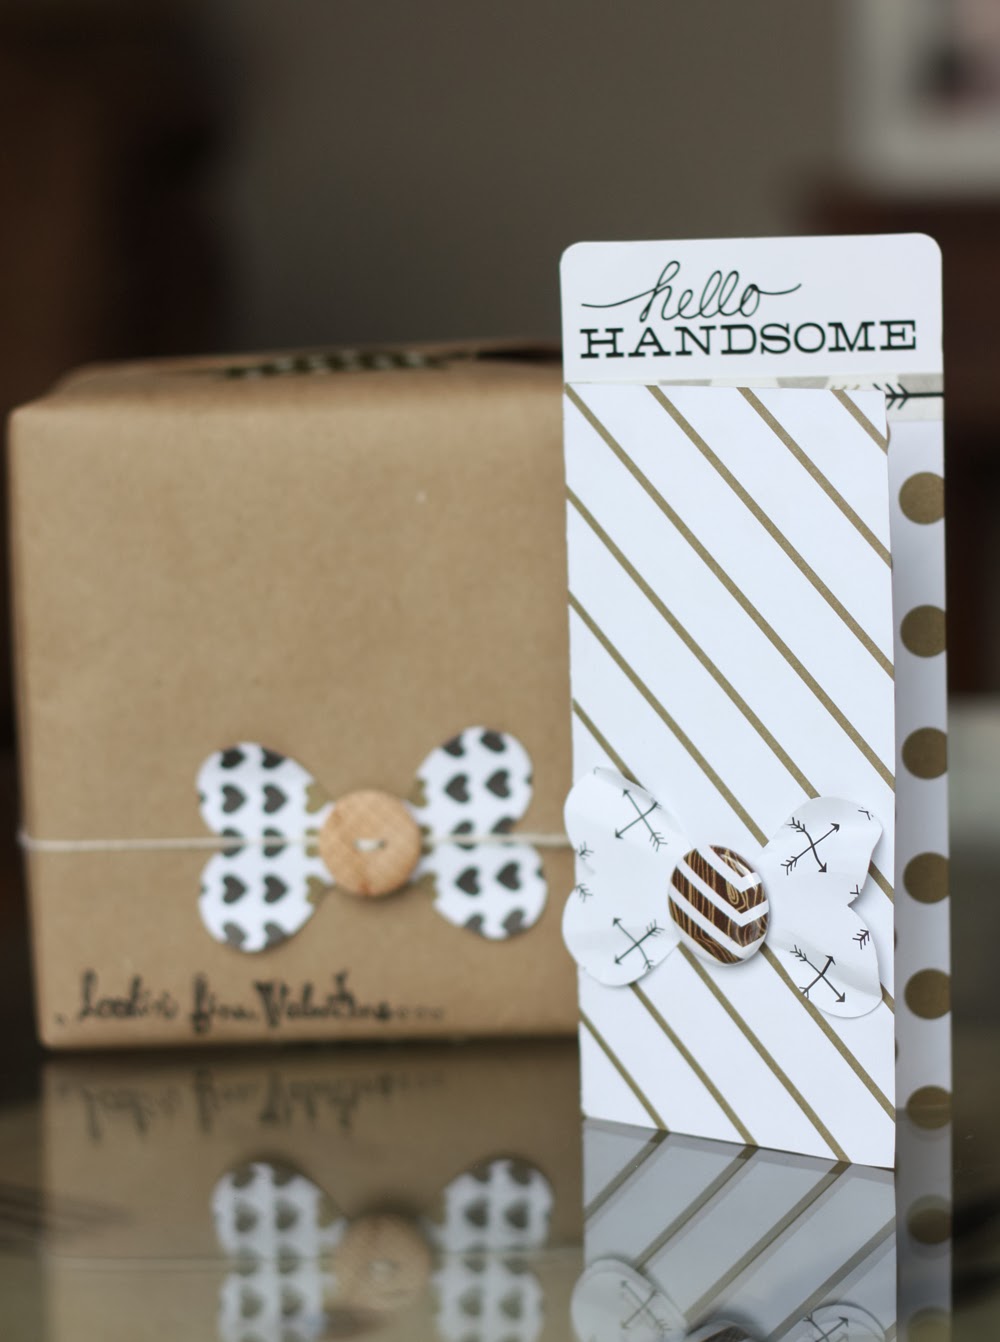
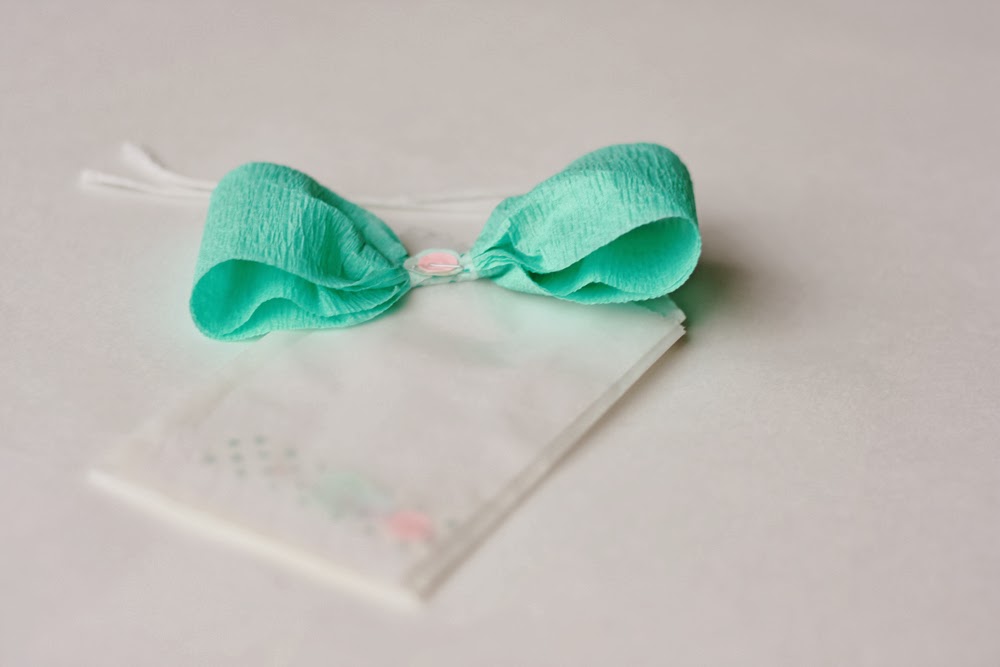
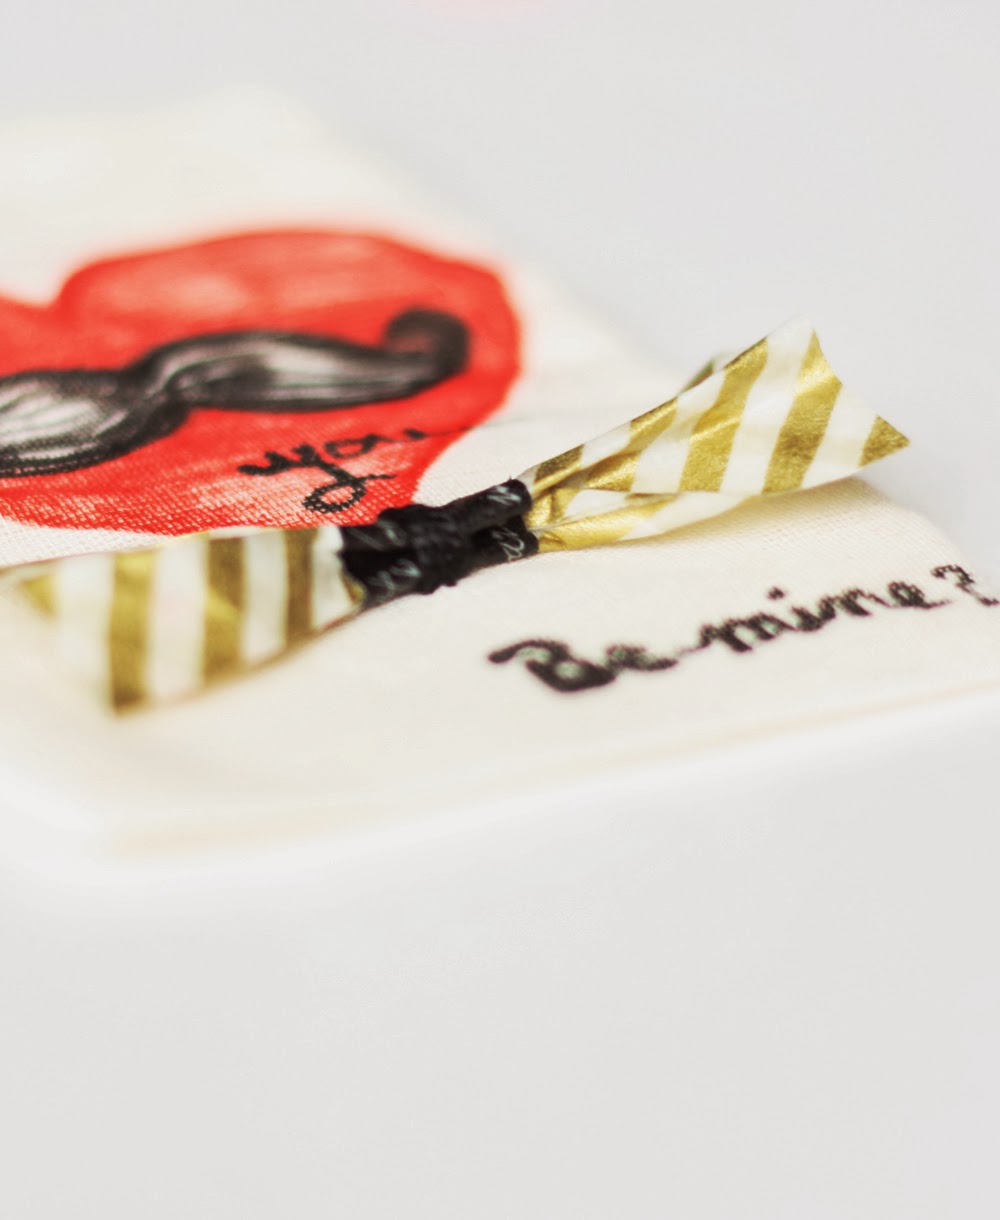
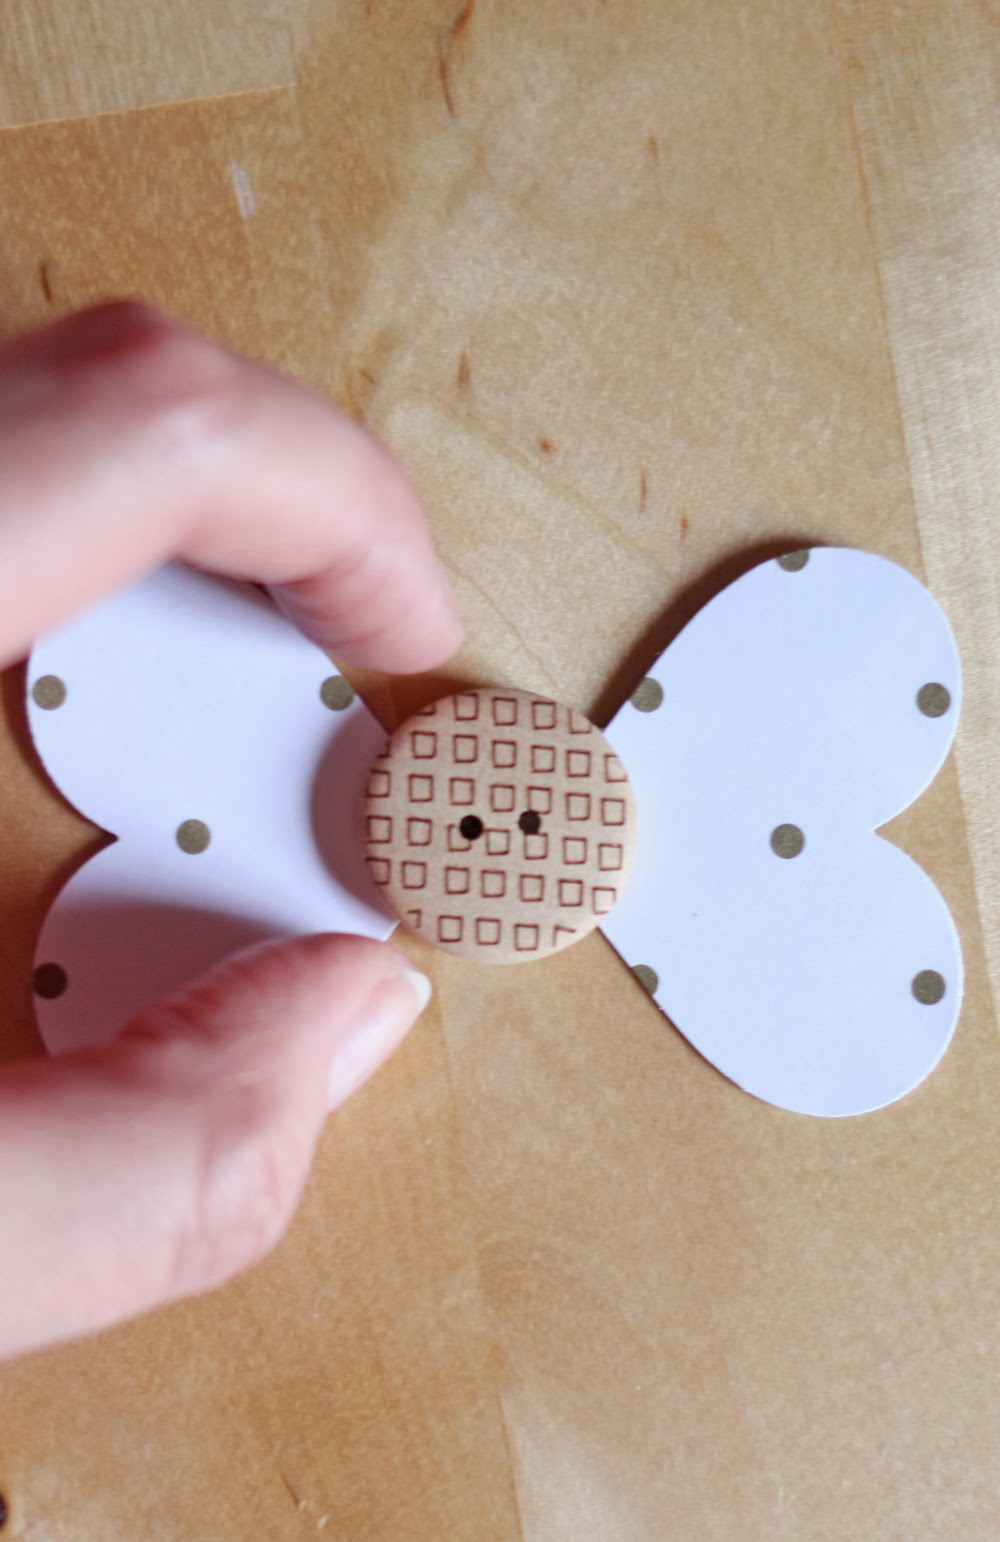
Lookin' fine, Valentine.


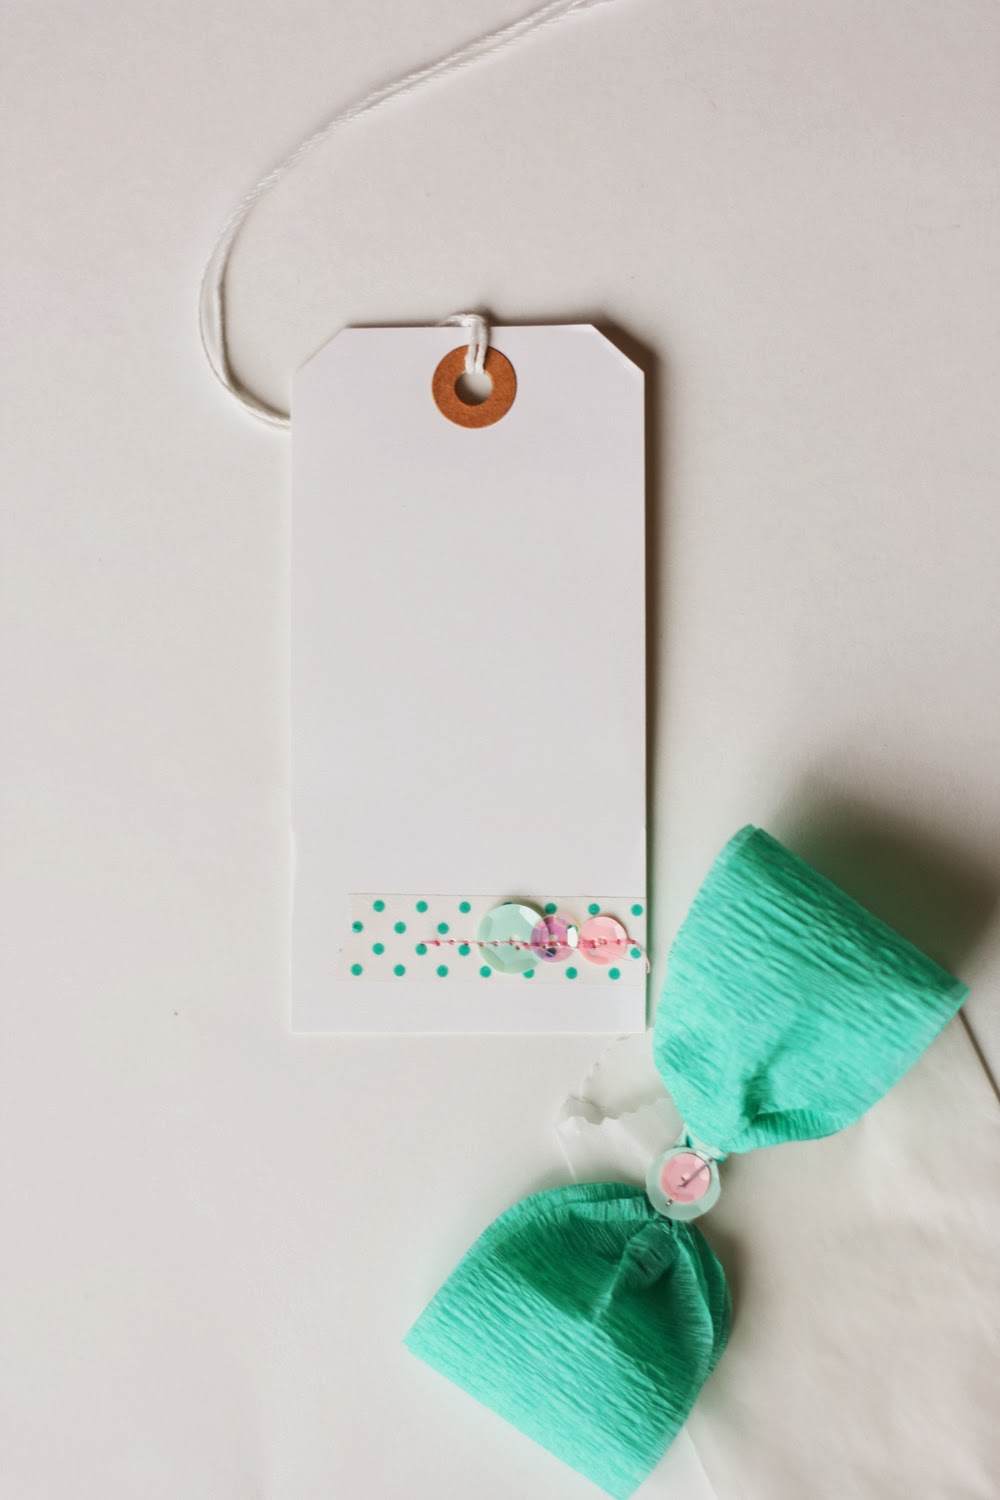
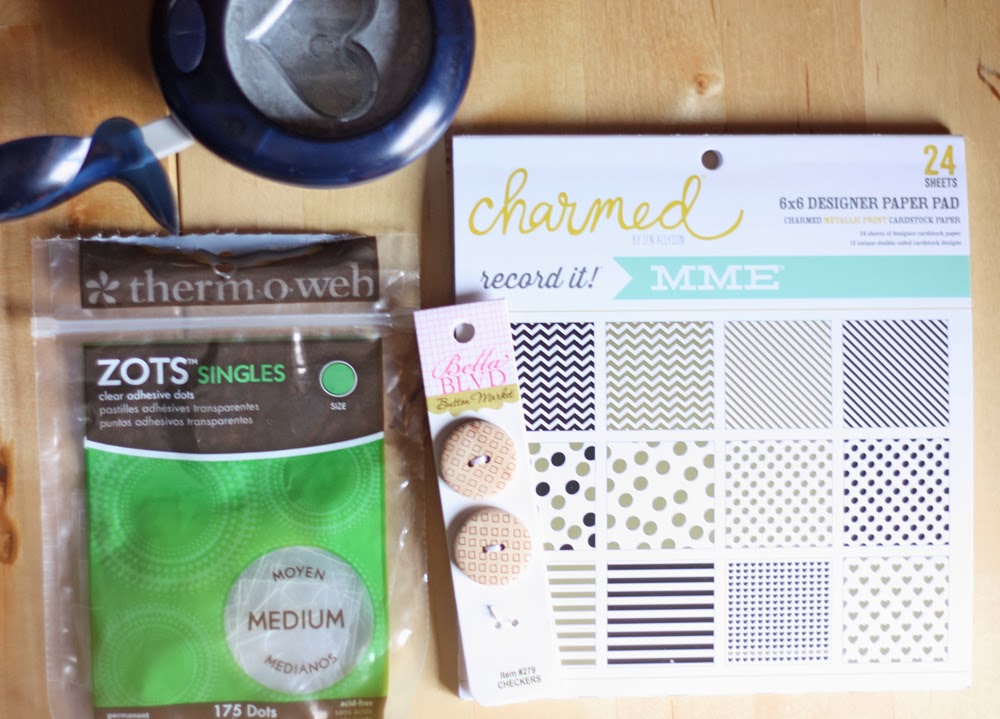
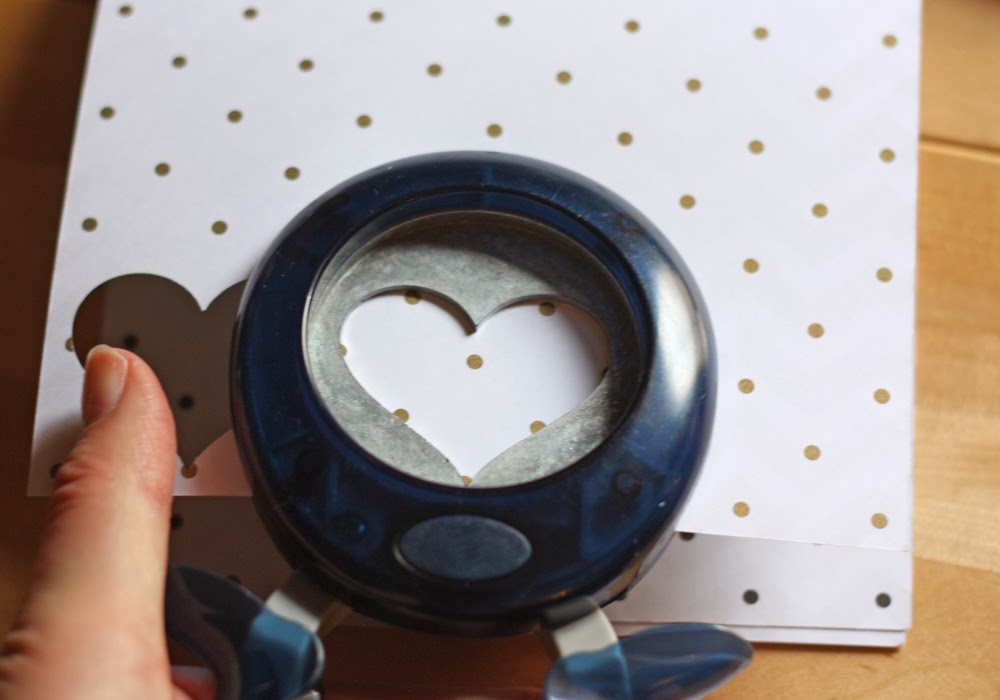
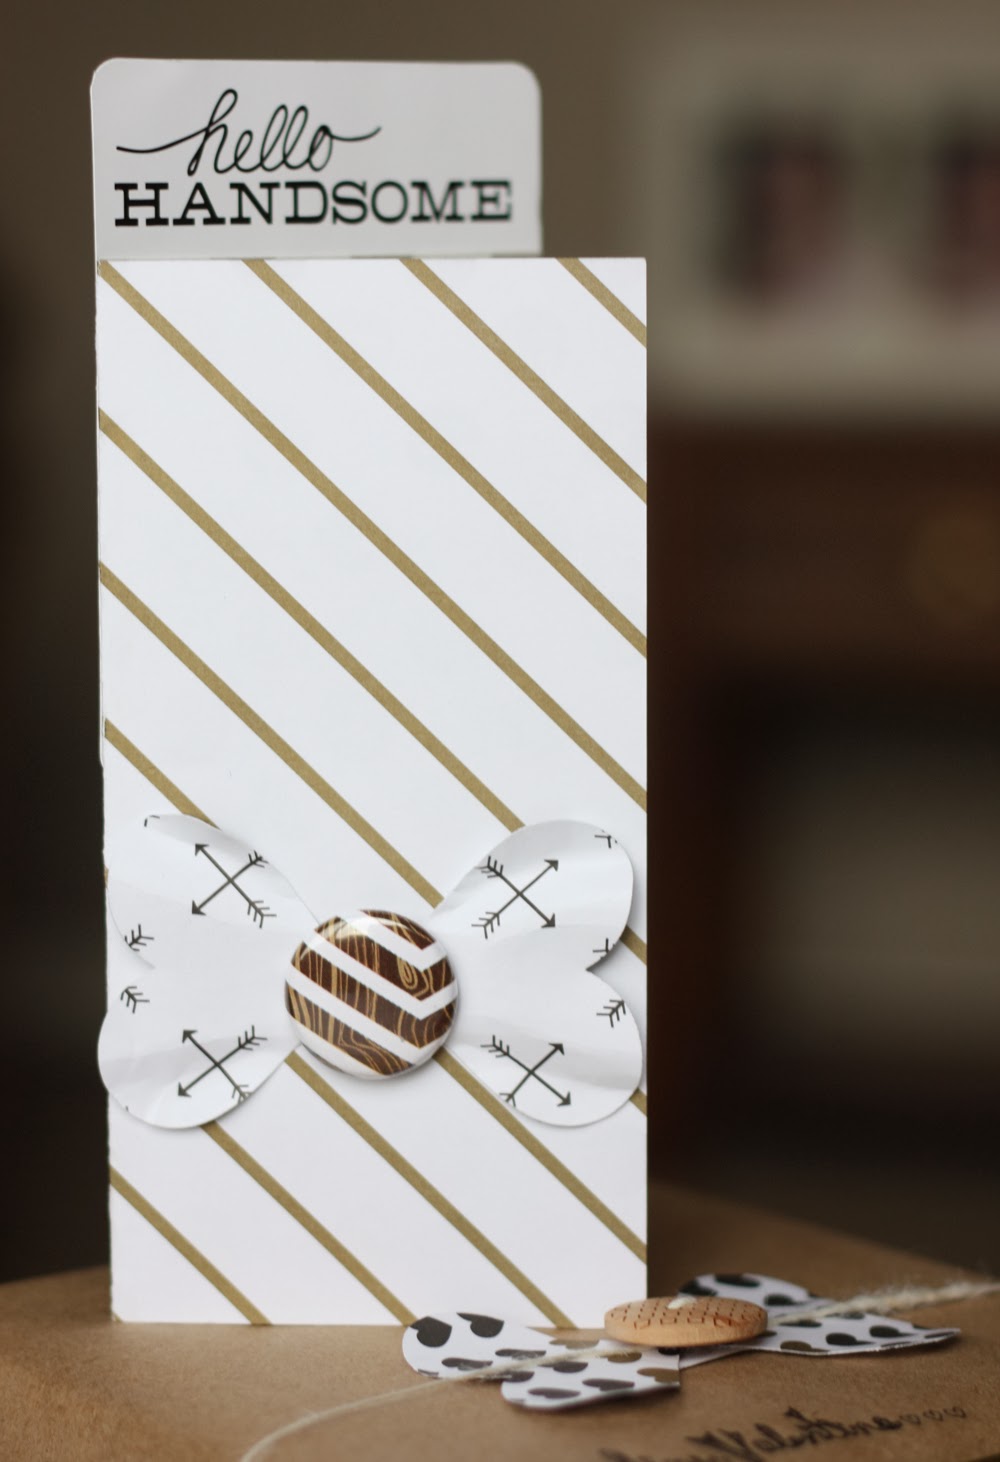
What would my Valentine be without a matching card? Do cards get any easier than this? It's a bow on a piece of paper. Whoa! Mustn't overdo. ;)


Okay, so I also added a sentiment. Not wanting to disrupt the bow-tie feel of my card front, I adhered a new My Mind's Eye journaling card to the top of the back of the card.


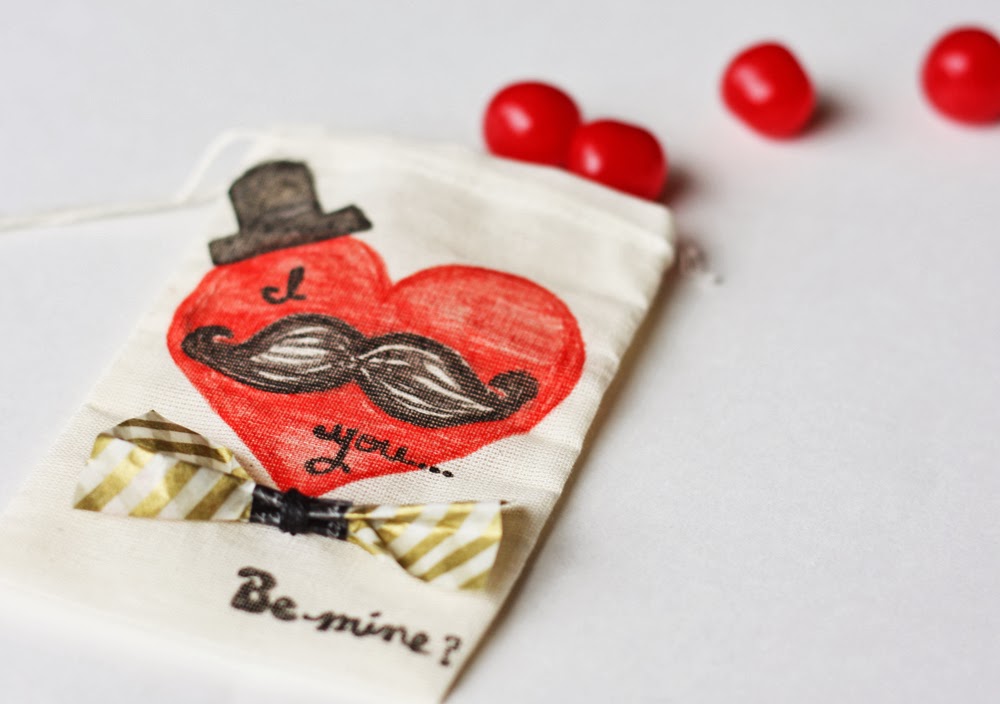
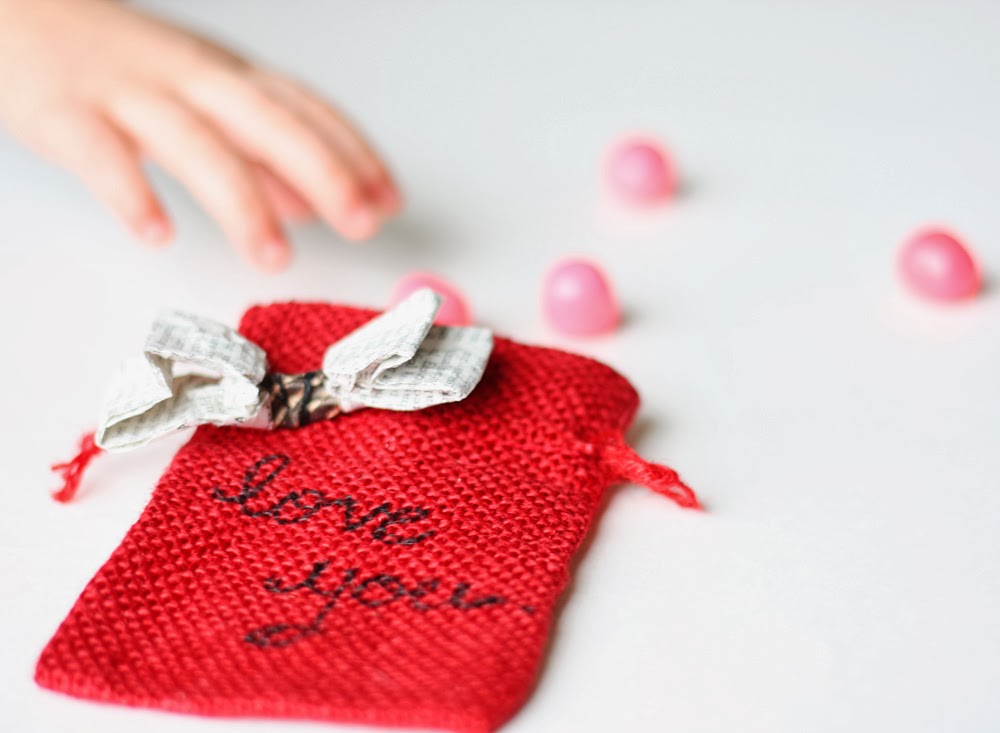
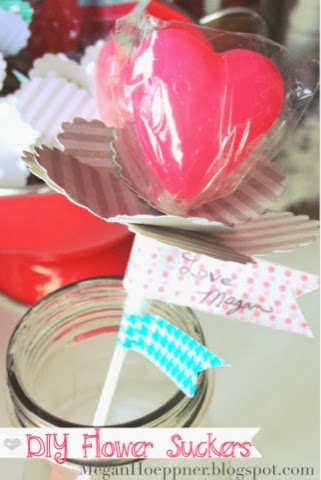
So, the gift within this package is less than exciting.  


Tell me something, do you think it's smart to dress the gift to the nines when it will be opened to reveal a... meh? Or do you think it's better to set the stage from the beginning? You know, wrap my ho-hum gift in a plastic grocery sack or something. Jury's out for me. You might say it's a bow tie.  >:<

Cheers!

No Business Like Bow Business: Easy bow techniques


Just call me a bow-fessional. You know, like a bow profe... Ah, never mind. I’m about bow-punned out after all the fun I had over on the Scrapbook & Cards Today blog. If you had a chance to check out my Monday with Megan post today, you, too, know bows. 

I even shared a tutorial for making your own crepe paper bows. They’re fast, easy and oh, bow cute! (Okay, so maybe I have a pun or two left in me. Consider yourself warned.) ;) 


A dear friend of mine is expecting a baby (two of ‘em, actually), so I thought I’d make my crepe bow into a little gift tag for her shower gift. 

I simply attached the bow to an SRM Stickers glassine bag (love these!), using a stapler. But I first layered some sequins from Teresa Collins Designs and Hazel & Ruby on the center of my bow, giving the stapler one more thing to hold on to. 


I then added a little washi and a few additional sequins to a standard shipping tag to complete the look. I now have a handmade gift tag to add to my friend’s shower gift. Bow kidding. It’s that easy!


Bow the Distance!
Make bows like bow-body's business with this faster-than-fast washi-tape technique!

Do It To It
Step 1: Fold strip (approximately 5") of washi tape on itself (leaving you with a 2.5" strip).


Step 2: Pinch to form bow shape and staple to secure. 


Step 3: Wrap strip of washi tape around stapled center.


Oh, bow you didn't! Yes, I did. A washi bow in 3 easy steps.


Looks to me like this bow tie needs a Mr. 

Back to my Stained by Sharpie technique.


Just color a fella on a bitty bag. If only I'd given him a fedora instead of a top hat. He would have made Humphrey Bow-gart proud. 


And stitch the bow to the bag with a needle and some embroidery floss. 


Fill it with treats and make your mustached Mr. smile. 


But what's a Mr. without his Mrs.?


Yup! The Stained by Sharpie markers work on burlap bags, too. Isn't that awesome? 

I made her bow using dictionary paper. 


Uh oh! Looks like my candy bandit is back! Those adorable, tiny fingers are caught candy-handed. 


Bow-nus Technique
Here's one more bow for this show. The supplies you need are:


Brand new, delicious paper from My Mind's Eye; classic wood buttons from Bella Blvd.; an awesome heart punch from Fiskars (and a small circle punch, not shown); Zots from Therm O Web

Do It To It
Step 1: Punch two hearts from patterned paper. 


Step 2: Punch small circle from scrap of paper (any paper is fine as this won't be visible).


Step 3: Place adhesive in center of circle. 


Step 4: Push tips of hearts down into glue using your fingernail. 


Step 5: Place additional adhesive on back of button and attach to center of bow.


Step 6: Shape hearts to enhance bow shape. 


Have fun with this technique, trying different paper patterns and bow centers (buttons, flair, etc.). 


Bow ties—just what I needed to make Cory's Valentine's Day gift complete! More on that in another post. I've gone on for long enough today. Thanks for stopping. And remember, there's no business like bow business!

Cheers!

Cupid's Arrow: A Washi Tape Treat


Need a quick Valentine that doesn't suck? These should, ahem, point you in the right direction!

Washi Arrows


Supplies
* heart suckers
* washi tape in 2 varying widths
* fine-point permanent marker (I used Sharpies)

Do It To It
1. Adhere two strips of wider washi to sucker stick, extending the tape approximately 2" beyond end of stick. 

2. Cut ends of tape closest to sucker to a point that points towards the sucker. 

3. Layer thinner strip of tape over center of wider tape (both front and back) and cut sucker ends to point.

4. Make a dovetail cut to outside end of tape and cut some fringe to complete your feather. This is the fun part! 

5. Write a little love note on feather using permanent, fine-point marker. 

6. Call Cupid and tell him you have his arrows ready to rock and roll. (800-LOVE-YOU)

Love Buds


If a bouquet of flowers is more your speed, you can use most of the same supplies (and a couple of punches) to make these botanical beauties!


Do It To It
1. Punch hearts from patterned paper (or cardstock) using heart-shaped punch. Note: Approximately 5 hearts per flower.

2. Punch small hole in base of each heart. Note: Hole should be the size of your sucker stick, if not slightly smaller.

3. Thread punched hearts up stick and fan out around sucker to create flower.

4. Add leaves using by wrapping a strip or two of washi around sucker stick, beneath hearts. Note: This will also hold hearts in place. 

5. Write a little love note on tape using a fine-point journaling pen.

6. Call the florist and tell him he has the day off; you've got this!

Supplies
* heart suckers (Target)
* basic hole punch
* washi tape 
*  heart punch (I used Fiskars scalloped heart)
* fine-point permanent marker (I used a Sharpie)


Cost
I think the complete project was only $4 for 32 suckers. 

* Suckers = $1/pack of 8 @ Target
* Crafting Supplies = $free.99, because I used supplies I already had on hand

Cheers! 

A special card-making poem by my own dear mama!

I seriously have the cutest mom around. Not only is she my biggest fan, attending all of my local boutiques and classes (even when they’re repeats), but she’s also a talented poet. Last Valentine’s Day she sent me a handmade Valentine with this poem included. It’s the best poem I’ve ever read, and I've been waiting a year to share it with you. If this doesn’t get you in the mood to create love notes, I don’t know what will. Enjoy! :)
Dear Megan,
I’ve used my Stampin’ Write Markers, 
And squeezed my squeezin’ punch.
I employed fussy cuttin’,
And used brads by the bunch.
I peeled and adhered 3D foam squares, 
Pulled out “Click-n-Sticks” for a mile,
And sorted out perfect cardstock,
From a multi-colored pile. 
I spared no painstaking effort, 
Applying rub-ons and my stick of glue.
All of my supplies were “archival safe,”
And, of course, “acid free” too!
My stamps of hearts and flowers, 
Adorned with colors, rare. 
From clever, fold-up ink pads,
That I used with a great deal of care. 
Pretty ribbons and lovely self-adhesives,
Took their special place, 
So each had an eye-catching style,
Of flow, and flair, and grace. 
I was extremely proud and happy,
When my Valentine production was through.
I’d used techniques learned from an expert,
At the classes I took from you!
Love, 
Mom

Isn't she amazing? I sure think so! Love you, Schmom! 


Cheers!

DIY Felt Fortune Cookies


Hey there, cookie! Here’s a little Valentine’s Day good fortune for you. It’s a felt fortune cookie. 


Inspired by the talented Kristine McKay's Studio 5 segment, I created these cookies for my coworkers last year. They come together quickly and make a great and unique surprise for anyone who brings a little good fortune to your life. Here’s the recipe for these cute cookies.
Step 1: Cut a felt scrap into an oval.


Step 2: Cut jewelry wire to the length of the center of your cookie.


Step 3: Apply fabric glue to the center of your felt piece.


Step 4: Position your wire to the glue and secure in place by adding a strip of ribbon across the top. 


Step 5: Fold cookie in half and stitch around edge. Leave a small area unstitched so that you can insert a fortune. 


Step 6: Use your finger to form the wire into the fortune-cookie shape. 


Confucius Say: This is one project you’ll love this Valentine’s Day!
Cheers! 

Lovely Wrapped Wreaths


Wrap a little wreath love using different trims. I'm sharing these projects on Studio 5 today, and they're are so much fun to put together. All you need are the following supplies:


* Wreath Form: (available at your local store) Note: Floral wreaths can sometimes be found at the dollar store. 
* Rosette Trim: Search local fabric, trim, craft, or scrapbook stores for this trim. A few scrapbooking companies that sell this style of trim include: American Crafts, BoBunny, Maya Road, and Webster's Pages
* Straight Pins
* Yarn
* Toppings: Ideas include: beaded trim, pom pom trim, and tulle. 


Rosette Wreath
Inspired by this post on the amazing Maya Road blog, I started by making a few rosette-trim wreath (like the one above)s. Here’s how:
1. Pin your trim in place on the wreath. I used this stunning trim from Maya Road


2. Wrap the rosette trim around the wreath base. Note: For a fluffier wreath, wrap the wreath with two layers of trim.


3. Once your wreath is wrapped, you can top it with a second trim (beaded trim, pom poms, tulle, etc.) and/or other accents (rosette flowers, hearts, etc.)


    4. If you want to, you can also add a light misting of sparkle and/or color with spray ink. If you look closely you'll see pink ink has been applied to the creme rosettes. 


    Yarn Wreath
    Lately, I’ve seen several yarn-wrapped wreaths in the creative world, like this cute example. Yarn-wrapped wreaths take more time to create than the rosette variety, but they sure look cute. The steps are similar.
    1. Pin yarn in place.


    2. Wrap yarn around base. Note: You may want to start with a thicker or fuzzy yarn, which is easier to wrap as you’re practicing. 


    3. Dress up your yarn wrapped wreath. For this project, I used the Valentine’s Day garland I made here


    These are happy projects to try for any holiday or season. Do you hang wreaths for seasons beyond Christmas? If so, I’d love to know what holidays or seasons you find yourself all wrapped up in wreath fun. 


    I leave you with a few more wreath creations I've put together. Enjoy! 


    I topped this one with a smaller Rosette trim and some layered rose flowers, both from Maya Road. 


    You'll find some beaded trim and a large silk flower finishing this wrapped wreath, both of which I purchased at JoAnn crafts. 


    And this spring variation was created with colored rosette trim from Webster's Pages.


    Cheers!


    P.S. To see more of my Studio 5 crafting segments, please check out the Creating Keepsakes website, where we have a complete archive. Thanks so much! 

    Valentine's Day Garland How-To

    I love creating Valentine's Day projects, and this garland was no exception. It's quick, easy, and lovey-dovey cute. Give it a try! Here's how:

    Supplies Needed

    You'll need twine (I used the baker's variety), pom poms (bitty and a bit bigger), felt hearts, and a needle.


    Step 1: Thread the first half of the heart.


    Step 2: Add bitty pom to center of heart and thread needle through remainder of heart.


    Step 3: Thread a bigger pom.


    Step 4: Repeat steps 1-3 until garland is the length you want it.


    Love will really be in the air when you string up this puffy string of sweetness. :)

    Cheers!