Studio 5, Stamp Giveaway & BIG Planner Sale

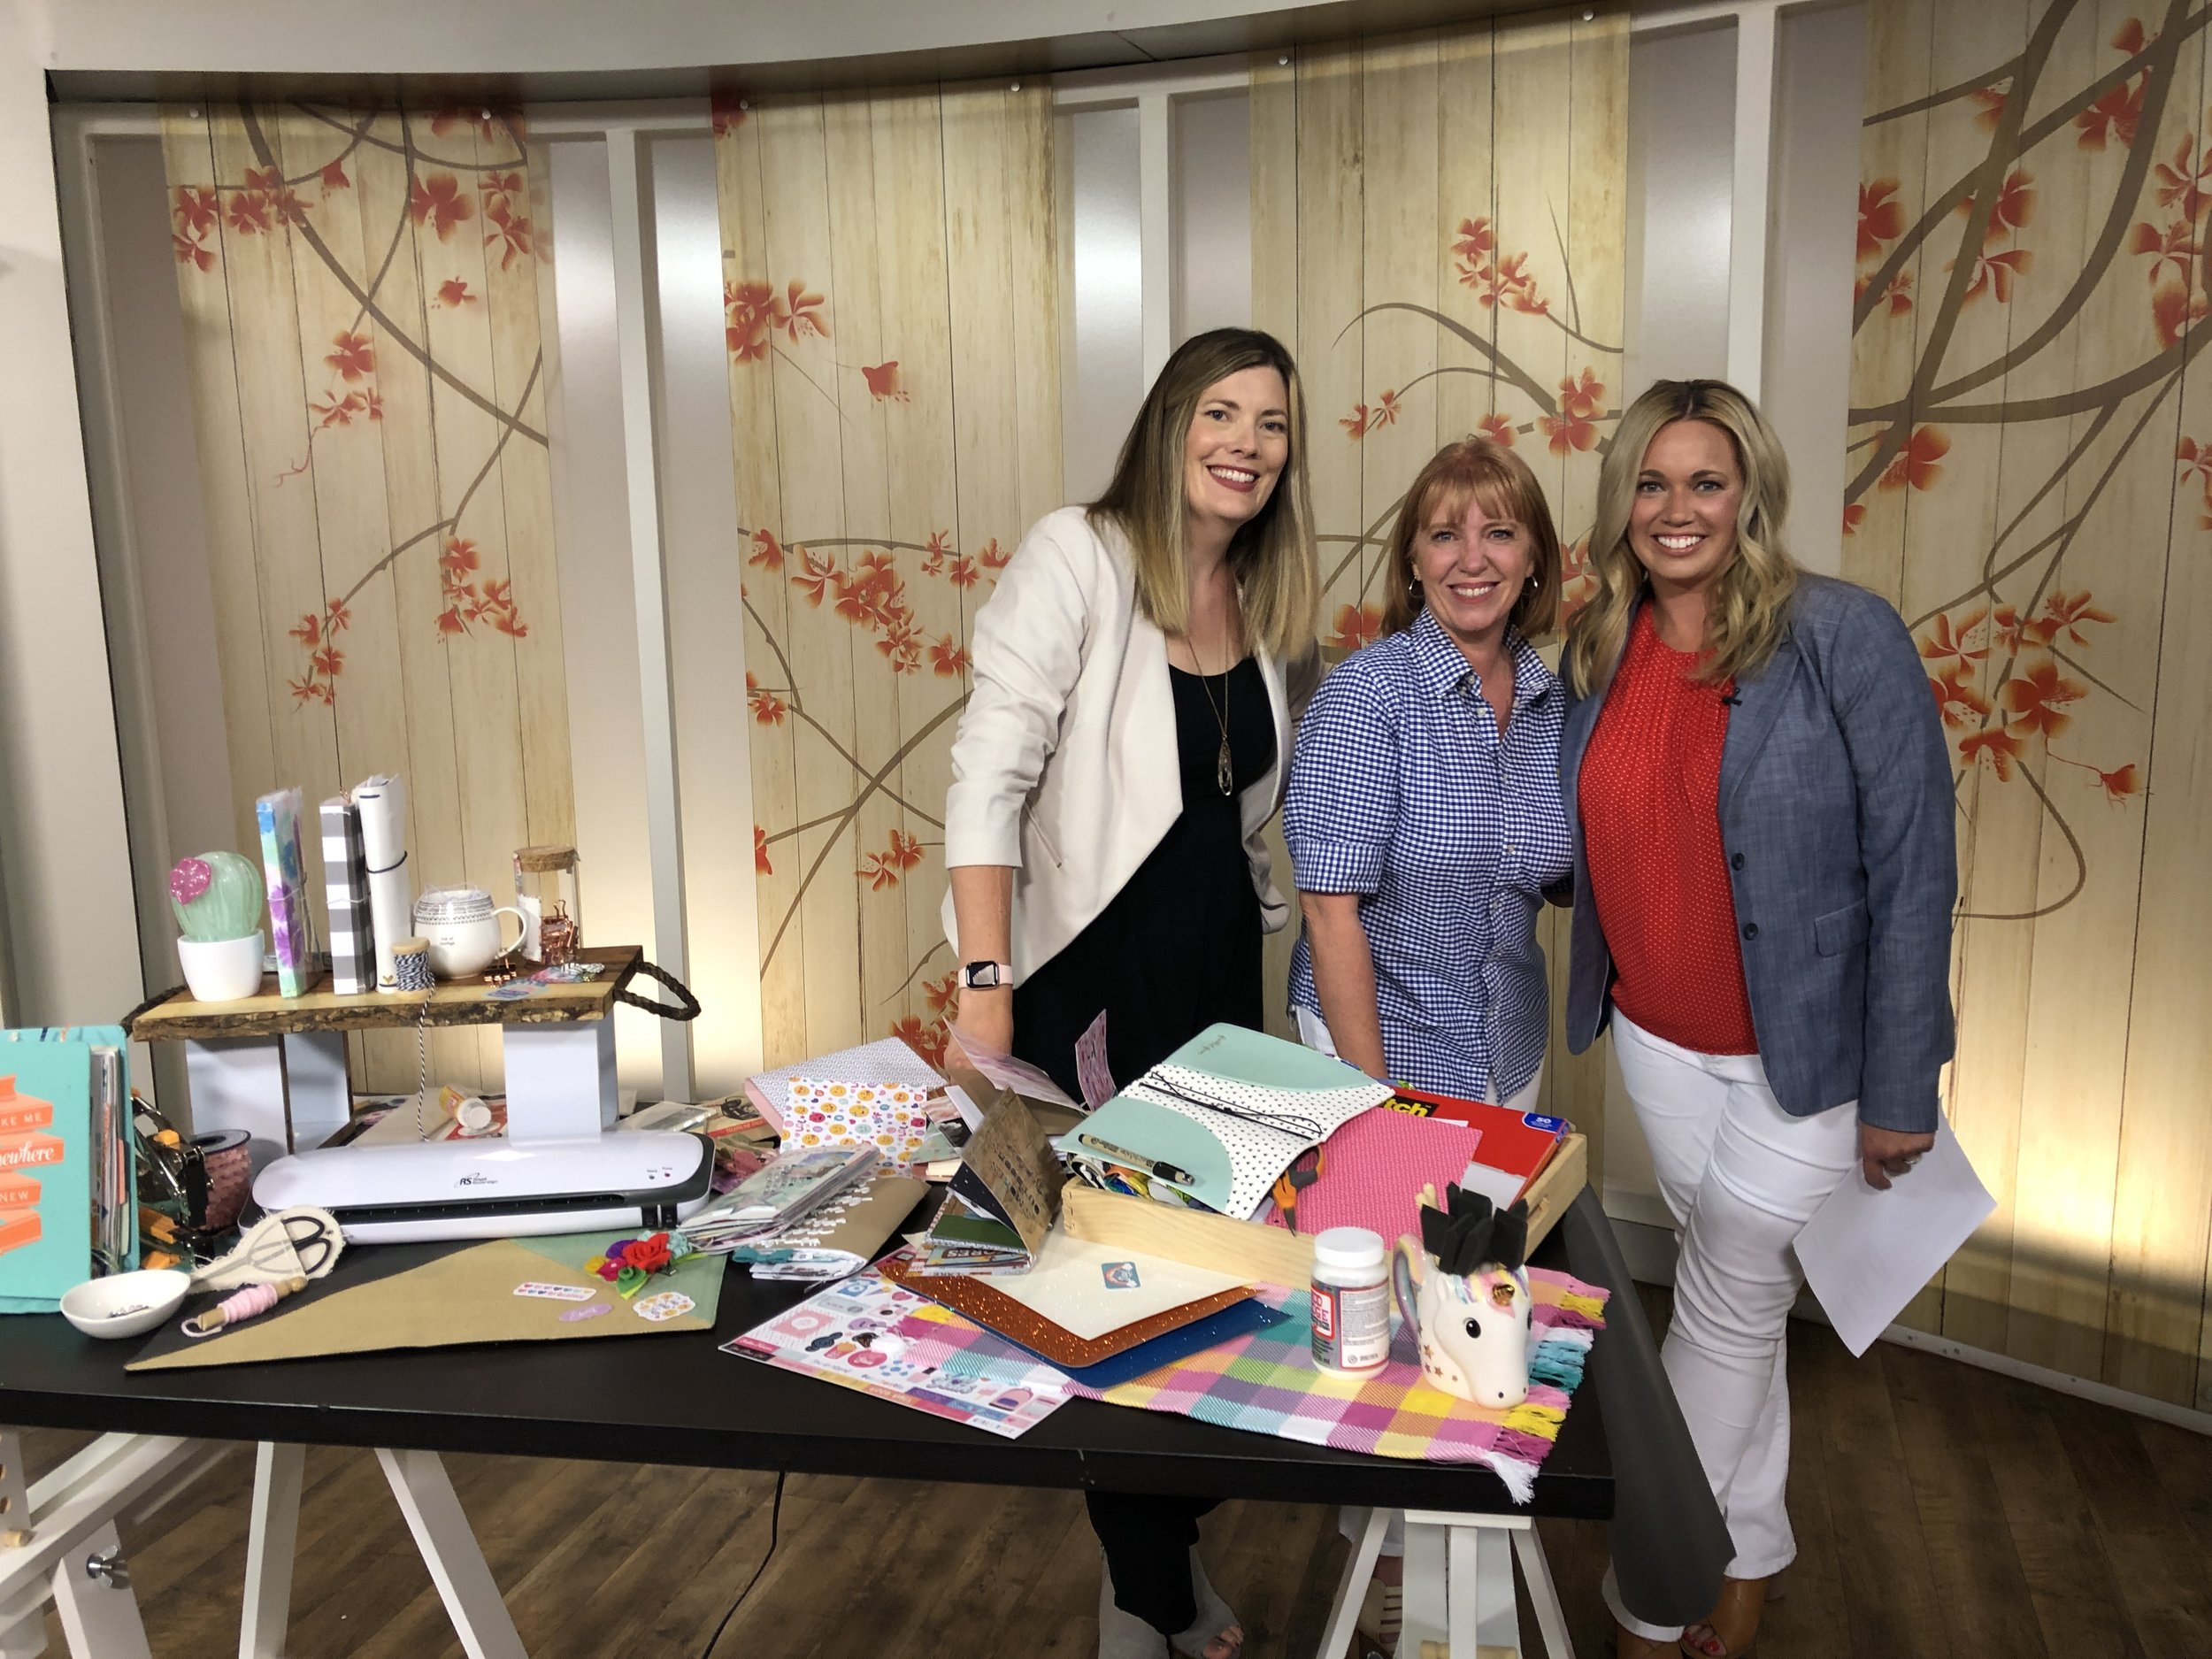
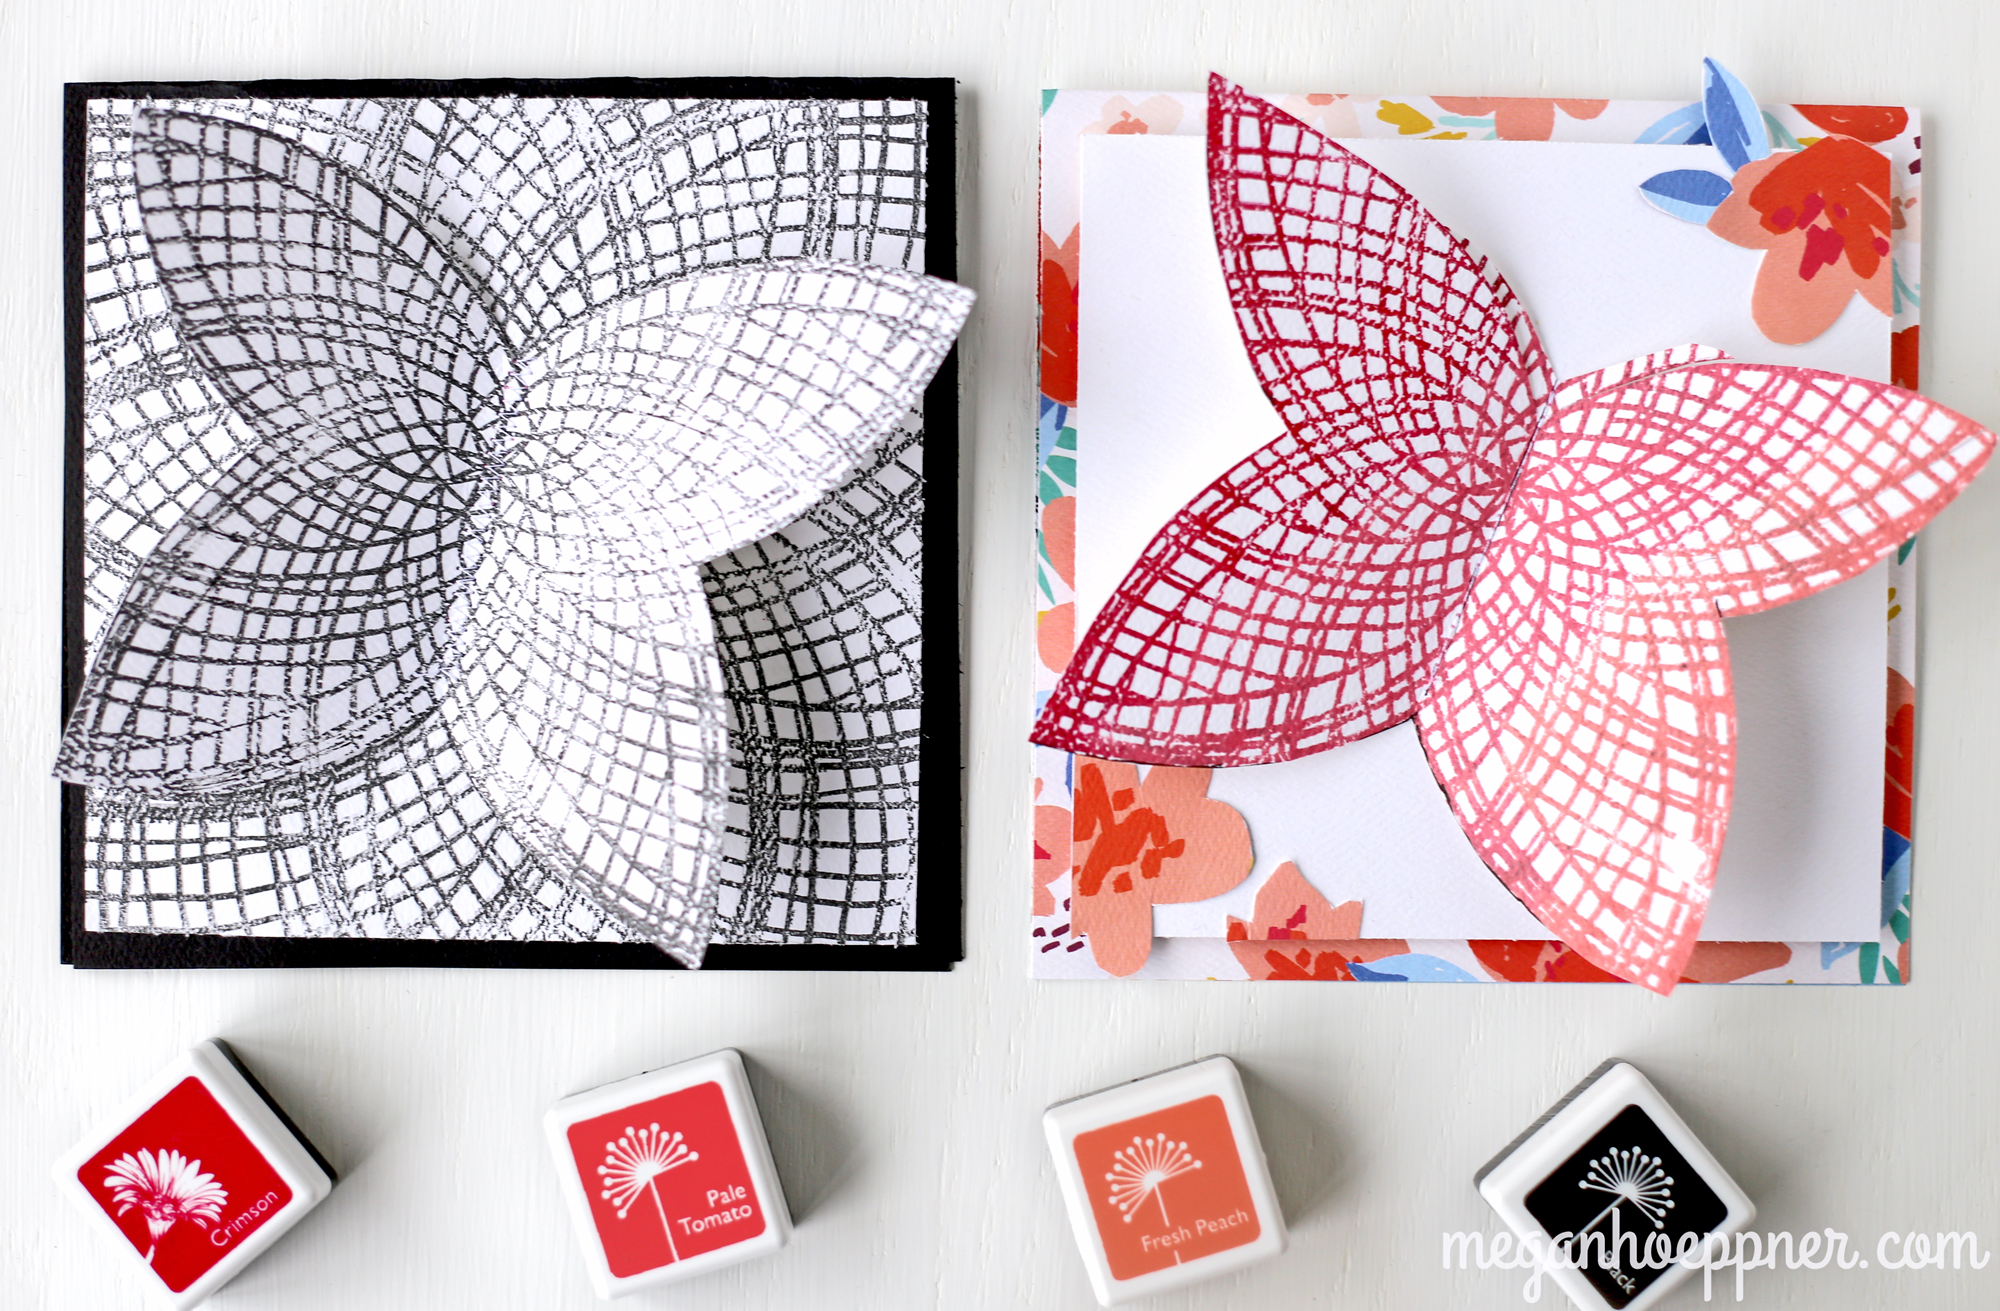
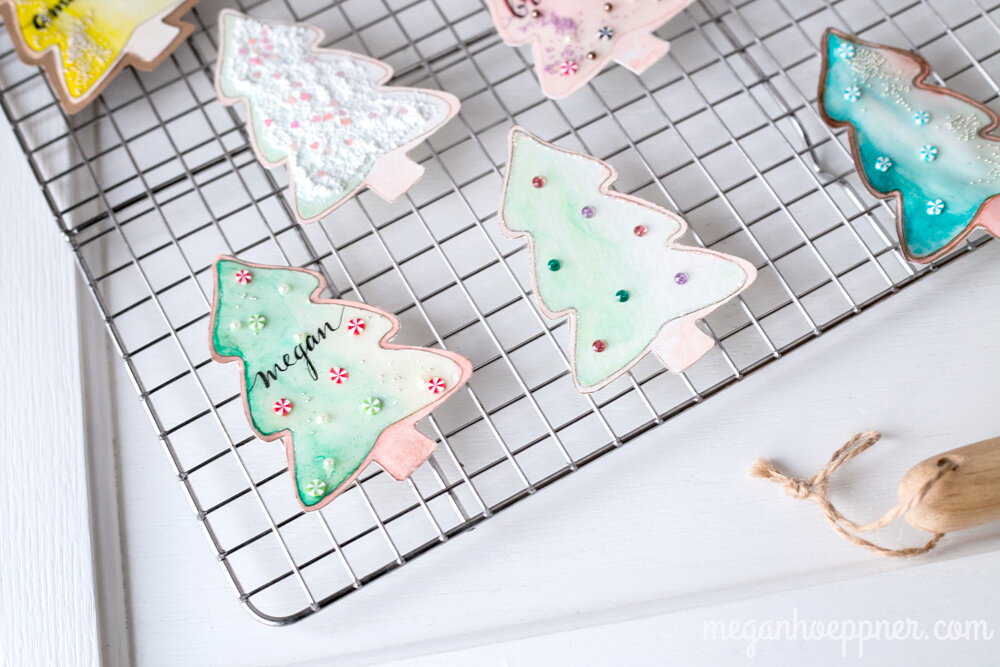
It was cookies for today’s Studio 5 television segment. Me? In their kitchen?! Did I have you fooled? Not likely! We both know I can’t even “cook” toast properly. But I did “bake” some paper cookies using sweet stamp sets from The Stamp Market.

S5_cookieSwap_cooling.jpg

WIN STAMPS + CARDSTOCK from The Stamp Market

Perhaps you’re here because you caught the show and want a chance to win this tasty trio of stamps? Check out my Instagram account. There’s a giveaway going on now through 12/20/2019. The prize: These three stamp sets AND a pack of gorgeous cardstock! Pssttt…. I think the prize has YOUR name on it. :)

S5_cookieswap_santa-sign.jpg


DAY PLANNER + SUPPLIES SALE


PLEASE NOTE: Supplies somewhat limited. Orders will be fulfilled on a first come, first serve basis. See “Sale Specifics” section below for info on ordering. Many thanks!

Perhaps you’re here because you watched my segment today and you’re interested in my planner sale. Welcome!!

Here’s the scoop: I teach planner workshops and have for years. I buy kits and planners for these workshops and always end up with extra inventory. Now, I find myself in need of your HELP. I have more planners and kits than I know what to do with.

EXCESS INVENTORY + SMALL HOME = BIG NEED TO MOVE PRODUCTS = GOOD NEWS FOR YOU

Why am i talking in all-cap math equations? Yeah… I don’t know either. Maybe it’s all of this planner business sitting around my house. It’s enough to make a girl crazy. Sooo…

MASSIVE PLANNER SALE!

OPTION 1: Day Planner + Planner Supplies
PRICE: $50 + shipping

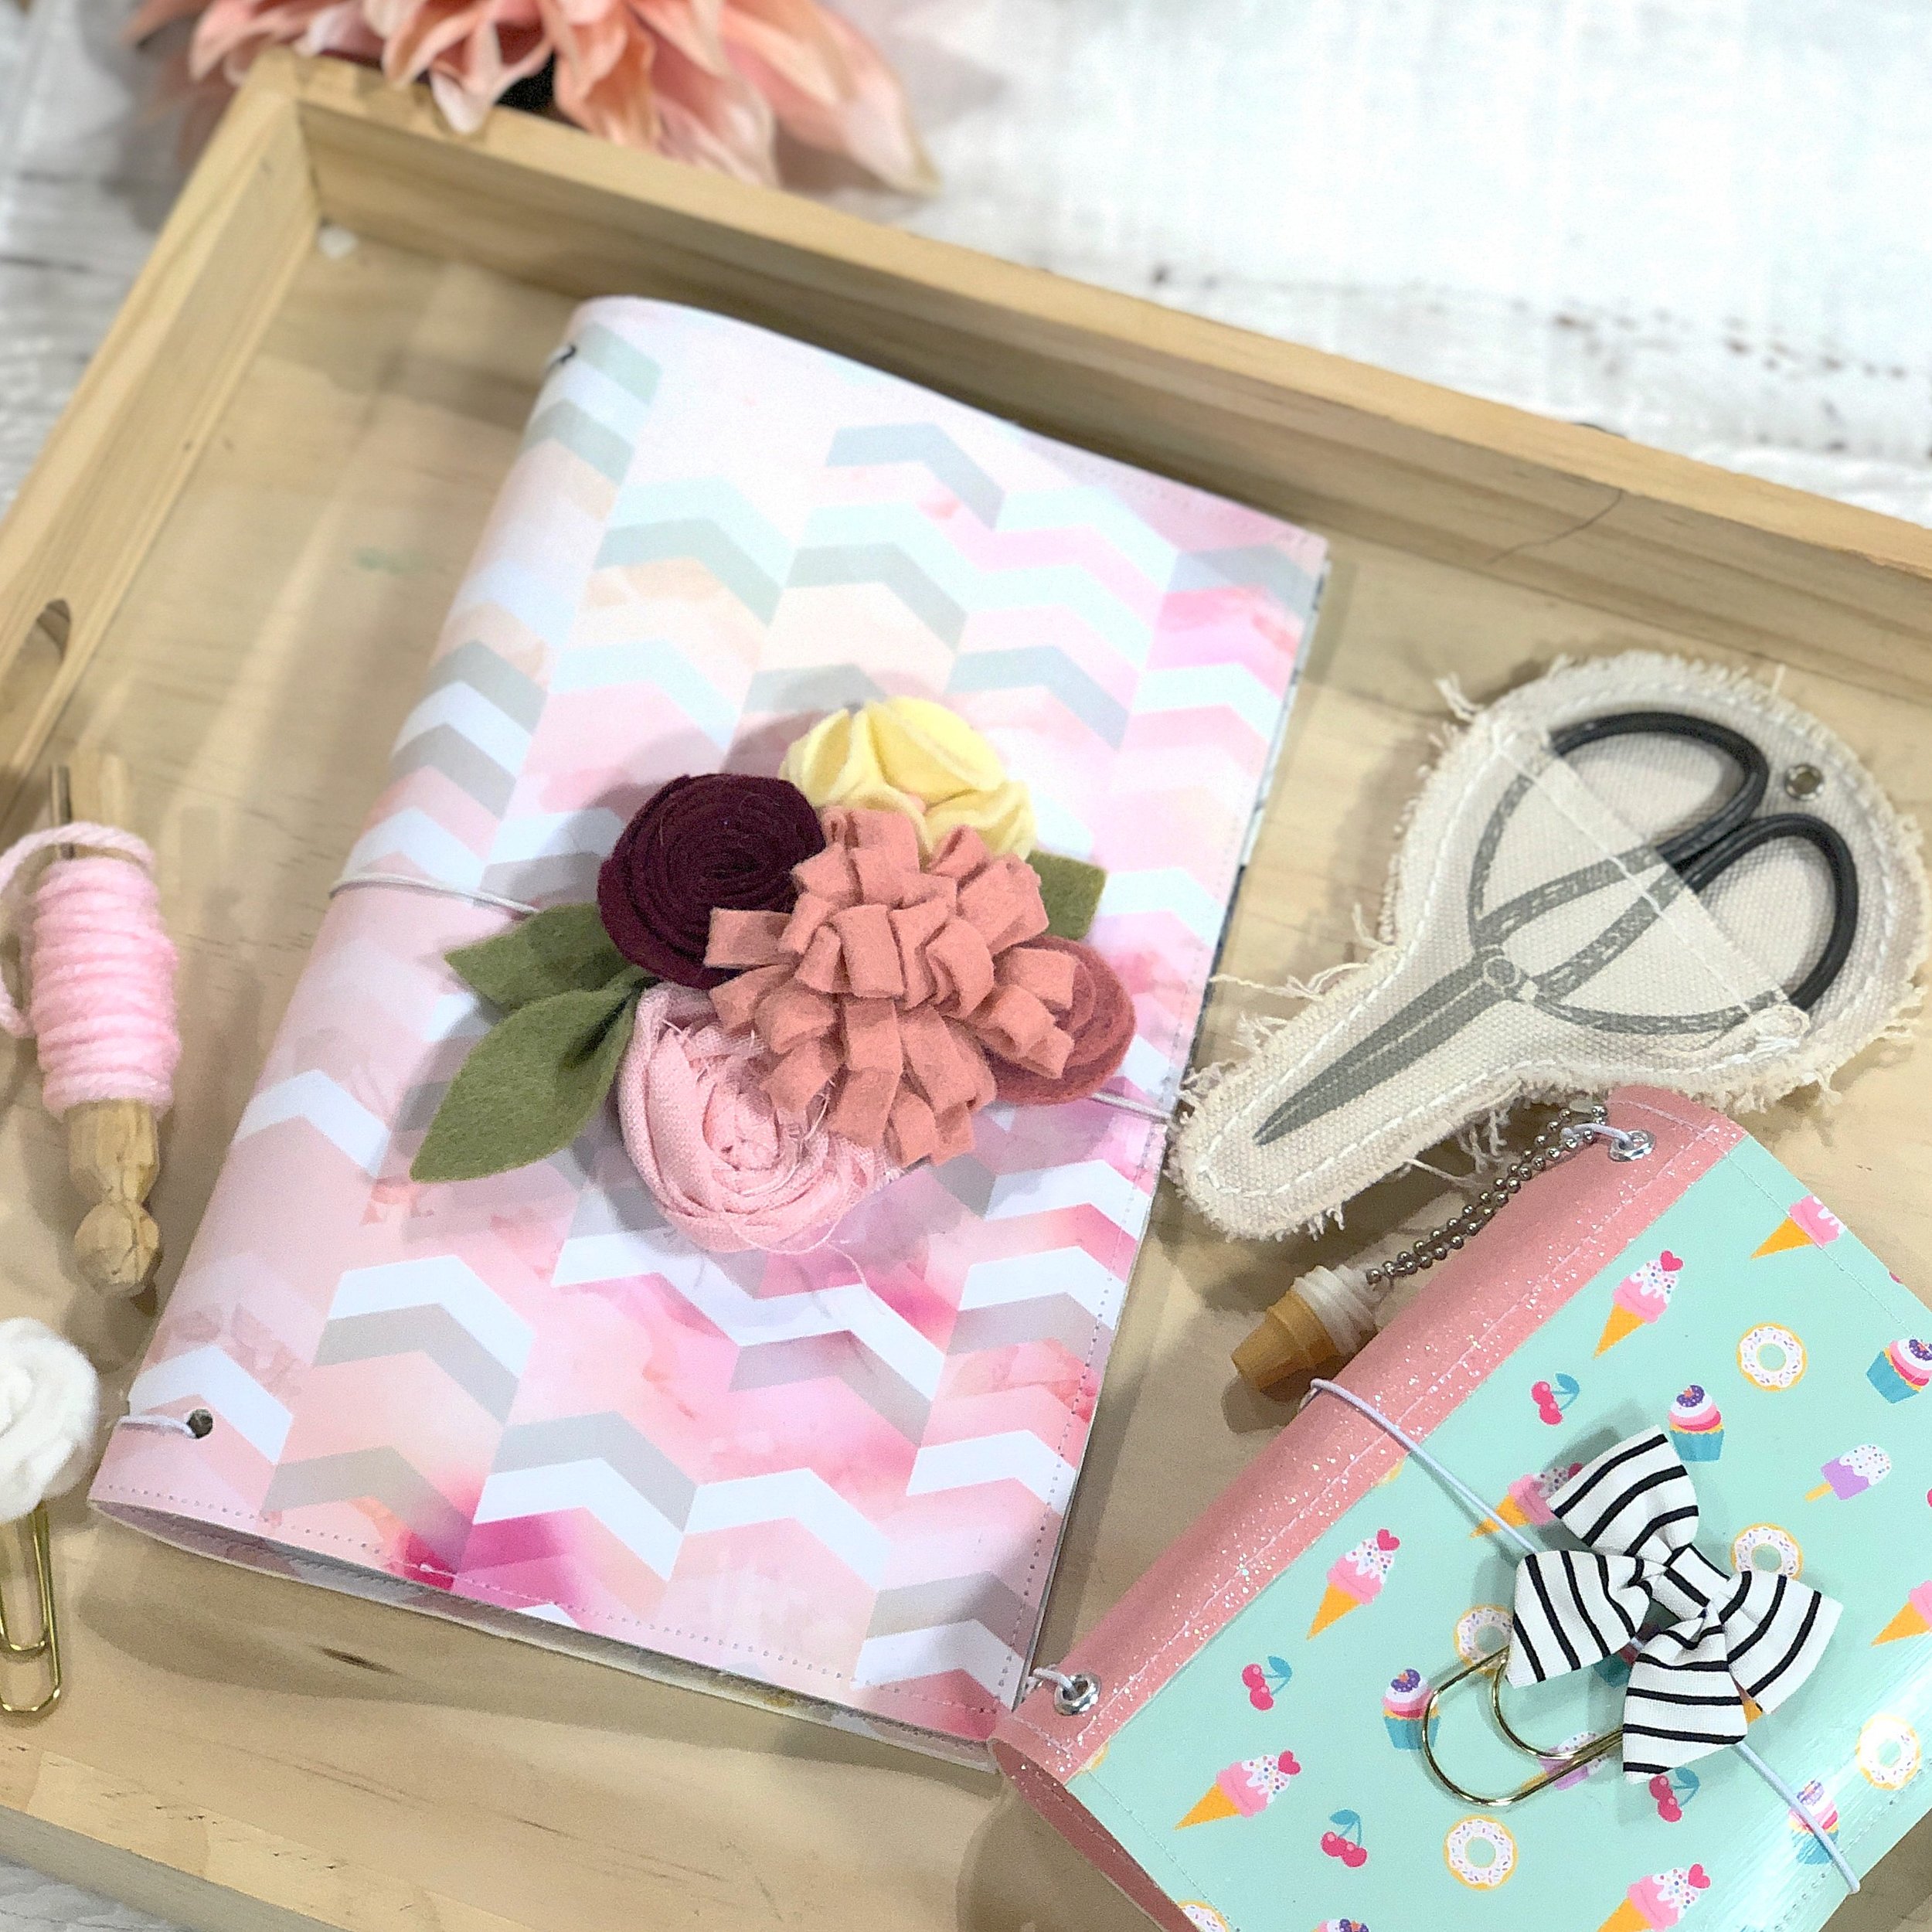
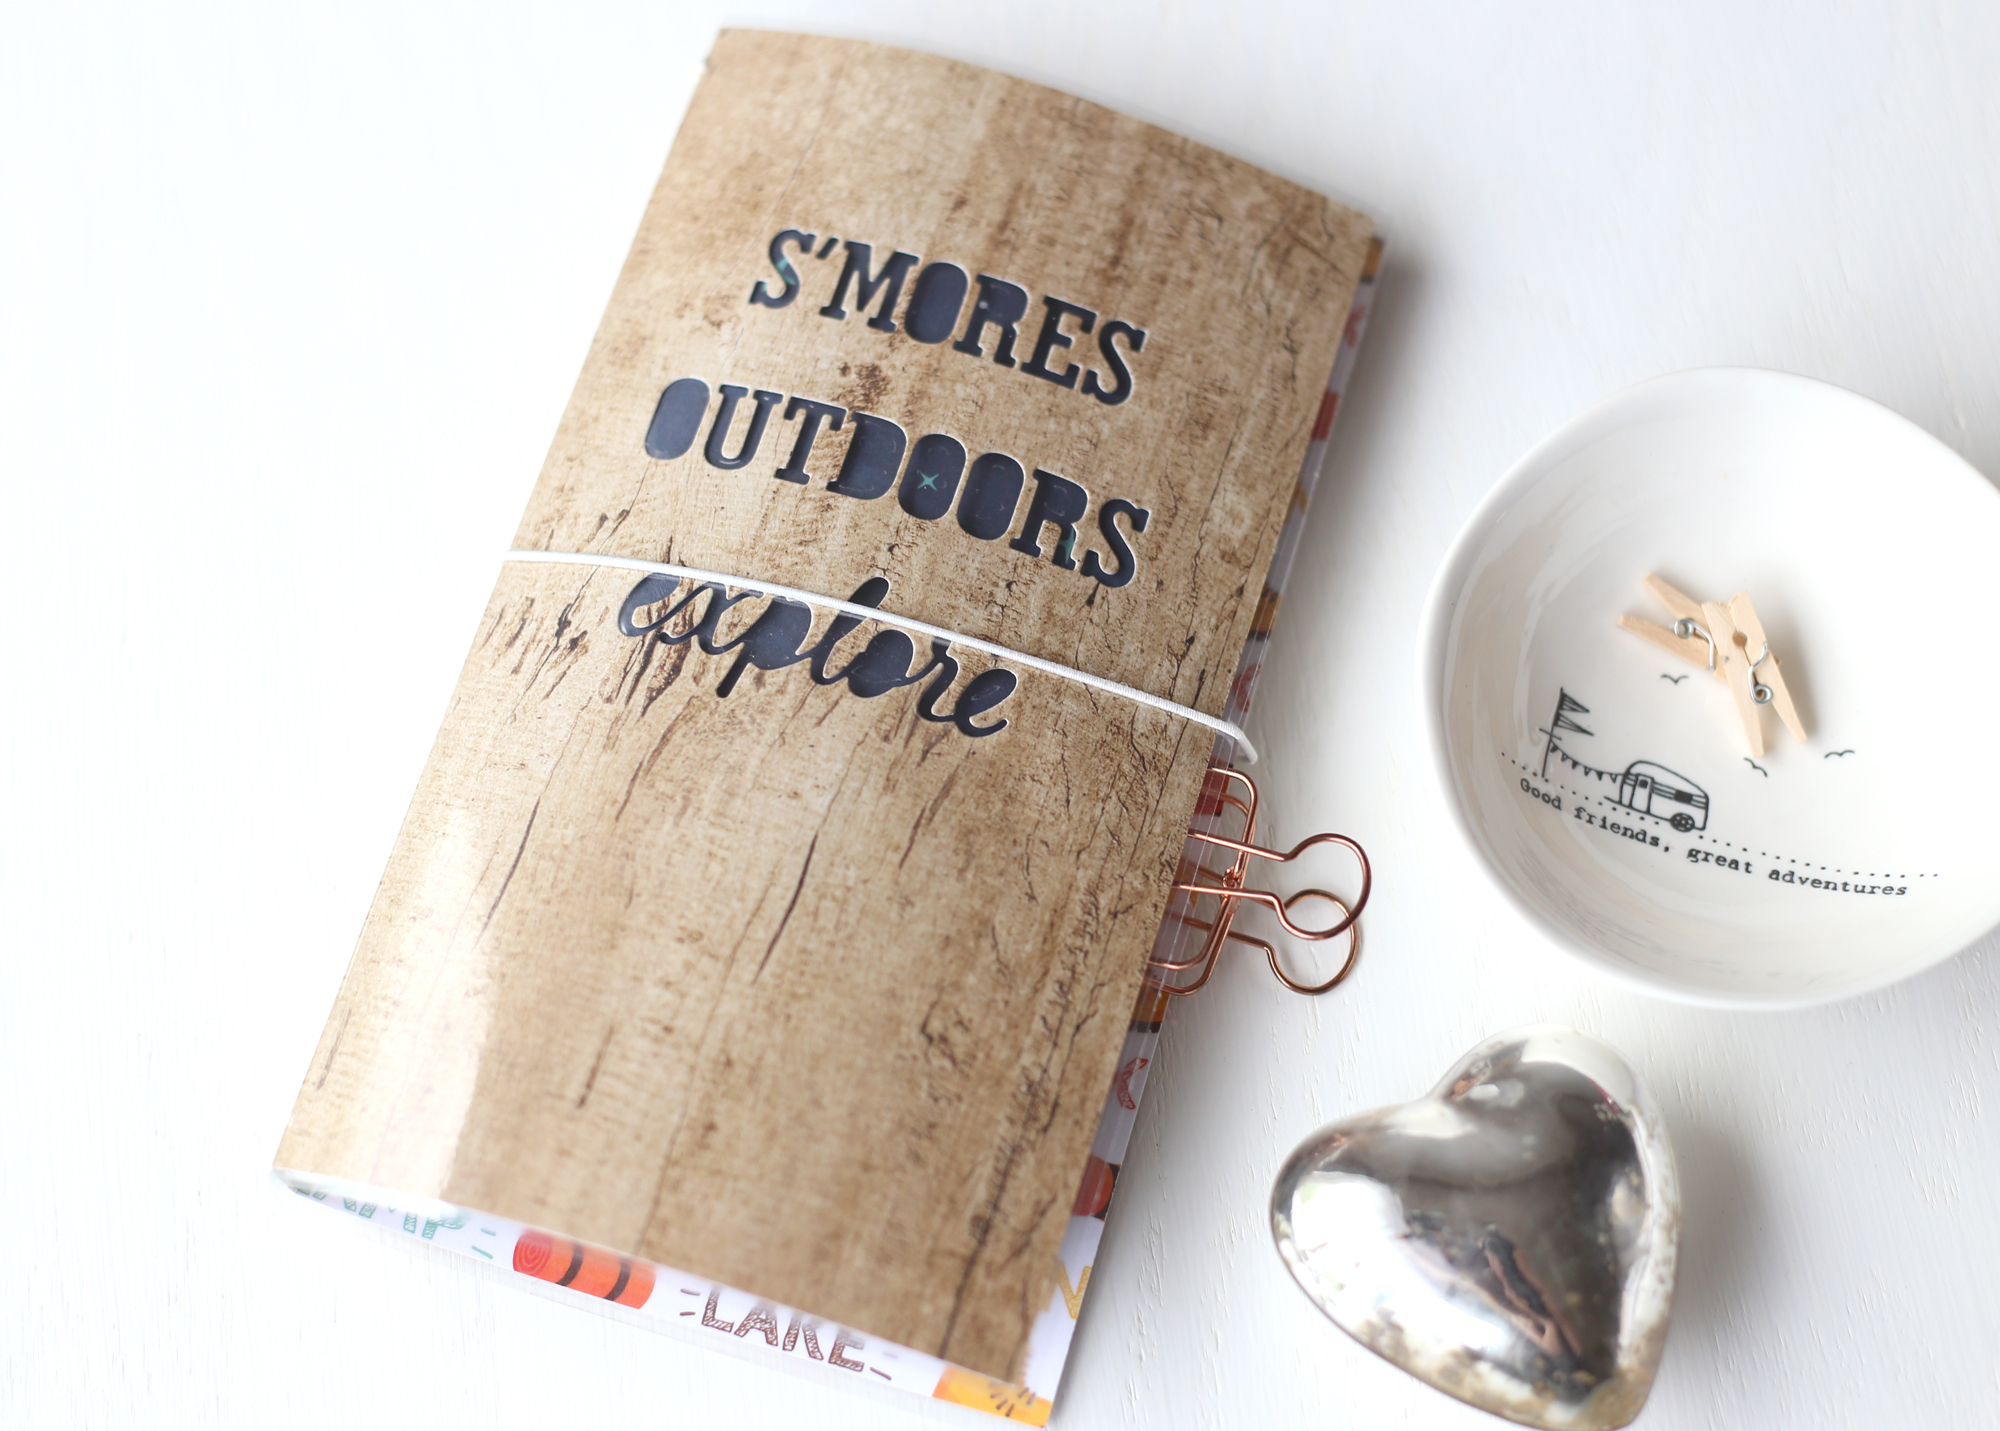
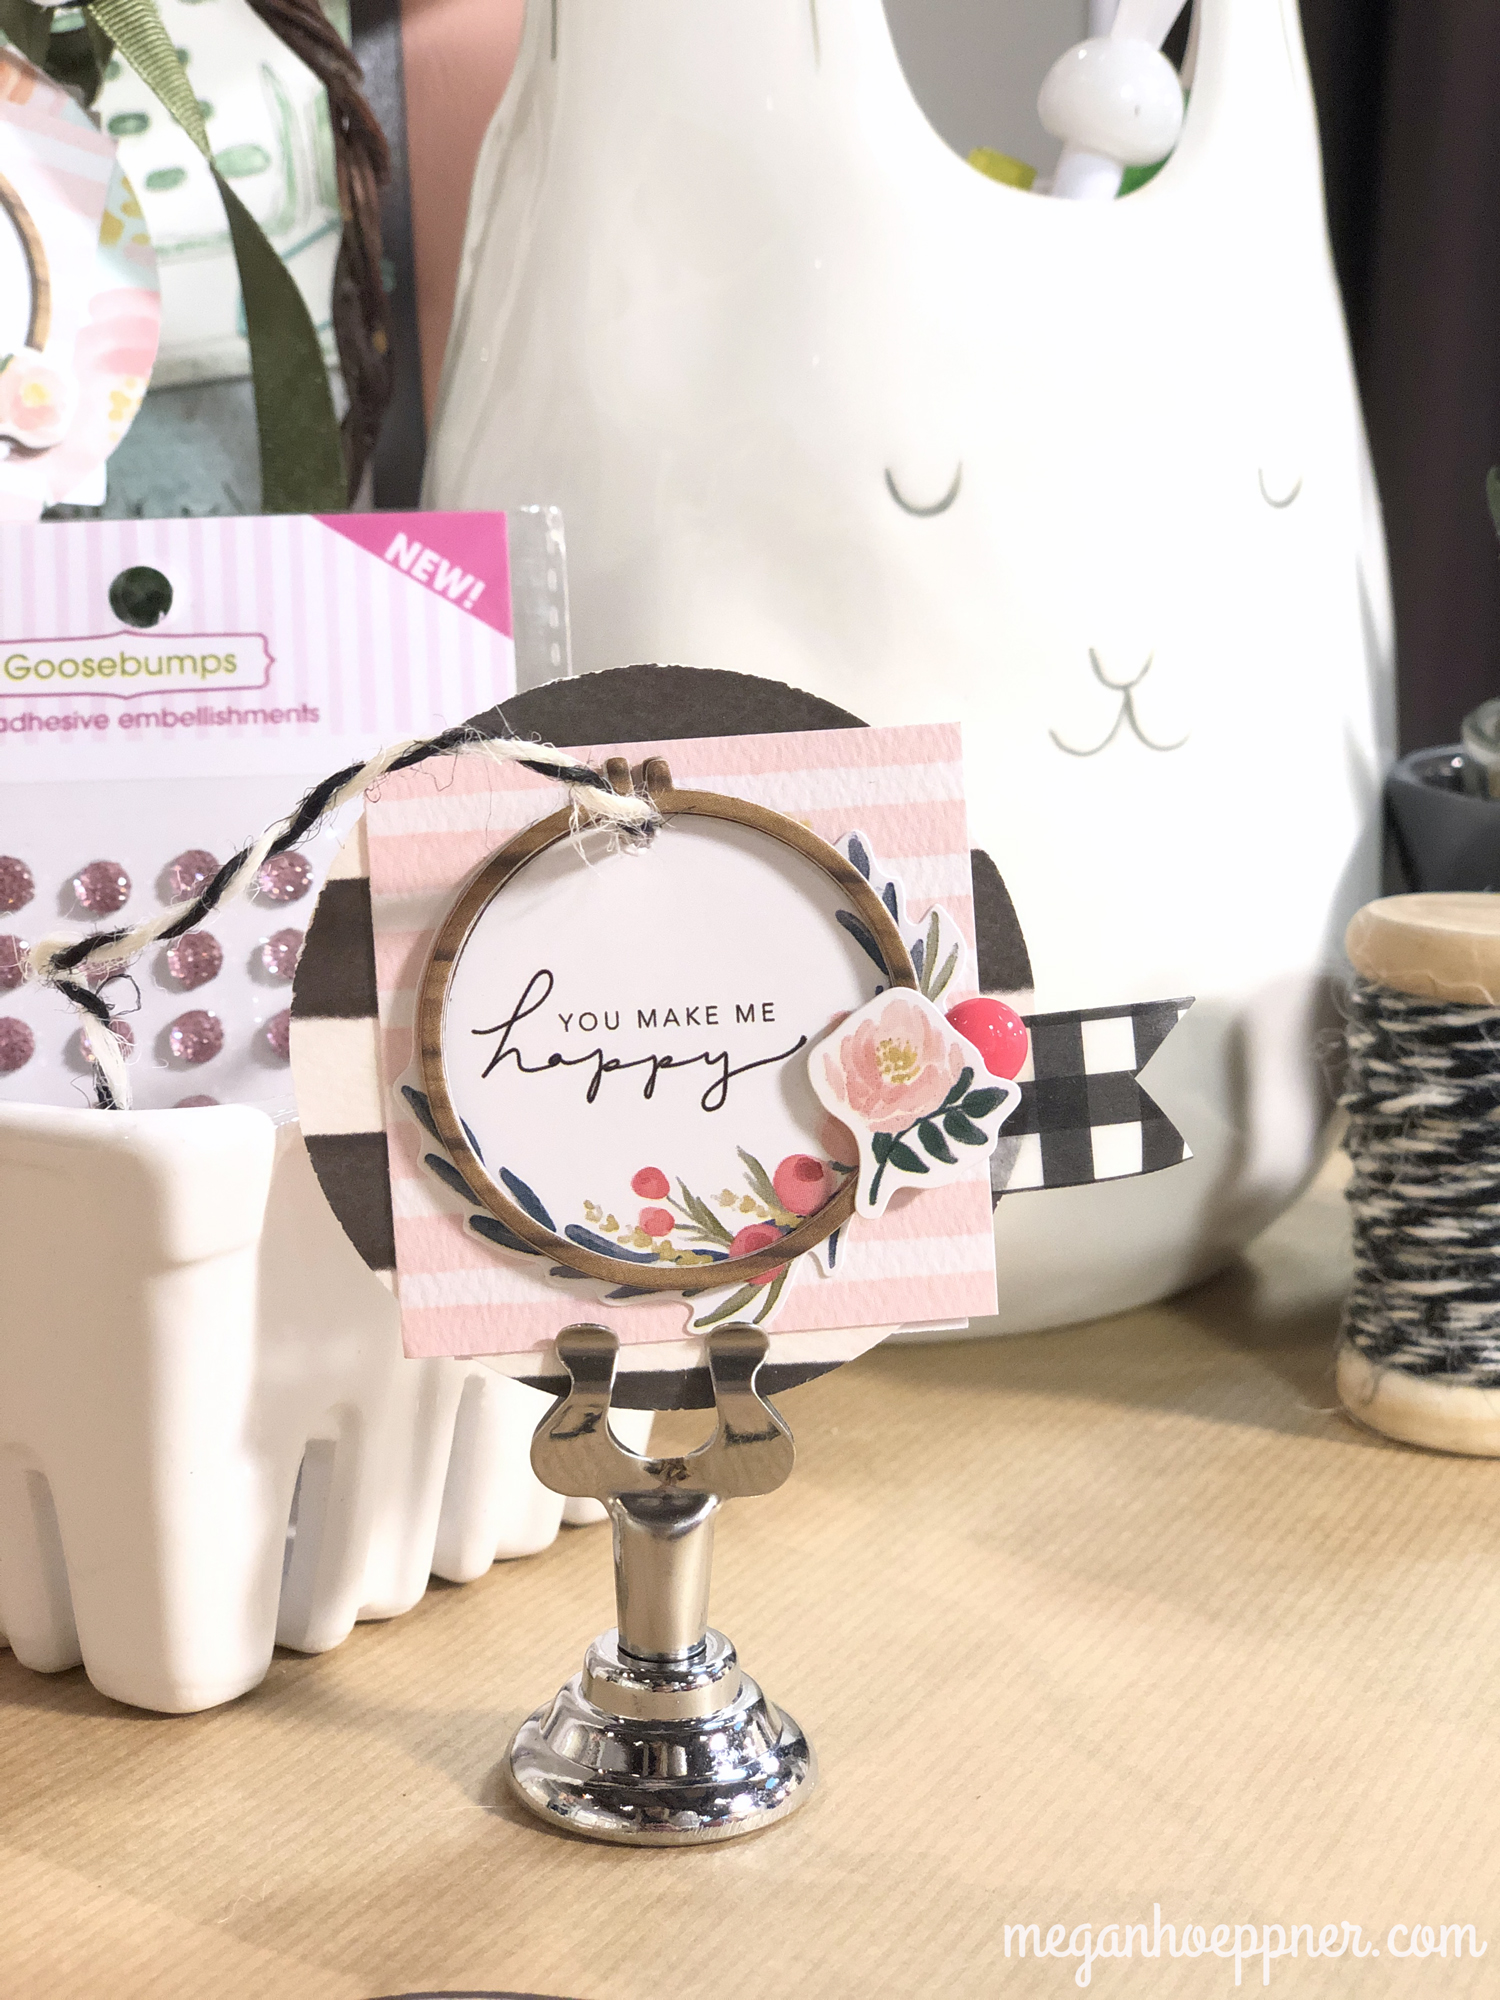
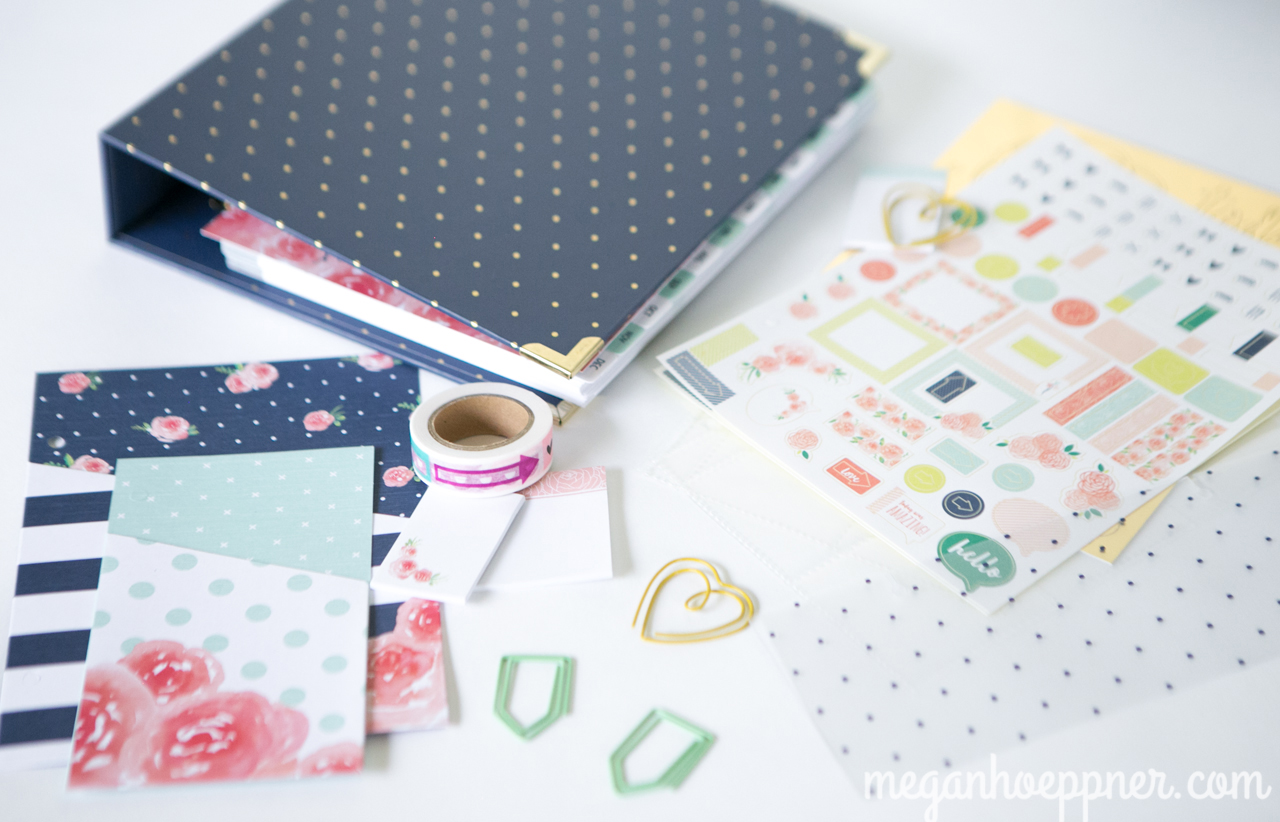
You’ll receive an undated planner (meaning you can customize with your own dates whenever you want to start using it) from a popular crafting brand. You’ll also receive a blind bag of planner-related crafting supplies to use in your planner!

OPTION 2: Blind Bag of Planner/Crafting Supplies
PRICE: $25 + shipping

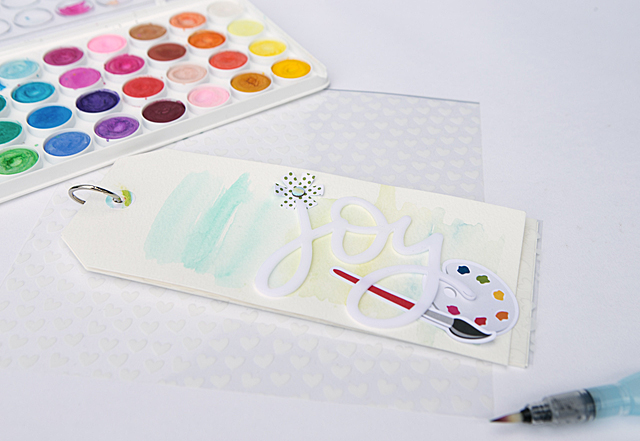
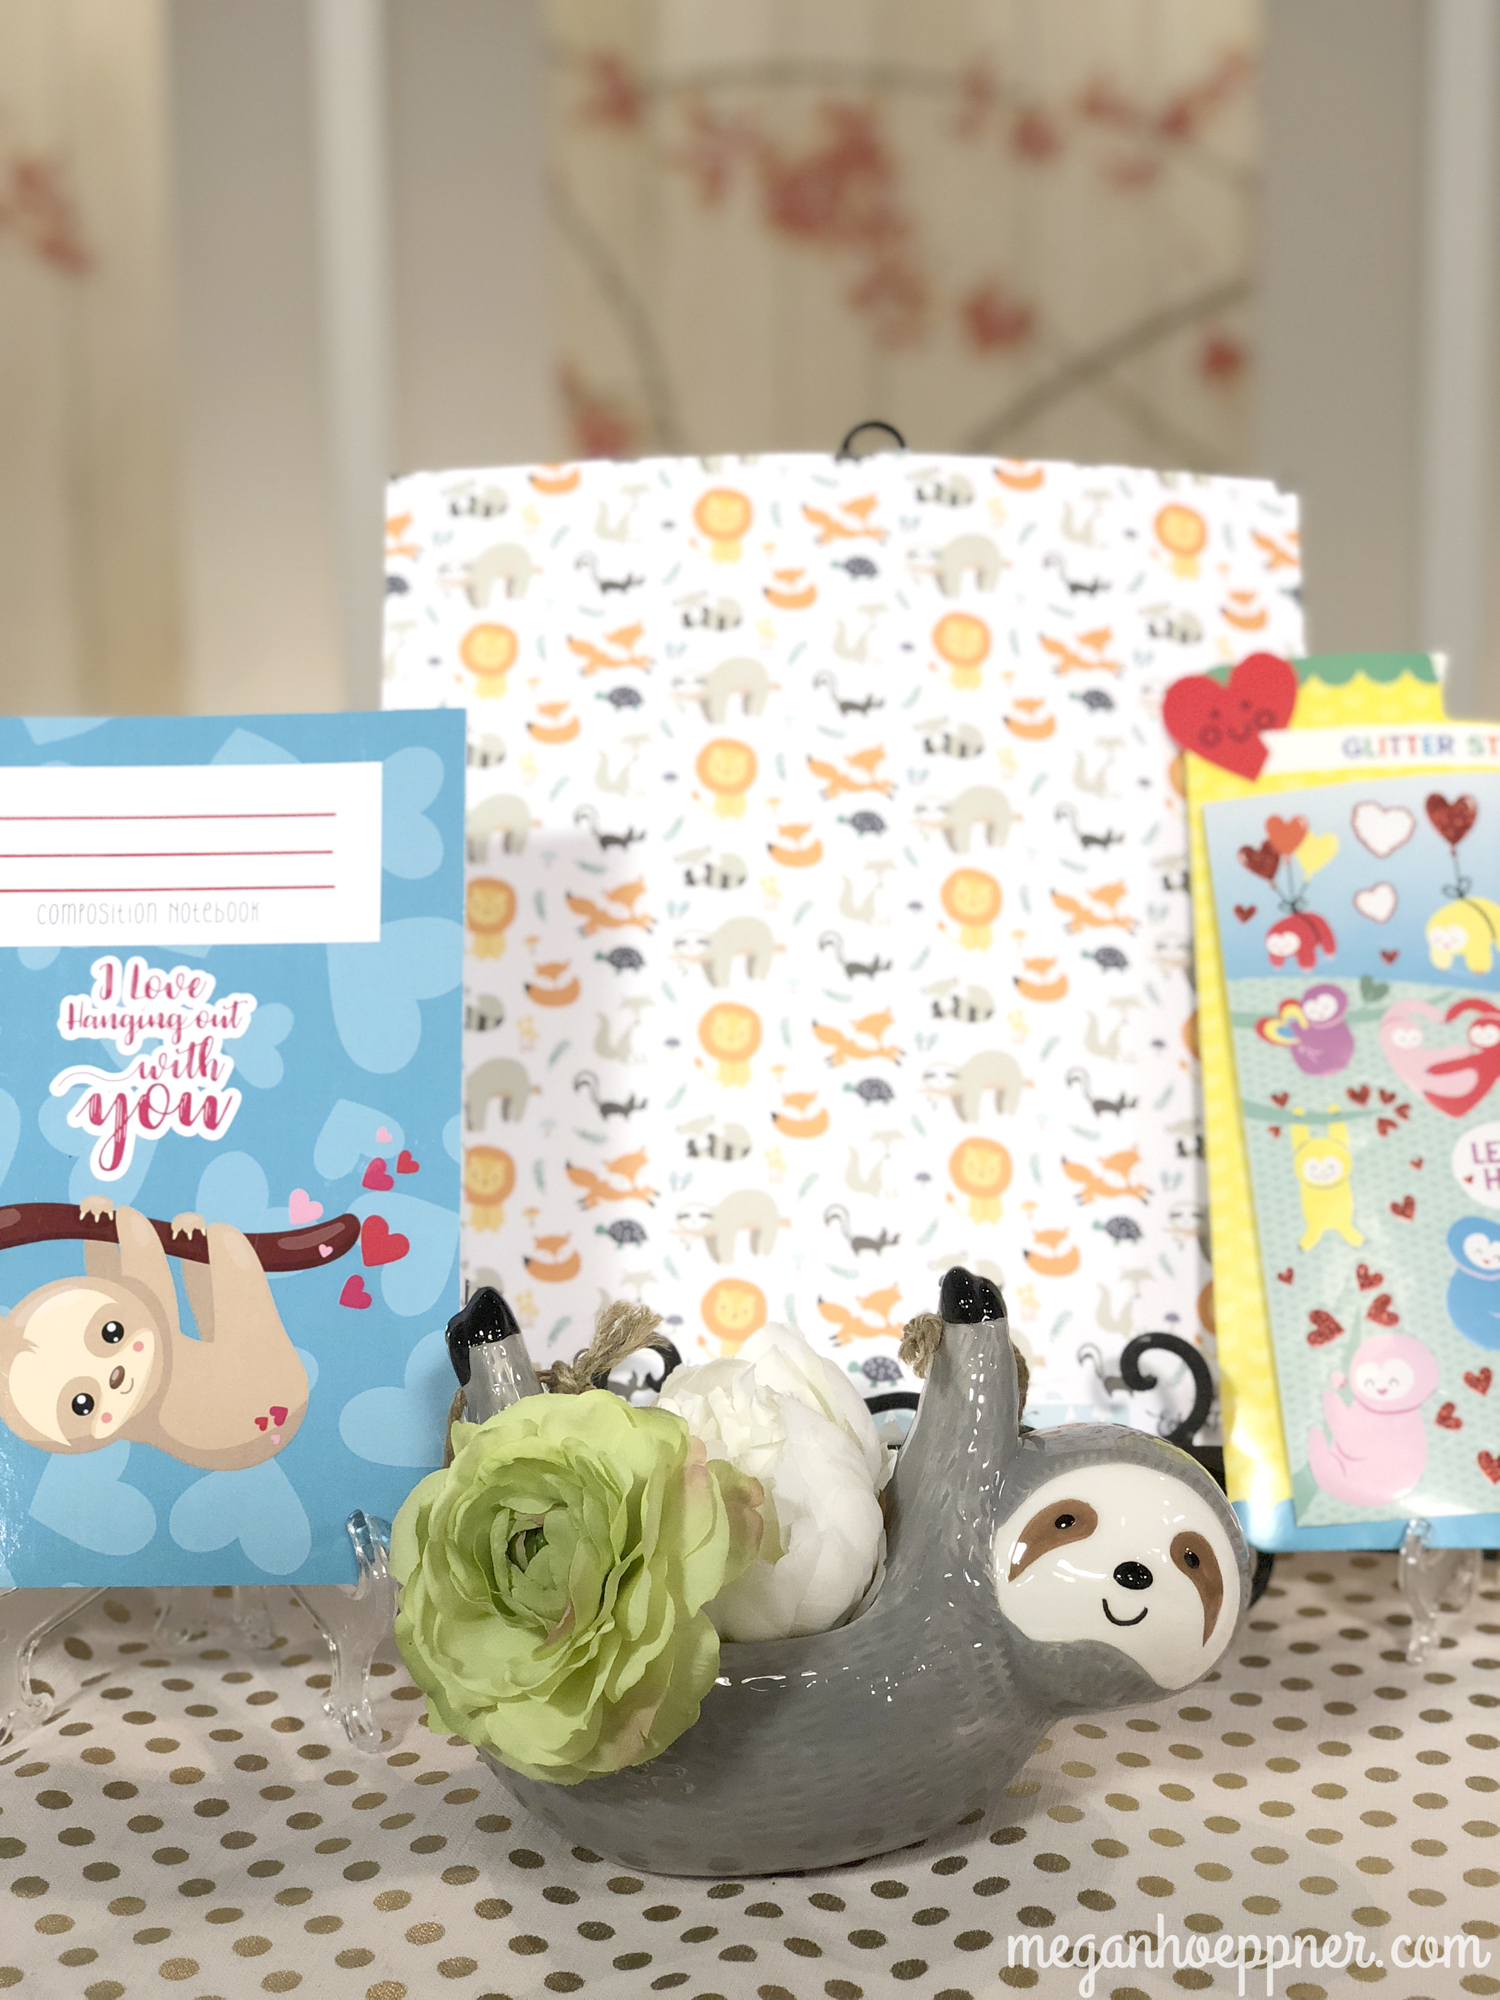
Perhaps you already have the planner piece of this equation. This is the option for you. I’ll send you a happy mix of stickers, ephemera, and other planner favs to use as you see fit (planning, journaling, paper crafting, scrapbooking, etc.). Will come in a priority mail flat rate padded envelope ($8 shipping, US only).

OPTION 3: Super-Sized Blind “Bag” of Supplies
PRICE: $40 + shipping

This blind bag is more like a blind box. I’ll load up a large USPS flat rate box with planner goodies and 12x12 paper and send it your way ($20 shipping, US only).

SALE SPECIFICS

  1. Utah residents, you can opt for package pickup if you’d prefer to avoid shipping. I’ll hold pre-paid packages for one week before re-listing. No refunds will be offered.

  2. Due to the weight and contents of these packages, I’m afraid I’m only able to offer my kits to US residents. I’m sorry to any international friends who were interested. :(

  3. I’ll accept payment via PayPal, Venmo or Apple Pay. To place your order, simply email me at meghoeppner@gmail.com with PLANNER SALE in the subject line and we can determine the best method of payment for you.

  4. Supplies are somewhat limited. I probably have enough for 10-15 kits, depending on the types of kits purchased. With this in mind, I’ll fulfill in the order emails are received.

BIG THANKS
Thanks for your help. Sincerely! Our house is so overrun with supplies. Having homes to send the stuff to will make such a difference. And recouping some of my class-kit costs will also be a great help, as I buy most things at retail pricing.

S5_cookieswap_pink-bag.jpg

SEASON’S GREETINGS
In the likely chance I don’t blog again before the holidays, I want to wish you well. I hope this holiday season brings you joy and memories to cherish. While this particular blog post has everything to do with the “stuff,” the memories and experiences really are what’s important. May yours be the happiest. Much love, my friend!

S5_cookieswap_megan.jpg


Cheers!

Now THAT'S the ticket! Ideas for story telling with ticket stubs

As strange as this will sound, "Go to six movies in a movie theater" was my 2019 New Year's Resolution.

Today on Studio 5, I share ideas for memory keeping using ticket stubs.

S5_MovieTickets_Nov19.jpg

To help me meet my movie-going goal, I had the idea of creating a movie tracker in my bullet journal. I created a two-page spread with spots for 12 ticket stubs. If I managed to fill at least one of the two pages, I'd celebrate a goal well met--six flicks! Filling the additional six slots... An optimistic plan, but it sure would be the butter atop my movie corn. ;) From my NY resolution, this idea was born:


bulletjournalmovietracker

BULLET JOURNAL MOVIE TRACKER PAGE

A bullet journal is the perfect spot to track your flicks. It also makes an interesting little everyday look at your life at this point in time. It's something to document beyond the big highlight reel of events (holidays, birthdays, etc.), and it doesn't have to be complicated or time consuming.

Tips & tricks that make this project my feature presentation:

  • Washi tape makes it easy to adhere tickets to pages while also creating a lifting element. Lift the ticket off the page and discover a spot for notes or images or other details to be added.

  • Movie tickets are a basic rectangle, making this page design super easy. This doesn't have to be a high-budget project to be a box office hit.

  • Using a small notebook that easily fits in your handbag or car console makes keeping the journal up to date a breeze. as shows are seen. Simply include a pen and some decorative tape and you can add your ticket stub to your notebook before your movie seat is even cold.

TICKET TIP: Even if you buy your tickets online, you can still get printed copies for keepsakes purposes. Simply take your QR code to the box office before the show and ask for a printed copy. Another option: Look for discarded tickets on the ground. (Thanks, Litterbugs!) After all, you know what they say about trash and treasure.

TICKET MINI ALBUM

S5_MovieTickets_Nov19_minialbum.jpg

Turn pieces of cardstock into ticket-shaped pages of a mini album. It's easy. Simply notch the corners using a circle punch. You then have a fast and fun place to add more detail to your movie-going script. If, like me, you enjoy snapping pics when you see flicks, this is a great and low-maintenance way to get those images off your camera roll and onto your shelf for further enjoyment.


A few tips & ideas to try:

  • A clean popcorn bag is a fun way to add to your theme while also protecting your album. Use it as a sleeve and cut your ticket pages to fit.

  • You don't have to turn this into a photo album. It would also work as a place to tell stories of movies that have made impressions on you over the years. So many movie-going experiences leave permanent impressions. Those are worth telling.

  • Looking for a gift idea? This same concept could easily be turned into a ticket book of redeemable offers for someone special.


PRE-MADE TICKET BOOKS

S5_MovieTickets_Nov19_albums.jpg

If you love this concept but don't have the time to take the DIY route, this is for you. You can buy pre-made ticket books on Amazon to hold your tickets in chronological order. Some are unique to movies stubs, others work with all sorts of stubs (amusement parks, zoos, museums, and more!).

You’ll find the movie-stub album here.

You’ll find the ticket album here.

A TICKET CONTAINER

Turn your stubs into a time capsule and a completely unique home decor piece. All you need is a container of some sort. Whether it's a jar or a slotted shadow box or something more creative, having an easy catch-all for the family to add their stubs to is a fun idea that is unique to all of you.

S5_MovieTickets_Nov19_containers.jpg


CONTAIN IDEAS & TIPS

  1. If you have a group adding tickets to a single container, ask each member to sign the back of their stub before adding it in. It will make it all the more personal, especially if all of you aren't doing/seeing the same things.

  2. Introduce a new container each year to make this a more time-capsule approach. Just think of how cool it would be to go back through your parents' or your grandparents' jars from their childhood!

  3. Many memory keepers relate to the inevitable hoarding that comes with the hobby. We want to document the stories behind things, so we keep the things. Alas, we don't always have the time to do the memory keeping. A container like this at least gives you a home for those loose odds 'n ends that feels more purposeful. And it creates less to shuffle around and find places for. I know many won't relate to this problem, but many will. I hope this benefit strikes a chord with you.

Cheers!

Today on Studio 5, I’m sharing easy ideas for making your own travelers notebook. I also share my favorite store-bought options (Hello, Freckled Fawn!) and insert choices in case you love the idea but don’t want to invest in the DIY aspect. Either way, I hope you’ll tune in at 11 a.m. (online and on TV [channel 5]) to learn more about these sweet creative journals/scrapbooks/sketchbooks/happiness!

IMG_8855.JPG

Thanks for having me, Studio 5. Love you guys!

IMG_8839.JPG

BE THE FIRST TO KNOW ABOUT UPCOMING CLASSES (including my DIY TN classes!)

IMG_8847 2.jpg

I love getting out in the SLC and sharing some creativity with friends. I have some great classes in the works that will be happening soon, including classes on DIY travelers notebooks (creative journals and faux leather journal covers).

Be the First to Know

Simply email me at meghoeppner@gmail.com. Nothing fancy required—you can just say add me to your class list in the subject line and I’ll do it to it.

I know you’re busy and the last thing you want is another bunch of spam filling your inbox.I assure you, that won’t be the case. In fact, I’ve been building a list for years and have yet to send a single email (#epicbusinessfail), but I intend to change that and be better about sharing my classes. I’m asked about them often and don’t do enough to get the word out. So this is my public statement to be held accountable and take the next step. :) Thanks so much for your support and interest in what I love and do!

See you at 11. Cheers!

DIY Traveler's Notebook and Inserts

Hello! Thanks for makng this a stop on your web travels today. (See what I did there? ;) ) Let’s take a look at my latest paper obsession: DIY travler’s notebook covers.

EP_summer13.jpg

I created this project for Echo Park Paper Co., using the very delightful new Summer Adventure collection.

EP_summer1.jpg

You can read more about my process and tips for this project on the Echo Park blog.

EP_summer3.jpg

You can also see a video of the action right here OR on my YouTube channel.

I was inspired to create this project by this video on YouTube by LiveLoveScrap.

EP_summer5.jpg

DIY NOTEBOOK COVER

Step 1: Cut a piece of patterned paper to 9”x8.5” and gently fold that sheet in half (no hard creasing) so it measures 4.5”x8.5”. Open the paper back up so it's flat but with the center lightly creased/identified by your fold.

Step 2 (optional): Die cut words from your cover. (I used the Explore Outdoors Die Set by Echo Park Paper Co. to cut my outdoor phrases.)

Step 3: Pierce holes along your center fold, approximately 1/4” down from the top of the page and 1/4” up from the bottom, followed by two holes on either side of each of these holes, 1/4” over. Finally, pierce one hole approximately in the middle of the center fold line. (This should leave you with seven pierced holes (three on the top, three on the bottom, and one in the middle..)

Step 4: Score lines running parallel to your center fold, connecting your pierced holes. Fold your paper along those lines to give you your notebook shape.

Step 5: Flatten the cover back out and place it in a laminating sheet; laminate. "
NOTE: If you do not have a laminater, you can use self-laminating pouches for this step.

Step 6: Trim away any excess laminating film, re-fold your book along the scored lines to give you your cover shape, and re-pierce your holes.

Step 7: Thread elastic cording following the steps below.
NOTE: It helps to have a needle with a large eye for this, as elastic cording can be tricky to thread.


EP_summer10.jpg

A. Starting on the lower right hole, coming from the front of the cover inside, thread elastic cording, leaving approximately 6” of a tail.
NOTE: Pull your cording fairly tight, leaving only enough room to tuck a notebook insert between it and your notebook cover.

B. Thread your cording through the hole directly above the hole you just threaded. (This should have your needle now back on the outside of your cover.)

C. Thread your cording through the center hole, just to the left of the hole you came out of. Thread your needle through the center hole on the bottom of the cover. (Your needle should now, again, be on the outside of your book.)

D. Thread back in, this time using the far left hole on the bottom, followed by the far left on the top. (You should now have three bands of elastic cording running along the inside spine of your notebook cover.)

E. Your needle should now be on the outside of your notebook, at the top. Thread it back through the top, center hole. Leave approximately a 6” tail and trim the rest of your cording away from the packaging. Remove your needle.

F. Thread your first 6” tail through the needle and bring that piece of cording back through the bottom center hole. You should now have two 6” pieces of cording on the inside of your notebook cover. Meet them in the middle, tie them in a double knot, and trim away any excess. This will leave you with a total of four elastic bands running along the inside of your notebook spine.

G. Trim a new piece of elastic cording that is long enough to wrap around the center of your book one and a half times. Fold that piece in half, thread the folded side through your needle, and thread that needle through the center hole of your notebook, coming from the inside of the cover out.
NOTE: Be careful not to pull the cording all the way through the hole.

H. Leave just enough cording to wrap around your notebook as a closure, and tie a double knot to prevent the rest of the cording from pulling through the hole. Trim away any excess cording. This will leave you with a center elastic closure that will hold your notebook shut.

With your notebook cover made, you can now add DIY paper inserts.

EP_summer9.jpg

DIY NOTEBOOK INSERTS

Creating DIY notebooks to go inside your traveler’s notebook cover is easy and fun. Simply follow these quick steps:

EP_summer6.jpg

Step 1: Bundle several sheets of patterned paper and fold them in half, making sure they’re cut to measure smaller than your notebook cover when folded.

Step 2: Keep your folded sheets bundled together and pierce three holes along the center fold.

Step 3: Thread a needle with baker’s twine or embroidery floss (roughly 48” in length); thread your needle through the center hole, going from the inside of the paper bundle, out.
NOTE: Leave a tail (approximately 4”) here.

Step 4: Thread your needle through the bottom hole, coming from the outside of the bundle in. Thread back through the center hole again, going from the inside out. Thread through the top hole (outside, in). Your needle should now, again, be on the inside of your paper bundle.

Step 5: Thread your needle under the lower binding loop that’s in place and tie then tie what’s left of your thread to the original 4” tail you left in place. Tie using a double knot. Trim away any excess twin you have. Your book should now be completely bound.

EP_summer8.jpg
EP_summer1.jpg

Don’t let my lengthy list of steps fool you. These techniques really are easy to do. I just wanted to break it down to make it easier to follow for those of you reading the instructions to complete your project (vs. watching the videos). I hope I haven’t left you confused at any point in the process. If so, leave me a comment or send me an email, and I will happily answer any questions you have.

EP_summer4.jpg

I can say from my own experience and that of students I’ve taught this to—once you create these, you won’t want to stop. You’ll find yourself making books for your family and friends, too. It’s such a happy process and end results. I hope you enjoy this technique and idea.

Happy travels!