

I’m loving these rolled paper wreaths right now. So when my pal P.K. asked me to come up with a card-group craft this month, I knew this was just the ticket. We had so much fun making them that I thought I’d share the steps here so you can make your own. Here's how!
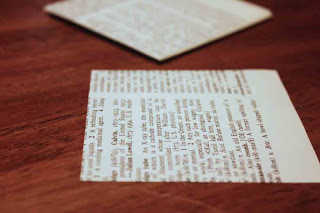
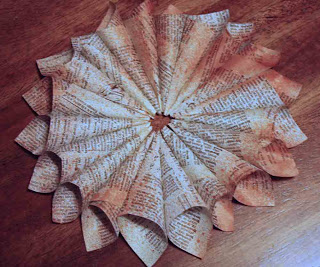
Step 1: Cut 26 6x6 squares and 20 3x3 squares from book paper. I used an old dictionary, but any book or sheet music will do (or you can use patterned paper for a completely different look).
Note: You may not need this many sheets. It depends a great deal on high tightly you roll you cones (step 2).
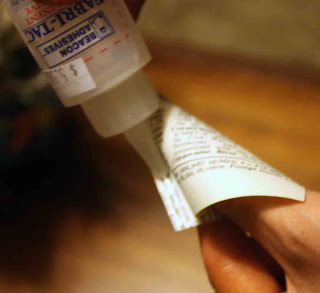
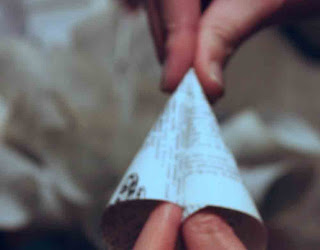
Step 2: Roll your cut squares into cones (with your paper positioned like a diamond, bring the sides in and form a point at the tip). Use a strong liquid glue (or a hot glue gun) to hold each cone in place. I used Fabri-Tac by Beacon.

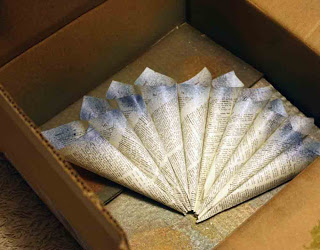
Step 3: Add glue along the sides of the cones to glue them together, forming a larger circle wreath with the 6x6 cones and a smaller circle wreath with the 3x3 cones.
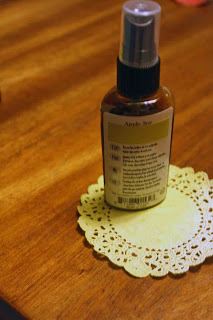
Step 4: Once glue is dry, color the wreaths with a little spray ink for a splash of color. I used Glimmer Mist by Tattered Angels.
Note: For the larger back wreath, you may want to spray it in sections before adhering the entire thing together, depending on how large your box is that's catching the spray.
Step 5: Color doily with spray ink. Once dry, adhere crepe paper to the back of the doily, pleating it for a more textured look.
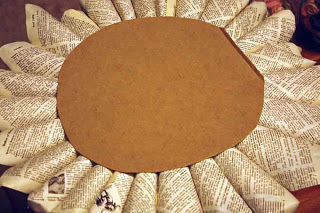
Step 6: Adhere cone wreaths to cardboard-circle back for stability.
Step 7: Layer wreath components with glue, and your spooky sentiment, and hang your wreath for a splash of frightful fun. (Note: I glued a strip of tulle to the cardboard for a hanger.)
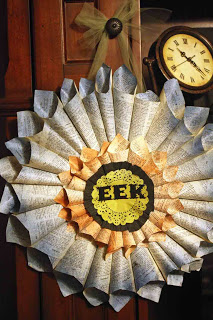
These wreaths are extremely affordable and can be done in an hour or two. To make it even faster, skip the back wreath and go with the smaller wreath only. And try switching out the colors, the paper, or the center piece for different holidays and seasons.
Cheers!