
Our state fair is a great state fair; it’s the greatest state fair in the state!…

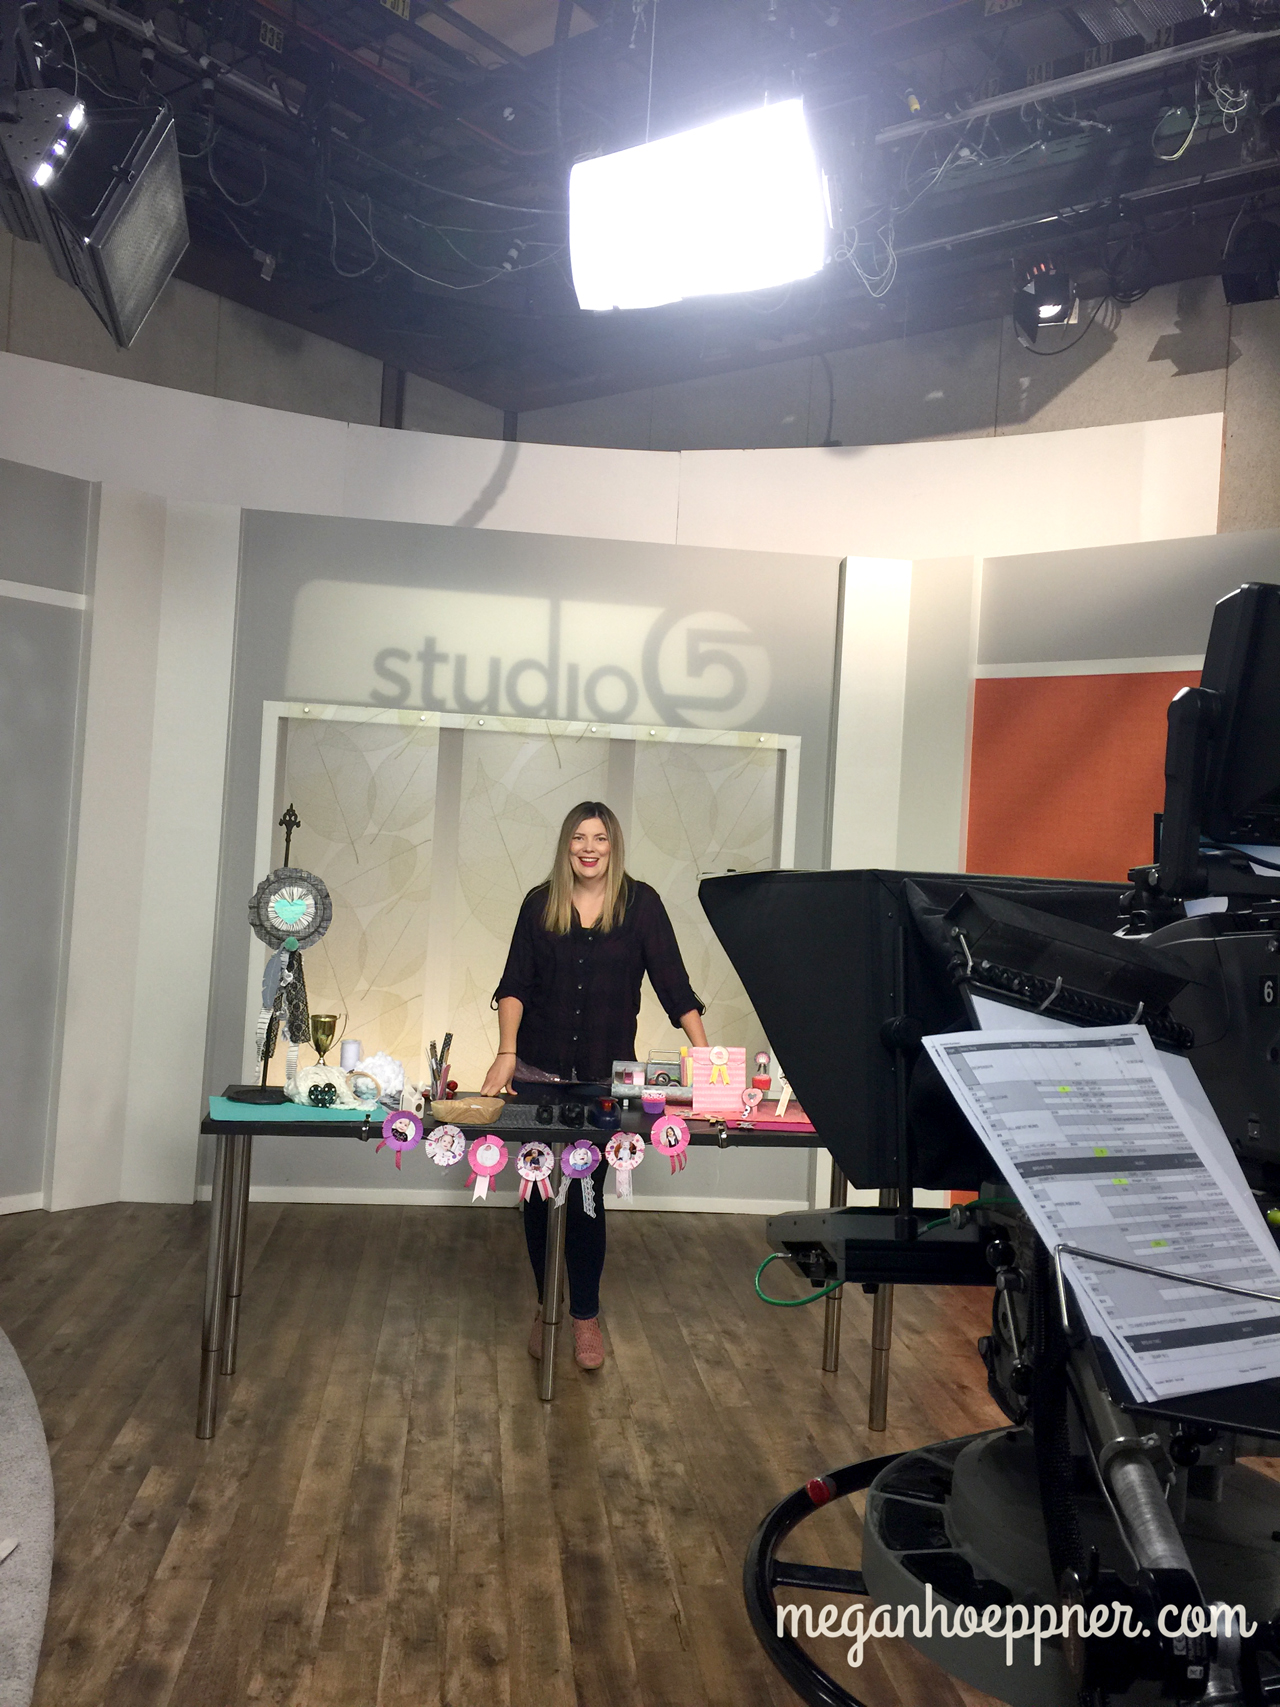
Growing up, my mom would sing these lyrics every September. It’s a catchy little ditty. Funny thing is, I don’t even know what it’s from (a musical, I imagine), but these lyrics have stayed with me over the years. It must be because I LOVE me some State Fair. So when Stephanie, one of the rad producers at Studio 5, suggested I do a segment on the look of award ribbons, I was all for adding a little fair flair to my crafting.
The idea is simple, really. Just think of those beautiful prize ribbons you see pinned on gorgeous jars of jelly and plumped up piggies (well, maybe not ON piggies, but you get the gist). These pretty prizes have a round center, lots of layering, and some terrific tails. Have fun thinking of different ways to create such a combo. Here are a few possibilities to get you started:
DREAM BIG KIDS DECOR
Round Element: Embroidery hoop
Layered Bit: Fabric and stickers
Tail: Fabric strips, lace, felt (feather), yarn (handmade pom), and silk trim
Fair Flair: Make a unique 3D wall hanging to add to any gallery wall.

DONUT FEEL GOOD GIFT TAGS
Round Element: Paper-pieced donut (made from Queen & Co. paper)
Layered Bit: Two punched circles with a hole punched in the middle of them and a layer of dimensional glaze*
Tail: Layered paper, notched at the end—a great place to write your “To” and “From”
Fair Flair: Make gift giving more fun with a donut award. Have fun with the prize-ribbon concept and think outside of the… circle when coming up with motifs.

Dimensional glaze is a clear liquid that can be used as an adhesive or a top coat. It dries clear and glossy, making my paper look more like, well, a glazed donut! You can get such glaze here.
QUEEN PIN
Round Element: Doily
Layered Bit: Washi tape for the pleating, a punched-out paper circle, and a pretty chipboard 2 from Felicity Jane
Tail: Washi-covered cardstock
Fair Flair: Use this to award the birthday girl, add it to a scrapbook page, or simply send it to someone special to tell them they rock!

HAPPY DAY
Round Element: Cutout circle from cardstock (I traced a large jar lid)
Layered Bit: Pleated crepe paper, rolled paper strips, and adorable stickers
Tail: Crepe paper, lace trim, and accordion-folded paper strips
Fair Flair: I’m going to use this as a decor piece at my daughter’s birthday party and then hang it on the wall in her room. You can personalize the center of a such a piece in any way that’s relevant to your needs and surroundings. Put your address or “est. on” date in the center and add it to a gallery wall; write “happy birthday” and hang it on the birthday girl or boys bedroom door… Have fun. That’s the real prize, after all!

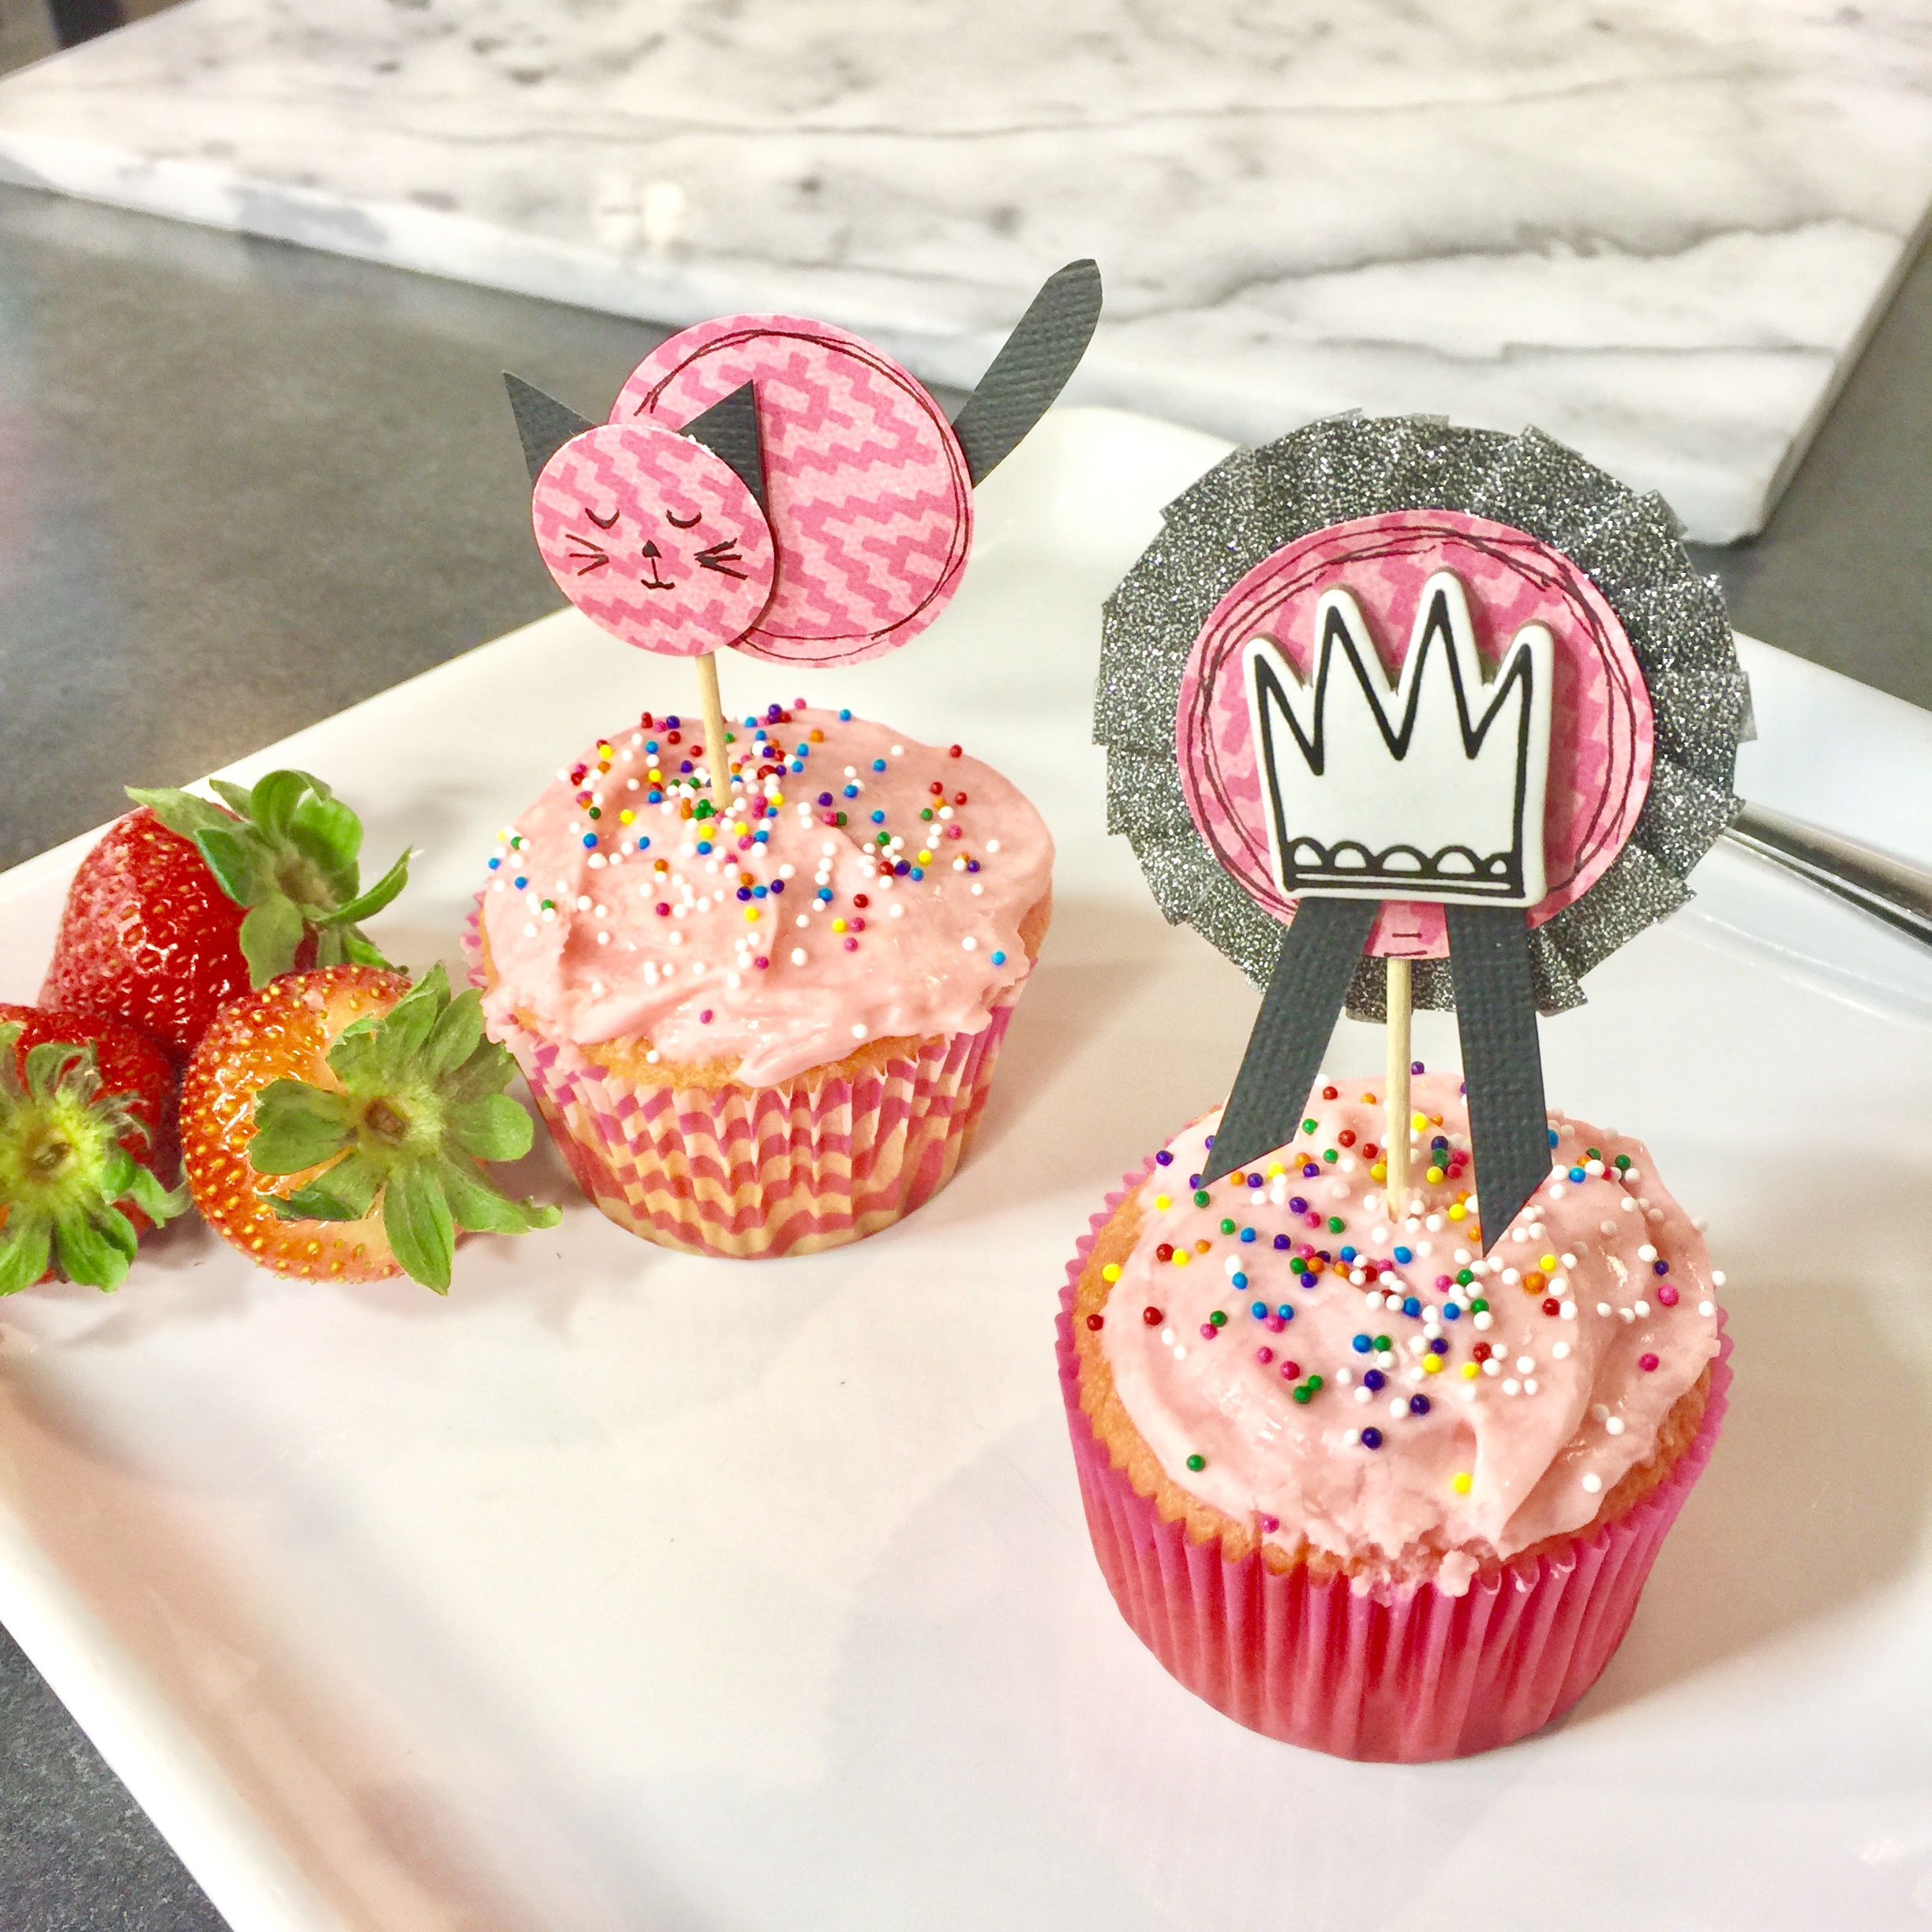
AWARD WINNING FOOD
Round Element: Punched paper sandwiched around a toothpick using strong adhesive to hold it all in place
Layered Bit: Pleated washi tape from Queen & Co., punched paper, and a sassy chipboard sticker from Crate Paper
Tail: Super simple: two slim strips of cardstock. TIP: Run the cardstock between your thumbnail and pointer finger to curl up the edges of the paper strips. (Think curling ribbon.)
Fair Flair: Bitty ribbons are the perfect finishing touch to any cupcake. This is an affordable way to up your party game using just paper scraps and minimal supplies you likely have on hand.
SHAKER RIBBON
Round Element: Isn’t round at all—it’s a heart! A heart shaker sticker from Jillibean Soup, to be exact.
Layered Bit: Fill the plastic heart cup with sequins and glitter and layer it over a chipboard heart sticker for a quick ribbon with some interactive action going on. The shaker cup is adhered to cardstock and then framed with pleated washi tape from My Mind’s Eye.
Tail: Two different paper strips—who says you have to be matchy-matchy?
Fair Flair: Shake things up and make this your awards season. Little paper crafts like this would brighten anyone’s day, whether you attach this to a card or simply send it as is. This would also make a happy scrapbook page accent.

BRING ON THE BANNER
Round Element: Cupcake liners that have been flattened and trimmed
Layered Bit: Two cupcake liners, topped with a darling photo.
Tail: Various trims, ribbon, and paper
Fair Flair: There’s nothing like a good banner to make decor delightful. My baby girl just turned two, so I filled this one with pics of her throughout her two years. I adore the personalized touch this adds to our home in celebration of her! Do this with pics of your entire family this fall and a fresh way to count those blessings and focus on what truly matters!
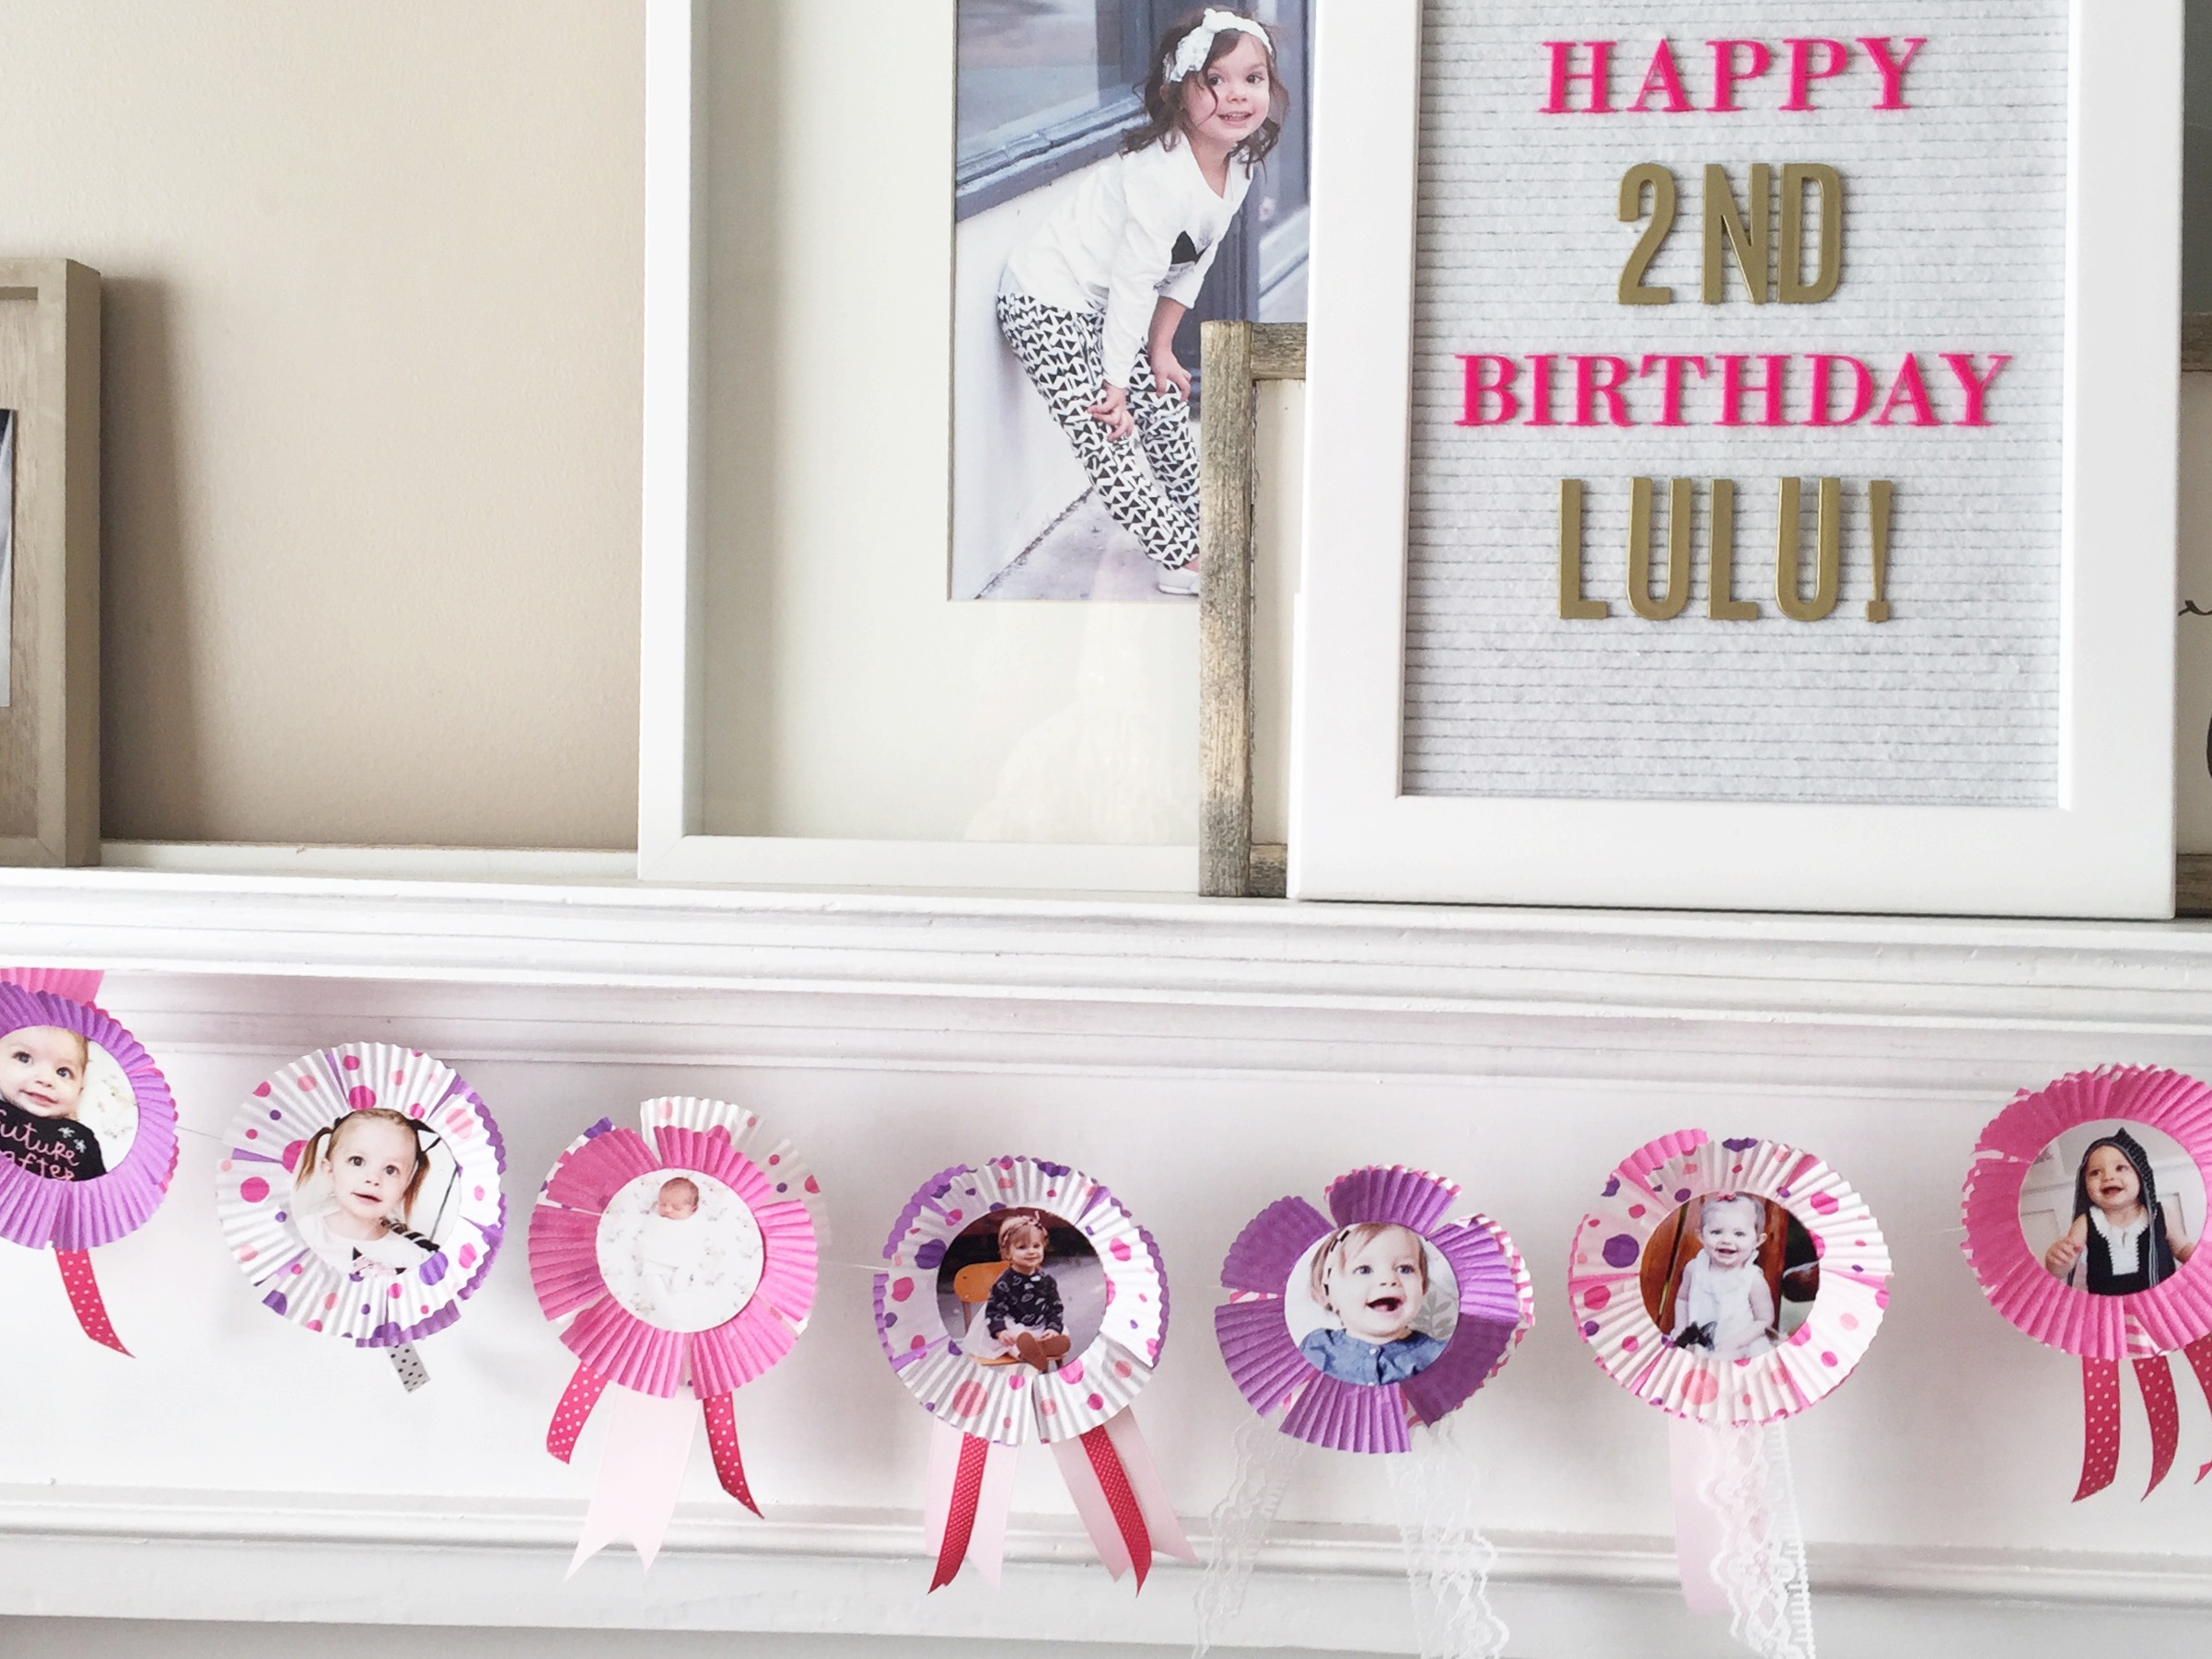

TIP: Use strong adhesive (cupcake liners are meant to be no-stick, after all) and adhere your liners to a punched cardstock circle for added structure. Before adhering, add a string between the liner and the paper to turn the accent into a banner element.
Boom! There you have it. State Fair-inspired flair and a regular crafting affair. (Sorry. I can’t help myself.) I hope at least one of these ideas is a prized one that will make your upcoming projects blue-ribbon (or pink!) good!
AS SEEN ON TV: Upcoming Crafting Classes in Lehi, UT!
I briefly mentioned in today’s Studio 5 TV segment that I have an upcoming class in Lehi. We took a break for the summer but are back at it now. My first Planner Play Workshop of the new season is on Sept. 22. at Paper Crush. The class kit rocks, and this three-hour crafting session with the kit is just $50!!! Everyone leaves with door prizes, decorative pages in their day planners, and happier having just had a good time with friends. I sure hope you’ll join us for the play. You’ll find more info here.
Cheers!