Easter Egg Hunt Ideas & a $400 Easter Basket Giveaway

Hello! I feels good to be back on the ol' blog. It's been a while. As you may or may not know, I'm pregnant and have been quite ill. Happy news is, I'm finally starting to feel better, which means I'm feeling up to writing this post, just in time for today's Studio 5 television appearance.

Do you do anything fun or unusual for Easter? Specifically, do you have any egg hunting traditions you enjoy? Wanting to think outside of the basket a bit, I did today's segment around six themed egg hunt ideas. But first....

Gardner Village Easter Basket Giveaway

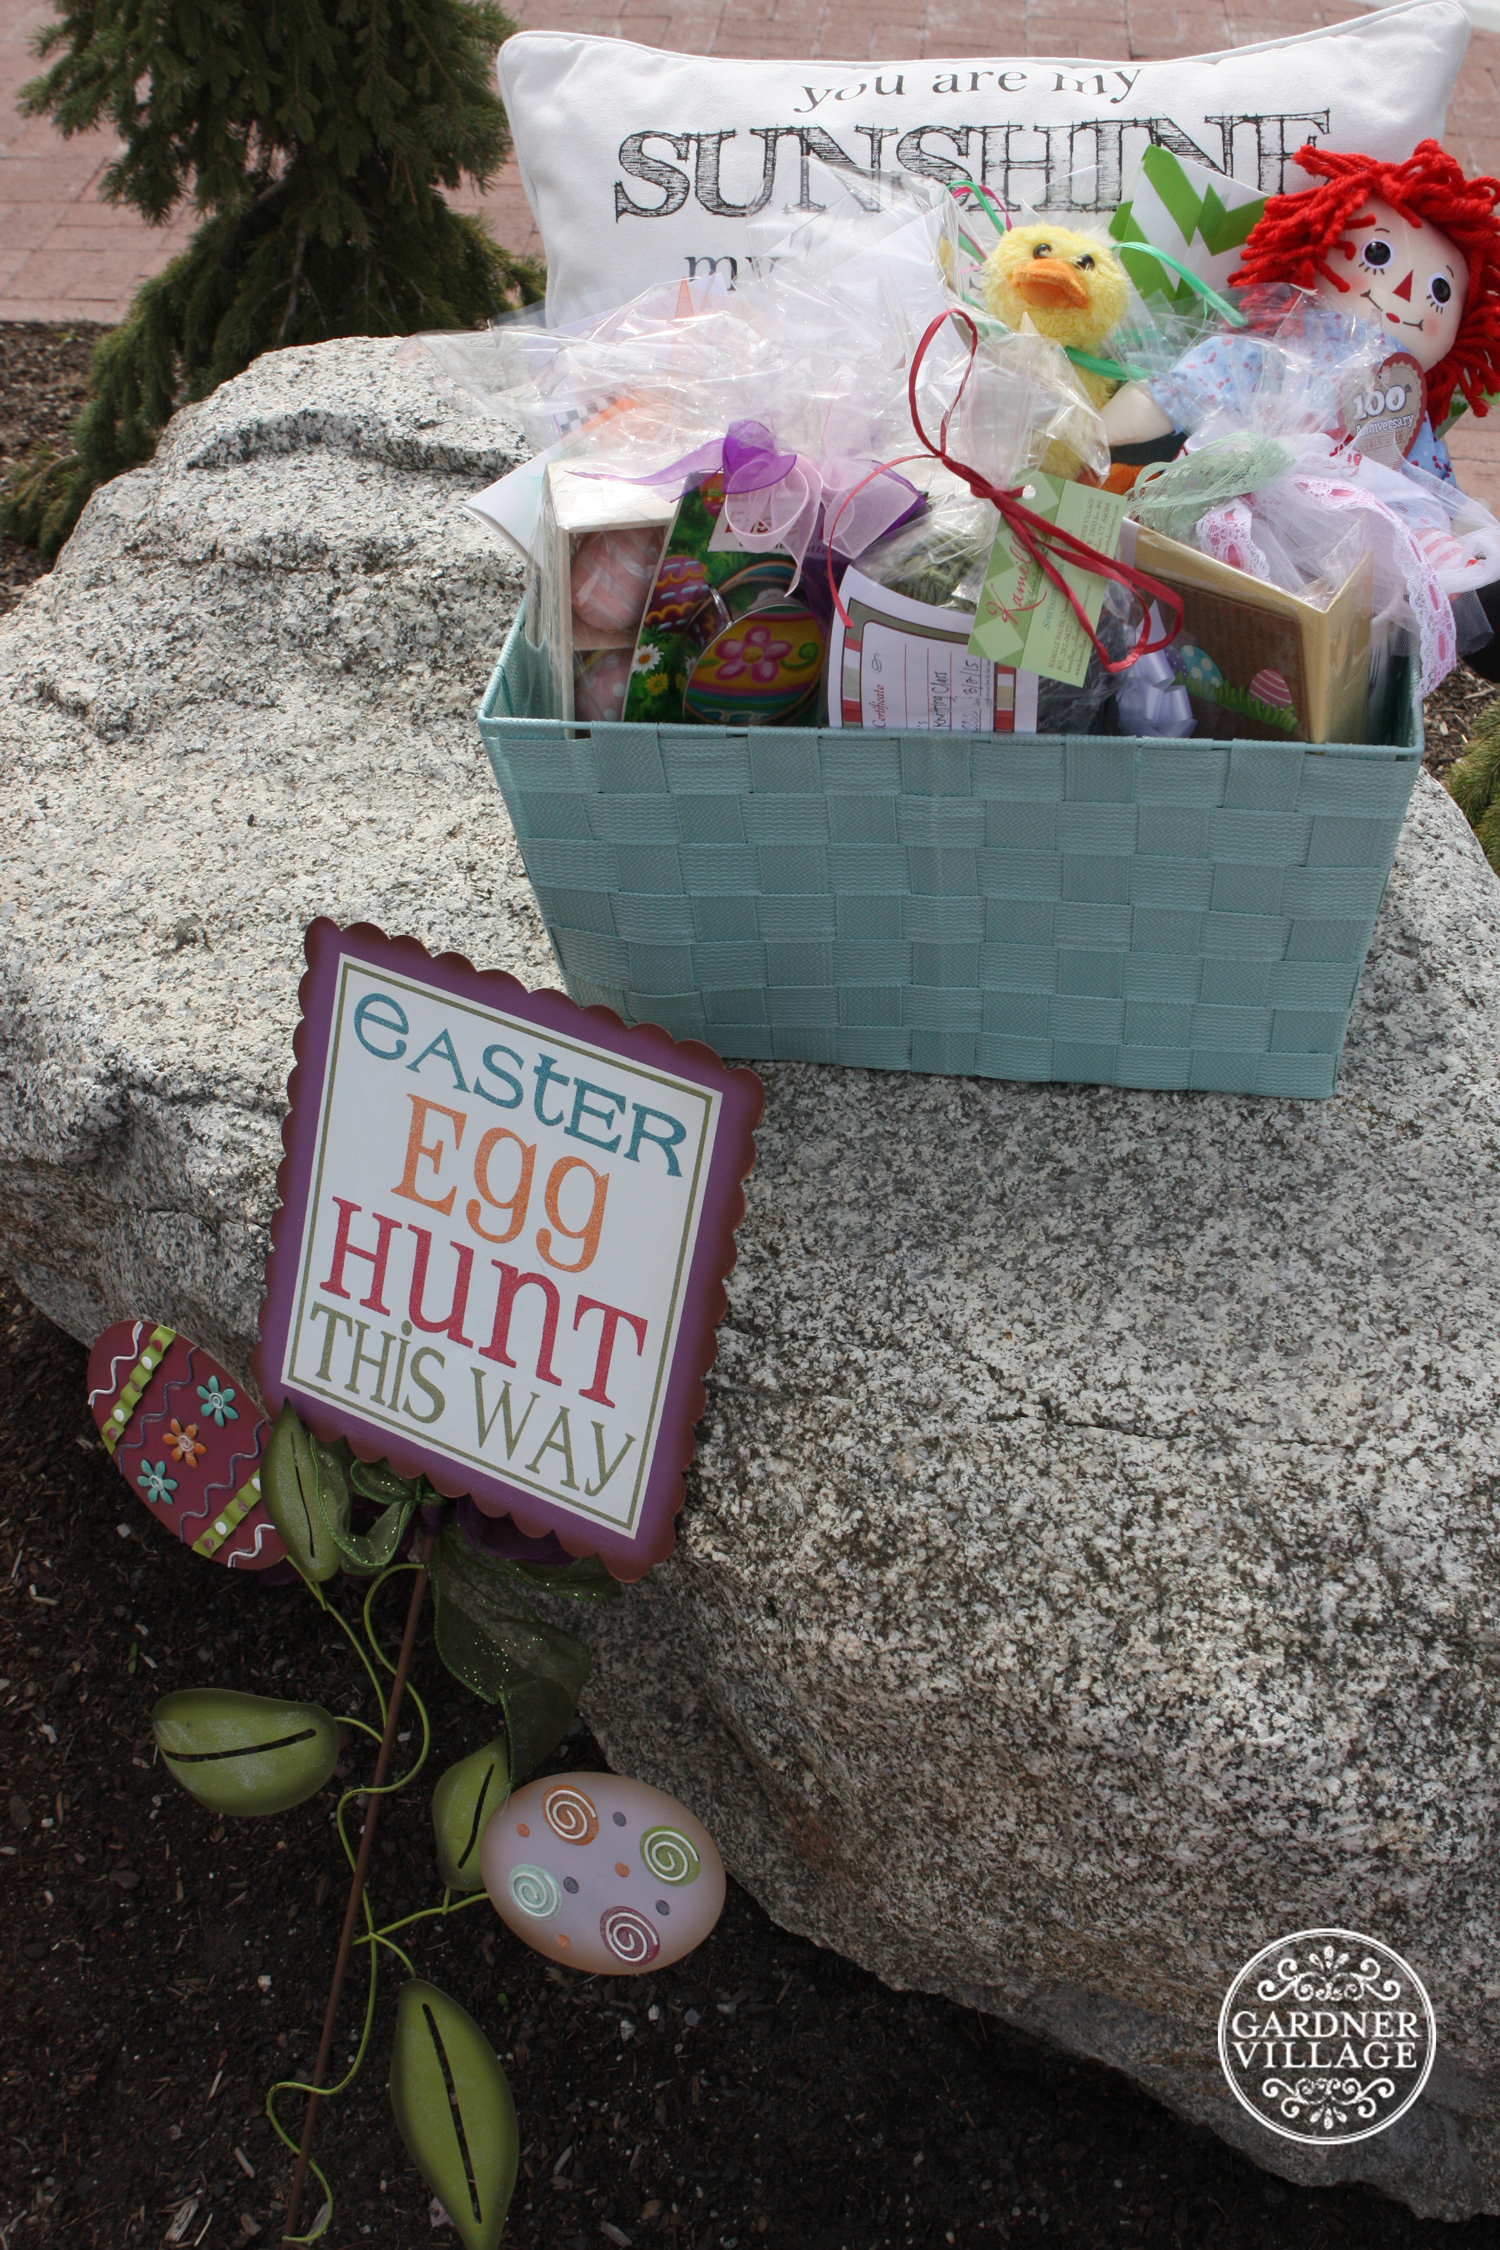
I've been delighted to be the official Gardner Village blogger this year. This local (and historic) shopping center is so cute. I adore working for them and sharing the many wonderful things they have going on. This week, that includes a massive Easter Basket Giveaway! Visit their blog between today and Monday, March 23 for your chance to win. Trust me when I say this is one prize pack you won't want to miss out on. 

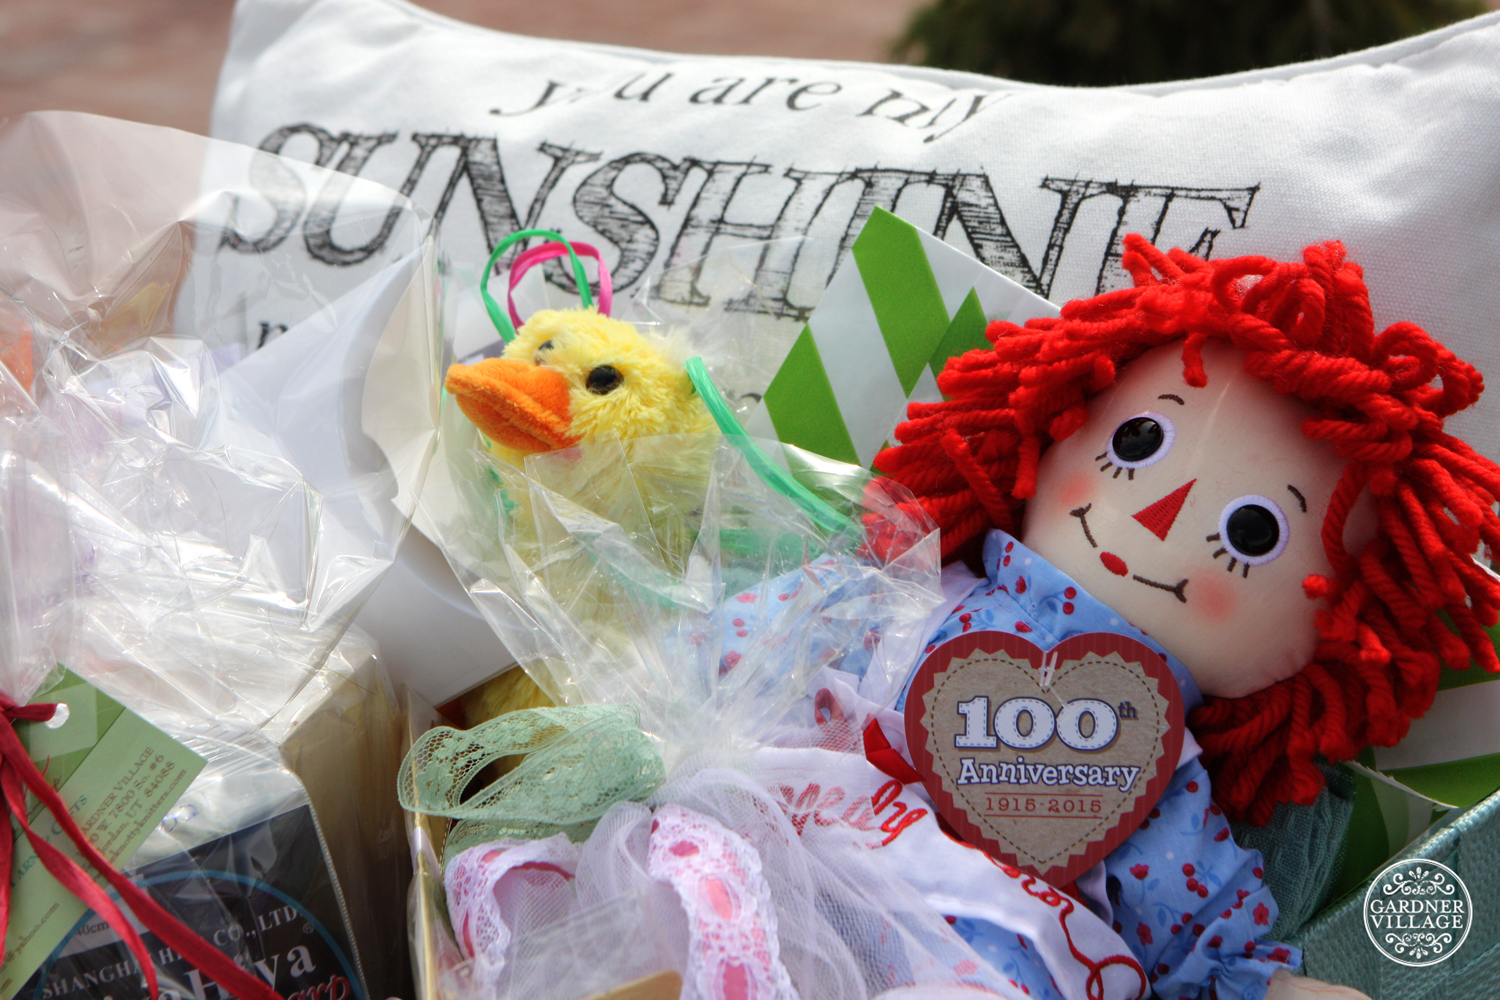
To enter to win this $400+ basket of goodies from Gardner Village, click here. Good luck!

Five Easter Egg Hunt Ideas

1. Scavenger Hunt

Whether you ask The Easter Bunny to hide the full Easter basket in a secret place and leave clues, or you ask The Bunny to hide the basket's contents along with the clues, this is a very fun approach to take for both young and old. When hiding goodies along with the clues, simply start with a basket containing a single plastic Easter egg. Inside that egg is the first clue. As your little hunter goes about his or her search, he or she will fill up that basket with fun delights along the way. 

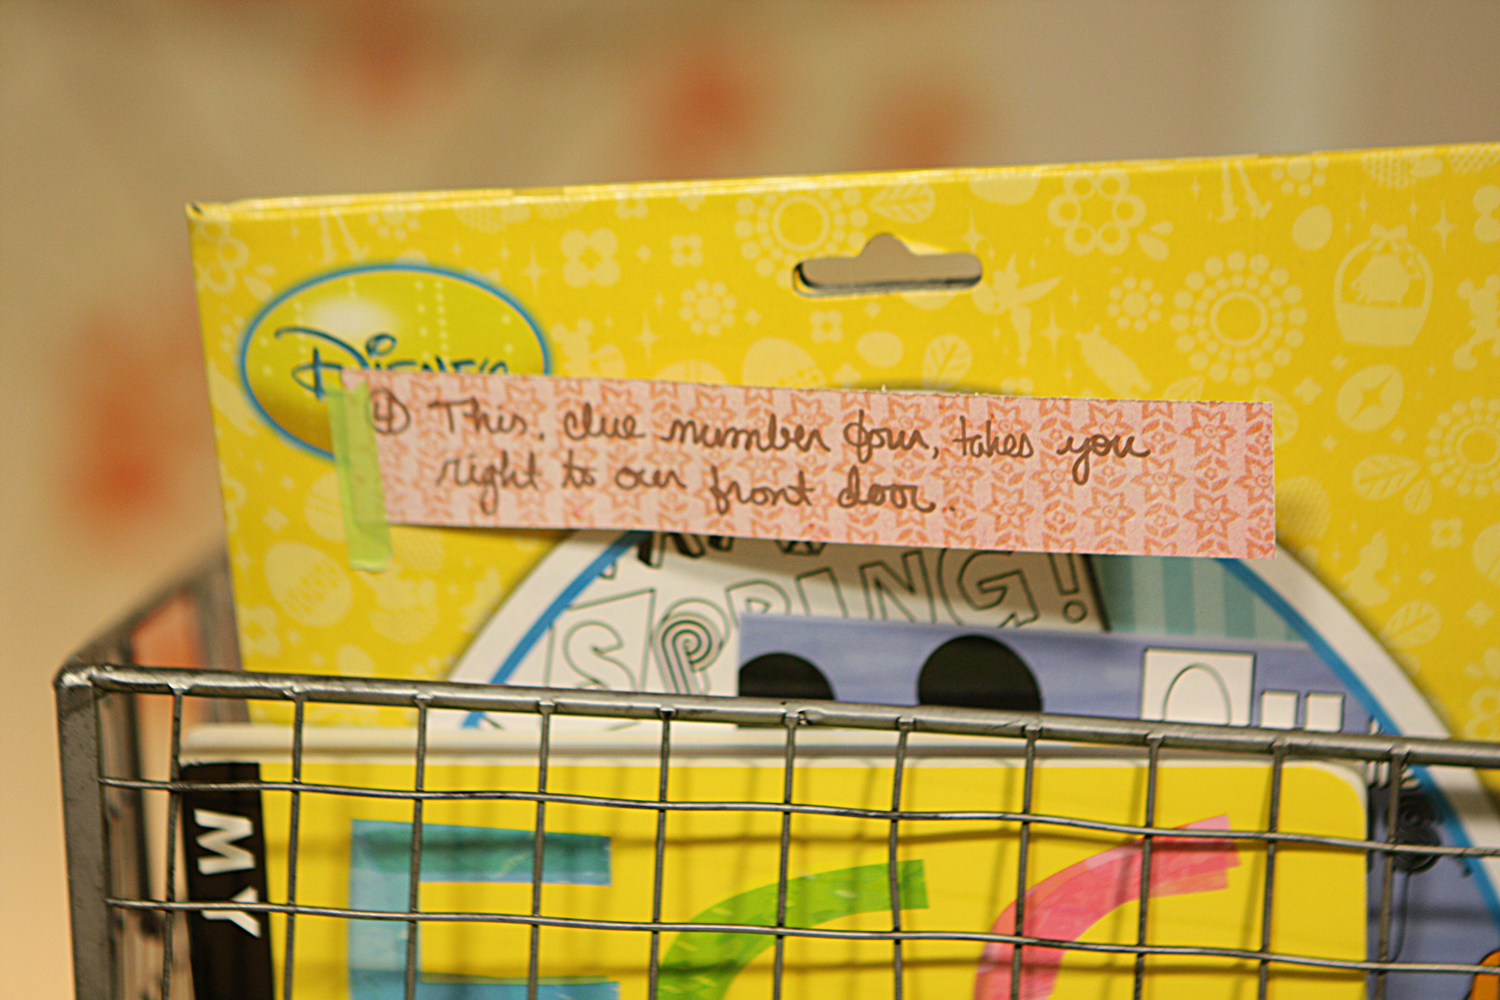
Here are a few possible clues for the younger crowd that you can ask the Easter Bunny to use around your home:

  • Your first clue, if you must be told, is waiting where we keep our food cold. 
  • Find your next clue without fail. Simply look where we get our mail.
  • Your next surprise is in your very own bed. Search near the space where you rest your head.
  • No, that is not a mirage. Your next treat sits in the garage.
  • Seek your next surprise in a musical spot, where you've played the keys since you were a tot. 
  • Usually this is where we take in a flick, but it's nice the place to go for your next trick. 
  • Your next secret, I have a hunch, is located where the doggies eat their lunch.
  • A bubbly place, rub-a-dub. You go here to get clean and scrub. 
  • It's that time; you're almost through. The basement is where you'll find your final clue. 

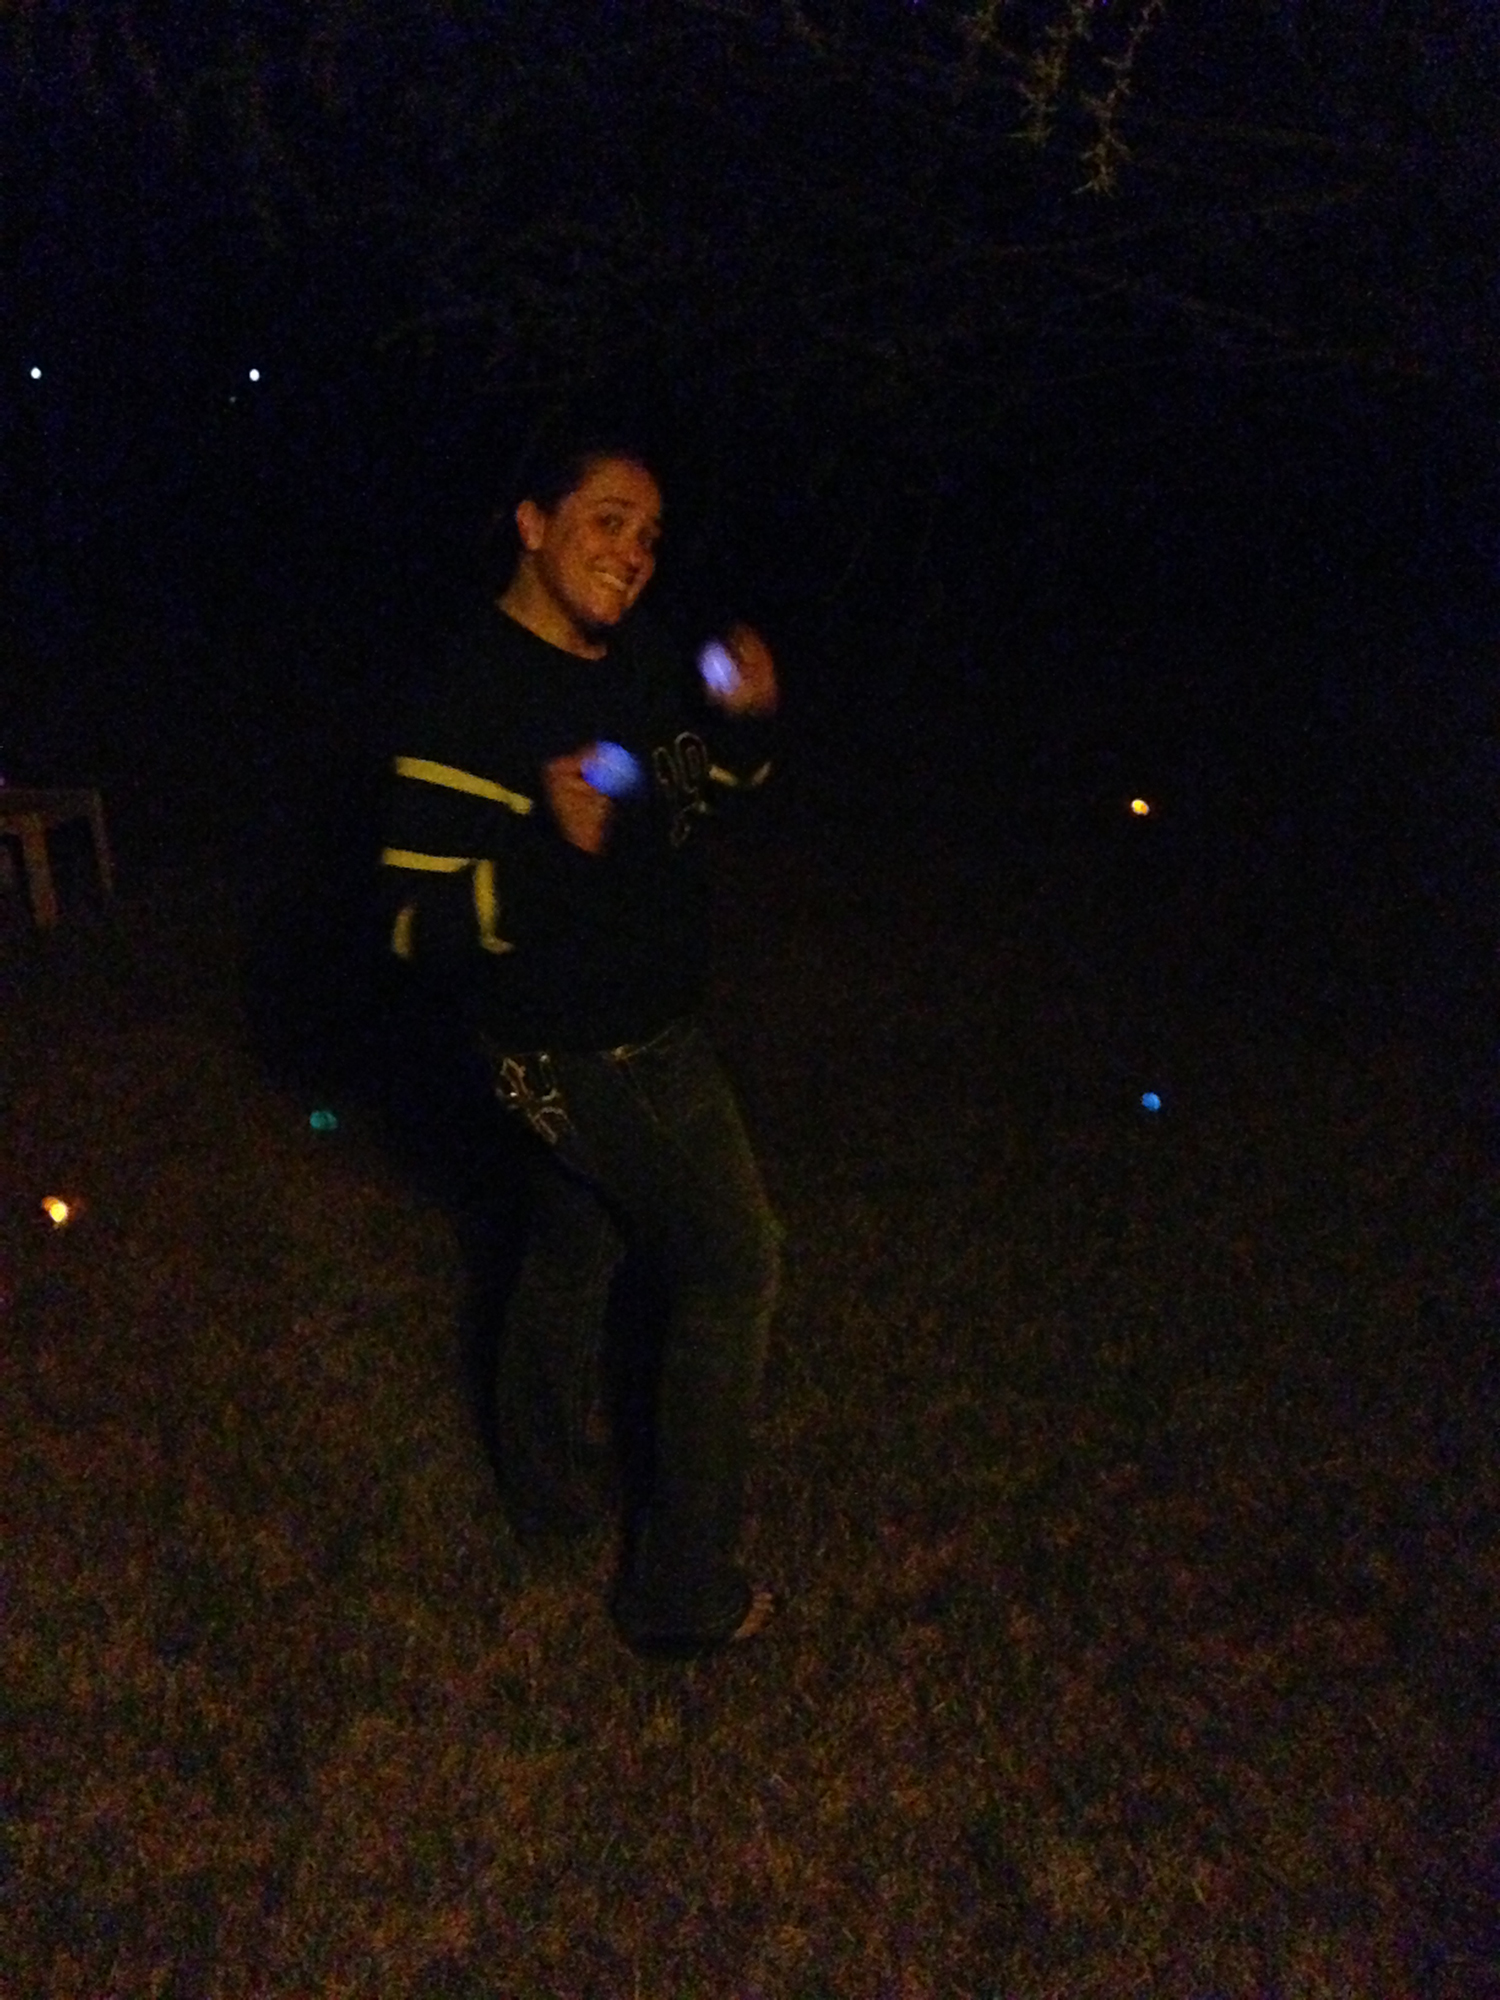
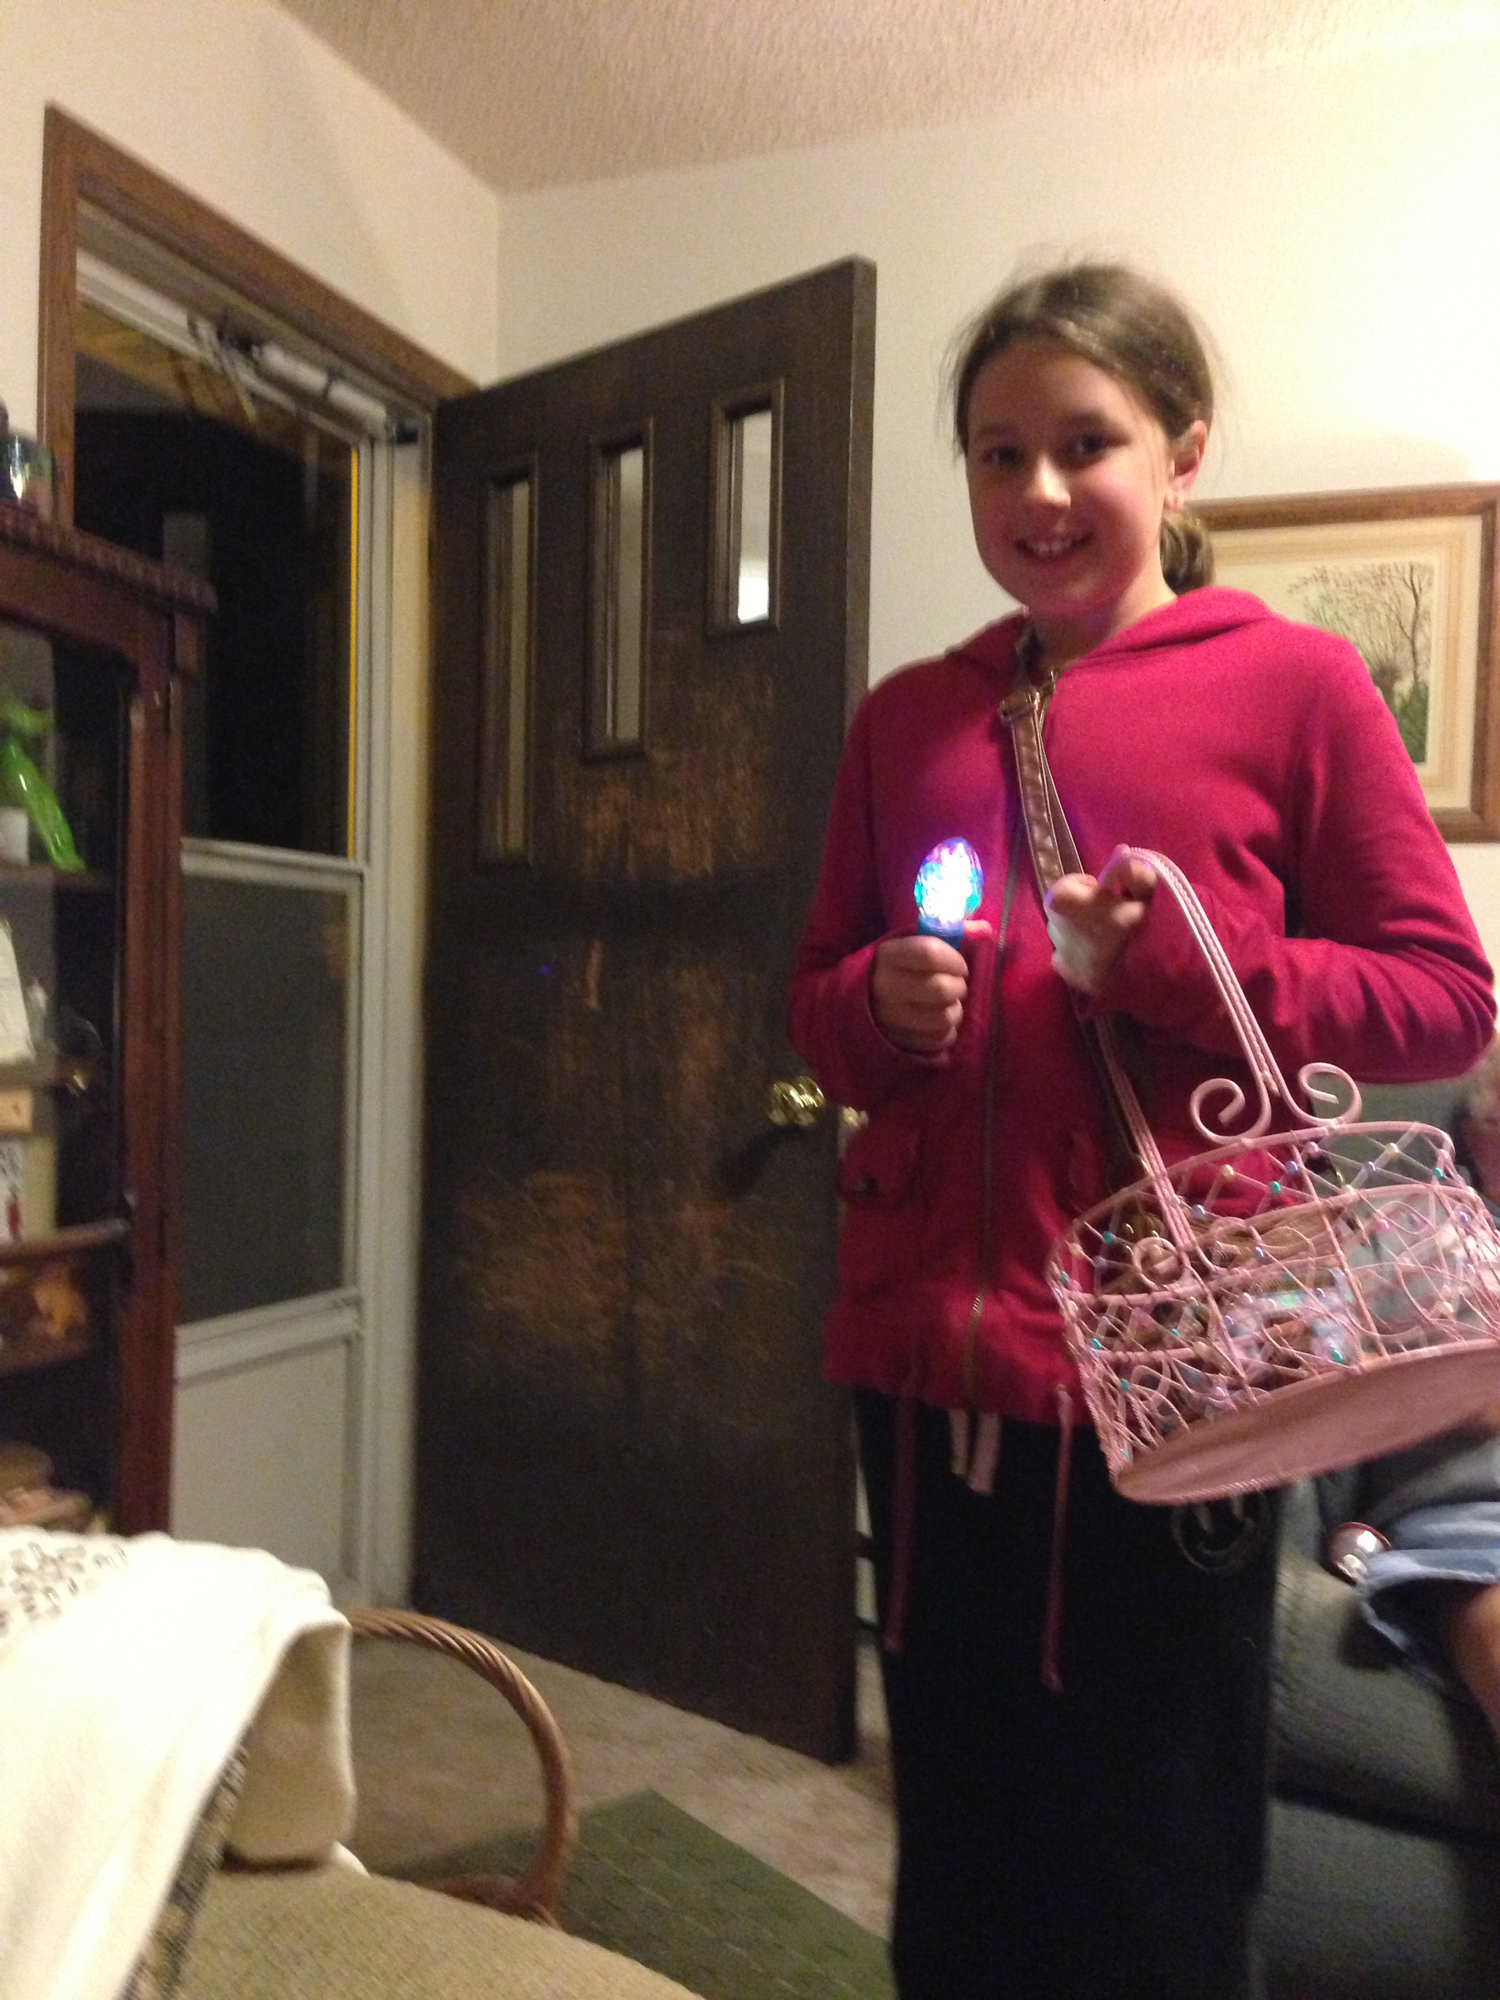
2. Glow-in-the-dark Egg Hunt

This is an activity that will keep your Easter celebrating going from the moment you sit down to Easter breakfast until long after sundown. It's a nighttime egg hunt. My cousin arranged one for our kids last year, and they LOVED it. It's as simple as asking The Easter Bunny to fill eggs with either glowing toys or small glow sticks that accompany regular toys and treats. Talk about a bright idea! 
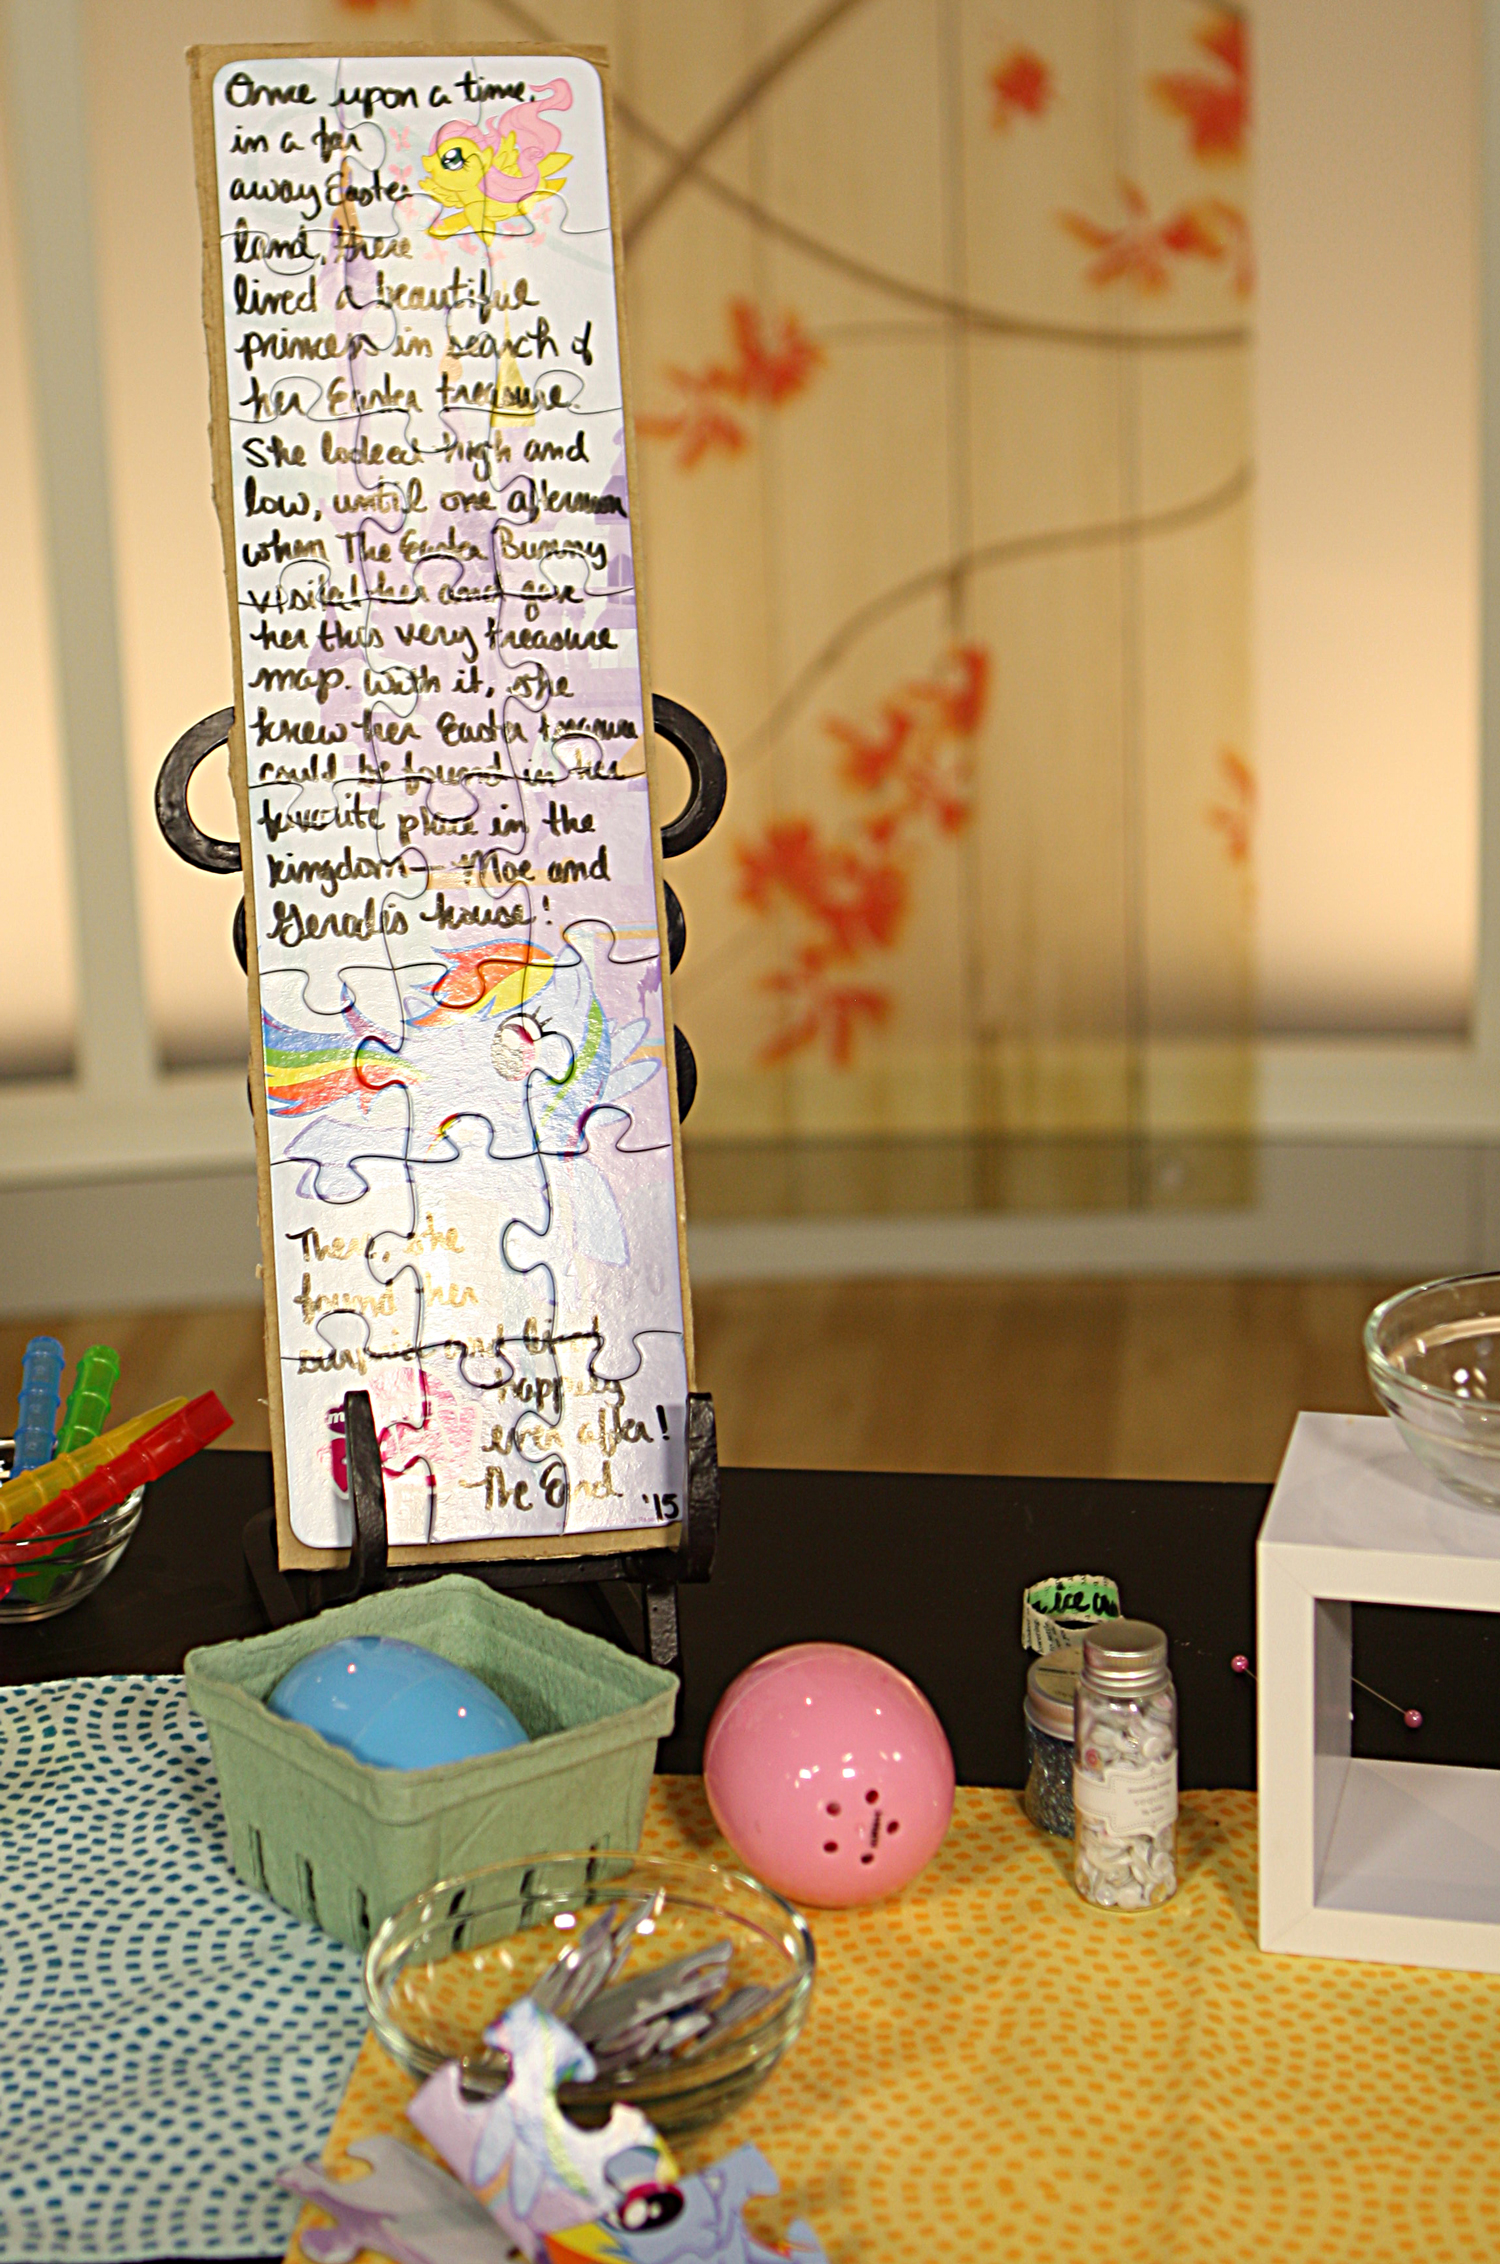
3. Puzzle Play

Instead of hiding treats in your eggs, have The Easter Bunny hide puzzle pieces. Before the puzzle is hidden, write a message that describes where the basket is waiting. This makes two activities in one, which can be double fun!
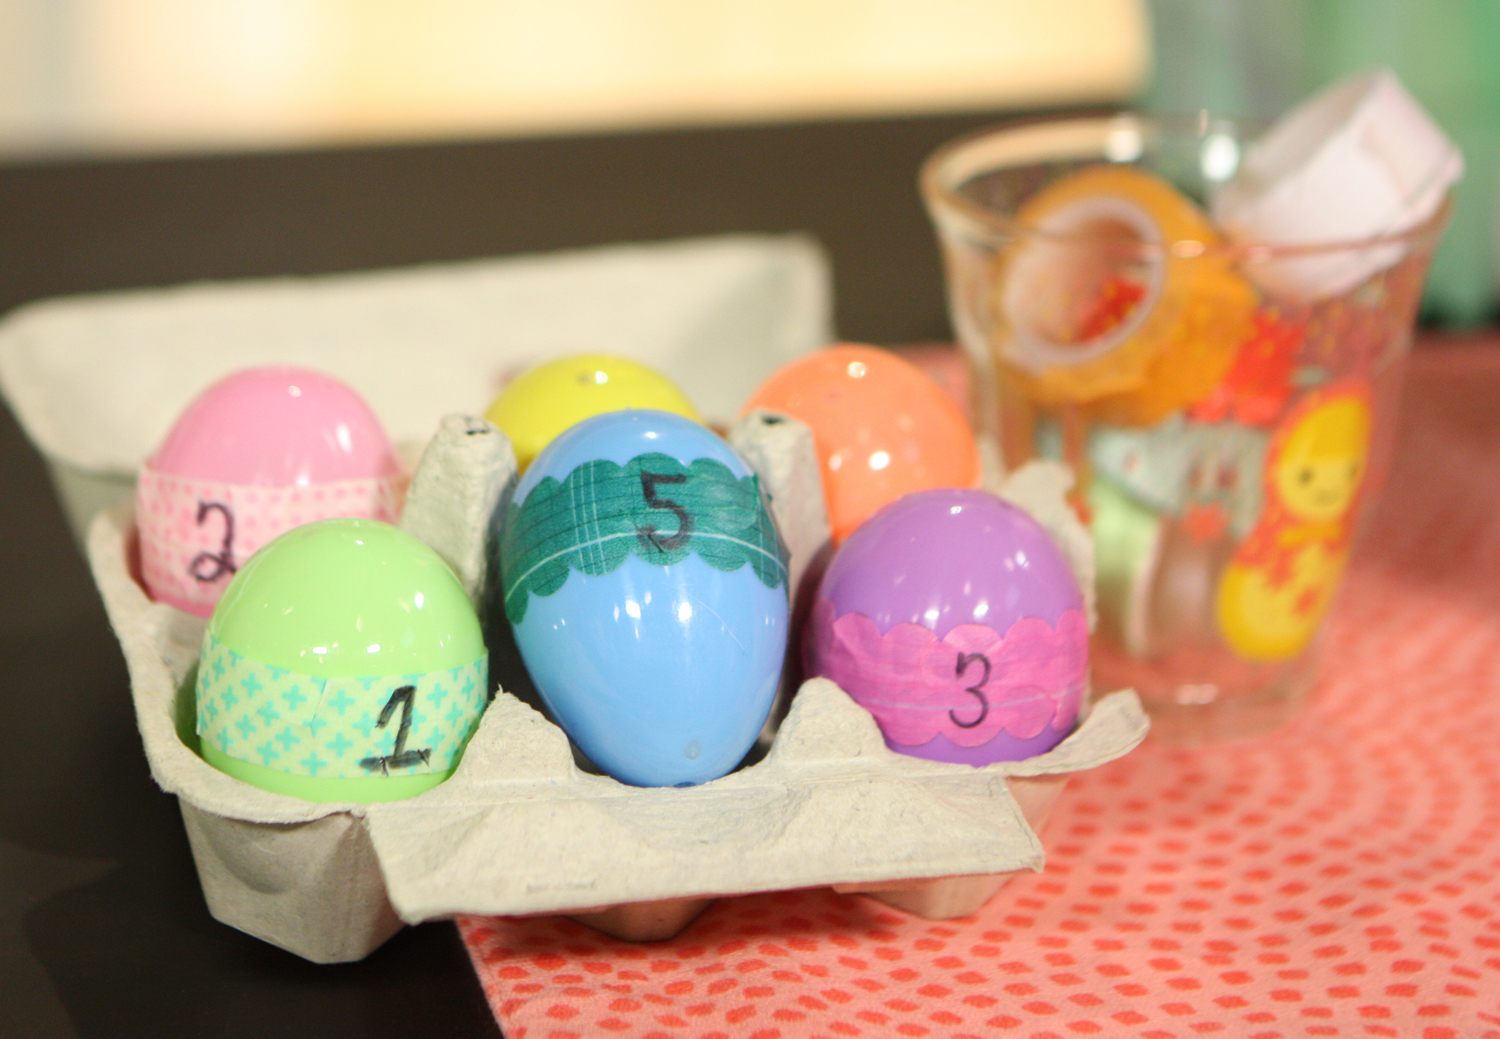
4. Numbers Game

Write numbers on eggs (note, I wrapped the eggs with washi tape first and then wrote the numbers so it wouldn't be permanent) and then let The Bunny do his hiding. The child whose eggs add up to the highest number wins a bonus prize. This is fun for younger children who are just learning to add. 

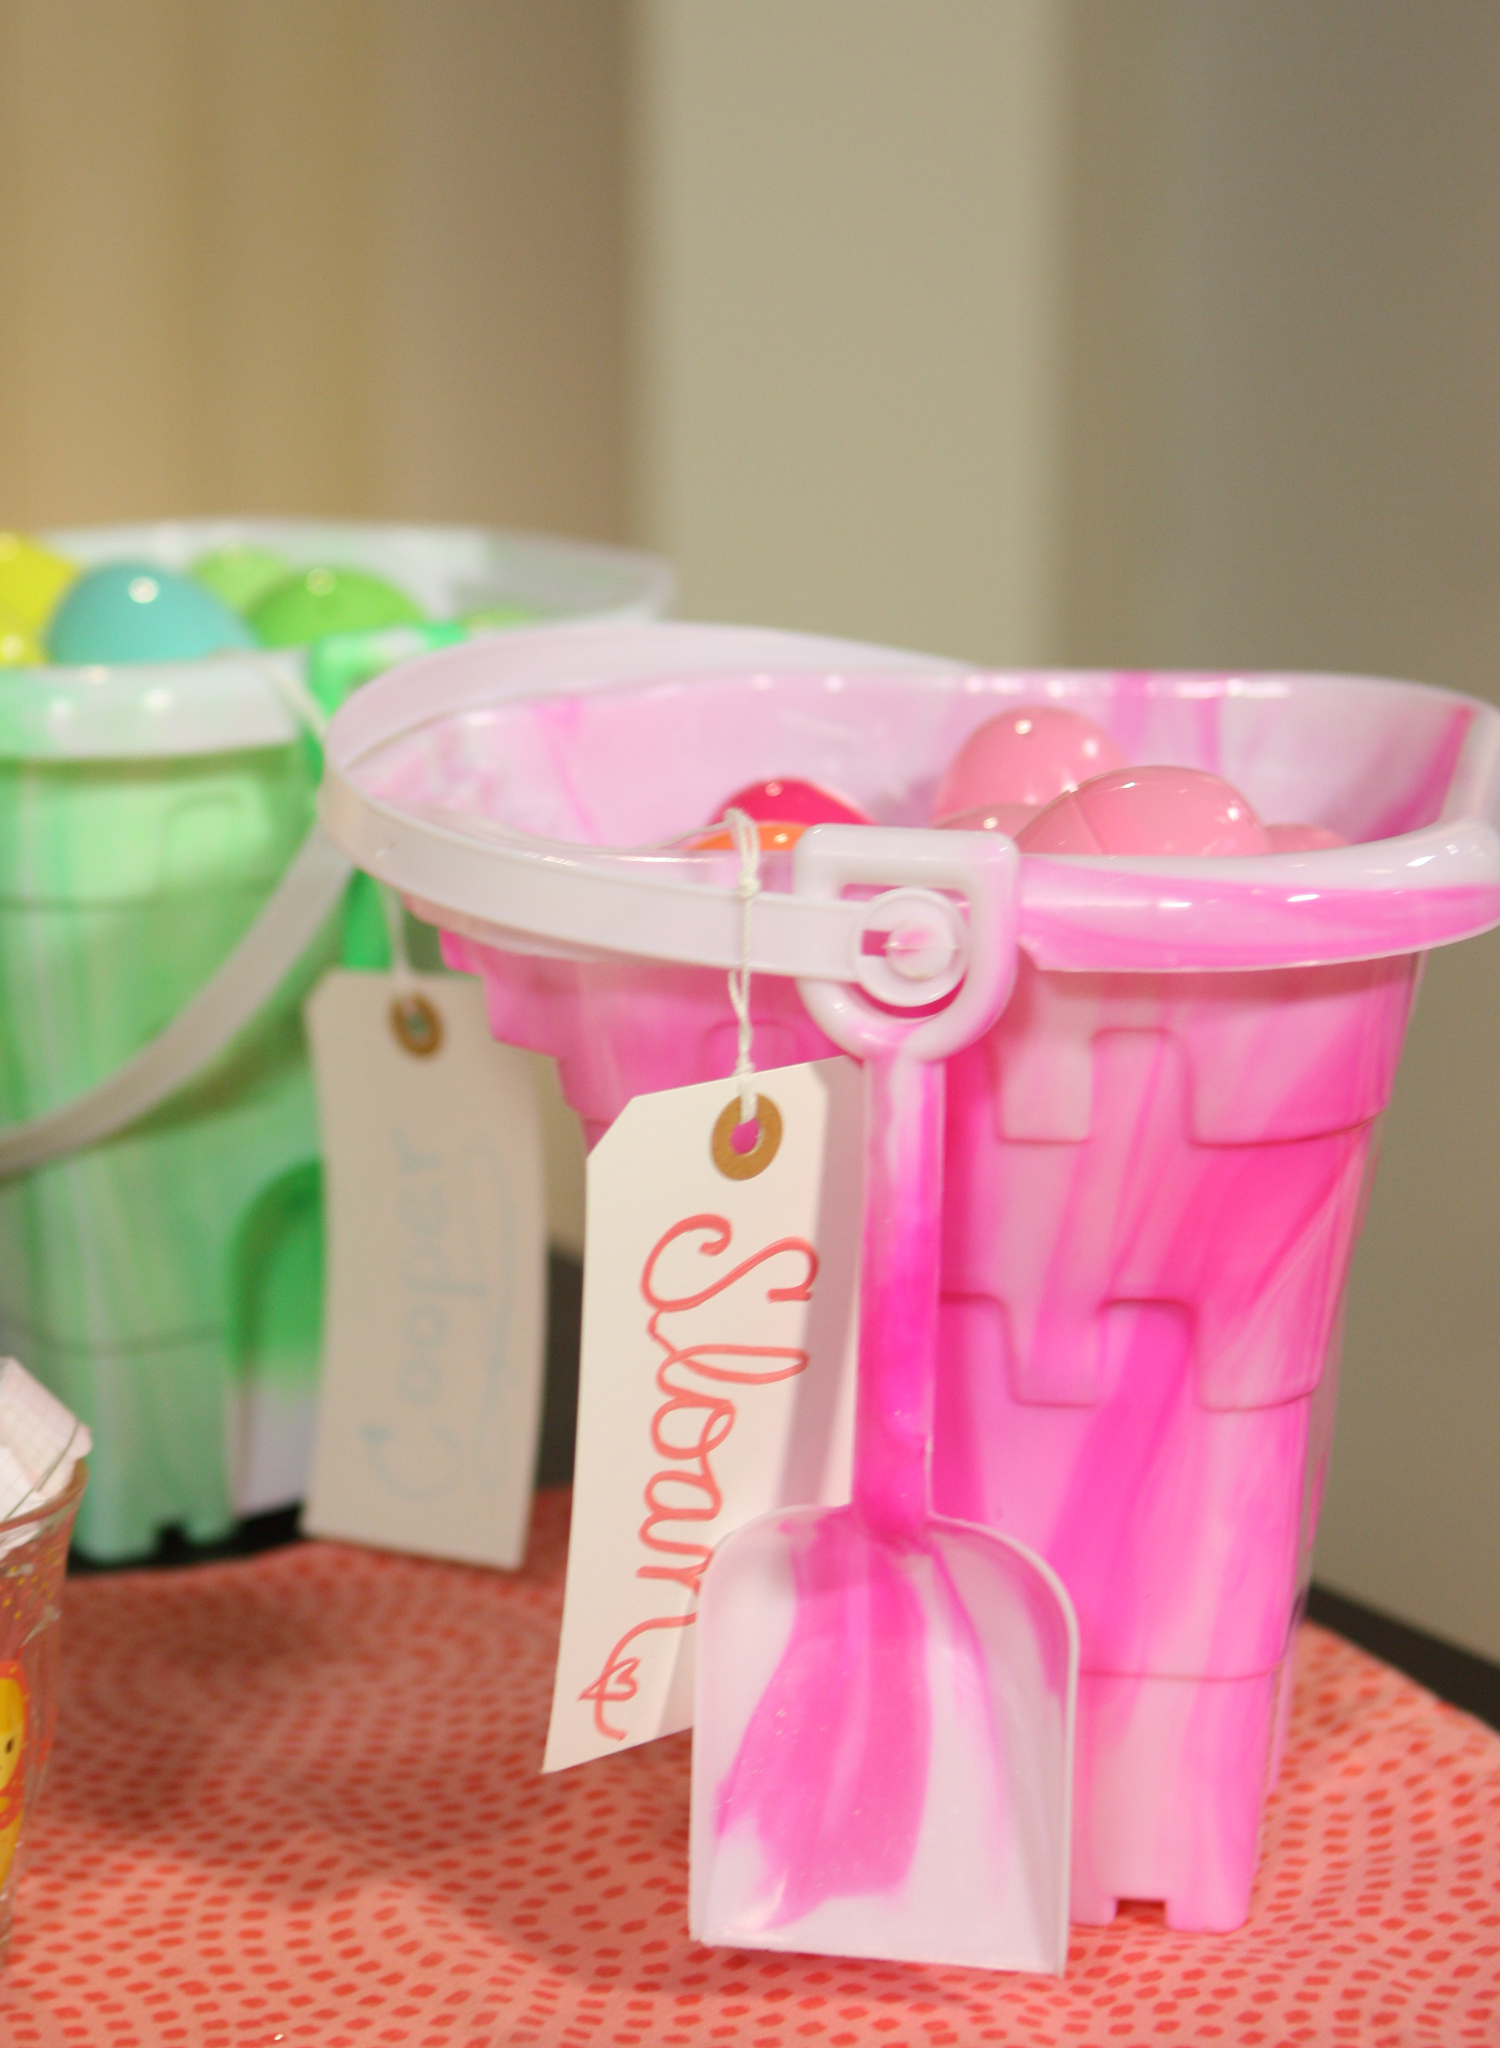
5. Color Coded Search

If you have multiples kiddos, this is an egg-celent idea. Assign each child a color (or color family) of eggs to seek. That way, kids end up with each shares and The Bunny can make some more difficult to find while others are easier. For added fun, incorporate baskets of the same colors. 
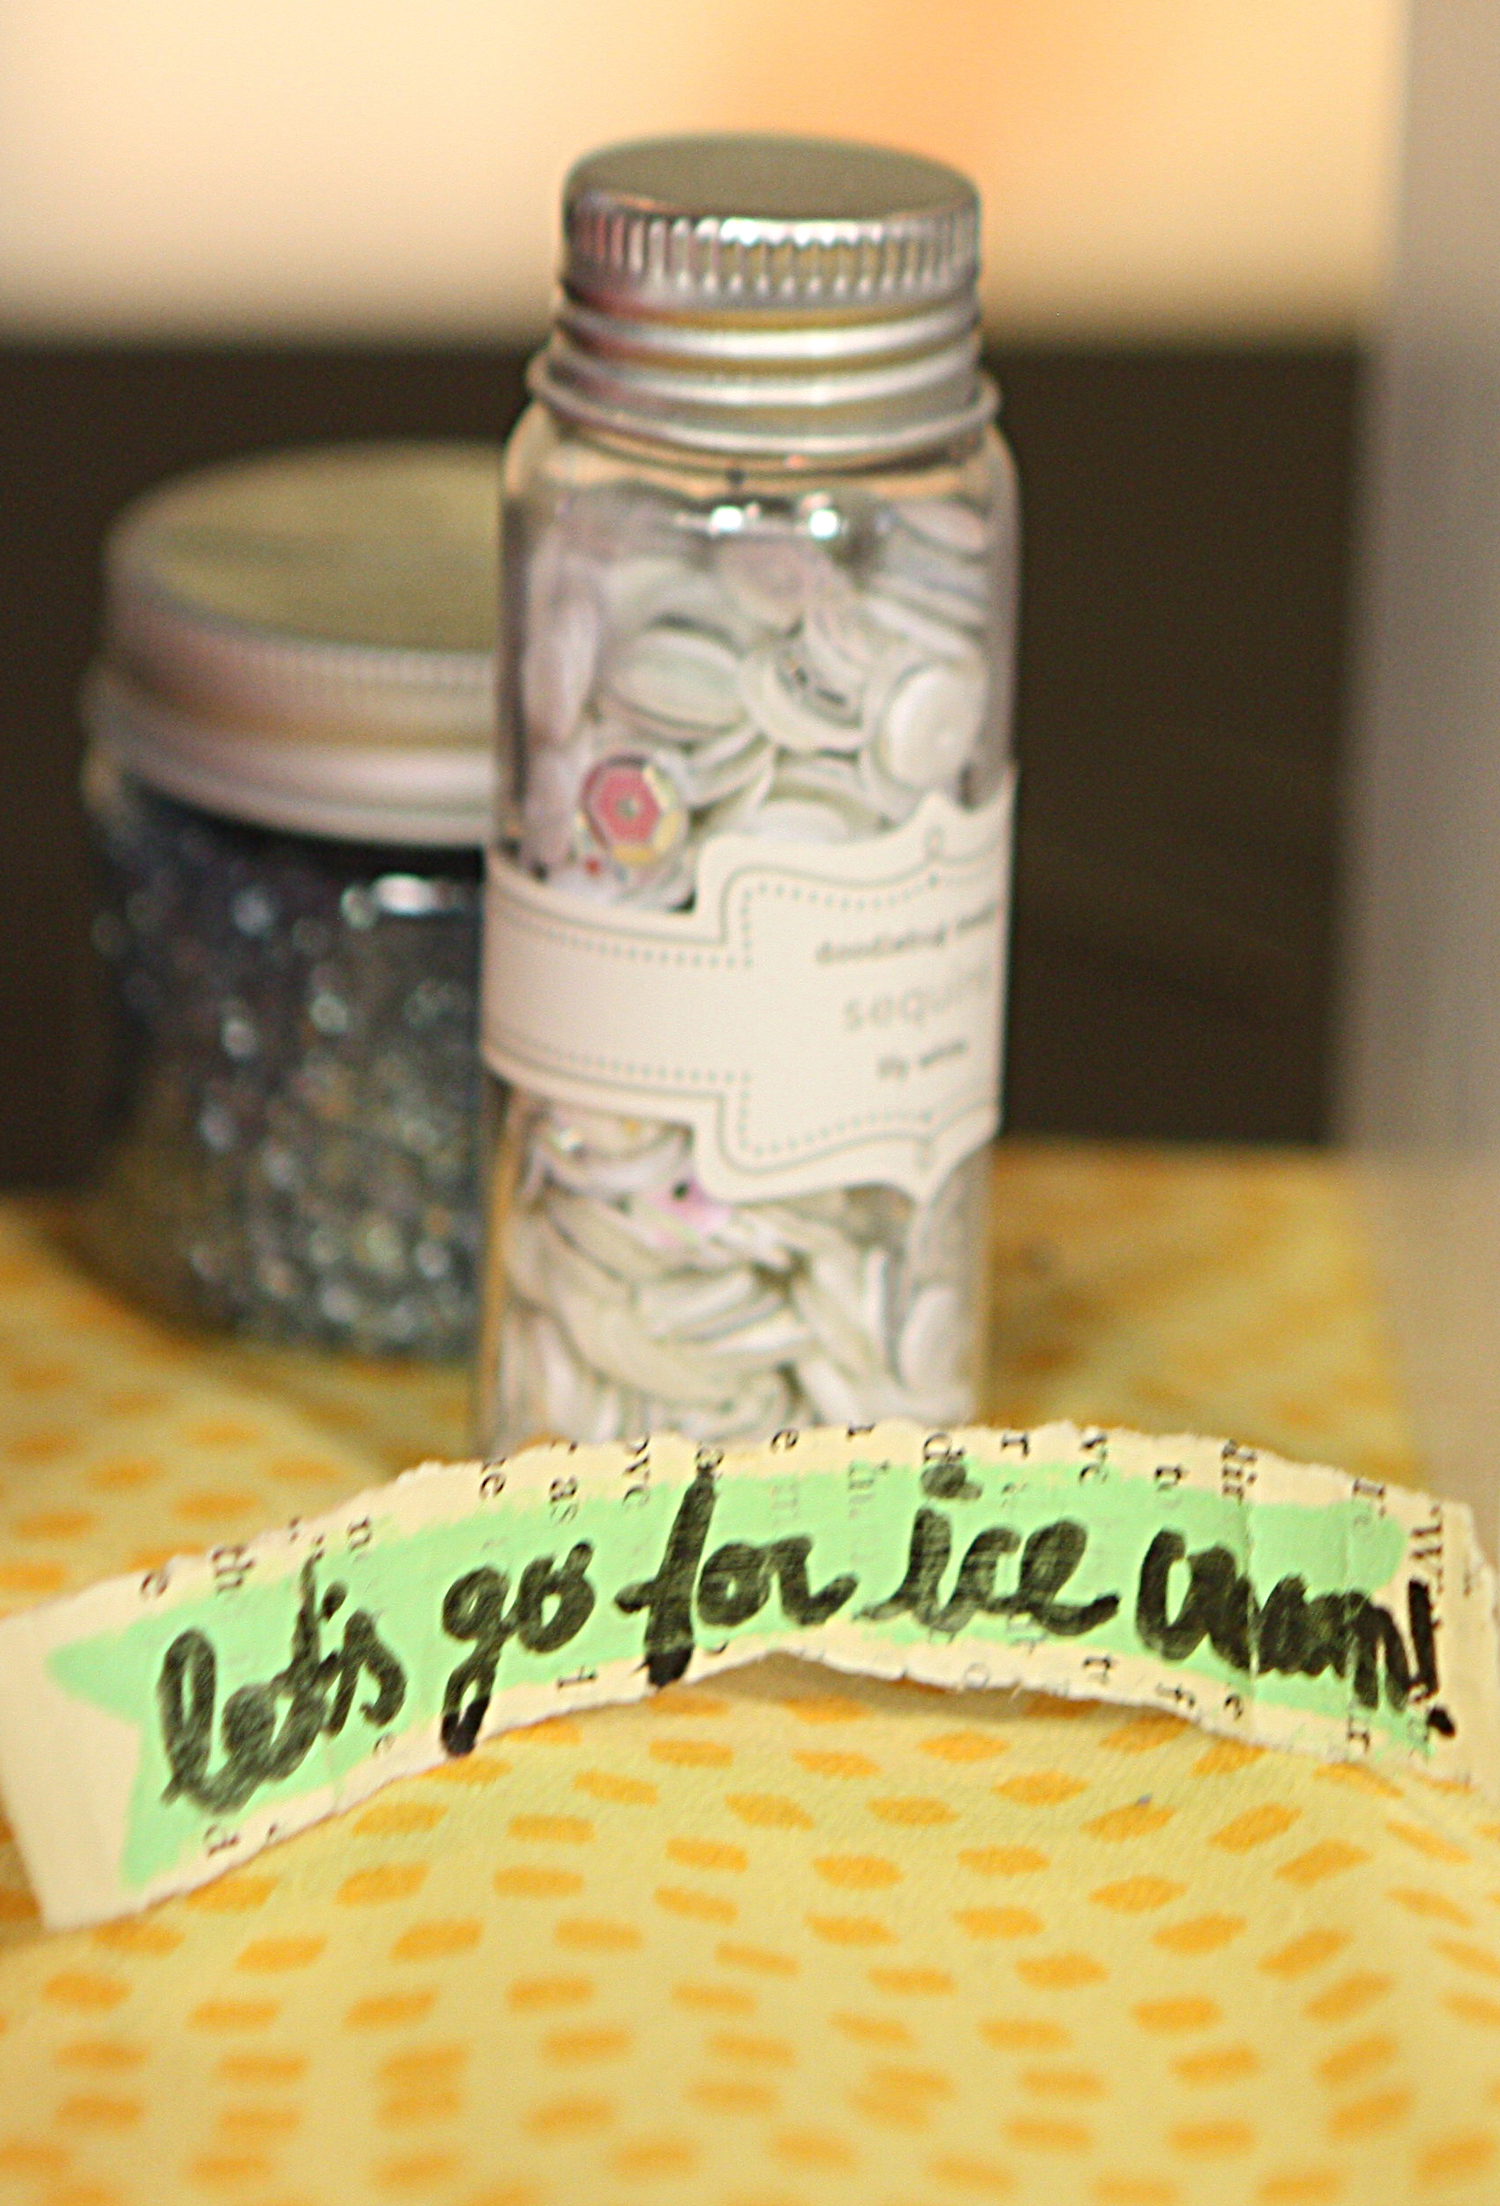
6. Super-sized Eggs

To see my sixth idea in action, which includes glitter and sequin filled "eggs," I invite you to watch my full segment today at 11:00 on Utah's channel 5 (I'll add the segment here when it's online). 

Thanks and happy hunting! 

Creative Ways to Express Gratitude

I love that November brings a fairly universal focus on expressing gratitude (at least in the US, as it's Thanksgiving), but I think it's important to express what you're thankful for on a regular basis, whether it's November or Feb. 29. 

That said, the ideas I have to share today are fun Thanksgiving Day ideas to consider. I'll be sharing each of them today on Studio 5. But know that they'll apply any time. The more you want to express what you're thankful for, the merrier!


Gratitude Garland

Wanting a very visual idea for our Thanksgiving—a place where we could capture and display what we're thankful—I created this Gratitude Garland. 

Write what you’re thankful on a strip of fabric, hang it on the garland, and watch as the gratitude fills your home with love.

Isn't it cool that you can write on fabric with a Micron Pen and it will be permenant? I didn't know this until my awesome new friends at Pine Needles, a fabric shop in Gardner Village, shared the tip. I'm definitely thankful for that bit o' wisdom!

Wanting to bring a little variety to my garland, I was sure to hang things of different lengths and textures, including strips of torn fabric, pieces of yarn, lace trims, and a few elements I made from the same fabric. 

For the actual sentiment, "give T-H-A-N-K-S," I wrote directly on the fabric using my Stickles glitter glue from Ranger. It was a fast and effective way to make a statement. But you do have to remember the drying time (I let mine sit overnight). 

If you're worried guests won't love the idea of free-form writing, look at providing prompts. Even something as simple as "I'm thankful for..." can help direct thoughts and guests. 

Tea Towel Thanks

Keeping with the beautiful fabric theme, I also created a gift for our Thanksgiving hosts. I sewed a few pieced bits of fabric to the towel using my sewing machine. I then wrote a message of thanks to them on the back using a fabric marker. 

Yeah, this is supposed to say "Over the river and through the woods, to Grandmother's house we go." BUT, I ran out of orange embroidery floss, so it's partially complete at the moment. And I ran out of room for "Grandmother's." so "Grandma's" will have to do. :-/

Gratitude Journals

For this project, I repurposed an old book, using an adorable new True Friend collection from Fancy Pants Designs to fill in the details. 

TIPS

* Leave room between pages of the book to allow enough room for everyone to write a nice note about each guest. 

* Don't forget the photos. If you have pics of your guests, add them. They create an added personal touch and immediately turn a gratitude journal into a mini album.

* You'll want to offer some wiggle room in the book, which may mean removing a few of the pages of your book so it has some wiggle room. I simply tore out a few of the pages here and there before starting the project.

* Don't over think it. Simply set up sections for each person at your Thanksgiving table, pull out some pens, paints, and other art supplies, and let guests have fun filling in those details.

Paper Chain Prosperity

This is something I've done for about a year now. Every day, I write a note of thanks on a scrap piece of paper, and I add it to my growing prosperity chain. It's a lovely way to count my blessings and remind myself that life is good, even on the hard days.

To make this exercise/craft easier, consider cutting a bunch of strips ahead of time and having them in a central location where you can write a note and add it to the chain without any trouble. 

For this chain, I used the beautiful new Vivienne line by BasicGrey. Isn't it a sweet approach to fall, y'all?

A Word of Thanks

Speaking of offering up thanks, I'd like to give a great BIG thank-you to Marcia with Gardner Village (and my new crafty friend) and Holly, who owns the delightful Pine Needles quilt shop. They've both supported my creative efforts in such a big way, which means the world to me! And they were so wonderful to meet with me and go over fun banner possibilities, and their fabrics are fresh and beautiful, making it such a pretty trip! 

Thank you for the very happy day, Gardner Village! My mom, daughter and I had so much fun and want to visit regularly to keep this girls'-day-out idea alive. :)

And thank YOU for visiting today. November and always, I'm thankful for your continued love and support. It touches me that some of what I do connects with you. It offers me purpose in a way I'm not even sure I'm able to put into words. So, please know that I thank you from my heart!


Warmly,
Megan


Mesotheli...what now?

This week I had the pleasure of taking a chalk painting class. Do you know about this stuff, yet? It’s supposed to be the wonder paint of paints, as it will go on just about anything, and it requires very little effort. 

I’ll be sure to give you more info on the paint and show you the end result of my paint project once it’s ready. (I’m working on a new window treatment for my kitchen.) 


But, before I get to the chalk talk, I want to go over a little unexpected souvenir I took home from the class. While there were masks provided, I wasn’t wise enough to snag one. We’re outside, I thought. What harm could there be? Weeellll... I spent much of the night coughing. And coughing. And coughing. And it hurt to take deep breaths for several days. I’m sure the fumes from the paint paired with the dust flying while sanding were more than my lungs were used to. And while I’m now on the mend, I tell you this for a reason.

I'm not afraid to sport a stylish mask on the airplane when I'm sick. I don't know why I didn't think to mask it up during my painting class. One mistake I won't make again. 

Always remember to protect your lungs. 

I know, this is a bit of a departure from my usually blogging mayhem, but it’s so important. I was recently approached by Heather Von St. James, a mesothelioma survivor. She got this deadly form of cancer secondhand, by breathing in asbestos on her father’s work jacket. Can you believe that? She now makes it part of her life’s work to spread the word about being cautious. I told her I’d be more than happy to assist her in raising awareness in my own small way.

What is Mesothelioma?

An aggressive cancer that invades the inner lining of the lungs and abdomen. It’s a rare cancer, with about 2,500-3,000 diagnosed a year. But just a single diagnoses is enough to be cause for concern. As I learned the very hard way when my mom was diagnosed with breast cancer, cancer doesn’t overlook anybody. Everybody is at risk, which makes universal awareness so very important. 

What are Signs of Mesothelioma?

Not necessarily what you’d think. Lower back pain or side chest pain is commonly reported. Shortness of breath, which is probably more typically what someone would think of when they think cancer of the lungs. Or at least that’s where my thought went. Difficulty swallowing or a persistent cough, fever, weight loss or fatigue—any of these can indicate a problem. Perhaps more invasive is muscle weakness, loss of sensory capability, coughing up blood, facial and arm swelling, and hoarseness. 

What can You Do?

Be aware of the symptoms, of course, but also be wise and steer clear of asbestos. While this nasty stuff is most commonly found in industrial work environments (ship yards, railroad infrastructure, power plants, etc.), those who don’t work in such environments aren’t free from risk. As Heather sadly experienced, it can come from secondhand exposure. Tragic but true.

Now, I don’t mean to imply that by painting without a mask this week I’m now at risk of mesothelioma. But my experience did make my hyper aware of how fragile our lungs really are. It was a cough-filled reminder that we can never be too careful when it comes to protecting ourselves.

More Information

I’m far from an expert when it comes to mesothelioma. But I do want to support Heather in her very worthwhile crusade to raise awareness. For more thorough and complete info, I invite you to visit www.mesothelioma.com.

Here’s to breathing easy, my friends. Cheers!

World Card Making Day

What feels like ages ago, as a young magazine editor, I was tasked with helping set up World Card Making Day (WCMD). Actually, at the time it was Nat'l Card Making Day (a day founded by the Paper Crafts magazine team at that time—Jennafer Martin, Cath Edvalson, Stace Hasegawa, Junko Barker, and Stacy Croninger), but I suggested we change it to World (for a few reasons), and the holiday was born. While I may no longer be a full-time magazine editor, you can bet I'm still an avid card maker, and I love that this holiday is still going strong. 

To celebrate, I created a couple of cards. The original idea behind WCMD was to kick off the holiday card-making season, so I created this Christmas card. 

This one was so simple. I tore some strips from an old book, colored the edges of those strips with a paint pen by Elmer's, and then stitched the strips to my card base. From there, I added a few sequin ornaments for a bit of festive sparkle. 

My next card was created for the Scrapbook & Cards Today (SCT) Magazine blog. 

Being a copy editor for this magazine is so great, but I love that I also get to put my crafting abilities to use from time to time. 

Finally, as a sneak peek, I created this card, which I'll be sharing tomorrow on the SCT blog as part or my Monday with Megan post. It's for a friend who is currently undergoing breast cancer treatments. With this being breast cancer awareness month, it felt like a good reason to also share it here. 

Like my tree card, I simply used pages from an old book (card base and "ribbon"), a paint pen (pink this time, also from Elmer's), and my sewing machine. I then added stickers from Maggie Holmes ("beautiful") and Making Memories (&) to complete my design. 


As promised, I want to offer a WCMD party favor. Comment here between now and Friday, Oct. 10 for your chance to win a card-making grab bag. I'll randomly select a winner from comments received. Thanks!

Happy WCMD, friends! 

Crafty uses for Project Life cards

I love pocket scrapbooking as much as the next gal (or guy), but I find these cute little cards have many uses beyond sliding them into divided page protectors. Today on Studio 5, I'm sharing a few of those ways. 

Watch my Journaling Card Crafts segment here!

Halloween Banner

The 3x4 cards are just right for creating cute banners. Especially when paired with pictures printed using my beloved Instax Share printer

BTW, during the segment, I mentioned linking to my previous Instax project that was featured on Studio 5. You'll find that here

Okay, back to this business. Using the Seasonal Snapshot Project Life Card Collection by Stampin' Up!, I created this happy Halloween decoration.


Did you know you can also get Accessory Packs for the various PL collections? This particular pack includes sequins and cool transparency cards (clear plastic), which I used one to create a shaker piece for my banner. I simply sewed the transparency to the 3x4 card, containing the sequins, some wood veneer, and my photo inside. Cute! Thinking about making some holiday tags using this method as well. 


Win Some Stamps!

The Project Life by Stampin' Up! wouldn't be complete without coordinating stamp sets. And, guess what! They've generously offered their Remember This set as a giveaway right here on the ol' blog. Thanks, Stampin' Up!

Image by Stampin' Up!

Want to win this cute set? Simply leave a comment here between now and Friday, Oct. 10 and I'll randomly select a lucky winner. Thanks so much and good luck!

Thanksgiving Card Creations

Cards are a natural fit when it comes to creating a place card for the Thanksgiving Day table. 

And don't forget a mini album, made from the larger 4x6 cards. And check out that darling heart paper clip. H&M! That's right, they sell more than just affordable clothing. Score! 

Luggage Tag

Pack your bags. This cute tag will add your signature look to all of your bags. The key: Using the transparency cards, which won't get damaged. I simply sandwiched a paper card between two plastic cards and stitched them together. Naturally, some sequins and wood veneer came into play as well. 

Don't forget to add your personal info to the back of your paper card before stitching the transparency pieces around it. 

Gift Tag/Gift Card Holder

Nothing makes gift-card giving faster than attaching a little card to a glassine bag. Then, it's as easy as sliding your gift card inside. Done and done!

To create this gift, I used the Love Story Project Life Cards by Stampin' Up!

Image by Stampin' Up!

I'll share the card I created tomorrow as part of my World Card Making Day celebration. Please check back for that and another fun giveaway. Thanks! Can't wait to party card-y with you soon! :)


Cheers!

Studio 5 and an Album Giveaway

Today on Studio 5, I shared several album systems. Everything from the traditional, 12x12 approach to scrapbooking to clever gift displays. 


Win!
Want to win an album assortment, including a few of the ones featured on today's show? Simply leave me a comment between now and Monday, July 14 for your chance to win. Thanks for tuning in. I'd love to know what your favorite type of scrapbook album is. :)

Cheers!