

This Mother’s Day, fill a pocket page with sweet treats for Mom or Grandma.
Step 1: Select Your Page Configuration
Divided page protectors (pocket pages) come in many sizes and configurations. Popular brands in the scrapbook market include We R Memory Keepers, SN@P! by Simple Stories, Doodlebug, and Project Life.

You can get divided pages in sizes ranging from 4x4 to 12x12 and many options in between.

Step 2: Select Your Nifty Gifties
Once you know your pocket sizes, you can seek out gifts to fit the small compartments.

TIP: Seek out treats that are relatively flat. Some possibilities include:
jewelry
small crafting/stationery supplies
bitty bar of soap (I got mine at Lulu’s Boutique in Gardner Village)
tickets
gift cards
To fit the necklace in a way that would stand up in the pocket, I attached it to a tag. By snipping the top of the tag, the necklace easily sits in place.


NOTE: You may find it’s easier to first seek gifts and then find the pocket page to accommodate. You can sure swap steps 1 and 2 if you so desire.
Step 3: Dress Up the Edge
It’s customary with pocket letters to dress up the edge of the sheet a bit (the space where the ring holes have been punched). Washi tape is an easy choice. Just wrap a bit around the edge. I like using a tape wide enough that i can wrap it around the front and back, though this certainly isn’t required.
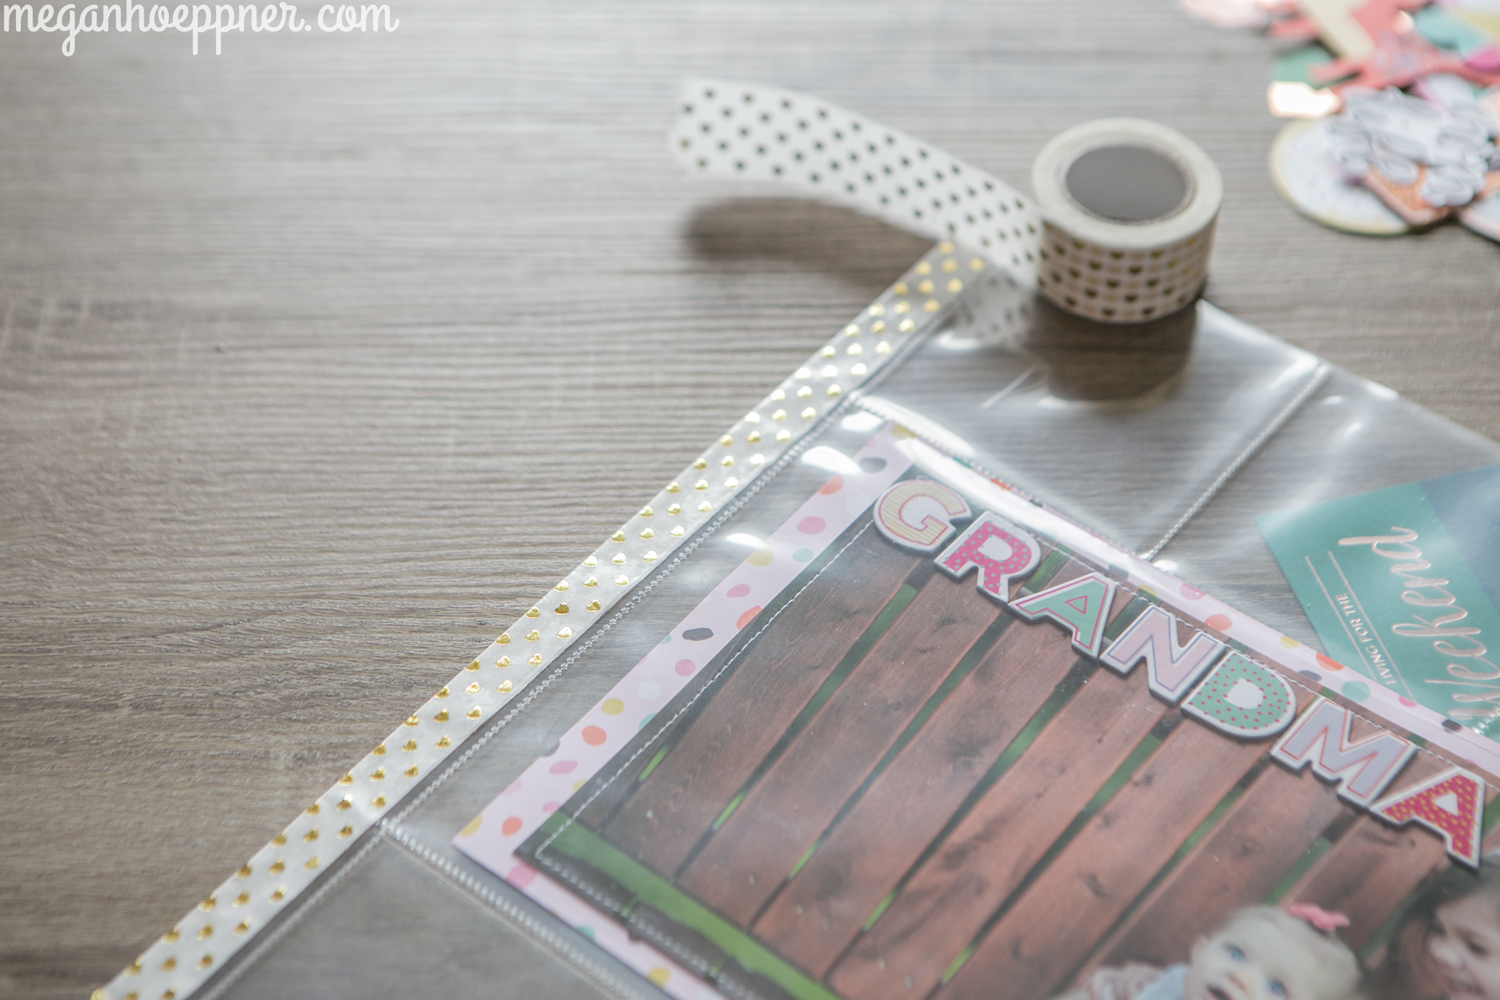
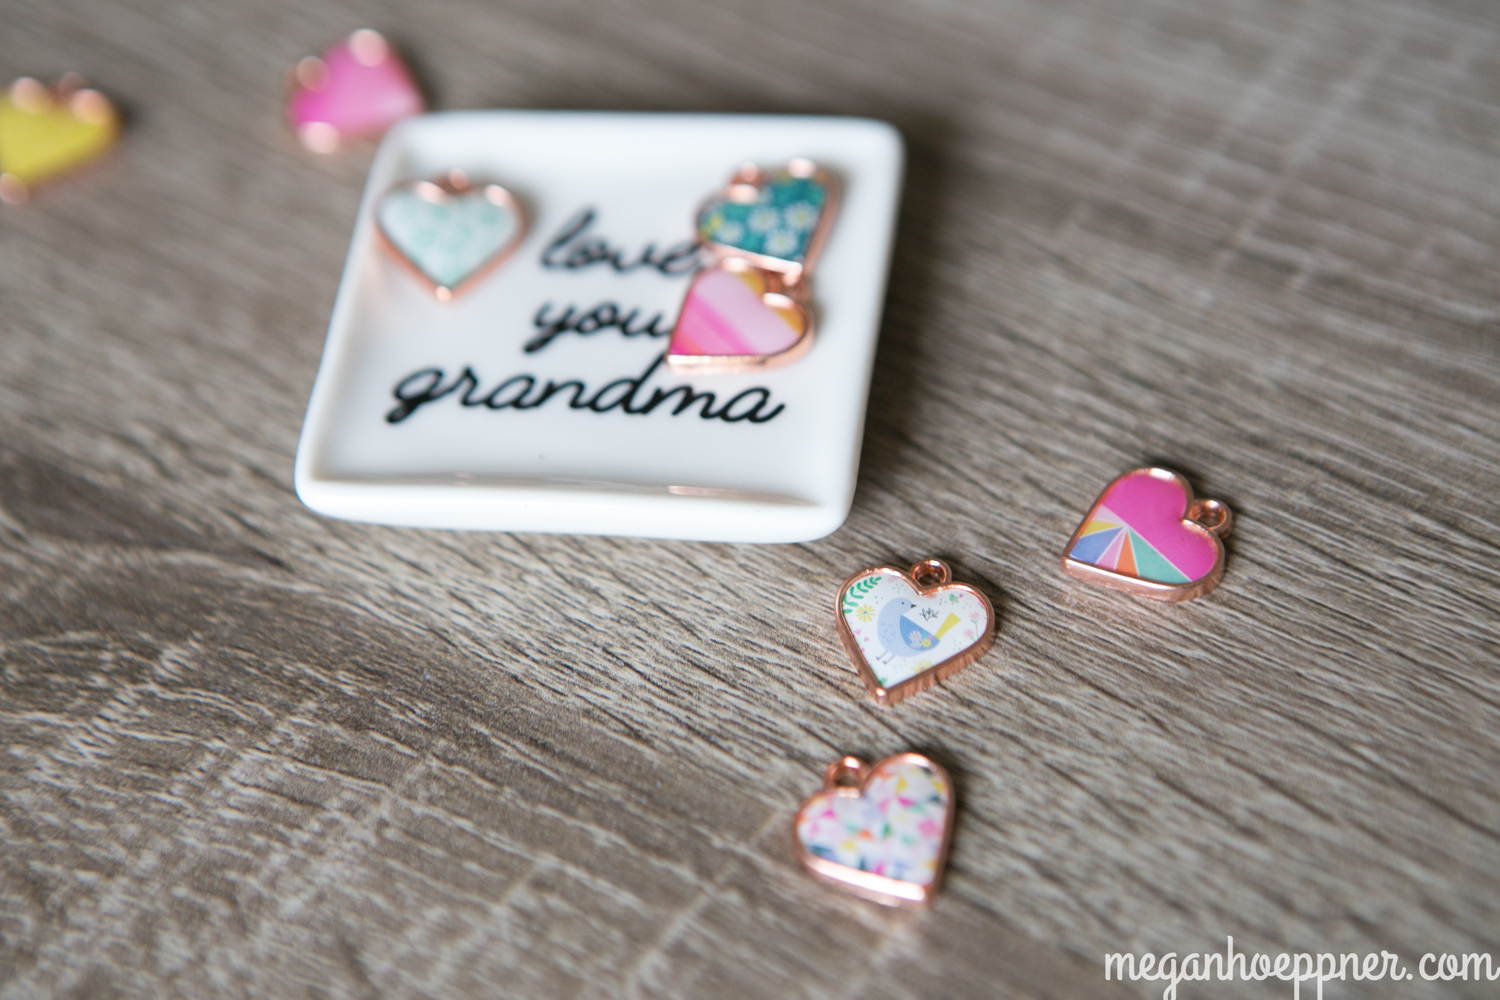
You can leave it here or you can add some dangling doodads. I went with these sweet charms, which are part of the Oh My Heart collection by Paige Evans for Pink Paislee. So cute!!

I also added a die cut sentiment from the same line and strung up some felt pom beads to finish the deal. It’s all clipped in place with a bitty clothespin.

Step 4: Personalize
Personalized touches make these letters all the more memorable. Fill pockets touches unique to you, such as:
PHOTO(S)
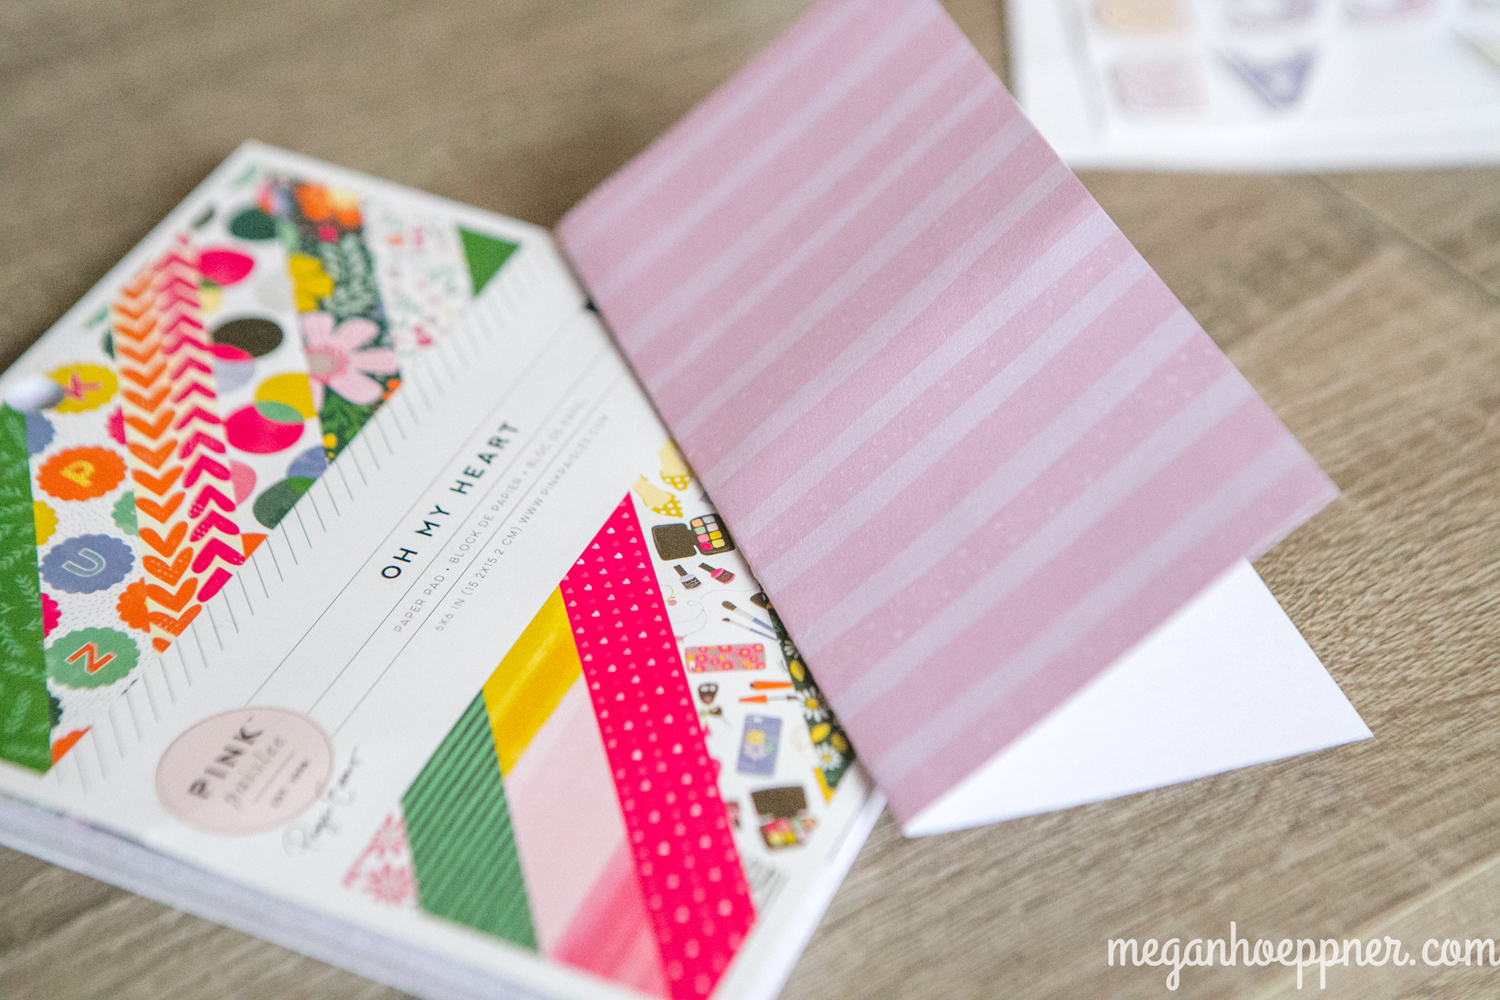
In my case, I made the photo the focal point across the center of my page. I matted a 5.5x11 image on a trimmed 6x12 sheet of patterned paper, also from the Oh My Heart collection.

NOTE(S)
Being a gift to our awesome mom/Grandma, we’ve included more than one note. Maggie colored Grandma a picture a piece of white 3x3 paper I cut for her.

Wanting my note to be a bit more private, I decided to make an interactive note from a sheet of 6x6 paper. First, I folded the sheet in half.
I then stitched it together to keep it folded in place. From there, I scored at the point where the 3x6 piece folds in half and trimmed the top portion to a tag shape. I then wrote some words of love for my mother-in-law, tucked the card in the pocket, folded it over itself, and held it in place using a paper clip (the arrow). Oh, and I added a fabric rosette I made. Because this portion of the flip-up note card is on the outside of the pocket, I was able to use the bulkier embellishment.

Step 5: Space & Place
At some point in the process, you’ll want to play with the placement of your various elements. Try different options on for size until you find something you’re satisfied with.

TIP: Patterned paper with journaling cards printed on it are great pocket fillers, as are pre-made die cut shapes. These are from Oh My Heart.

Step 6: Put It All Together and What Have You Got…

A great gift for Mom/Grandma!
Confetti always adds to any celebration, so a couple of my pockets are filled with festive bits.

To keep the smaller confetti (assorted sequins) contained, I used a small vellum bag. I folded the flap up and clipped it in place. For the larger bits, some machine stitching worked to seal the deal.

A gift card to Barnes & Noble will live in the slot to the right. Gift cards are an easy and awesome pocket filler!


This is an extra fun idea if Gram is across the miles, as it can easily be mailed without costing an arm and a leg. A large padded envelope should do the trick. Or you can give it to Mama in person, which is all the more fun.
Credit for the Pocket Letter concept goes to Janet Lane. You can learn more about traditional Pocket Letters and how to find a community on her website, pocketletters.com.