Teepee Time with We R Memory Keepers (bonus project!)

One of the first things I did when I found out I was pregnant with both of my girls was start dreaming up ideas for their rooms. I LOVE decorating kid spaces (wouldn't that be a dream job?!) and couldn't wait to start personalizing special areas just for them. Of course, when I found out I was pregnant with Lulu, it meant twice the fun, as I was going to design her nursery AND update Maggie's nursery to a big girl room. So I set to pinning.

If you check my Pinterest Board - Maggie's Room Makeover ...
 

...you'll see much of two things monochrome (black and white) and teepees. For two years now, I've known I've wanted these two things to be focal points in her space. And I am thrilled that the addition of her new teepee makes the dream feel so complete. Isn't it an awesome feeling to finish a project?

Sources: Teepee, We R Memory Keepers; Large Frames and Rug, IKEA; Ceiling light, PB Teen; Star Marquee Light, Heidi Swapp; Cloud Marquee Light, Fromage la Rue; Quilt, Layers Beautiful Bedding; Blanket, Target; Floor Puff and Throw Pillow, Land of Nod; Chair, Amazon; Window Treatment, Z Gallary; Clock, Holly Brooke Jones.

Photos in Frames by (from left to right) Elisha Snow Photography and Maggie Holmes Design

I spent hours. And hours. AND hours on this teepee. But that's only because I couldn't stop myself. I would likely still be working on it if I didn't have a deadline to meet. But you certainly wouldn't HAVE to spend hours. The DIY Teepee Kit from We R Memory Keepers makes this project so easy, creative and fun!

The kit comes with foam stamps, decorative embellishments (banners, garlands, flags, beads, and more!), so you can simply add a few awesome handmade details and set it up, or you can completely customize. It's totally your call. I share 10 tips for customizing on We R's blog. Hop on over there for a look at how my teepee came together.

The look on Maggie's face when I called her up to see her birthday surprise! *love

But, before you go, here's a bonus project. It's a matching mini teepee for Maggie's little toys. She just LOVES to play with little characters and such, and she's always putting them under "tents" (tissues), so I knew I couldn't stop at a big tent for her when I could make a matching one for her friends.

To create this, I simply cut a triangle from a paper mache cone to make a door.

I then ironed on leftover fabric from her teepee project. But you could also decoupage paper or even just color the teepee with a marker.

Mags has already played and played with both teepees. Nice to know they pass the Kid Approval Test. ;)

This earned a high-five from MIss Mags. Excellent!

Oh, and Micks and Lulu approved, of course!

Thanks to We R for making me Super Mom today! This was a birthday surprise Maggie will remember forever.

And thank YOU for your interest. You'll find full details on my teepee here. If you end up posting one you've made, you'll have to let me know. I'd love to see how you make this cute kit your own!

Cheers!

The Trendy Look of Laser Cuts (and my TV segment)

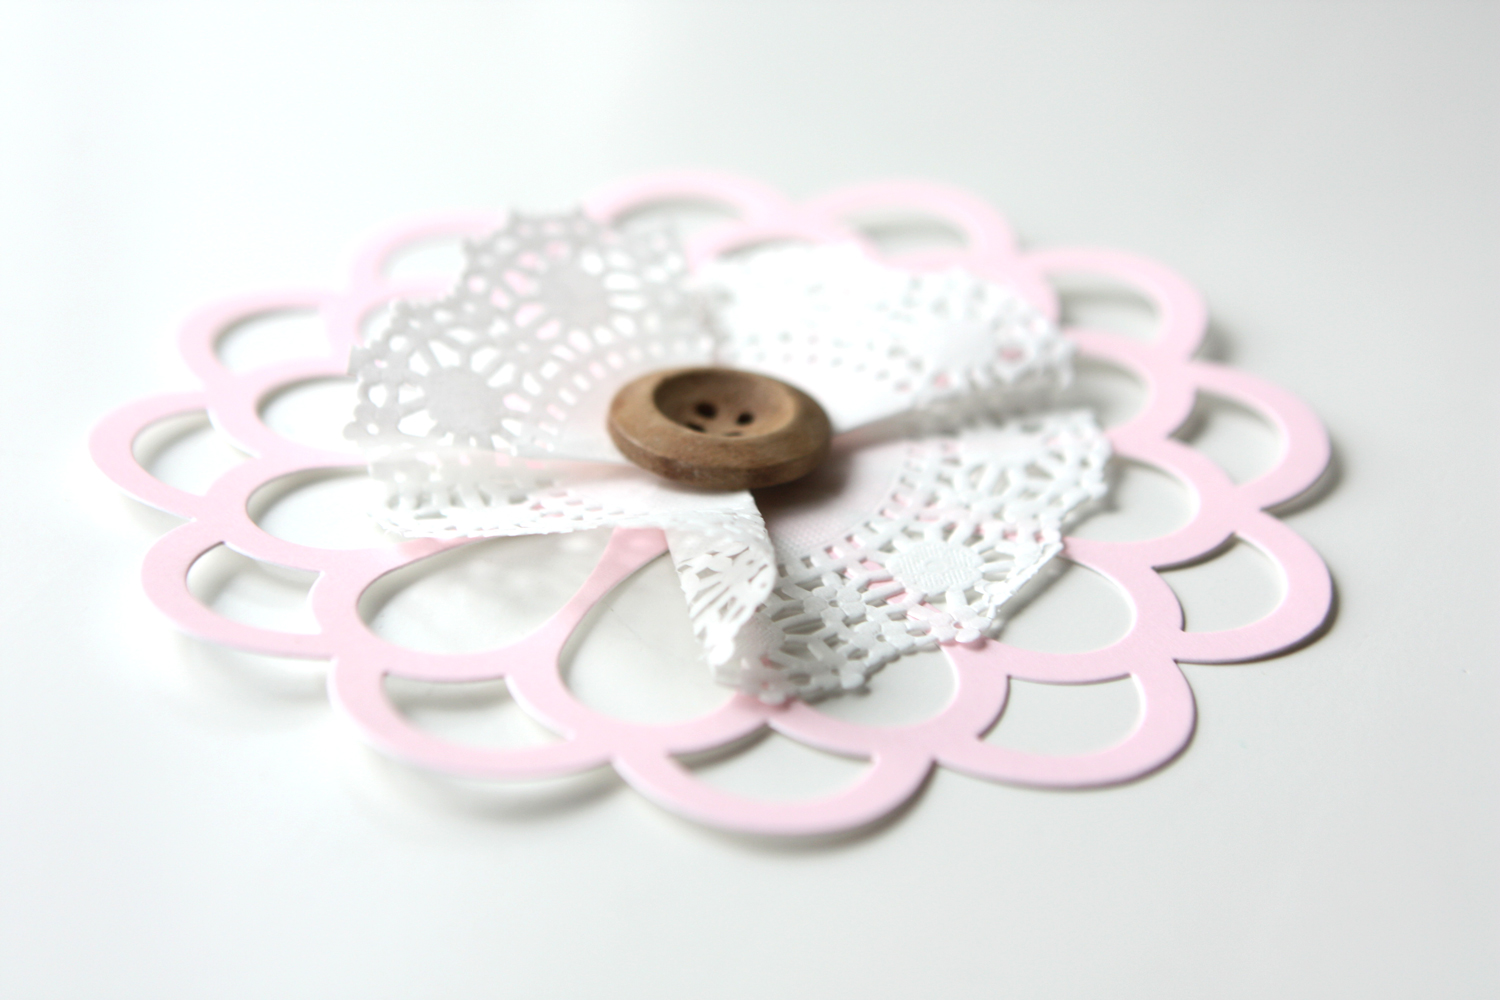
Have you seen the look of laser cuts that have come onto the crafting scene? This intricate design motif appears to be inspired by the look of doilies and die cuts, which have been popular for quite some time. Cut from various materials, including paper, fabric and wood, you can achieve a variety of textured looks using these cut cuties. 

Here are just a few of the projects I created for my latest Studio 5 segment, which is all about working with laser cuts. 

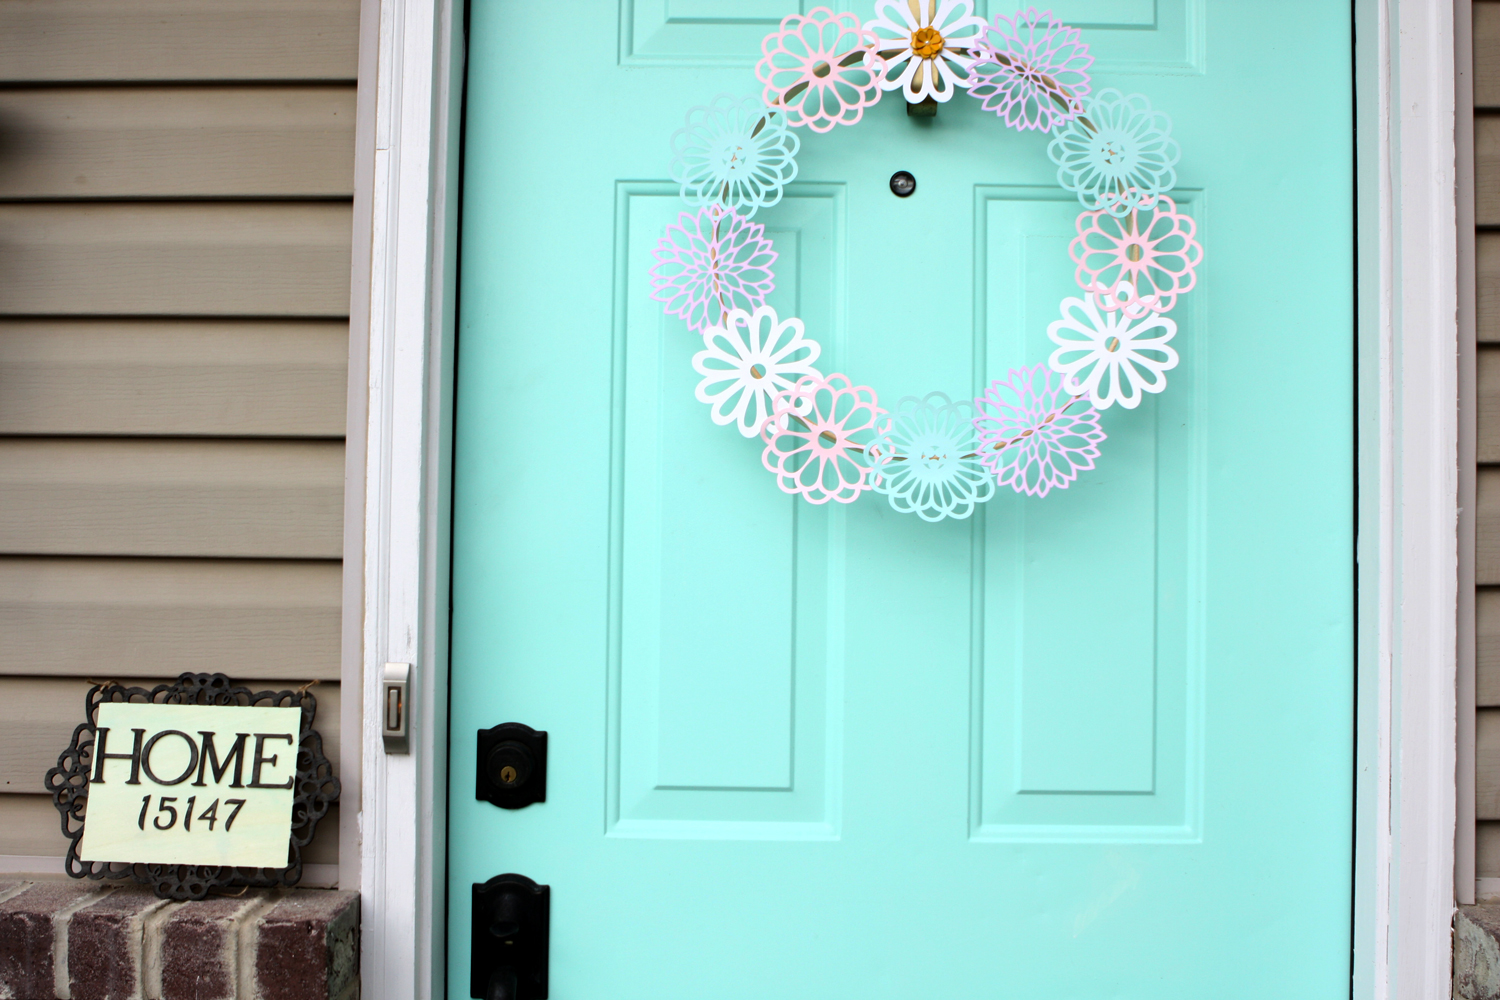
1. Laser Cut Wreath: I used the paper flowers to create a spring wreath, which would be nice for spring, a Mother's Day celebration, or a baby shower. 

Tip: One of the reasons laser cuts are cool is the way the light shines through them, so I purposefully selected a thin wreath base (embroidery hoop), which allows the bulk of the laser cut pieces to stand free so the light can pass through. 

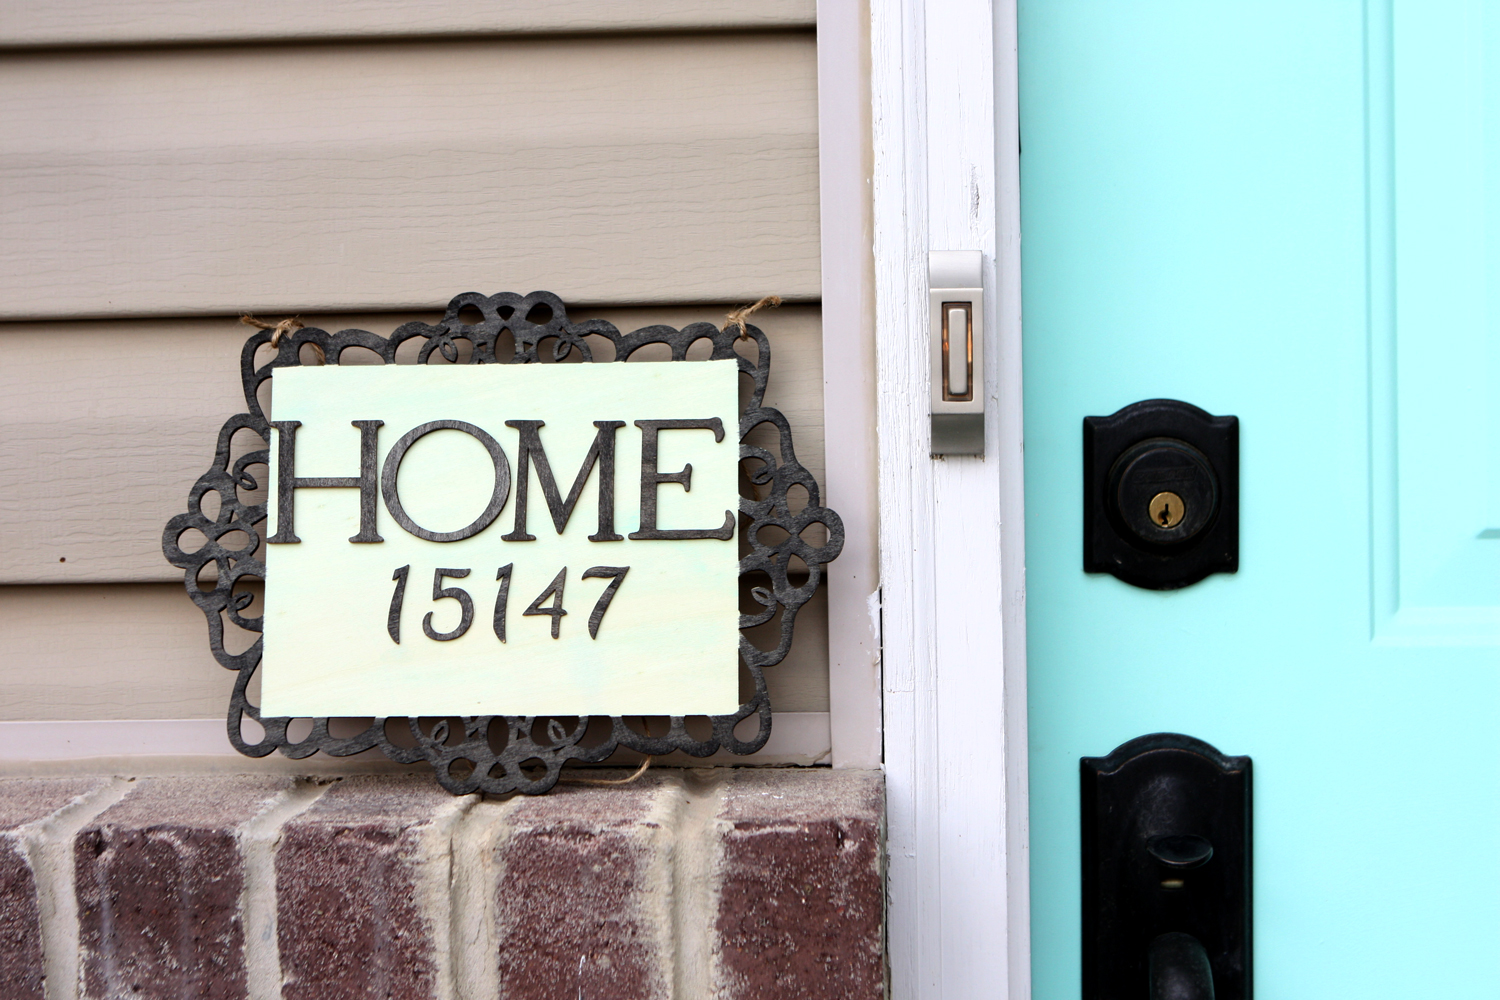
2. Home Address Plate: The laser cut plaques offer great creative potential, from creating a menu frame to designing your own calendar. I decided to go with an outdoor piece--a home address plate. After all, this is the time of year that people are putting their energy outdoors to up their springtime curb appeal. 

Tip: With nothing more than a marker, you can tint wood cut pieces. I used an india ink marker (the Pitt Pen by Faber-Castell) to color the black elements on this plaque. For the green center, I watered down acrylic paint to create a colored stain--a great budget tip (colored stains can get expensive). 

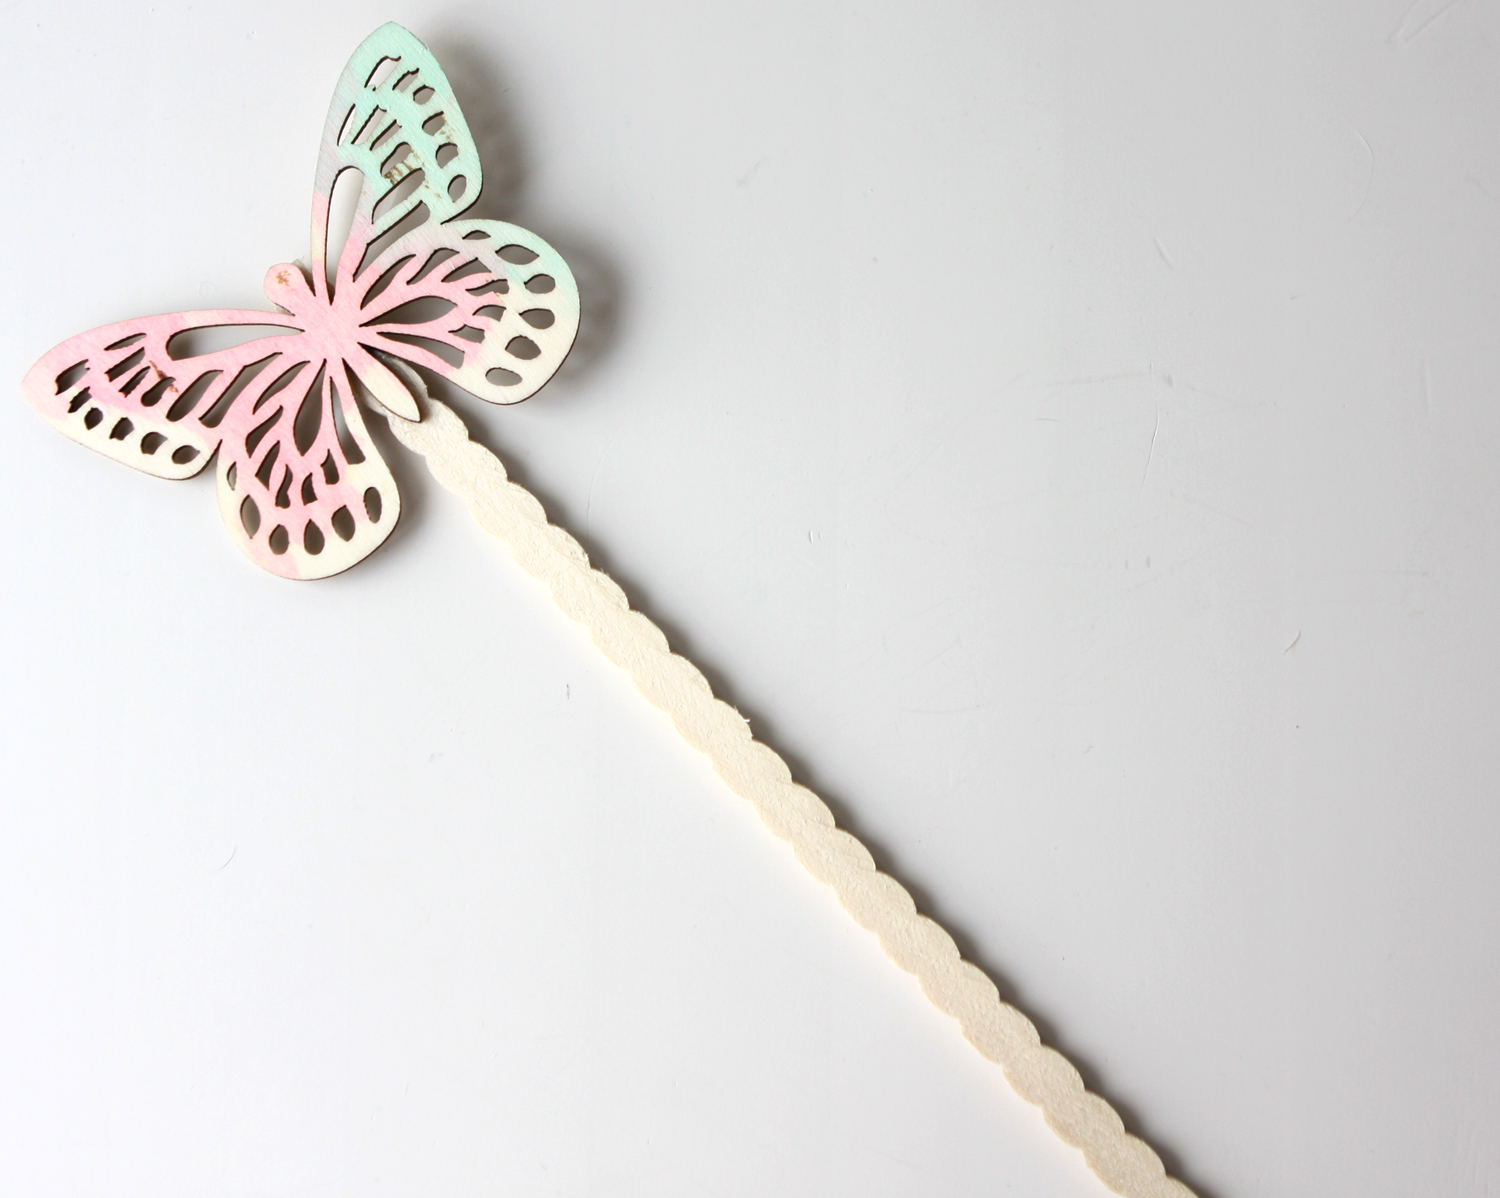
3. Garden Pick: Decorative picks add personality to garden spaces, but they can also be quite expensive. This is a way to make your own--one that is completely customizable and charming. Get the kids in on the fun. My sweet Maggie Dawn painted this one. 

Tip: Use an outdoor sealant to help the wood withstand the elements, and looking at placing the pick in a pot that you hand water vs. a garden that will get regularly saturated by sprinklers. 

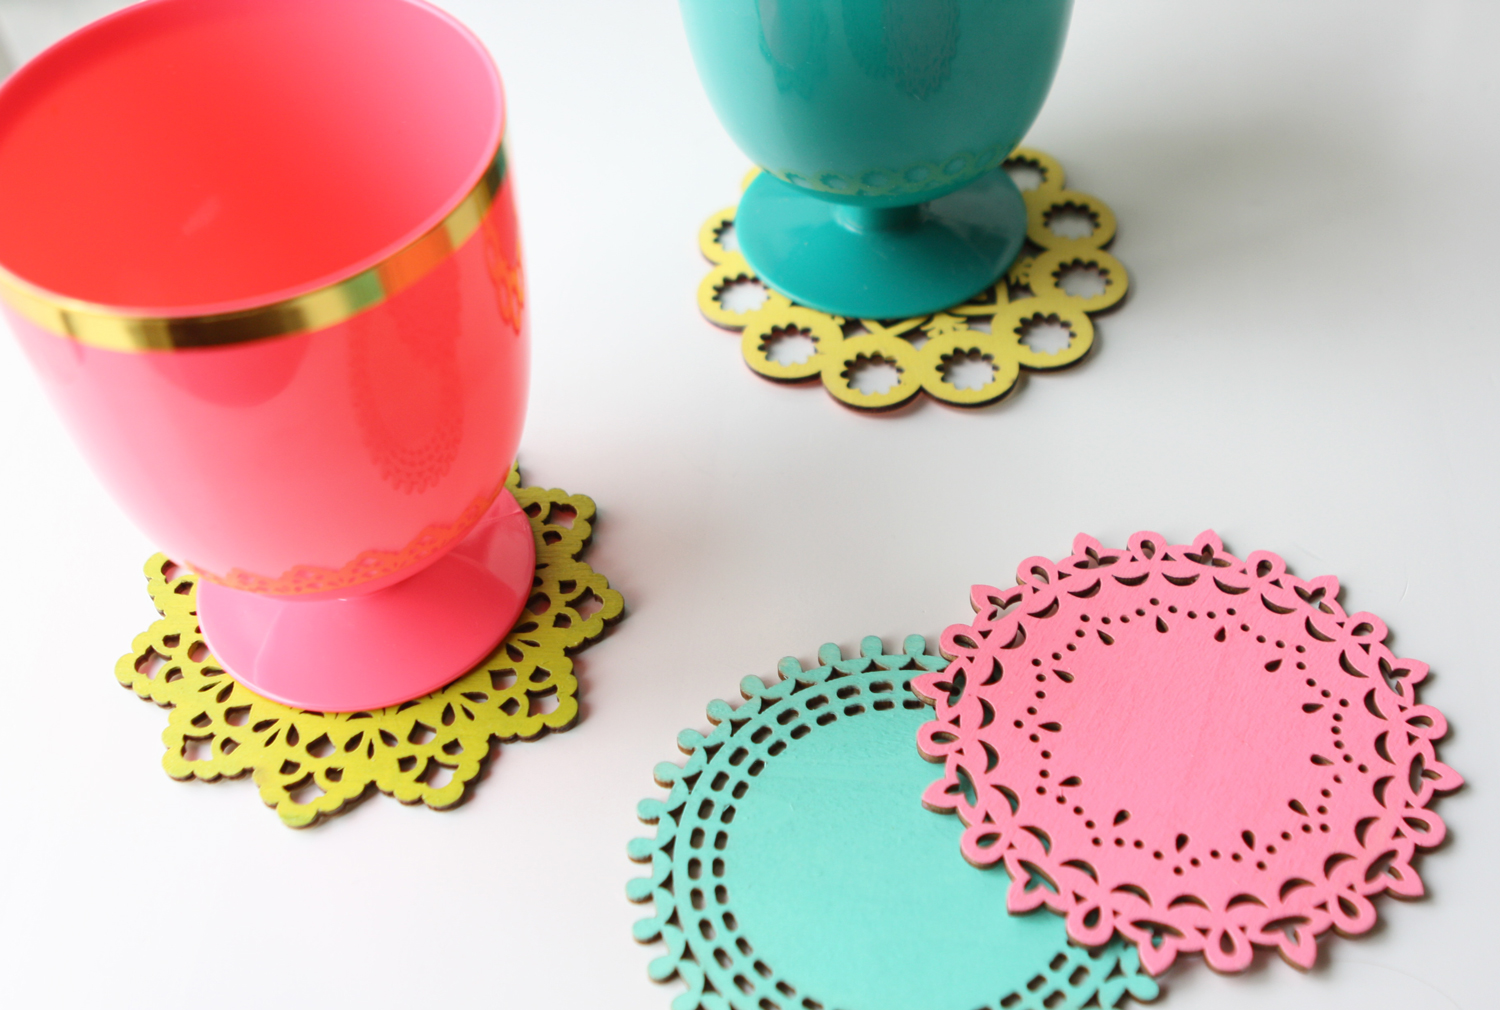
4. Coasters: The laser cut wood circles are just right for creating outdoor color in the form of coasters (or indoor). 

Tip: I sealed these with Mod Podge so they'll stand up to wet glasses. 

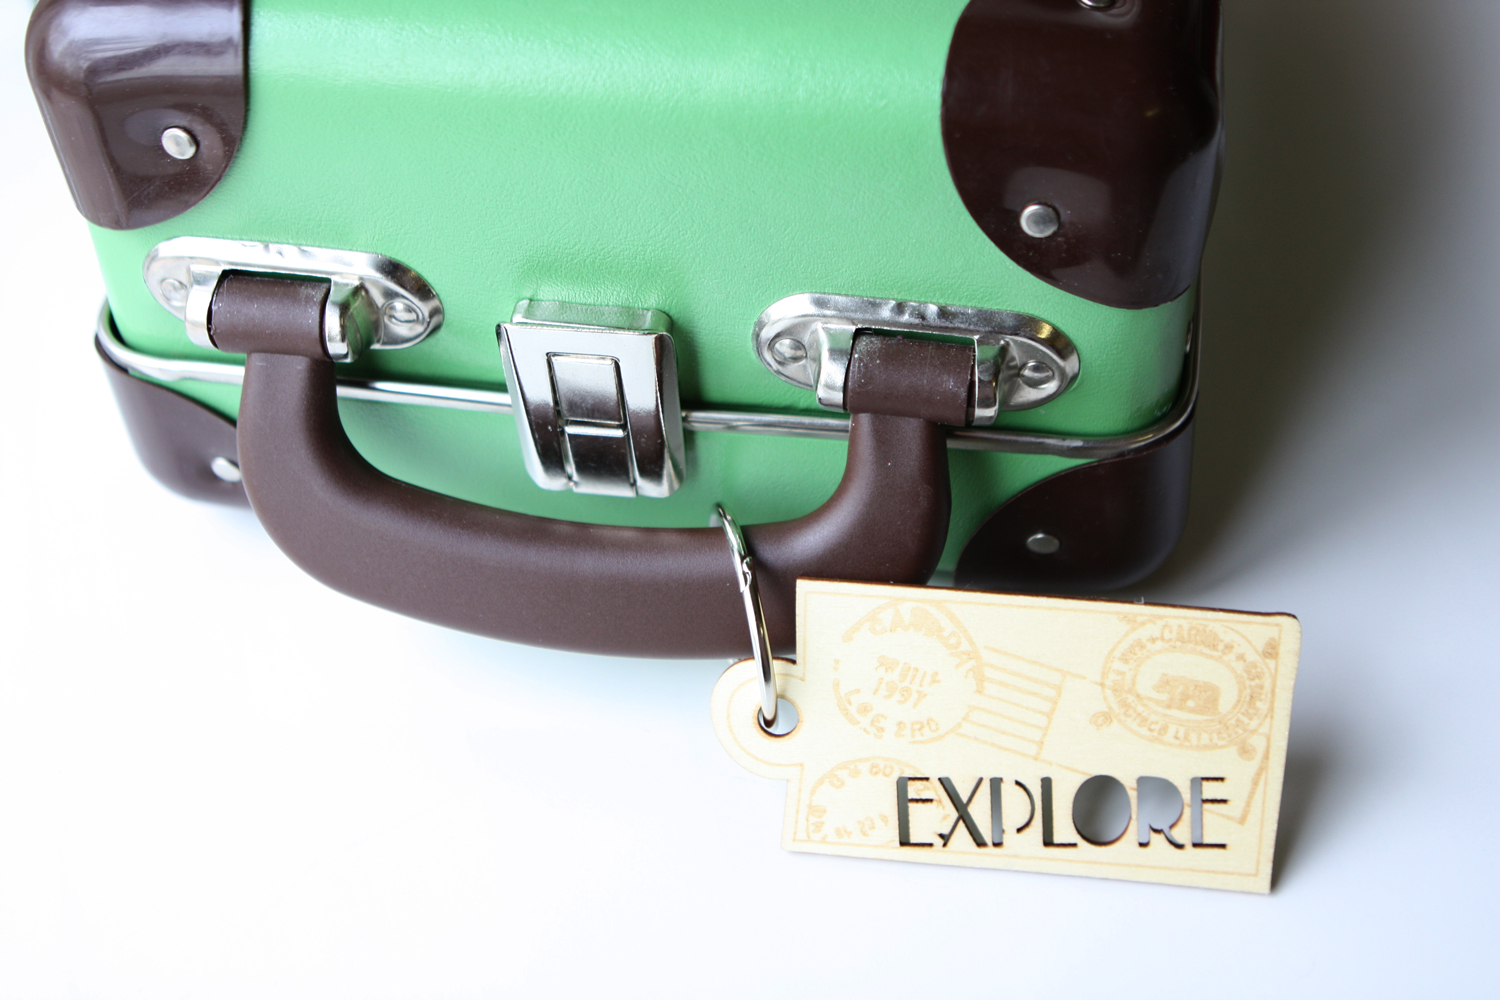
5. Luggage Tag: The travel-themed cuts are perfect for adding personality to your luggage. They're sturdy enough to hold up and eye-catching.

Tip: To include my info on the back, I simply used letter stickers, which I sealed using Mod Podge. 

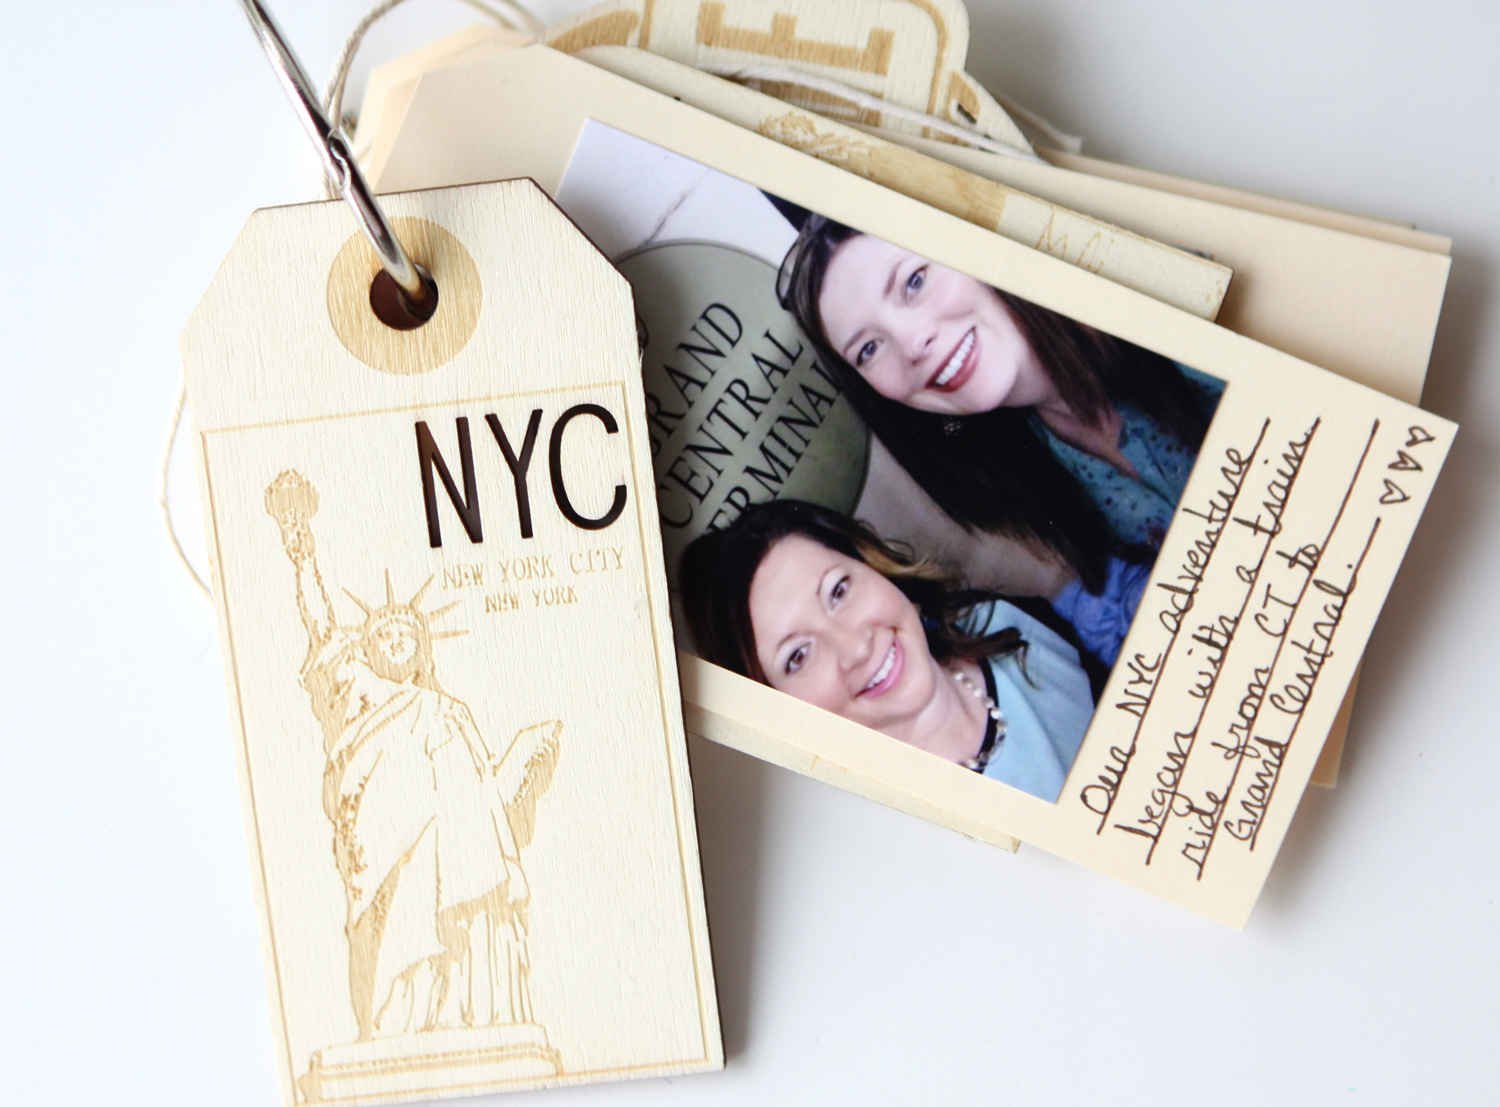
6. Travel Album: I was instantly drawn to the travel-themed tags and knew they'd make an awesome mini album. 

Tip: Pair the travel-themed cuts with basic manilla shipping tags for an easy approach to documented travel memories. The wood adds rigidity and structure to the book, and a jump ring binds it all together. These would be so fun as family reunion favors. 

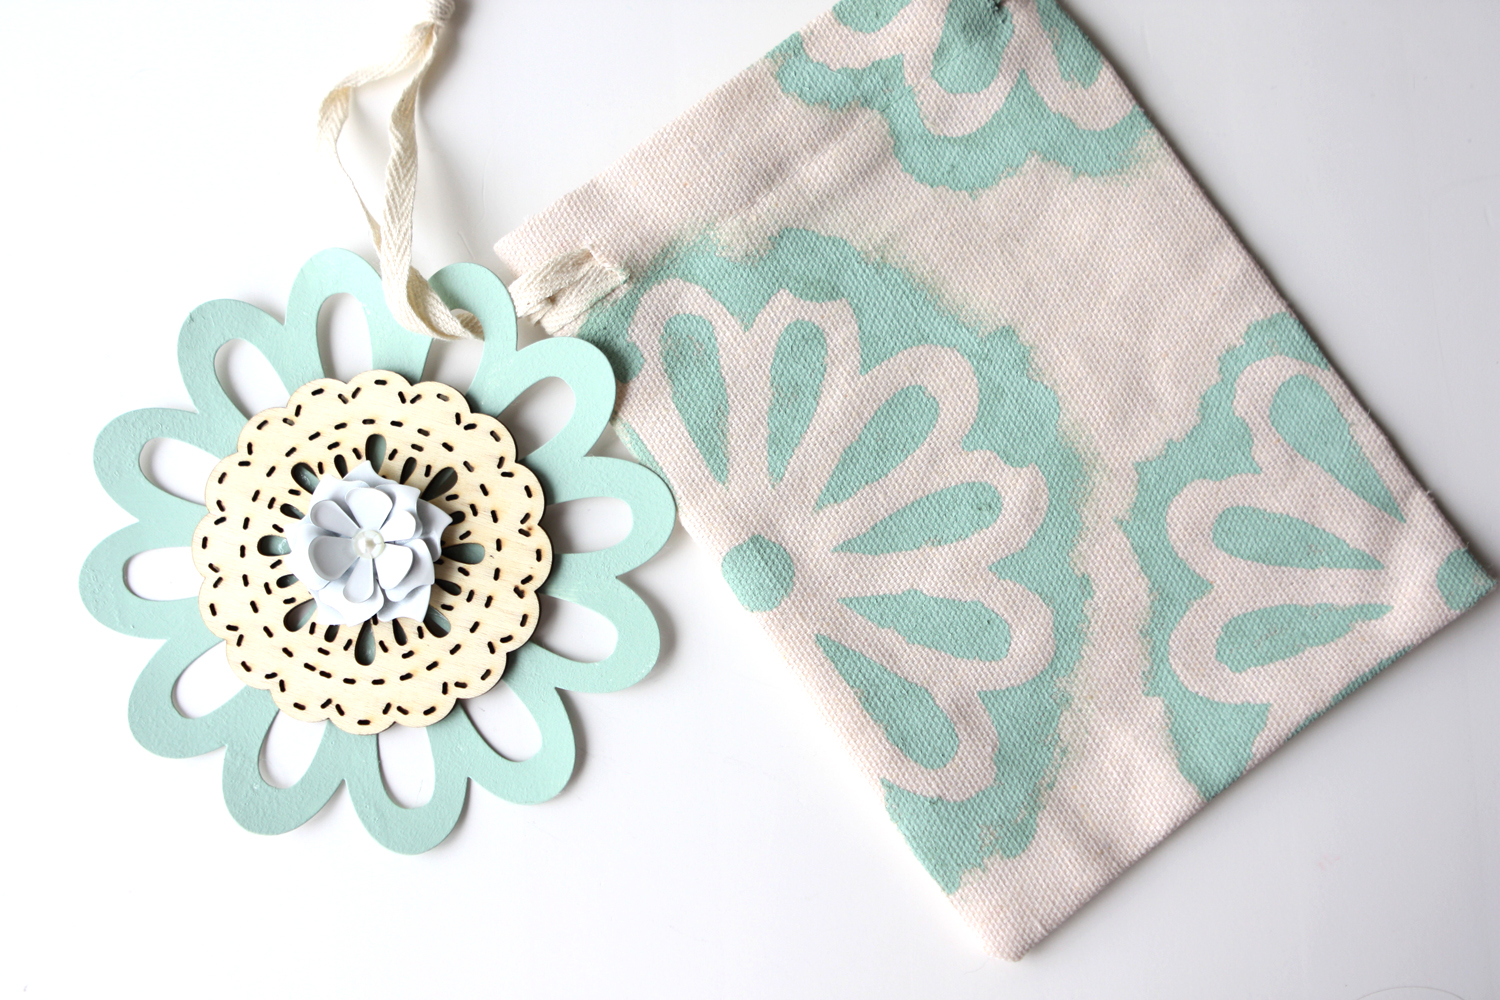
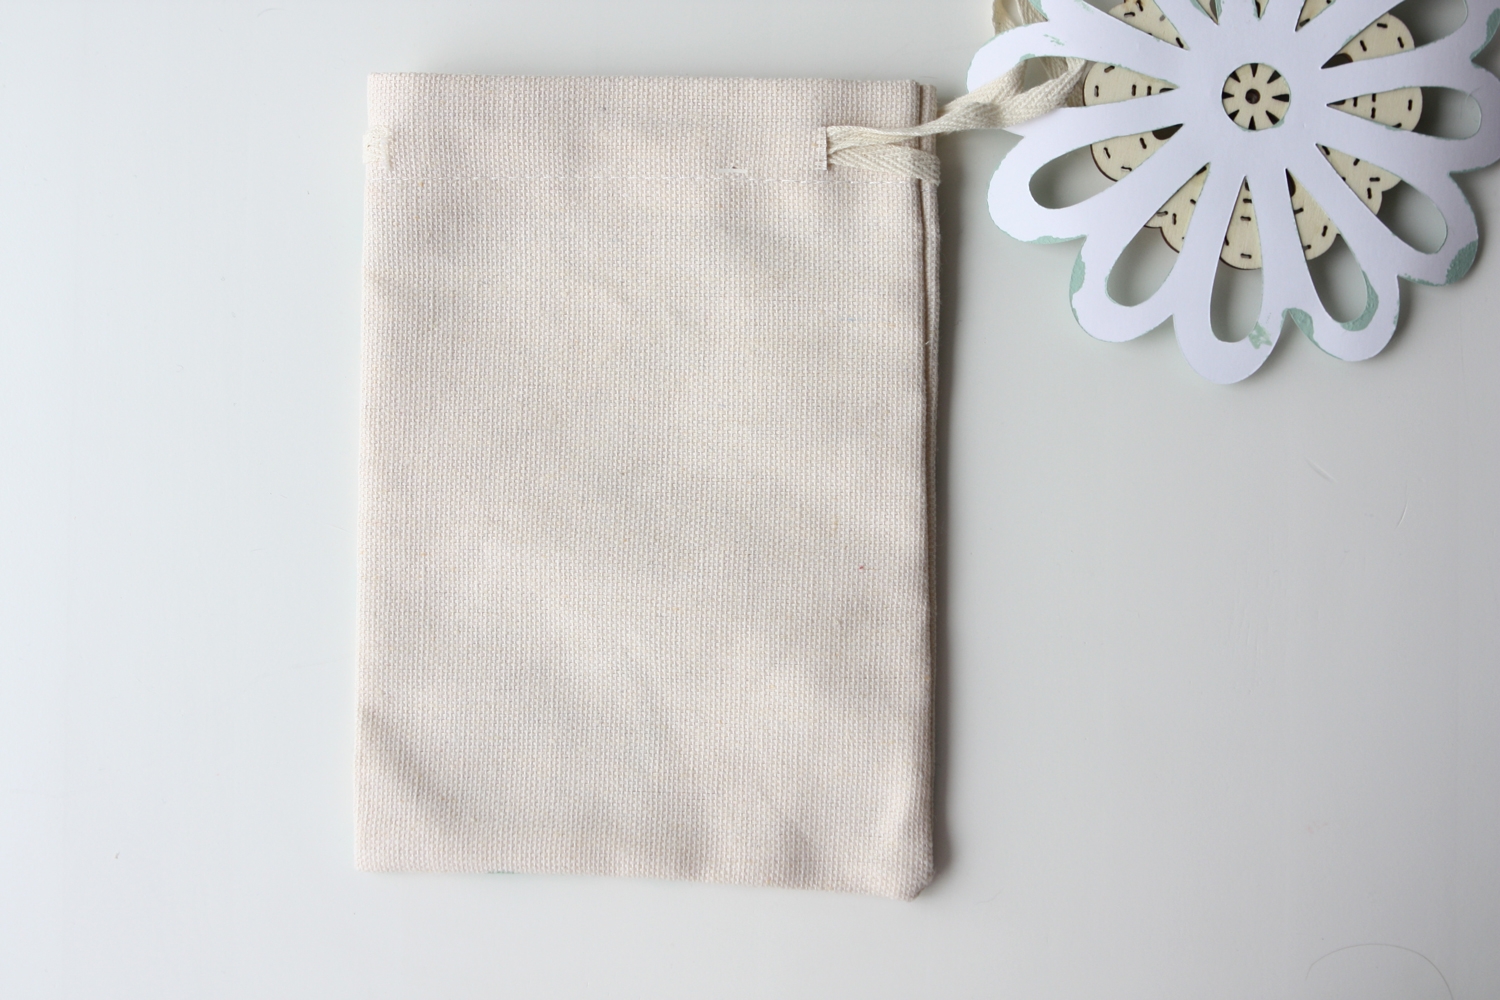
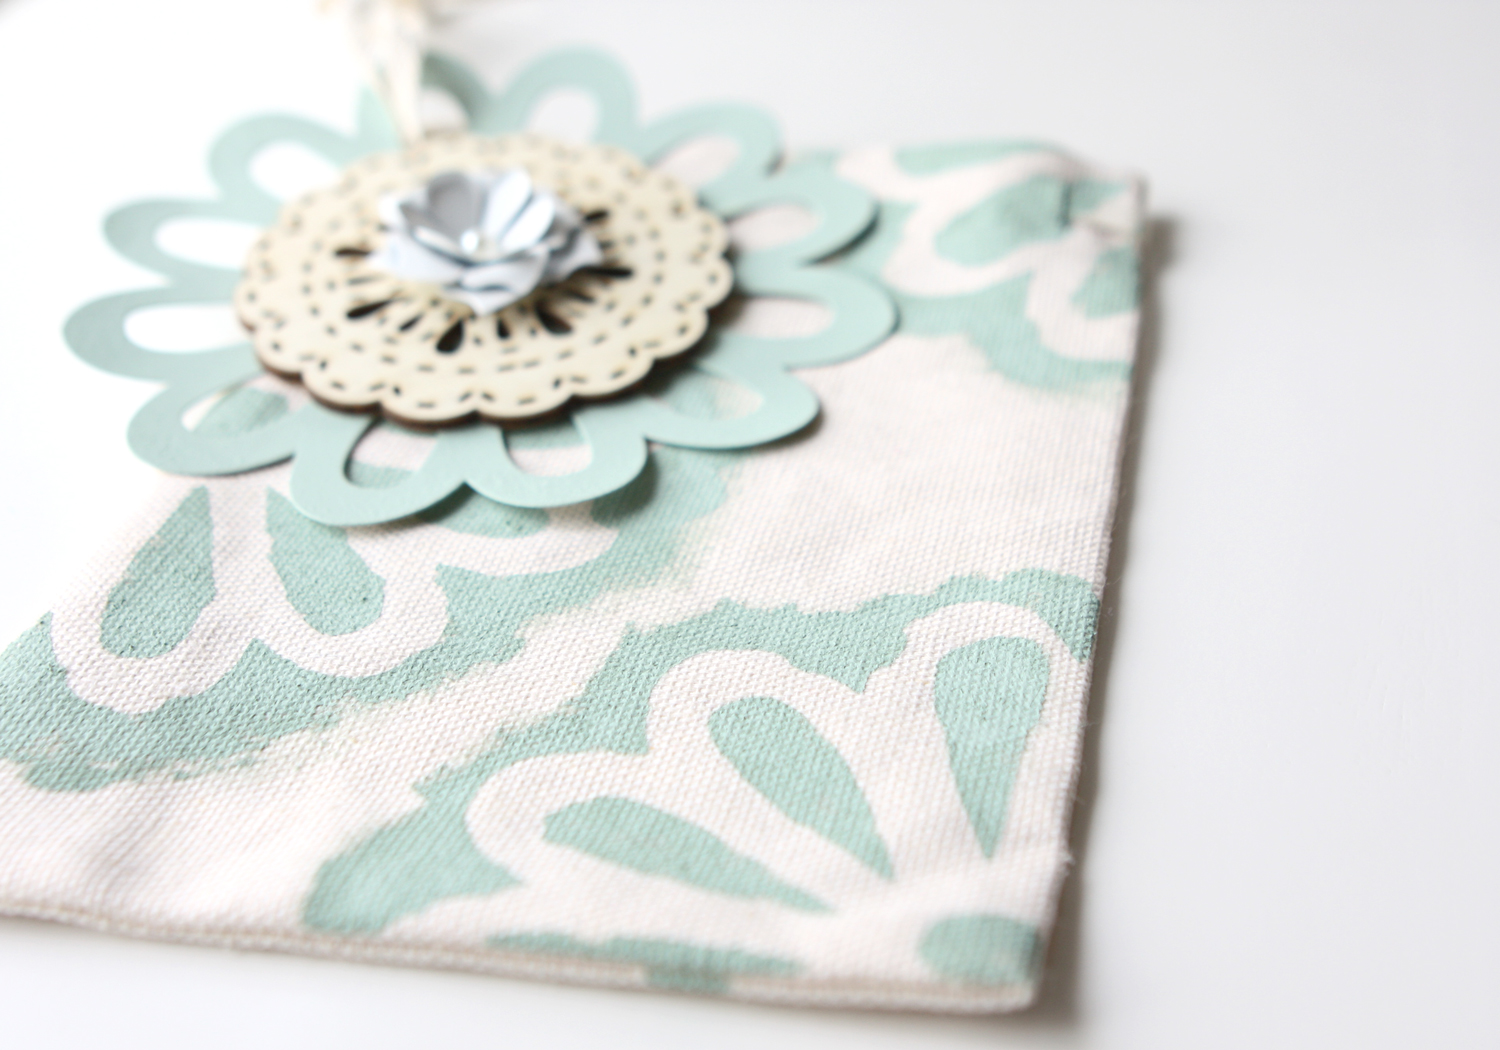
7. Handmade Gift Wrap: The laser-cut pieces make excellent stencils with their intricate cut-out designs, so I used one to dress up an ordinary canvas bag. Just use a dabbing motion and a sponge brush to apply acrylic paint. 

Tip: Not wanting the now painted laser-cut piece to go to waste, I added a wood piece to its center and turned it into a tag to go with the bag. 

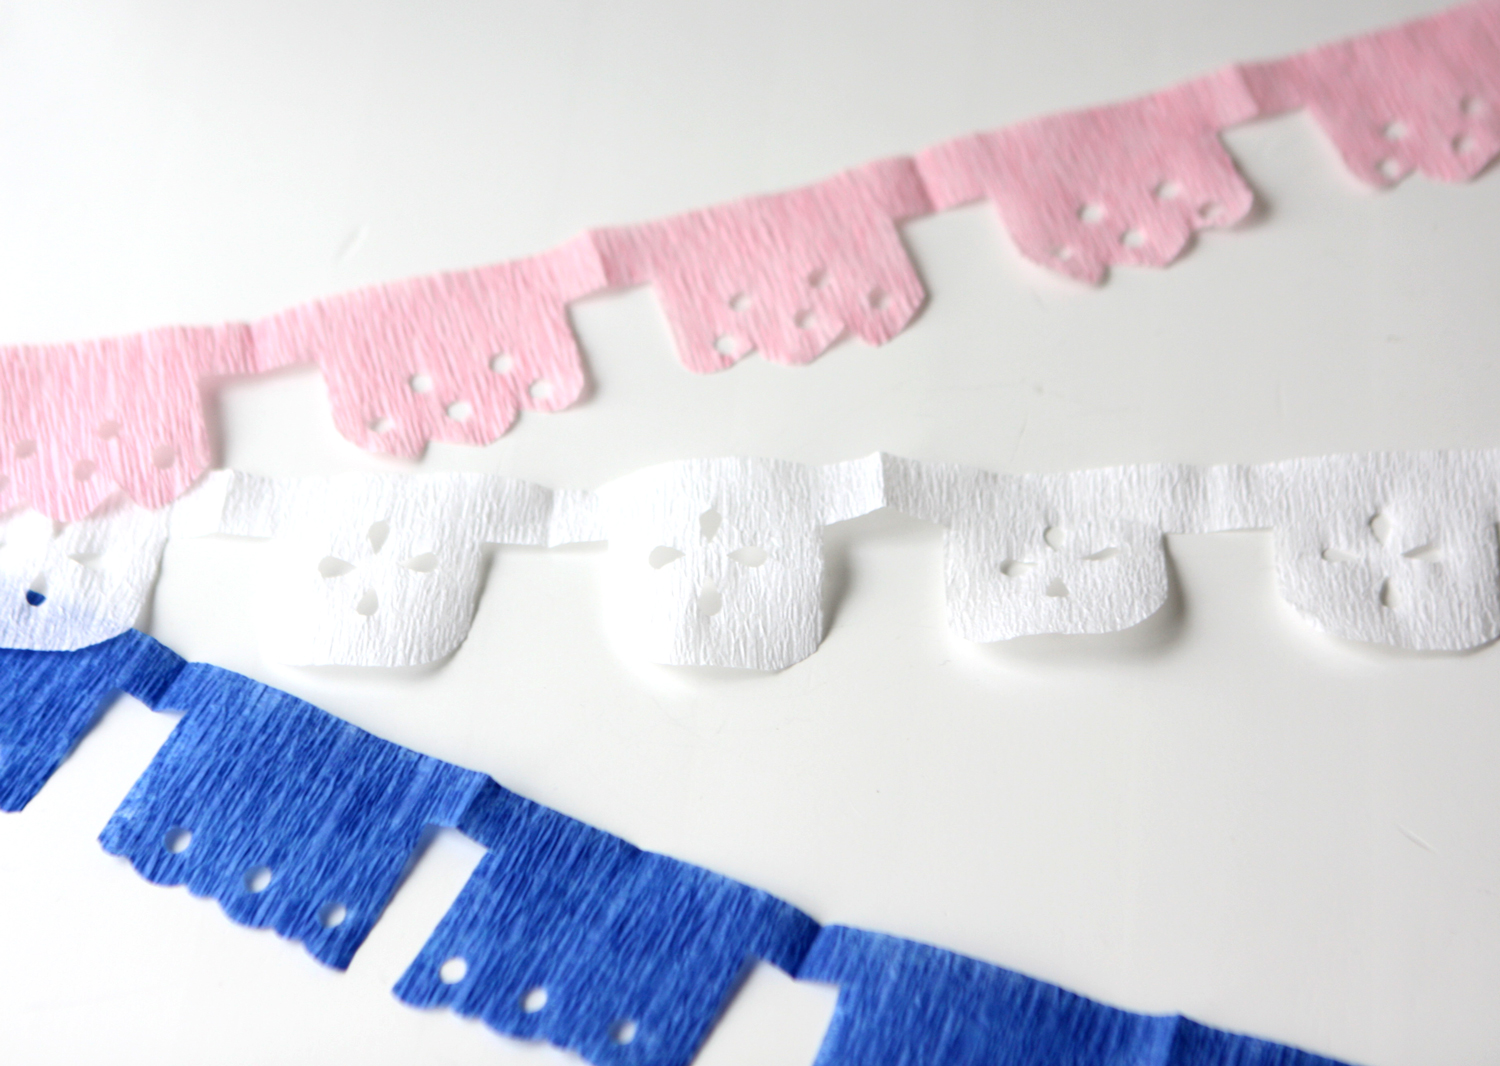
8. DIY "Laser Cuts:" Create your own laser-cut look using punches or decorative-edge scissors and crepe paper. I just adore the look of Mexican party flags and this idea by Studio DIY is a terrific way to get them in bitty size. 

Tip: Simply fold the crepe paper accordion style, cut the bottom of the folded stack, and trim the sides to allow for tabs between each flag. 

As you can see, the laser look is pretty sweet, whether you use pre-made products or create your own "cuts." I hope you'll add a little la-la-laser to your spring and summer seasons. 

Cheers!
Megan