Today on Studio 5 at 11 a.m., I’m taking my straight line for a curve with some round/circle weaving. I’ve never done this craft before preparing for this TV segment, but it’s one I’ve admired from afar and knew I wanted to try.

Of course, this mean there were a few, ahem, learning curves along the way — things I’ll share so you can avoid. It also meant I searched tutorials for weeks to find you some of the best.


ROUND WEAVING SUPPLIES
You’ll need a loom of some sort — either an actual loom or a hoop. In my experience, embroidery hoops work best. You’ll also need cotton string, yarn and fibers in a variety of thicknesses, a large-eyed needle, and scissors. I found blanket yarn worked well. It’s thick and fluffy and adds personality. (Hey! It’s a bit like me! ;) )
ROUND WEAVING TUTORIALS
Sweet Georgia makes getting an embroidery hoop ready for weaving easy to follow and understand. Plus, her projects are just so pretty. I must have watched this flick at least four times.
The Unusual Pear takes round weaving and breaks it down into several very quick flicks, which I really appreciated. She shows you different weaving techniques and makes it easy to combine styles on a single loom.
To say I was inspired by We Are Scout in making my rainbow loom would be an understatement. They have an excellent tutorial to get this gorgeous look. This is my version. You’ll definitely want to check out theirs for pro tips and a prettier finished product.

LEARN FROM ME
Being my first time with circle weaving, you might say there was a, ahem, learning curve. Each project took me anywhere from 2-6 hours to create. Can you believe I actually had to scrap two of them when they were nearly completed?! TWO! Don’t do this. It’s frustrating and sad. Learn from my mistakes:
BIG MISTAKE #1: Weaving too close to the loom’s edge
I created a gorgeous (if I do say so myself) pink project using this handy loom. Unforunately, I didn’t leave enough space to then get it off the loom. You have to snip the threads and either weave them under or tie them to something else. Because I didn’t leave enough space (at least an inch), my threads were bitty and I couldn’t work with them. The weave unraveled before my eyes.
Leave at least an inch between where your weaving stops and the loom begins.
BIG MISTAKE #2: Not anchoring properly on a slippery hoop
I used two metal rings to create my rainbow weave. This meant slip. I didn’t properly prepare for this, so my rainbow, which should have take up half of the loom, ended up sliding around and only taking about 1/3 of the loom. Not good! To avoid this, weave the entire outer edge of your hoops first. I did red on the outer ring and purple on the inner (rainbow side) and white on both for the cloud side. I also wove my rainbow so it was slightly longer than half of the loom and simply covered up some of the bottom with white yarn to get my 50/50 ratio.
Secure the warp by wrapping the hoop’s edges AND weave slightly more than half with rainbow.
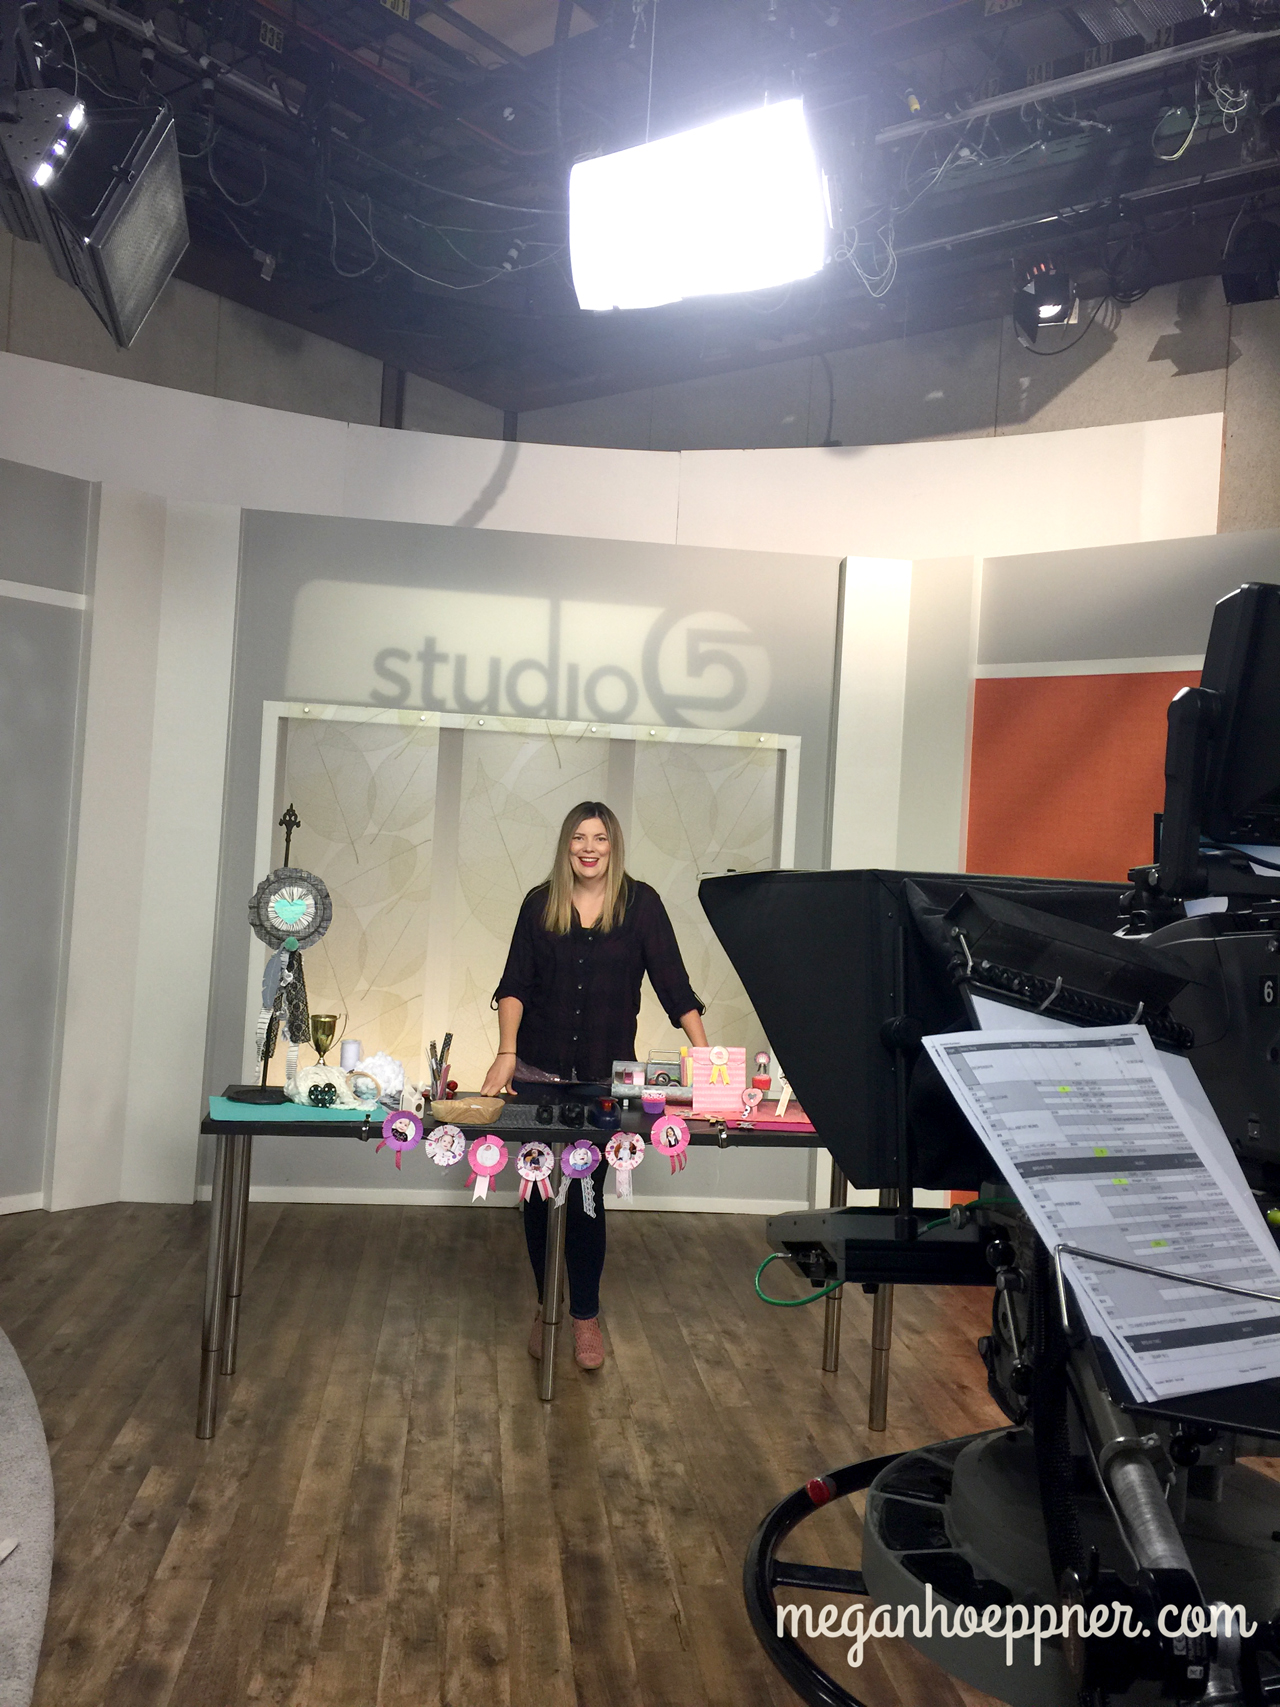
I hope these ideas and tips help you. This really is a fun craft to try. For more on the items I made, watch Studio 5 today at 11 a.m. MT. If you’re local, it’s on channel 5. Anyone can watch streaming from their website.
Cheers!