Make a Bitty Haunted House Decoration

Your full-size house isn’t the only one to decorate this season. Create a bitty shadowbox house to display your favorite Halloween photos. Heck! Why not make a house for every holiday? They’re fun and easy to do.

house shadow box project
S5_oncamera.jpg

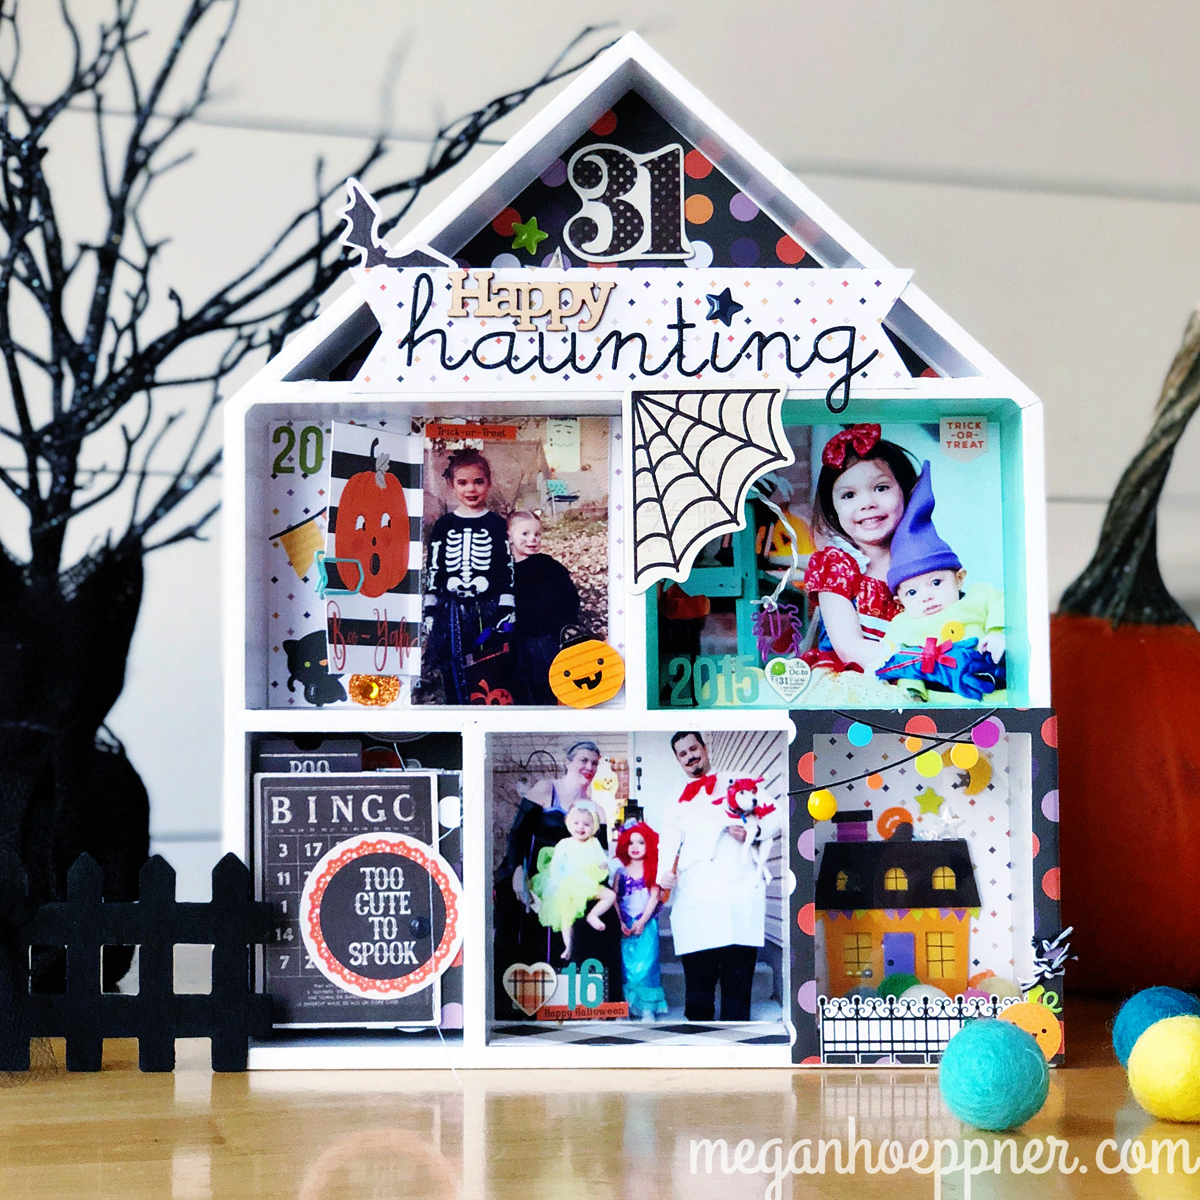
Embrace the box’s depth by filling the little compartments with layers of detail. In this frame, I used Queen & Co’s Rectangle Shaker Kit to create an interactive shaking element.

Queen & Company Shaker

This window pulls out to reveal an accordion-folded section, made with paper from Echo Park Paper Co. and embellishments from Simple Stories. So cute!

Simple Stories Halloween paper

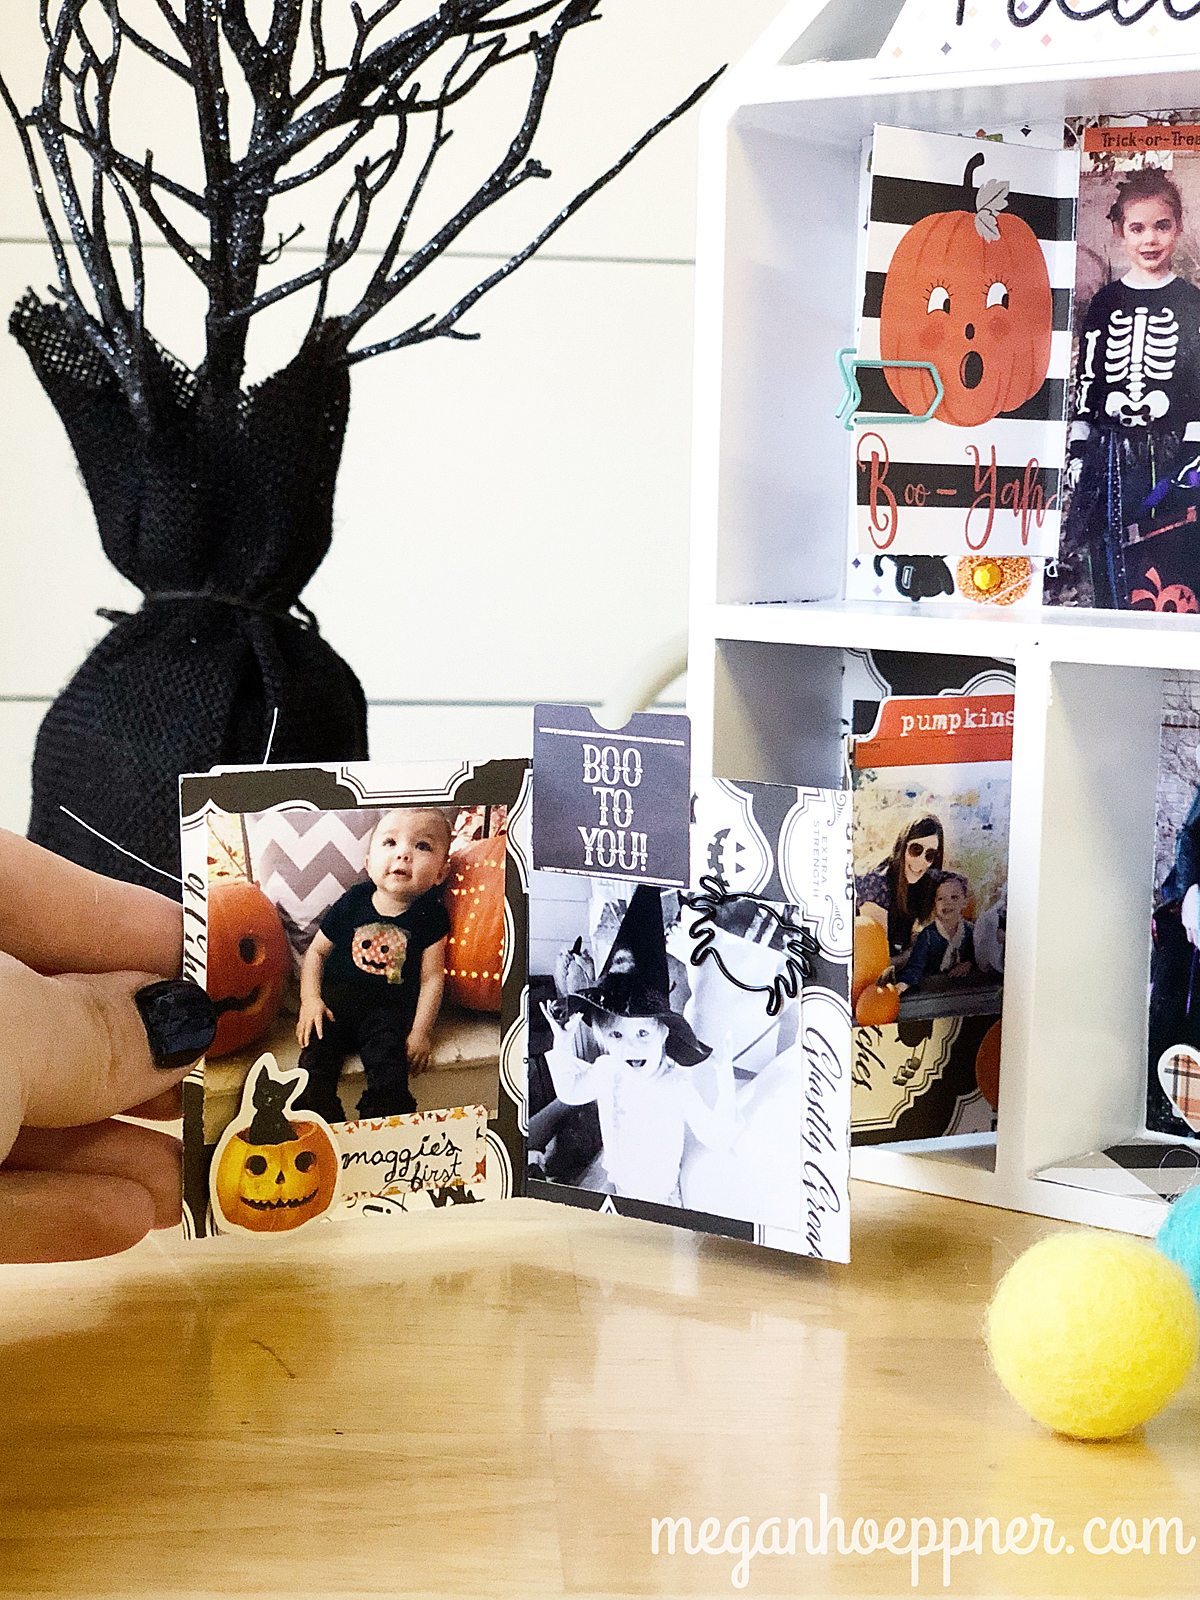
Surprise! Add journaling/written details behind a little flap. The paper clip helps indicate the lifting mechanism.

Echo Park Paper Company paper

PRODUCT SWAP

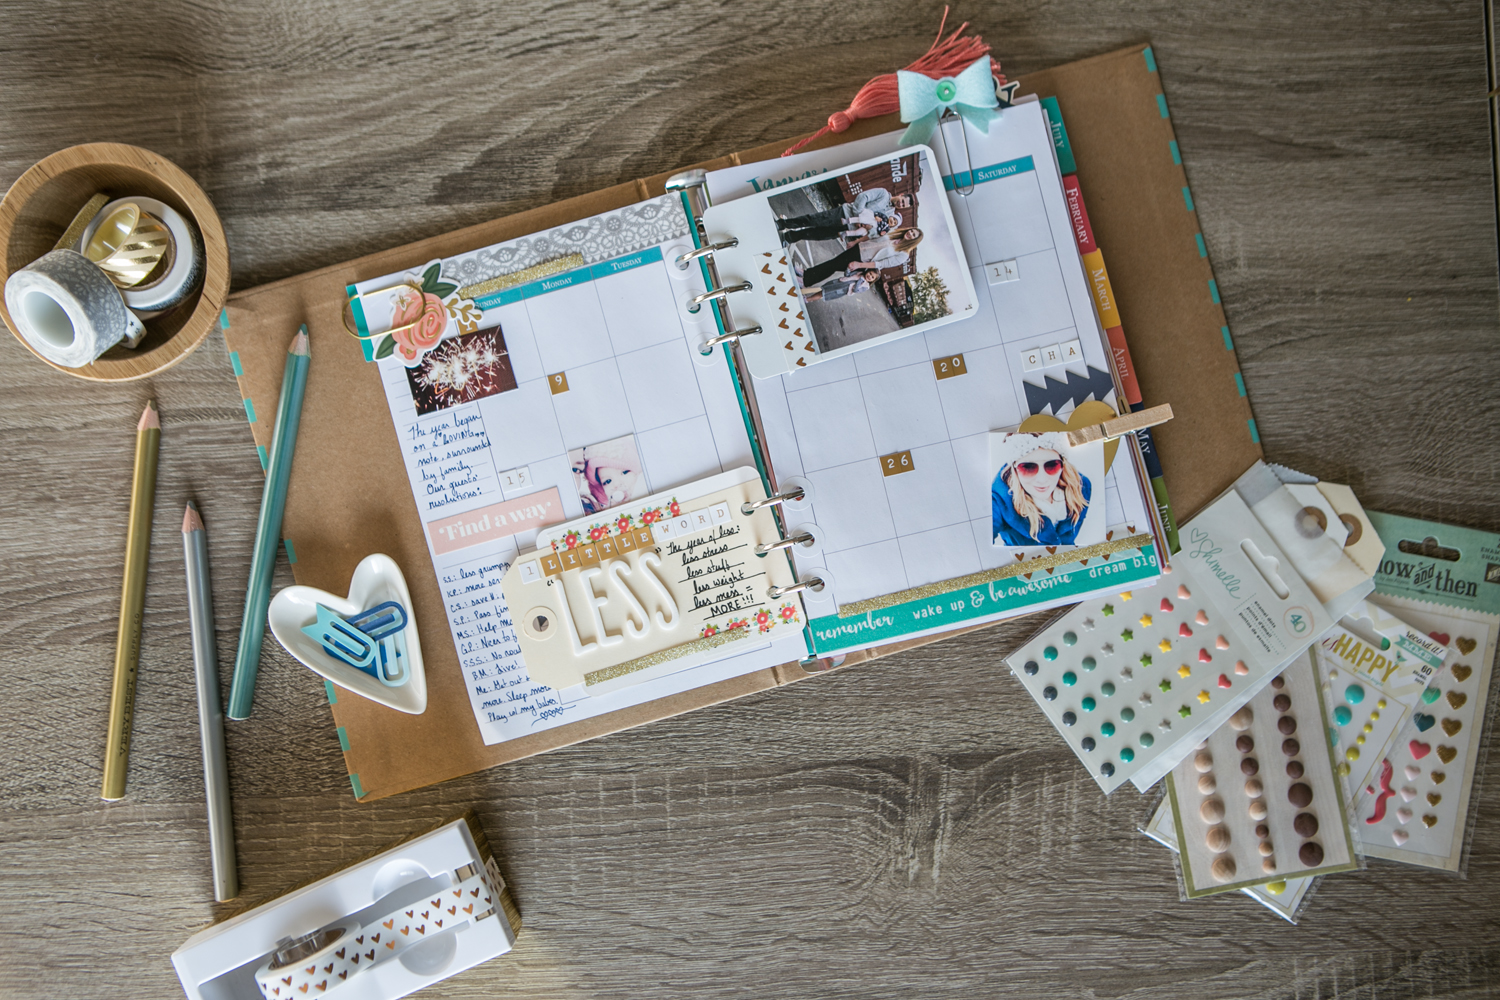
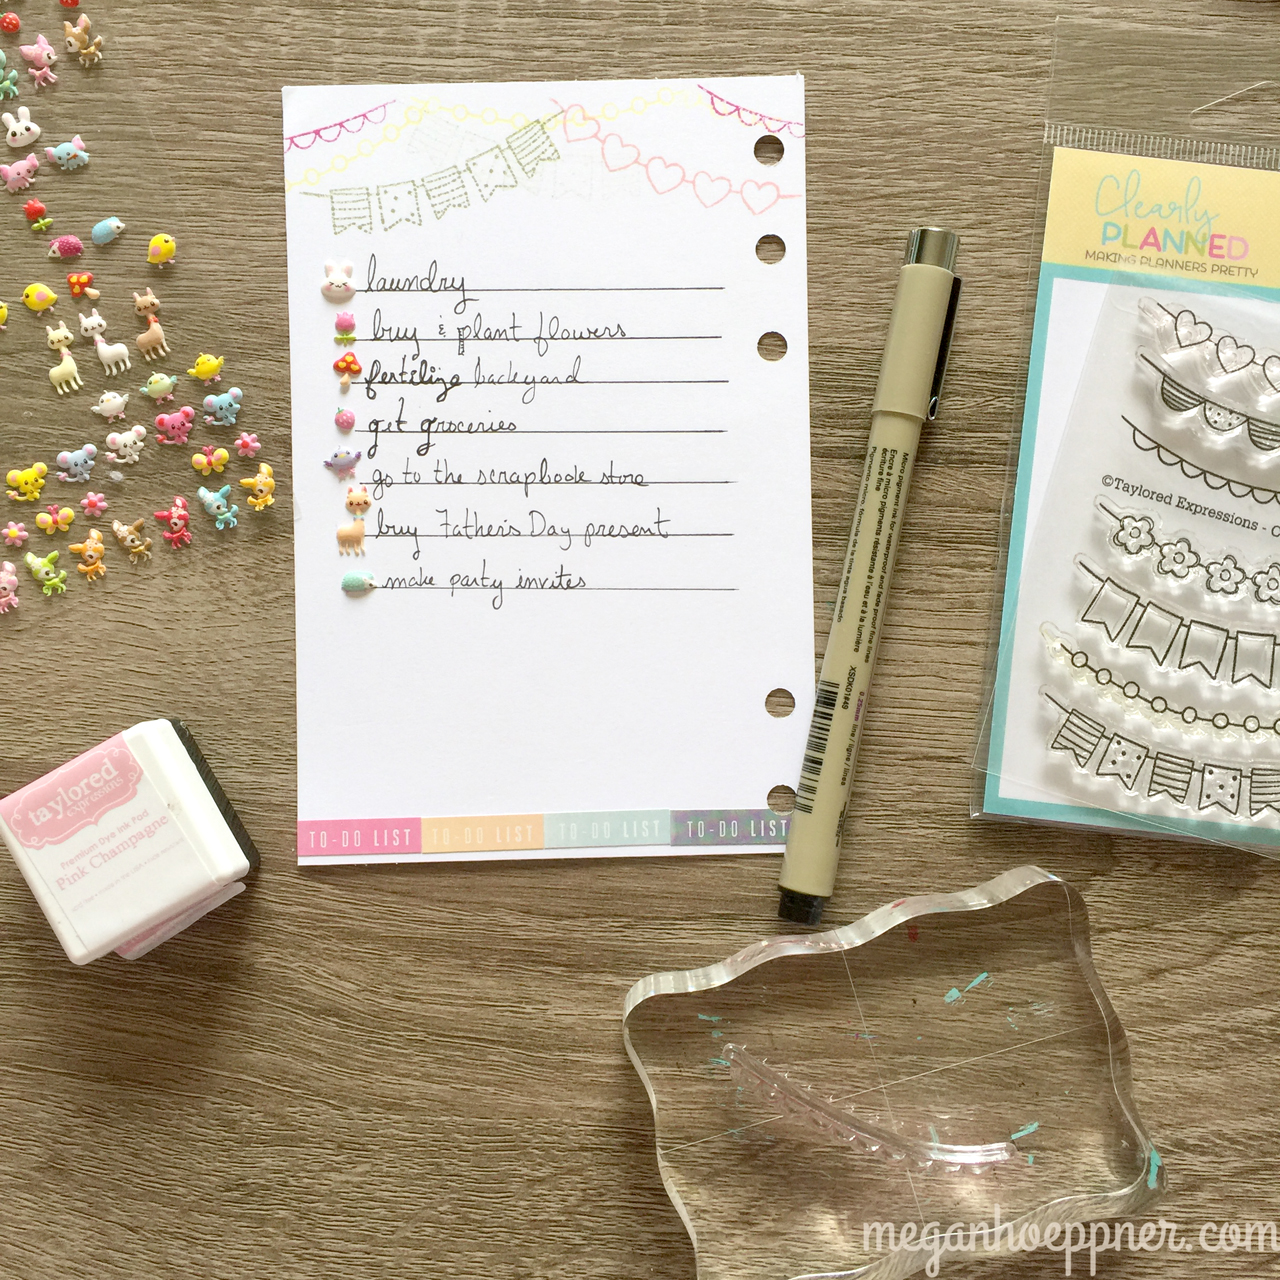
If you’re here because you already watched the show and are interested in participating in my planner swap, check out this photo on my Instagram account to sign up. It’s a fun way to get new supplies and enjoy a little snail mail.

planner supplies

THEMED PHOTOS SHOOTS BY JENNIFER LYN LANCE

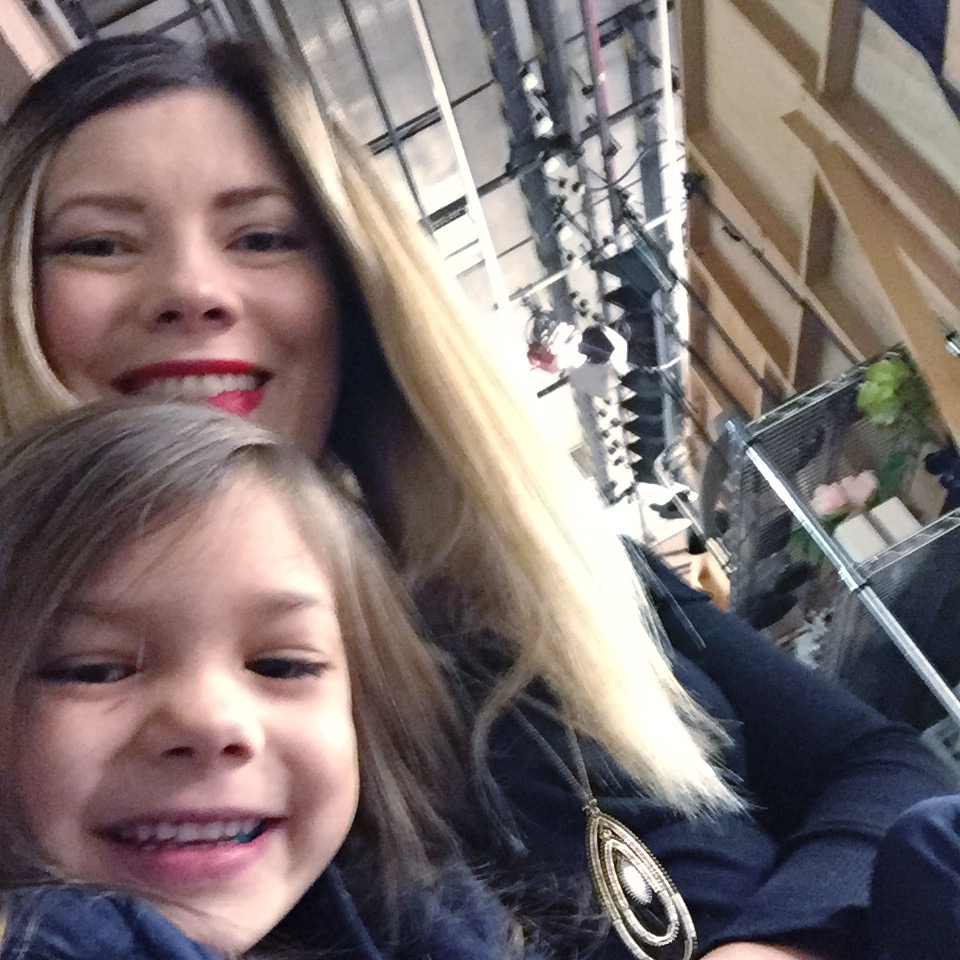
If you’re here because you want details on the AWESOME Freak Show/Circus photo shoot we participated in, you’ll want to check out Jennifer Lyn Lance on Facebook.

Photo Credit: Jennifer Lyn Lance

Photo Credit: Jennifer Lyn Lance

She has new themed shoots all the time and also does gorgeous photos for your favorite occasions—newborn, cake smashing, holiday, and more!

Photo Credit: Jennifer Lyn Lance

Photo Credit: Jennifer Lyn Lance

No matter your reason for stopping by, I’m sure glad you did. Many thanks for giving me some of your e-time. XOXO

Cheers!

Paper Crafting with Patches

"Sew it, stick it, do somethin' with it." That's the tagline on the packaging of one of the patches. Isn't it perfect?! There is so much you can do with these little textured treats. Whether you sew it on or use it as a sticker, you're sure enjoy working with this up and coming crafting trend. Think beyond clothing and backpacks to paper crafting. Patches are a quick and easy way to add texture without adding bulk. Use them on albums, scrapbook pages, cards, gift wrap, and home decor. 

patches.JPG

About the Patch

Many are sticky-backed, some are iron-ons, and others are meant to be stitched on. 

Like the enamel pins, patches seem to be a throwback to the '80s. They're back in a big way! Of course, you can use them on your clothing. In fact, many clothes are currently designed with patch designs already in place, like this cute Cat & Jack pack that I picked up at Target (which Maggie promptly claimed as her own).

patches_pack.JPG

Where Are They?

Patches are available locally at stores such as Target, Michaels, and Hot Topic. You can also find them online. There are so many to choose from. You'll find something for everybody. Try searching "iron-on patches" or "embroidered patches." I have a Pinterest board with a few fun possibilities. Prepare to be '80s inspired! ;)

Paper Craft Using Patches

Pair patches with fabric bags to create fun gift wrap or even add them directly to the fabric liner of your planner. Both are fun iron-on options. The peel-and-stick variety stick very well, so proceed with caution but also know they'll stay put, even on textured surfaces like this awesome Jillibean Soup frame.

patches_halloween.JPG

Of course, patches are a natural partner to pair with paper projects. They're flat, so they work well on scrapbook pages.

patches_mermaid.JPG

Maggie loved making a quick card and gift bag. You might say these are stickers with pizazz, making they quite kid friendly.

patches_card and bag.JPG

Some are small enough to make awesome planner extras. Taco Tuesday anyone?

patches-planner.JPG

As Seen On TV

I'll share even more ideas today at 11:00 AM on Studio 5 (Utah channel 5 if you're in the 'hood, otherwise, you can watch live streaming here).

patches_display.JPG

Thanks to My Production Assistant

I have to give a special shoutout to my help. She made going to the show more fun (which I didn't know could be possible). Thanks, Mags!

patches_Nov17_Megan-Mags.JPG

Upcoming Classes

I'm so excited to have four local classes coming up. I'd love to see you at any or all of them. Space is extremely limited, but I'd be happy to give you dibs. To receive an e-mail when class sign-ups are posted, please email me at meghoeppner@gmail.com and I'll add you to my mailing list. I hope to see you there! :) The classes are:

1. Wreath Making

2. Creative Planning (November and December classes)

3. Creative Journaling Using a Bullet Journal

Cheers!

As Seen on TV: Bullet Journaling + My New Planner Class!

If you love creative planners -- day planners with a scrapbooking twist -- you may already be aware of bullet journals. It's time to take a shot. Get it? Bullet... shot. Yeah, weak. Let's move on! ;)

Bullet journals are basically list-oriented journals that you can use to capture any details of your life that appeal to you. It can be more task driven or more favorites focused. Or, as with many journals (including mine), a combination of both!

Bullet Journal Supplies

First, let's talk supplies. Doesn't get much easier than this, friends. A journal, a pen, a pencil, a solid eraser, and a ruler. If you want to add some color to the mix, colored pencils are an easy option.

I highly recommend a fine-tipped pen, like the Micron .01. I also use the Micron Brush Tip and the Micron Color Tips. I don't work for Micron or anything. This is just a great pen and worth checking out!

My journal is the new (and awesome!!!) travel journal from Freckled Fawn (the white with the hearts)! Heidi Swapp has also just launched a planner specifically with bullet journaling in mind (the black one) that is pretty fab! The travel journal is actually the heart cover, and the inserts snap in with the attached band. The kraft booklet below is the insert for the journal. I like this one because the paper is thicker and I could dress it up without much bleed-through.

If you want to step your supplies up a little, you can introduce washi tape, stickers, clips, and other decorative extras. Totally your call! Clips are great for hold the journal pages open, both for photo-taking and working in your journal. These AWESOME jumbo paperclips are part of my planner class kit for March. Yay! (More on that below.)

Once you have your supplies, it's a matter of deciding on a preferred purpose for your journal. For me, this meant searching bullet journals on Instagram (#bulletjournal) and Instagram, screenshotting the images that made me happy, and then going back over those images to help identify my style preferences. I quickly realized I was into capturing details creatively using doodles. But first, a key...

Key

If you're going to use your journal to track tasks, a key is useful. Again, decide on a system that works for you. For me, it was as simple as this:

KEY COMPONENTS
open box = task
box with diagonal line = task in progress
box filled in with diagonal lines = task complete
box with line across middle = task cancelled
box with arrow in it = task migrated (moved or changed)
exclamation point next to a box = task priority
circle = event
clock = appointment
heart = special

Now, time to get creative with some doodled list making. Fun!

Home Goals List

I have so many things I want to do around my home. The list grows with each passing year. Until now, that list has all been in my head for the most part. Now it has a place to live and feel organized. LOVE! I simply doodled a house, including boxes for each of the spaces in our home. From there, I listed goals for each space, using my to-do coding seen in my Key.

Gratitude List

When I'm looking for a little sunshine on those cloudy days (and the sunny ones, actually), I like to think of things I'm grateful for. This gives me a space to capture those happy thoughts. I drew a circle in the center of the page, which I colored using colored pencils. The sun rays are made from various strips of gold washi tape. Skinny tape works well, leaving you more room to write.

Habit Tracker + Spending

Not as fun, but still important. Many use bullet journals in this way nearly exclusively. It's a great way to track days, weeks, months, habits, spending, goals, etc.

This one took a bit more work to sketch out, but some journals come with lines and boxes that would make it easier. I drew mine. Not perfect, but that's okay. It doesn't have to be. If you find yourself without a ruler at 3:00 AM, washi tape works in a pinch. ;)

My journal grows by the day. It's SO MUCH FUN! I'll be sure to bring it to my next planner class so you can have a closer look, take pics, ask questions, etc. Speaking of the class...

Forget the hammer, it's PLANNER time! (Upcoming planner class in Lehi, Utah!)

I can't begin to describe how wonderful it was to teach at Paper Crush this month. Those who attended the class came strangers and left friends. Many asked if we could do it again. Twist my arm. ;) Of course!

A Date to Create Planner Class
Where: Paper Crush in Lehi, Utah
Date: Friday, March 24
Time: 7-9 PM
Sign Up: Visit the Paper Crush website to sign up.
Open to all, whether you took the first class or not. I'll make sure everyone is up to speed and ready to play. :) Space is limited.

I sure hope you can join us. A good time will be had by all. I know that's a bold prediction, but it's hard to not have fun when visiting one of Utah's cutest stores (seriously!), enjoying discounted shopping, playing with paper, meeting new friends, and devouring tasty snacks.

DIY Planner/Journal Inserts Made with We R Memory Keepers Tools

One technique we'll cover in class is how to make your own planner and journal inserts using an awesome tool by We R Memory Keepers--the Tab Punch Board. In the meantime, here's a sneak peek of a brand new We R product, The Planner Punch, which is out in May.

It punches holes to fit MANY different planner types and sizes. So great! The We R Memory Keepers Tab Punch Board will be used in class so you can get a better feel for customizing options. It's a great way to put patterned paper to use and make your planners and journals more unique to you.

I cut the page below from watercolor paper, punched it with both punches, and added watercolor paint to create a bullet journal Create List. I'll bring paint to my planner class so you can play, too. Or not. Totally your call on how you choose to customize! The idea with a Create List is to put projects to make on it. I'll fill in each of my painted bubbles with my many crafting goals. If seeing the 'after' interests you, keep an eye on my Instagram. I'll share it there soon.

Finally, if you're interested in seeing all of this in action, you can check out my Studio 5 segment today at 11. It's like a happy Show & Tell of bullet journaling. I hope it leaves you feeling inspired!

Cheers!