Three Trends in Paper Crafting (as seen on TV) ;)

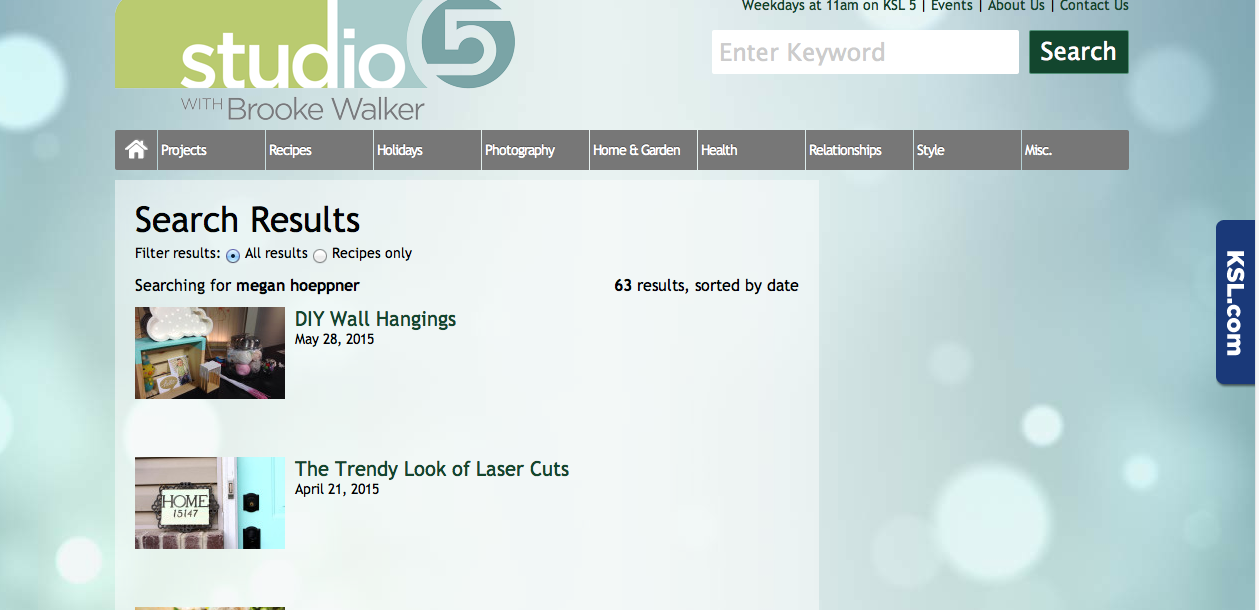
I just love visiting my friends at Studio 5. Today, my segment was all about trends in paper crafting/scrapbooking. I like to say these are the Three Ps--Paint (as in Watercolor), Platinum (as in foil), and Plaid (as in... well, plaid!). Let's take a look at these pretty Ps. 

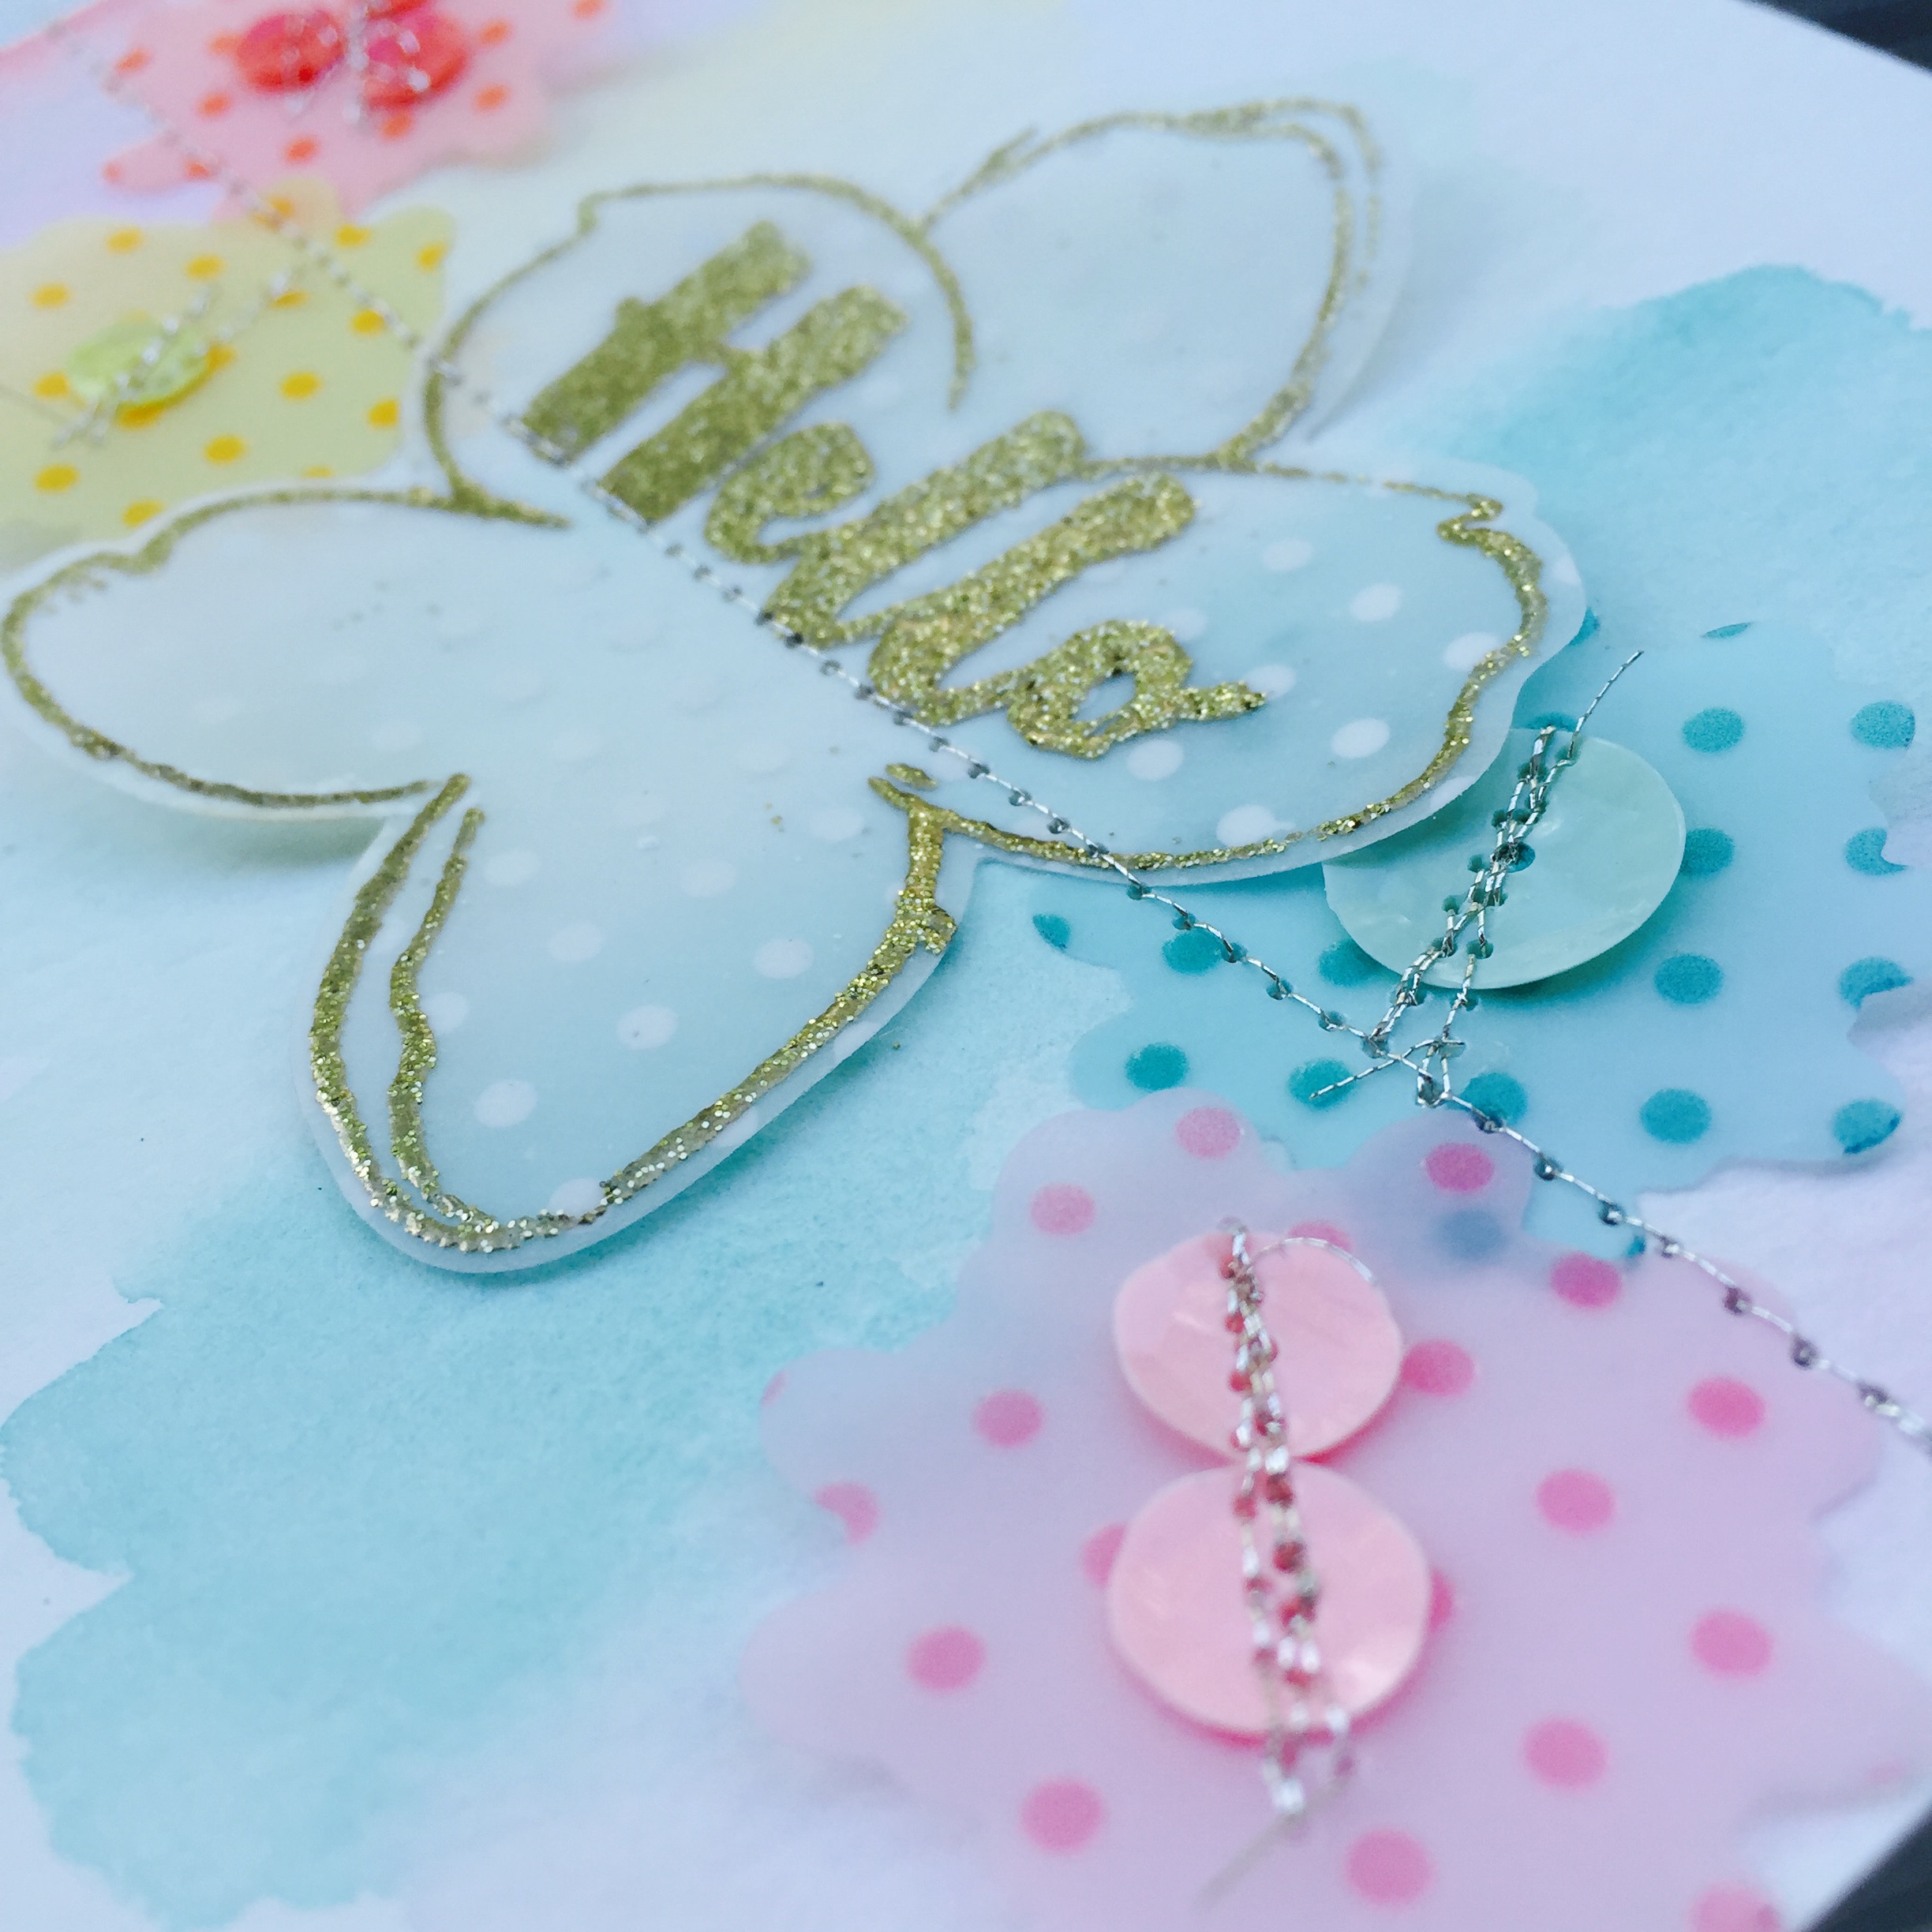
Trend #1: Watercolor Paint

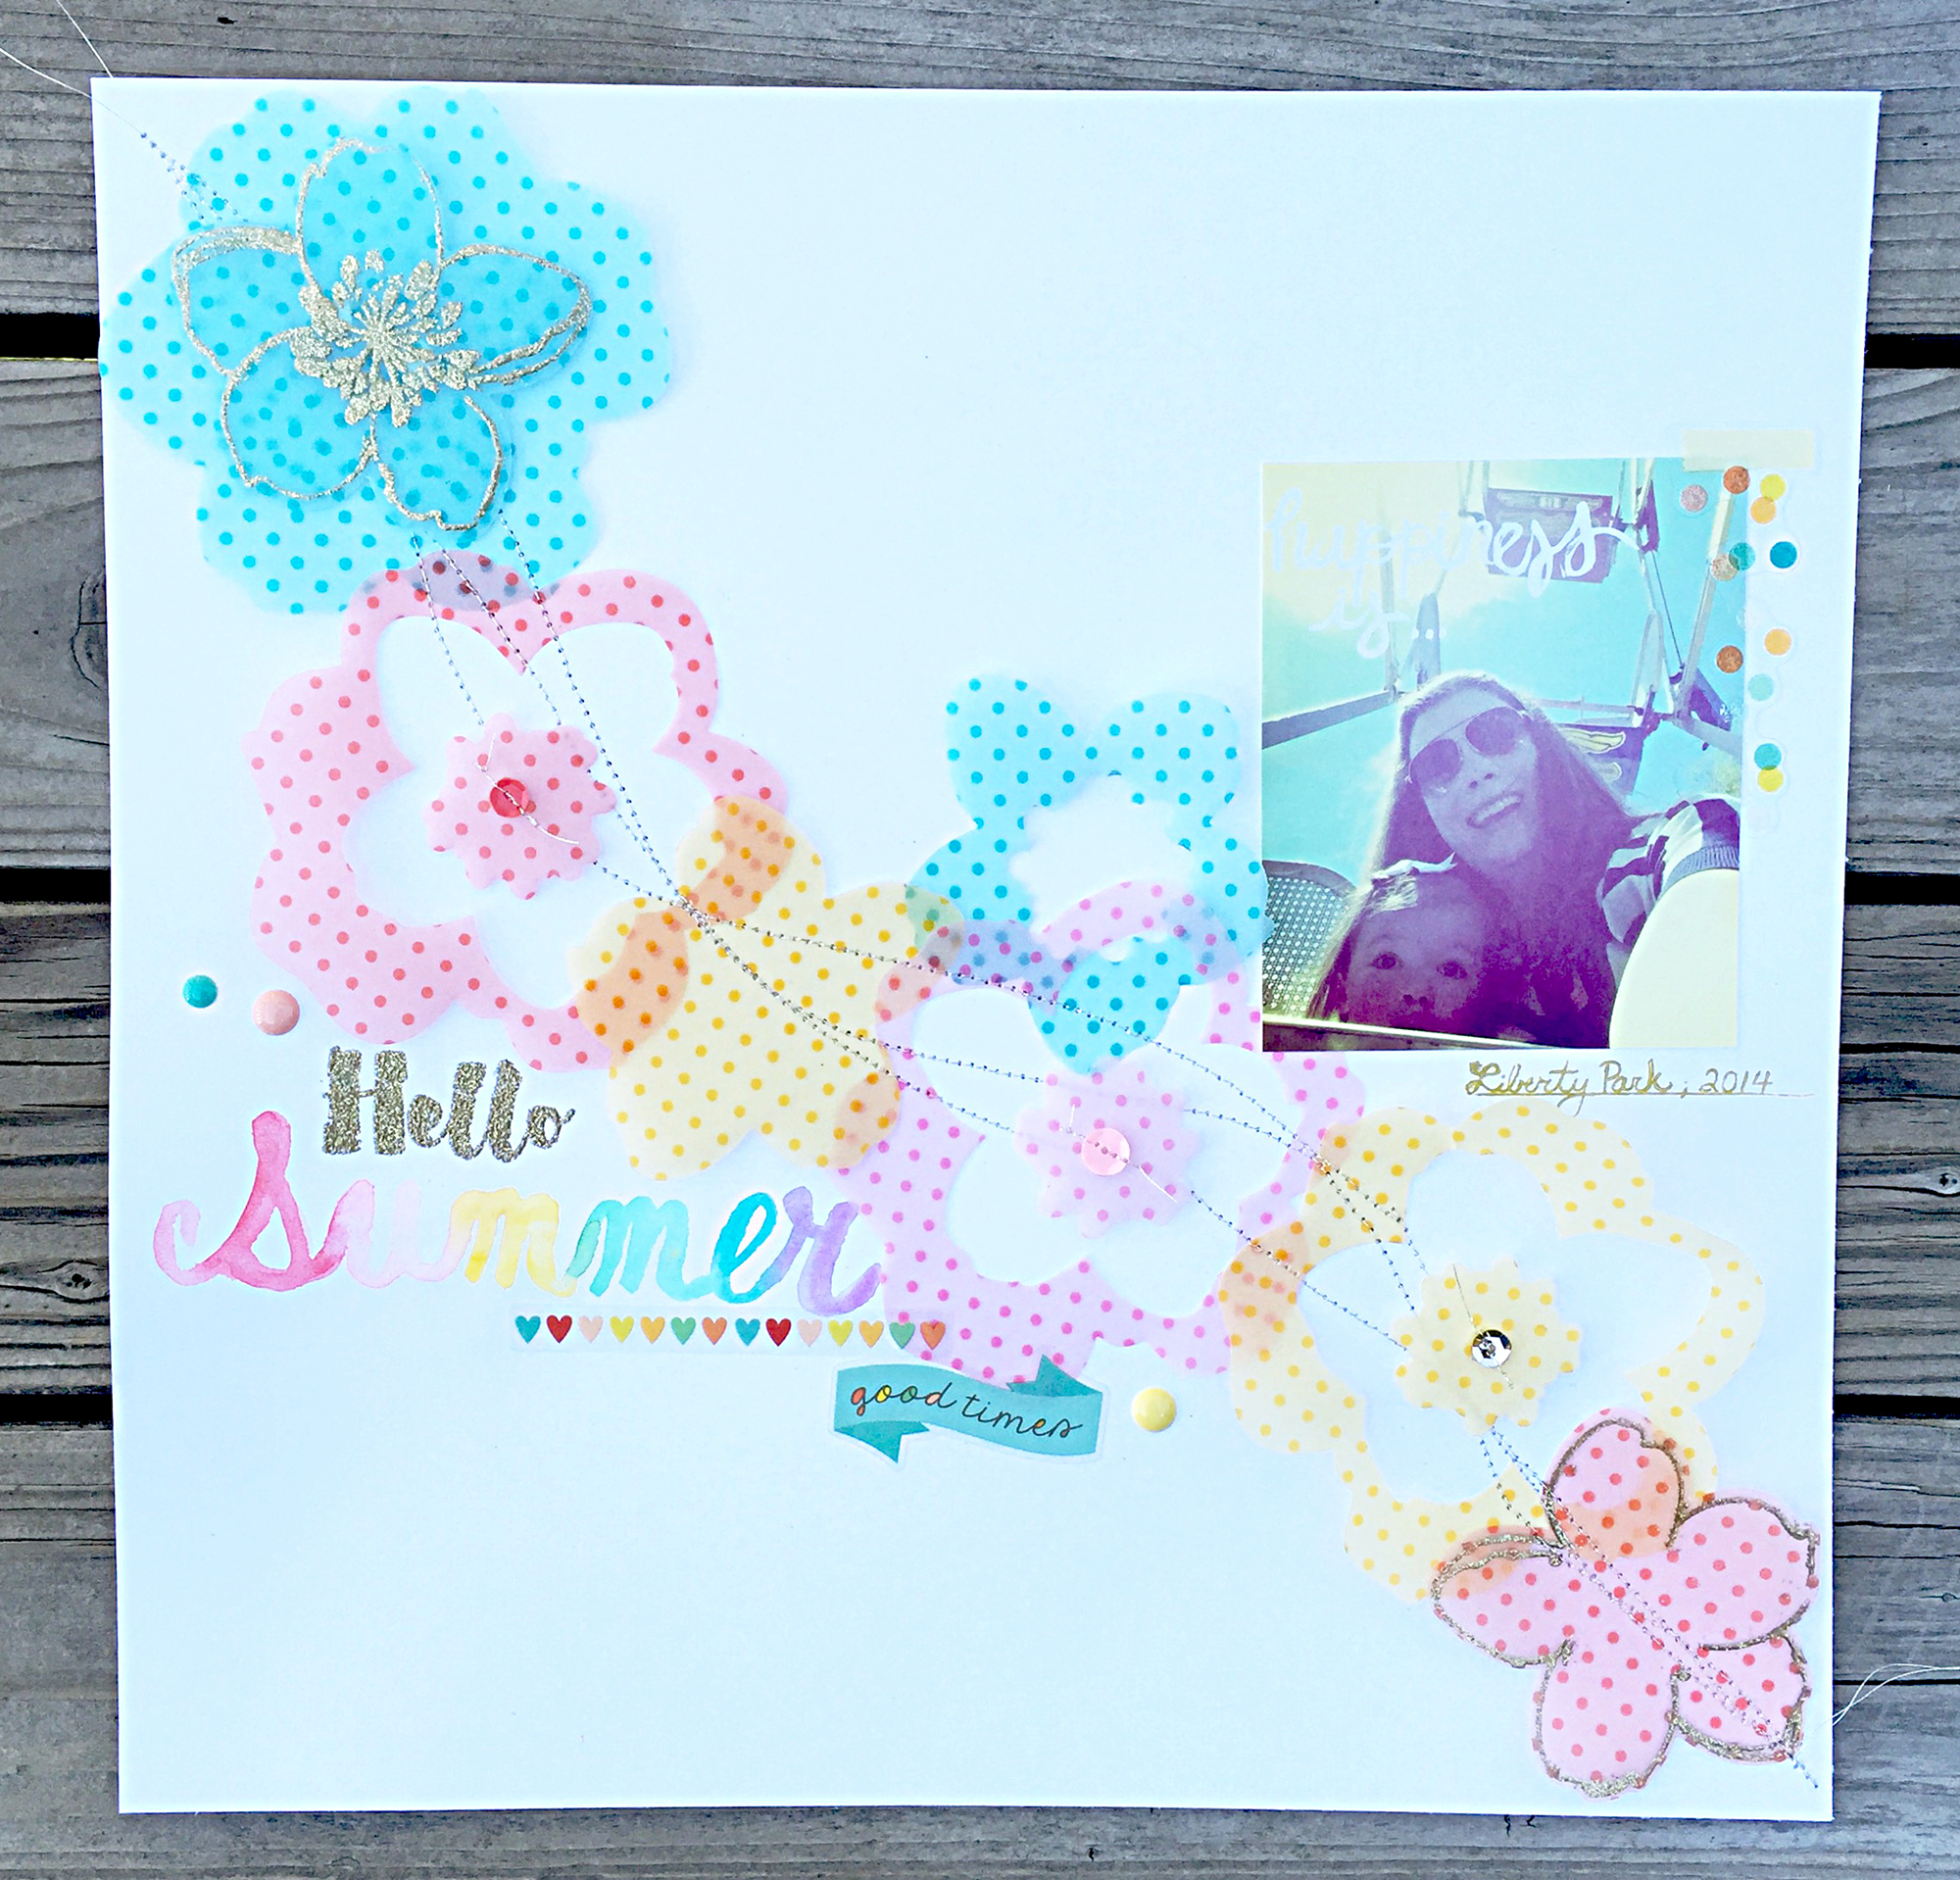
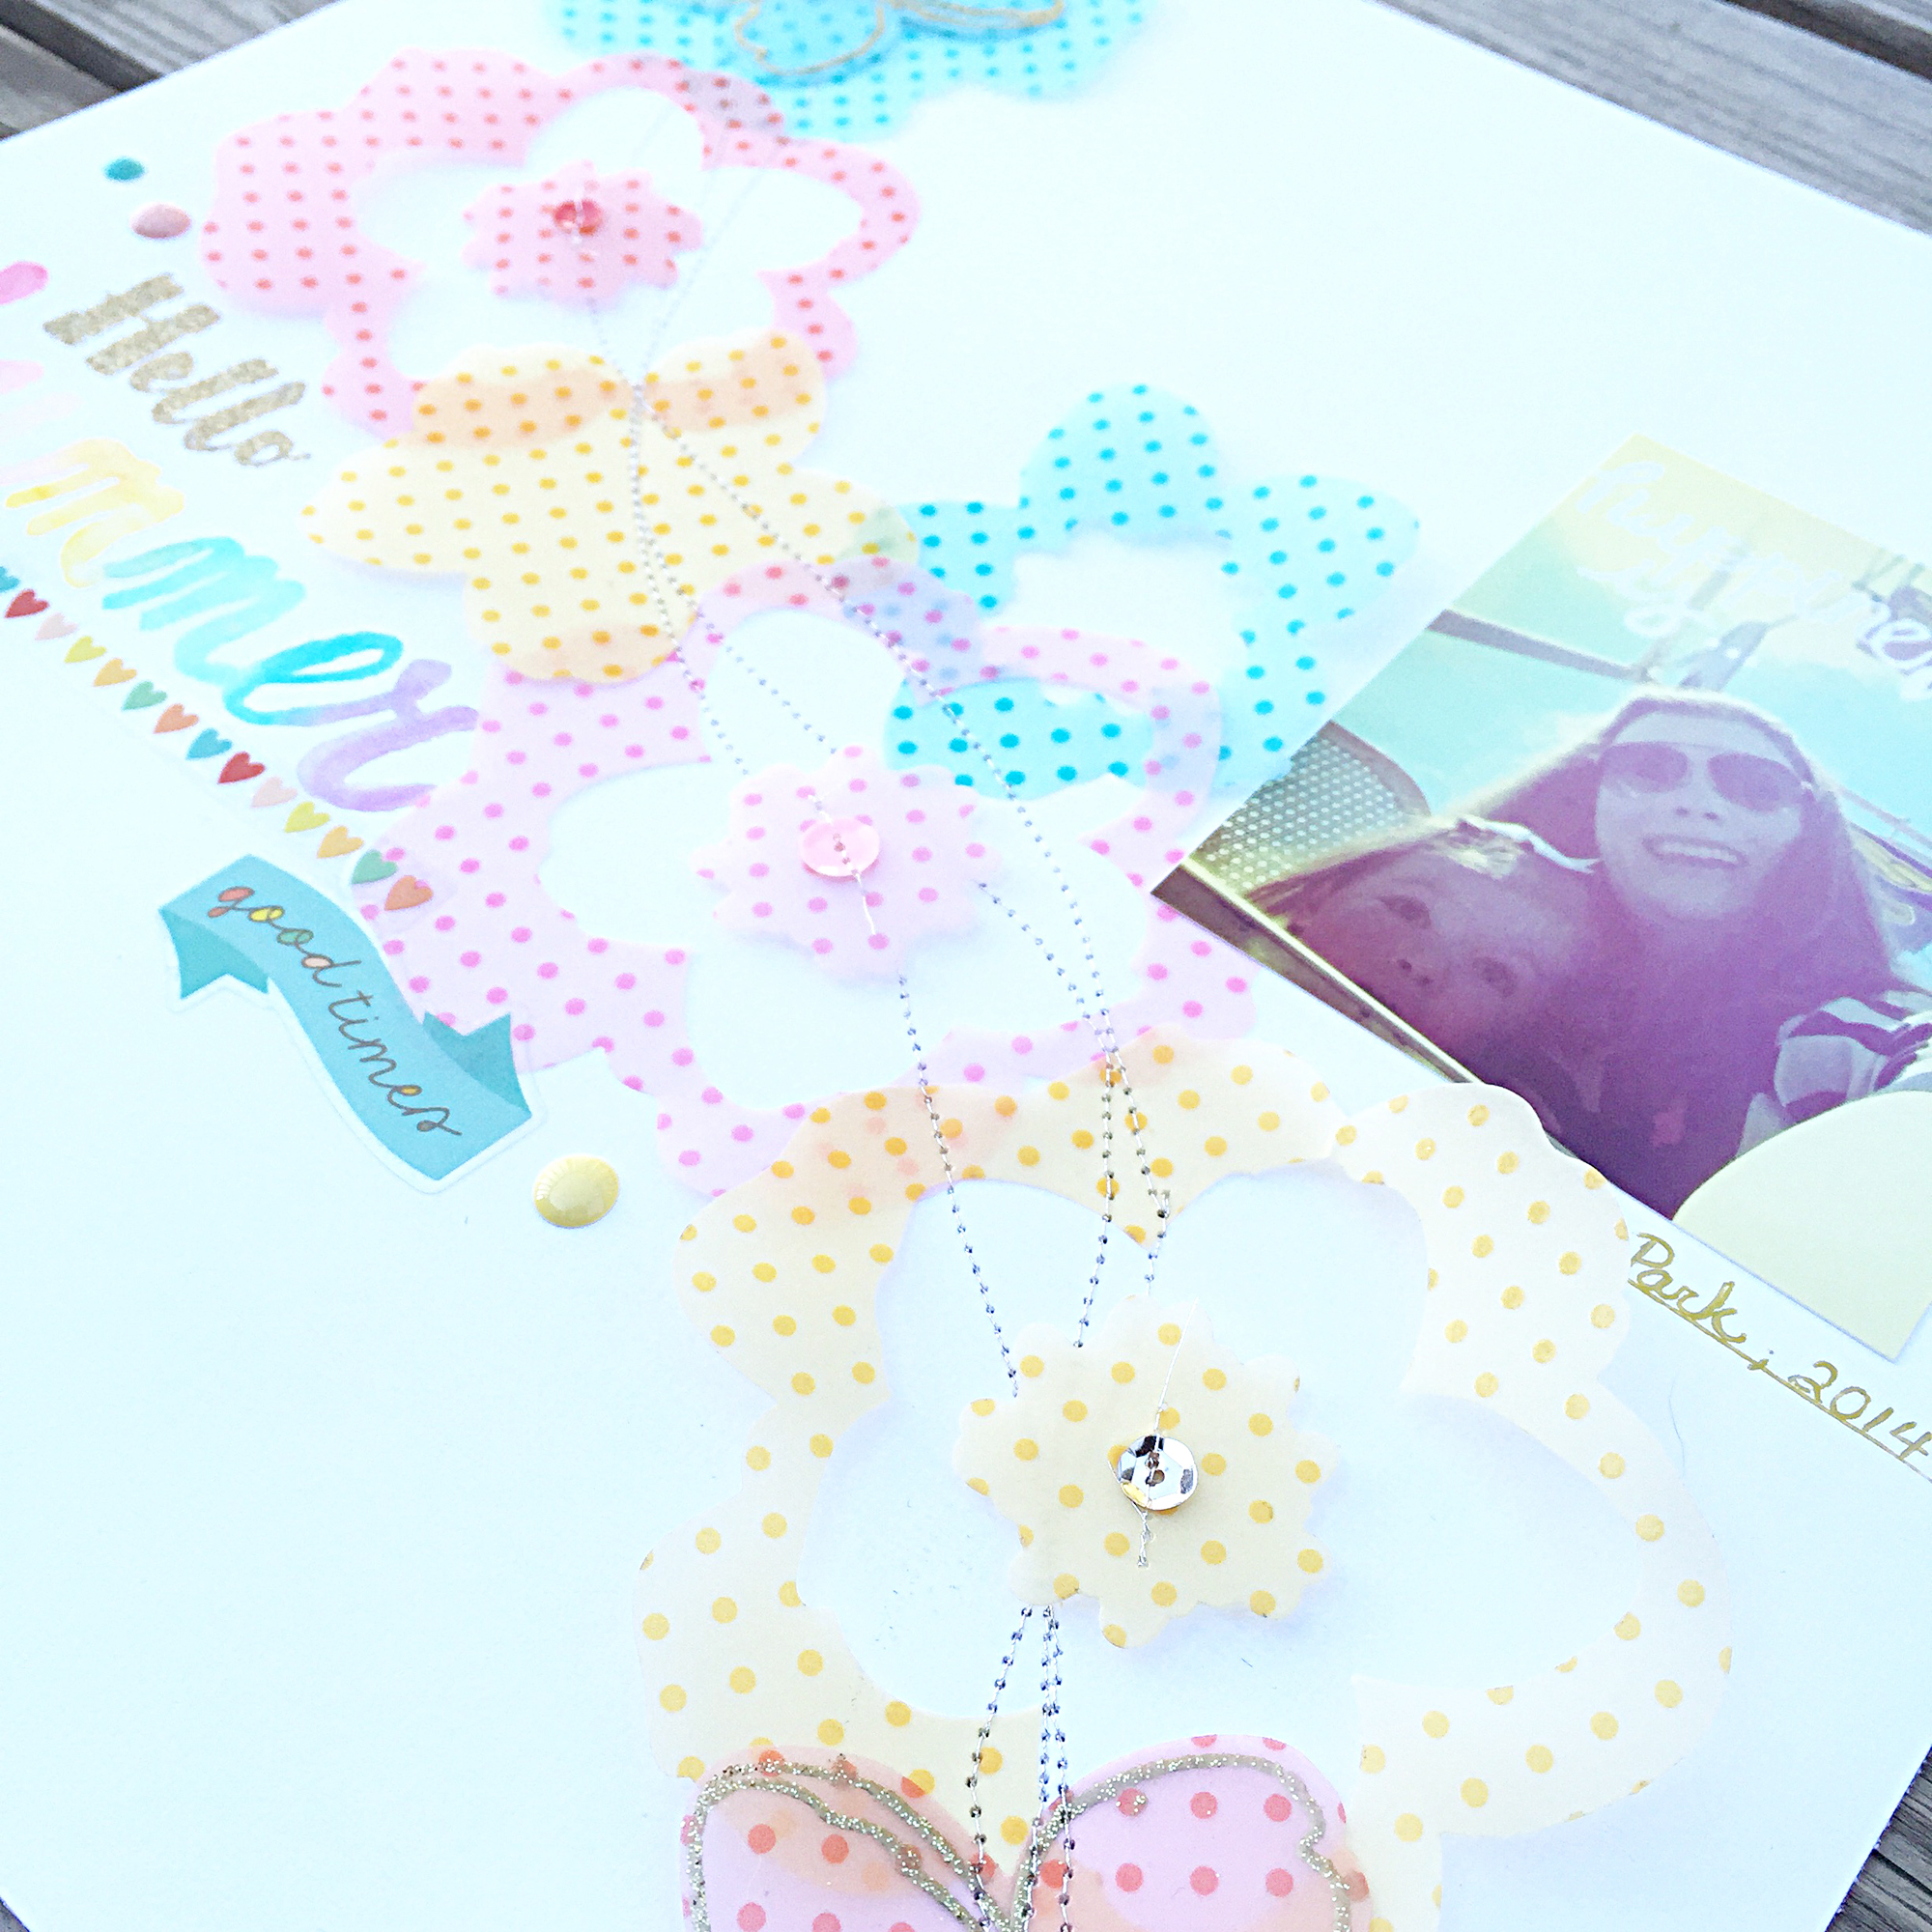
I just love this one and that it's still going strong. More and more products are being developed to help us get a grand watercolor finish, including these awesome Just Add Watercolor items from Cosmo Cricket and sweet Julie Comstock!


Want to stamp your watercolor look? Check out this lovely Watercolor Words stamp set from Stampin' Up!

My go-to when watercoloring is a water brush. For my segment today, I used the Aqua Painters from Stampin' Up! 

Trend #2: Fancy Foil

This is another that is still going strong, with new items being designed for it all the time. Here are a few of your many DecoFoil options from the fine folks at Therm O Web:

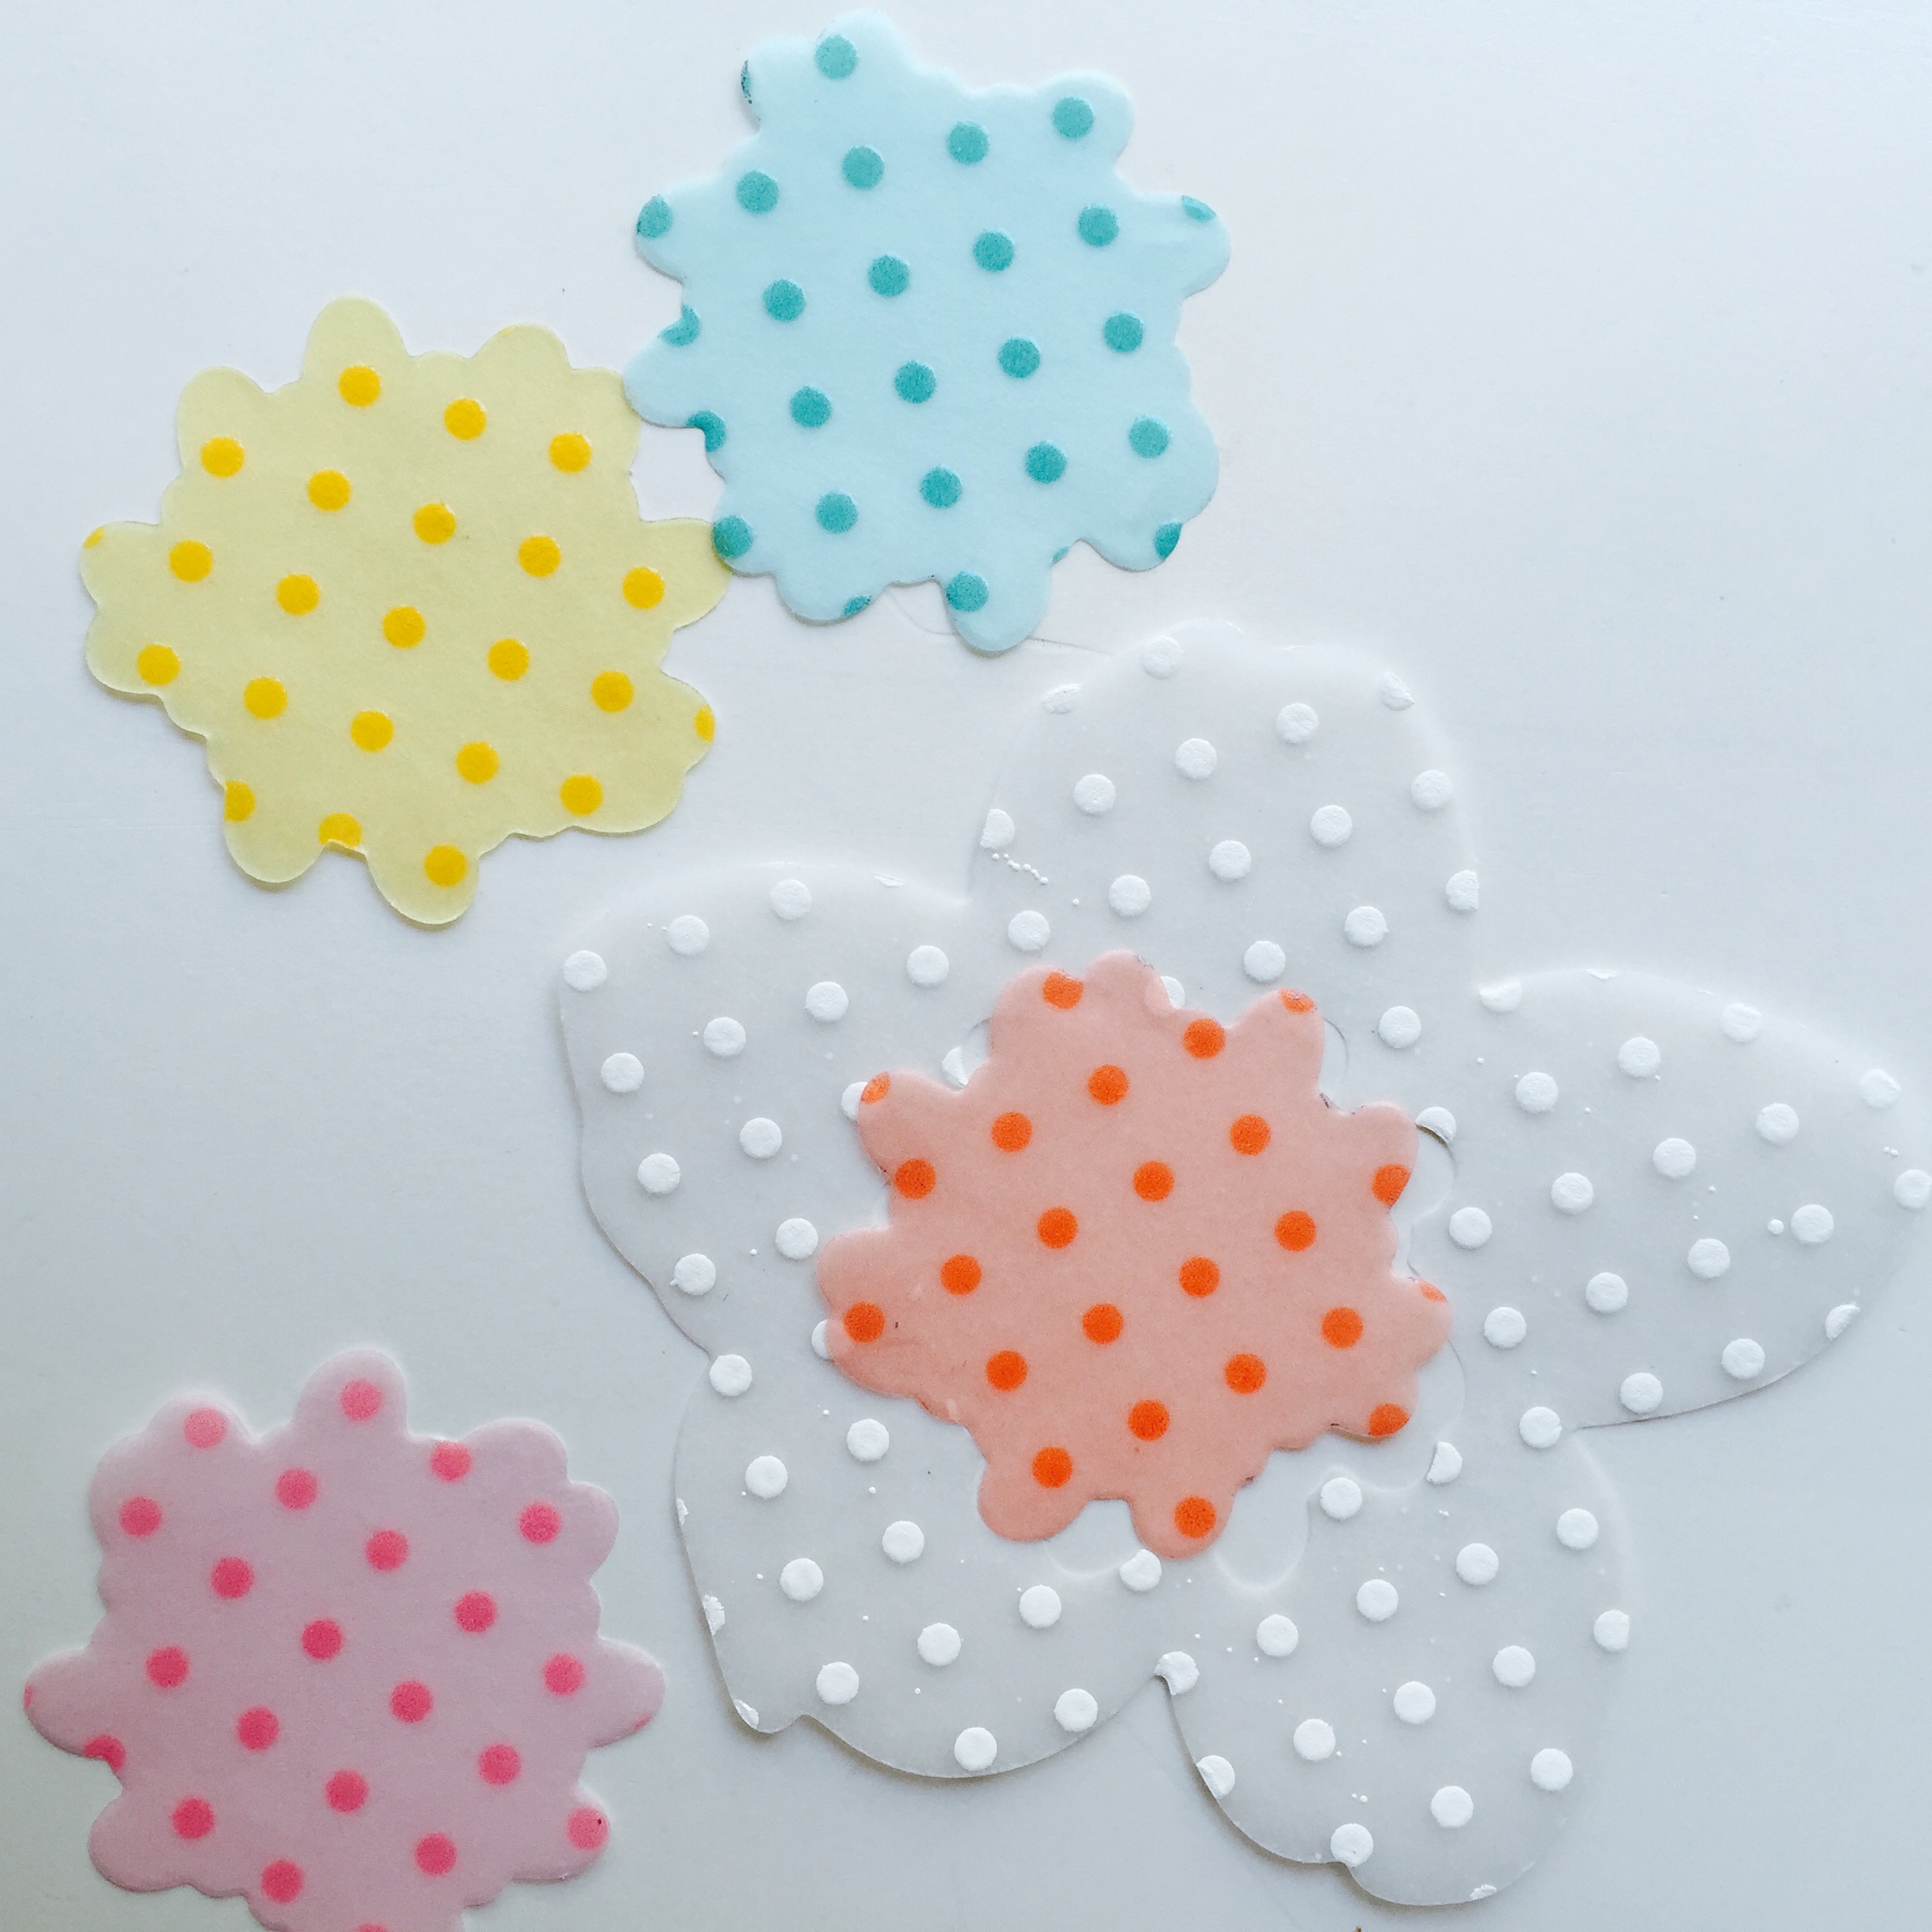
And isn't this vellum sheet from Crate Paper's Little You collection darling?


One more. You can get the look of foil in the form of cardstock. Look at this shining option from Stampin' Up!


Trend #3: Plaid

Are you mad for plaid? You aren't the only one. Lots of brands are embracing this pretty trend, including Bazzill Basics, Lawn Fawn, and My Favorite Things. 

I'm a big fan of the Fawn. This multi-color option from Lawn Fawn is so fresh and fun!


Plaid cardstock?! Get outta town, Bazzill Basics! This is divine!

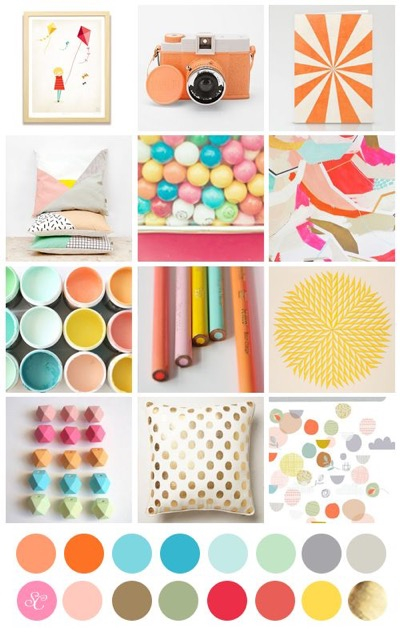
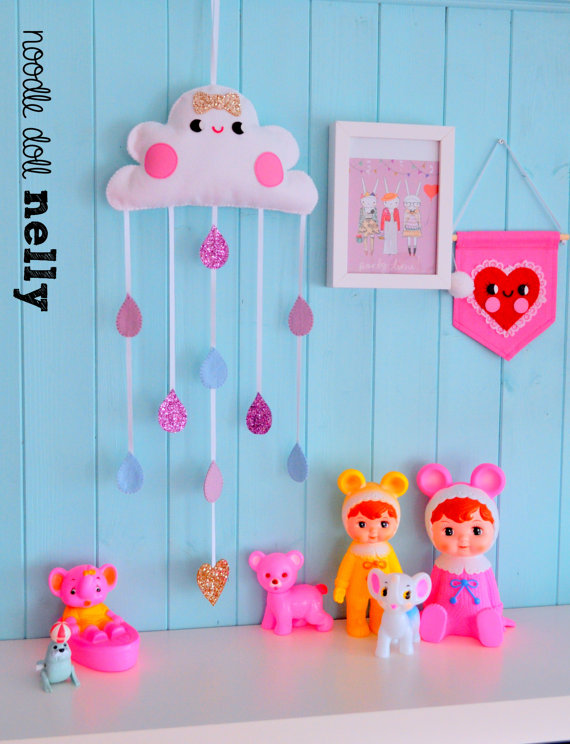
Image credit: Starlit Studio

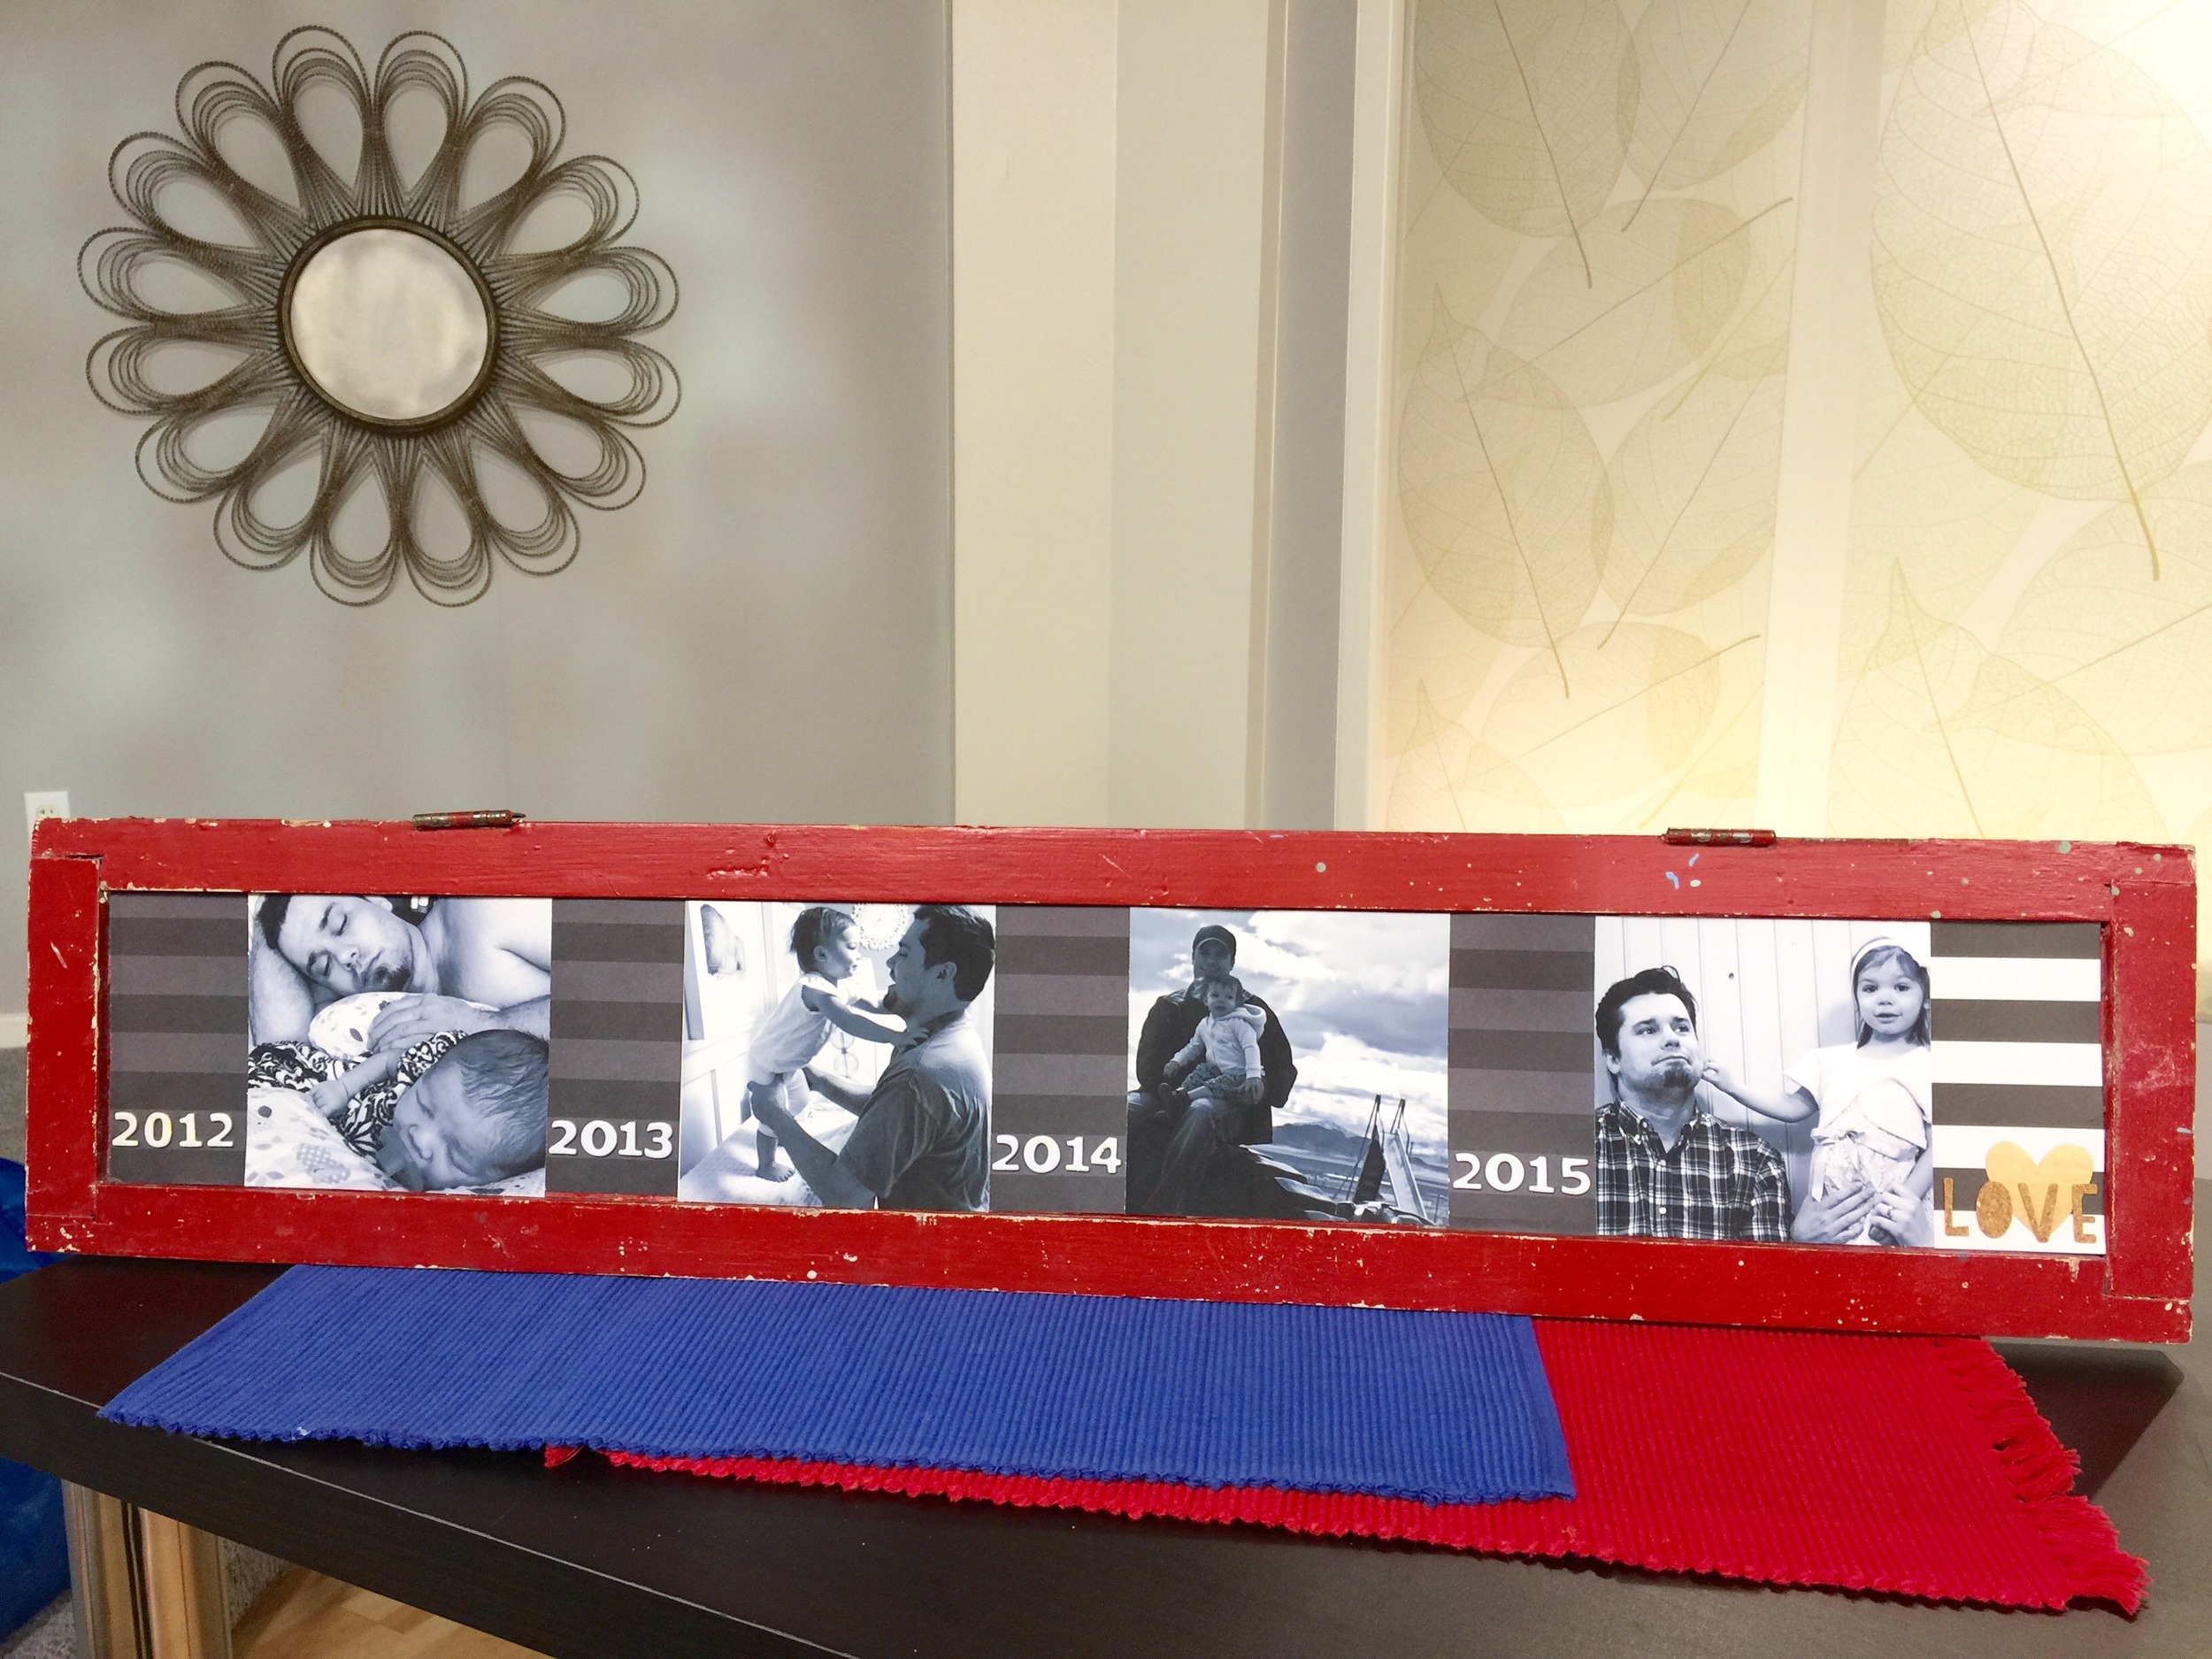
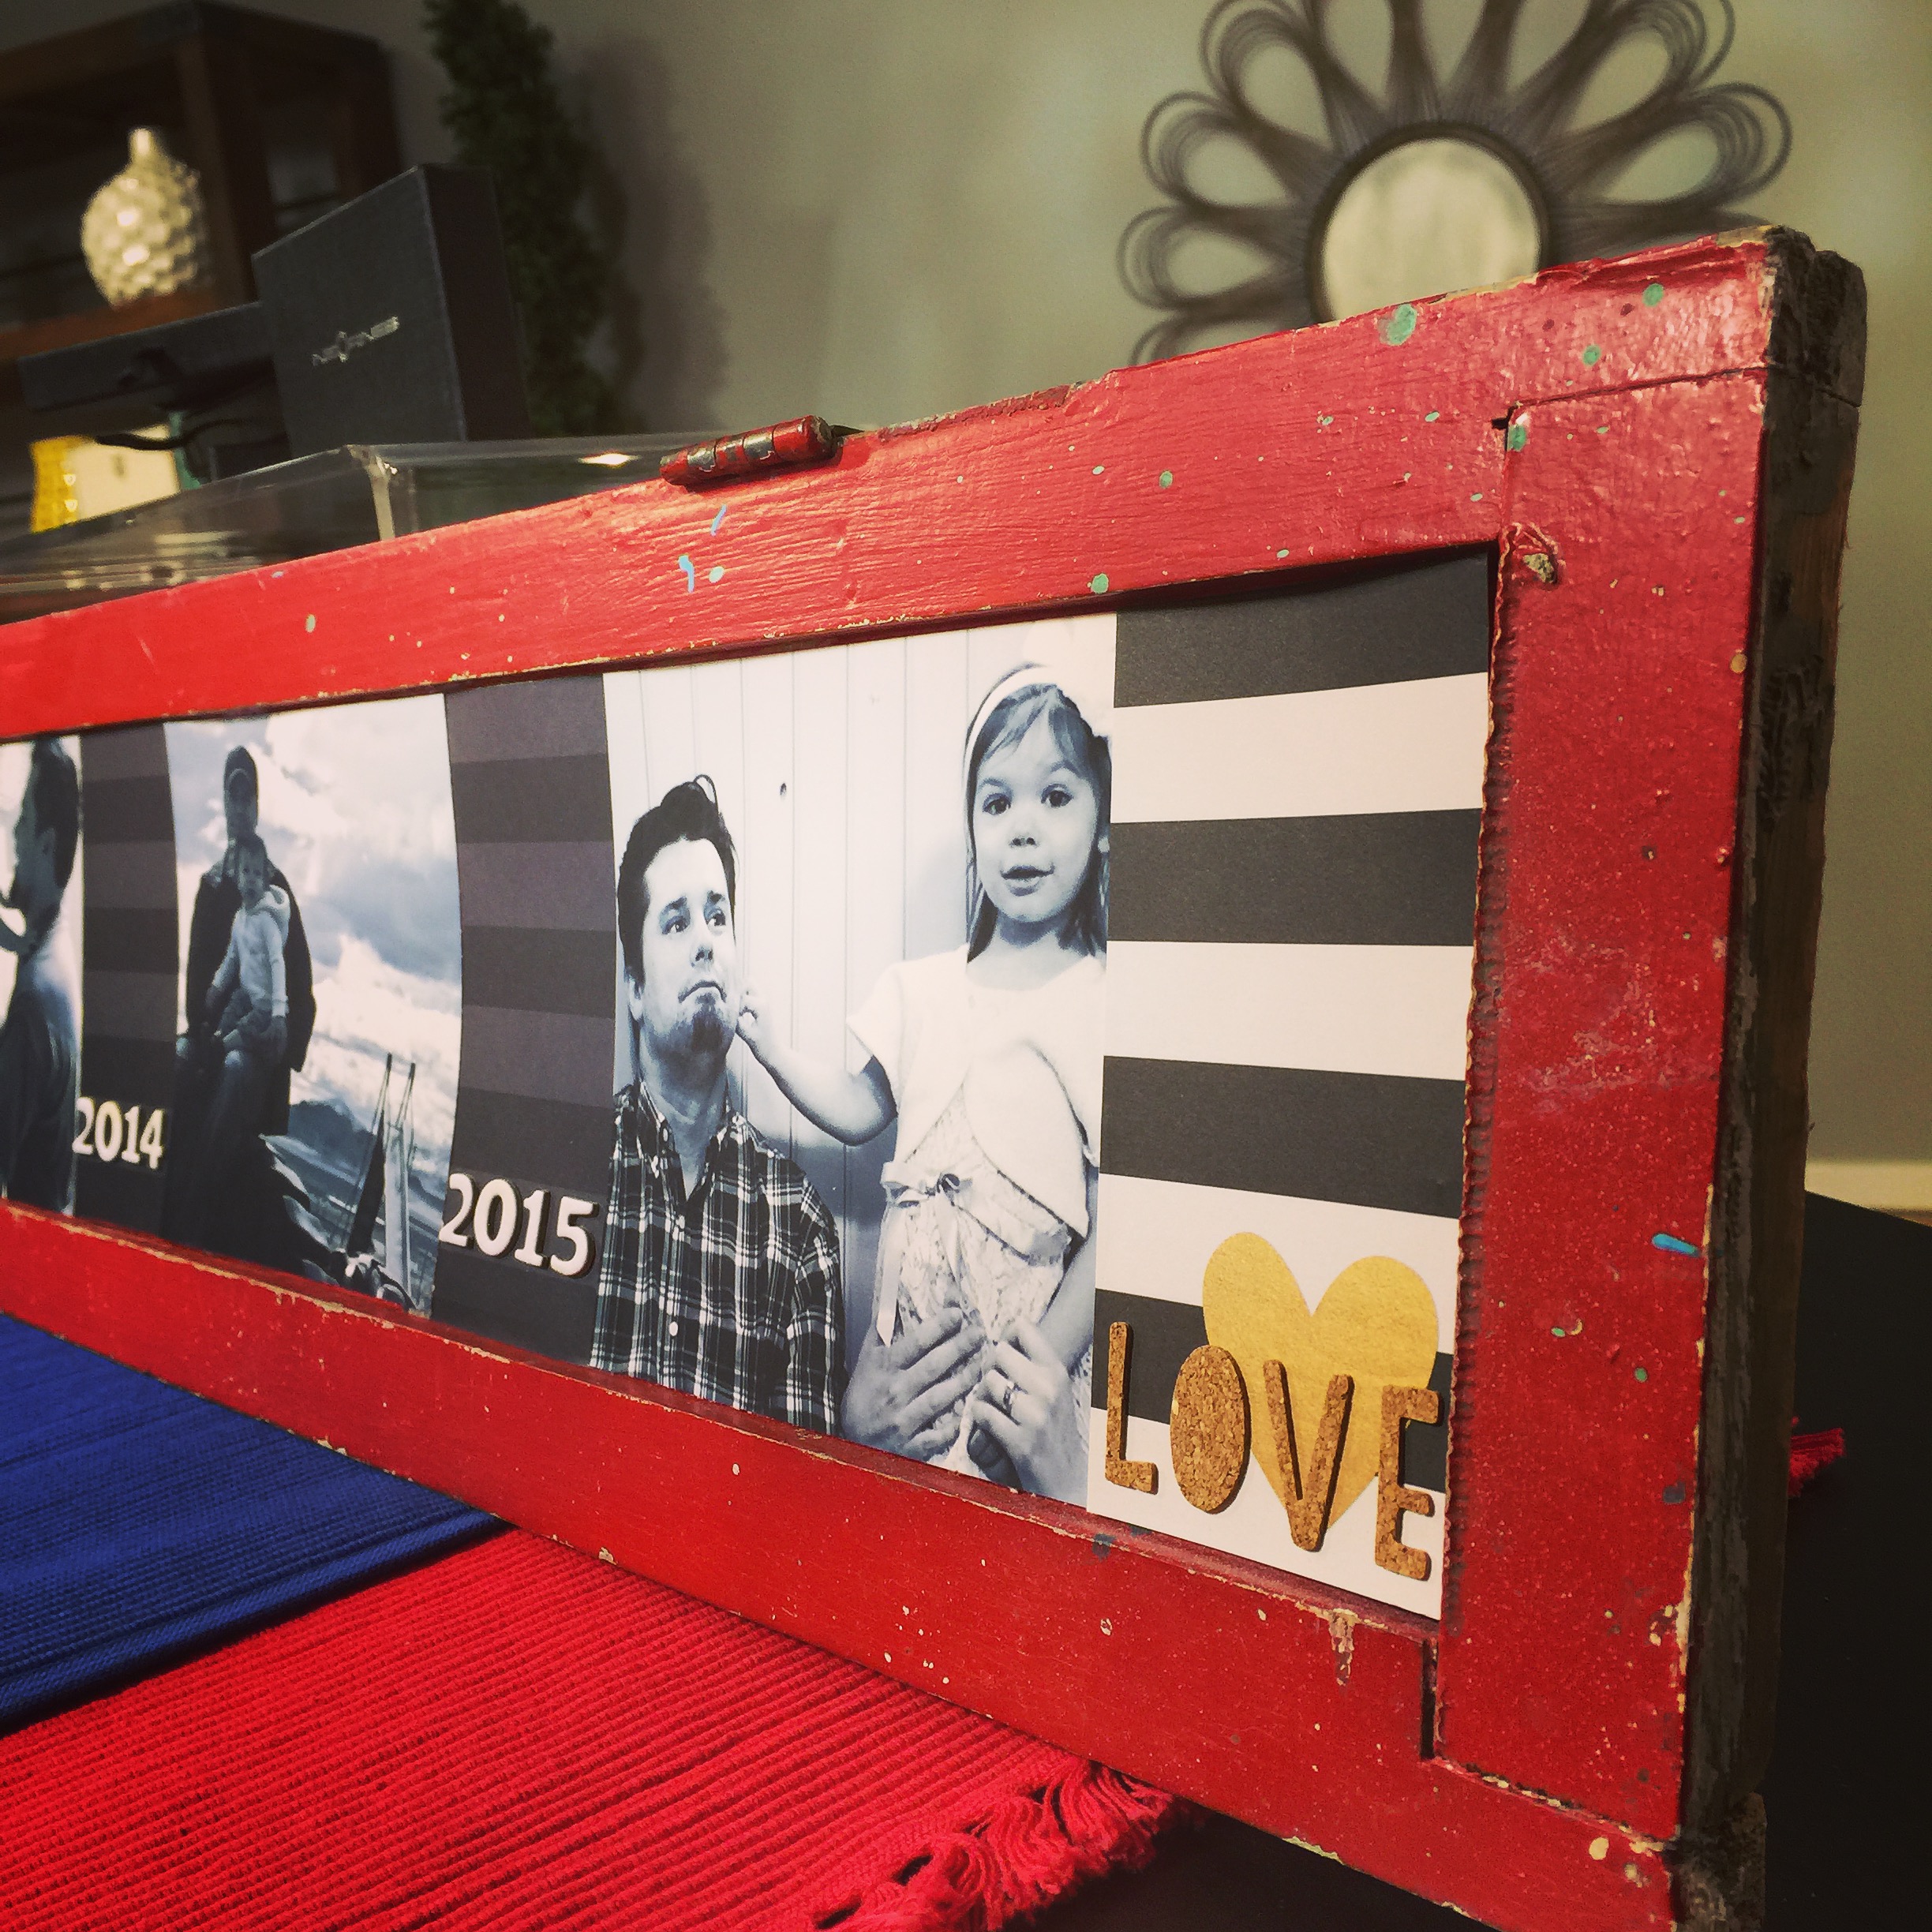
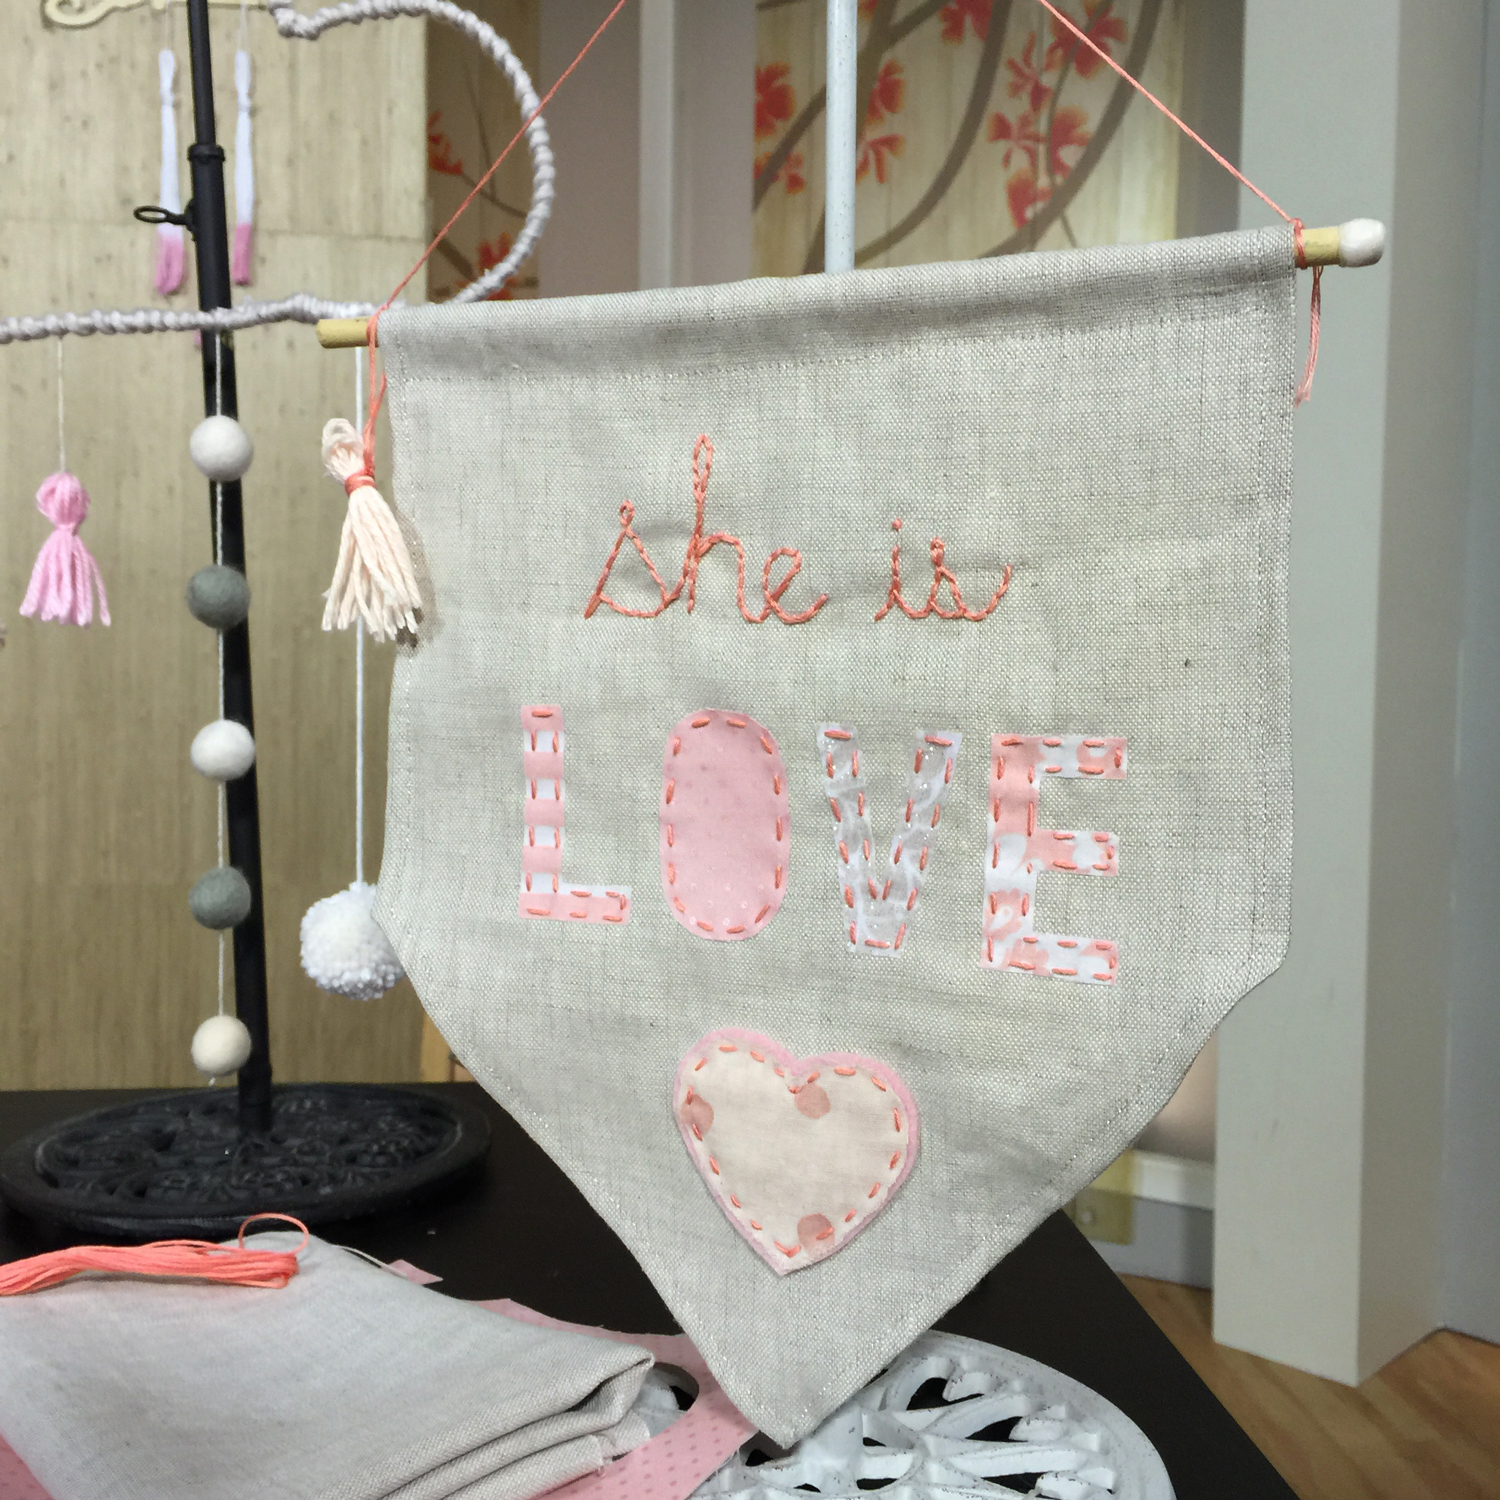
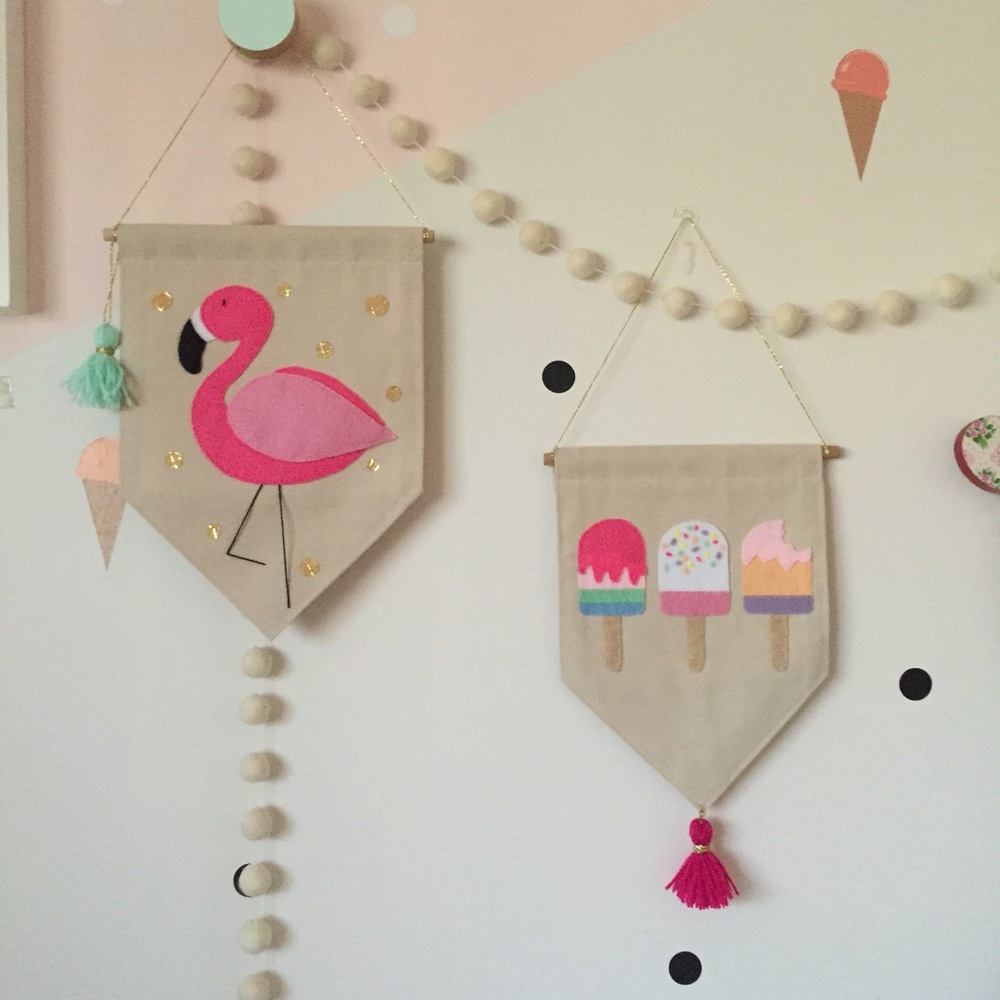
The paper I used for my banner is by My Favorite Things. Isn't it happy and fun?

See complete instructions for making my banner on the Scrapbook & Cards Today blog


Thanks for checking out these playful Ps with me today. What's your favorite paper trend at the moment?

Cheers!

Feeling Lucky?

Tomorrow is St. Patrick's Day, which seems an ideal time to tell someone you feel lucky to know them, love them, work with them... whatever. Wanting to express such gratitude, I painted postcards and used them to send handwritten notes.

Here are the supplies I used. Nothing more than a water brush, watercolor paint, a paper towel, and, my favorite, watercolor postcards!

With my supplies ready to rock, I sat down and began doodling. Here are some of the ideas I came up with. 

We're meeting with friends to celebrate St. Patrick's Day tomorrow, so I also put together a few treats to show them how lucky we feel to have them in our lives. 

And I certainly feel lucky to have this opportunity to connect with you! Thank you for taking time to visit me today. I hope you find the pot o' gold at the end of your rainbow and that it's filled with many blessings, good health, and much happiness!

Speaking of lucky, I'll leave you with a little #TBT (throwback Thursday). Remember this gem? Awww... Takes me back to the good old days, watching TRL at home with my friends, Just kids, we were. lol Enjoy! 

Happy St. Patrick's Day! *pinch pinch* 


Planner Kits Available, A Giveaway, & A TV Segment

If you're here, I'm guessing you caught my Studio 5 TV segment today where I announced I have a limited number of day planner kits included. Thank so much for your interest and support! It means the world to me!

The kit I have for sale is the These Are the Days collection I designed for Webster's Pages, which includes paper (one sheet for each month of the year), vellum (including the type sheet I shared on the show today), and a bunch of sticker sheets. 

If you're interested in purchasing a kit, please e-mail me at meghoeppner@gmail.com and I'll give you more details. Mention Studio 5 for free shipping! :)

PLANNER GIVEAWAY
I also announced a Craftmate Folio giveaway on today's show. Interested? It includes the gray folio I designed for Webster's Pages. And I'll load it with planner goodies--stickers, decorative tape, decorative paper clips, and more! 

TO ENTER
To enter, simply comment on this post between now and Monday, Feb. 15. I'll select a winner on Feb. 16. (Please leave e-mail or another way I can contact you if you win.) For a second entry, visit my Instagram account later today (Feb. 11), where I'll post a pic that you can comment on. Thanks a bunch for your interest!

STUDIO FIVE, FEB. 2016: LOVE SACKS

I had fun putting together a bunch of gift bags for this segment. Here are a few of the ones I shared. 


Thanks for watching! Have a LOVE-filled weekend, friends! <3 <3 <3

Cheers!

Simple Handmade Gifts for Dad, Studio 5, and a COOL New Gadget!

Father's Day is just around the corner. If you've yet to find the perfect gift for your pop, you may have been overlooking the power of handmade. There's something so special about giving a gift straight from your heart, and I assure you the men in your life will appreciate the sentimental factor just as much as the women likely do (if not more so!). 

For today's Studio 5 television segment, I decided a few handmade gifts I've made both for my own dad and to my husband from our daughter. In other words, these gifts (most of them) have been gift tested and dad approved! 

FATHERLY TIMELINE

I found this awesome old window frame at a local yard sale and new I wanted to turn it into a photo frame of some sort. 

The size of the frame worked perfectly with square Instagram photos, and the length of the frame allowed me room to include from all of the years my husband has been a daddy. 

If you don't have a frame like this (I realize it's unique), you can generally find longer frames at your local stores. If not, consider stringing images up on a clothesline-style display and adding the year stickers directly to the photos. Dad will enjoy seeing the progression of time. 

TIP: Don't' sweat the small stuff. My images are far from professional grade. I did that intentionally. This is our real life, and I want that energy reflected in our home. 


SHADOW BOX BUSINESS

Think about Pop's unique experiences. My dad had the once-in-a-lifetime (some lifetimes) opportunity to conduct a train. Isn't that cool?! Wanting to capture that cool experience, I created a train shadow box for him, which included train memorabilia I picked up at a local flea market. 

TIP: If you don't have a flea market nearby, consider checking local Facebook yardsale groups in your area (love these!). Simply type ISO, which stands for "in search of", and the item(s) you're looking for. EX. ISO train memorabilia. 

My shadow box includes an old train brochure, old train tickets, a railroad spike, and letterpress letters spelling "Rio Grande." You'll notice a few newer scrapbooking items included as well, including a map garland and some travel flair (metal badges).

MAKE IT MINI

Mini albums are a favorite gift of mine to make for others, and Father's Day is a perfect time to make them. I created this little one to document my husband's first year as a daddy. Or "dadda," as our young babe called her daddy back then. 

BONUS ALBUM IDEA

For instructions on making a special tag album for Dad, I invite you to check out my Big Picture Classes class, Made with Love


ALTER PRE-MADE (Time Saver) 

You don't have to start from scratch in order to add a special handmade touch. On this project, I used a pre-made book I purchased at Paper Source, and I simply added a few of my own original touches to make it extra special. 

Touches included photos, strips of decorative tape, enamel dots, stickers, etc. It's a quick way to make a gift all the more impressive and memorable. 


SCRAPBOOK FOR DUDES

Scrapbooking is a worthwhile keepsake, but it also makes an awesome gift. Yes, even for the fellas. To make your scrapbook pages more masculine, look at adding textures, such as the burlap and corrugated cardboard I used (Jillibean Soup). To turn the layout into a gift, opt for a nice 12x12 frame, like this one from Canvas Corp. 


GIFT FOR THE GADGET GURU

This is a BRAND NEW product that I couldn't wait sharing with you. It's called the NeoRing, and it works with smart phones and tablets. I know dads, moms and kids alike will appreciate it. Our family has certainly gotten good use out of ours. 


A Few Facts About Neorings: 

* A wearable ring designed with a Neodymium magnet (code for STRONG!) to attach to your smartphone. 

* It's attachable/detachable with full 360-degree movement for landscape and portrait viewing. 

* It allows you hands-free phone action (in a sense), as you don't have to grip your phone to view it, carry it, and keep it with you. It stays attached to the ring. As a mom with her hands full, I can't tell you how much I've appreciated and used this feature! 

* It doubles as a kickstand for your device, so you can prop it up when you take the ring off your finger. 

* It comes with a ring mount (the one you wear), as well as two additional flat mounts. Add these to your car, your office, or other areas where you'd want your device securely propped. 

* They have rings for men, women, and even young children. My toddler has a ring. 

* While this ring was designed by a local company, these opinions are strictly my own (as are all of my blog statements). :)

* For more on the rings and to message the company about ordering in time for Father's Day, visit them on their Facebook Page or send them a note at neorings@neomailbox.ch 


STUDIO 5

See all of today's projects and the Neoring in action on my Studio 5 segment, today at 11:00 on channel 5. Or you can view any of my segments online here. Thanks for your interest and support! 


HAPPY DAY, DADS

Happy Father's Day to all of the hard-working, loving daddios out there. I don't know what I'd do without my own father who does so much for me, and I've been blessed with a wonderful father-in-law t'boot. Talk about a lucky girl! 

And Cory is a brilliant daddy to our babe, which is an amazing gift to witness. 

Warmly,
Megan

Essentials by Ellen June Pin-Sights Challenge

I'm always flattered when a craft-industry friend reaches out and asks if I'll participate in a guest blog post. I've known Ellen Hutson and Julie Ebersol since my early days at Paper Crafts magazine (some 9 years ago), so participating in this one for the Ellen Hutson store was an easy yes. 


What is the Pin-Sights Challenge? Once a month, the folks at Ellen Hutson create an inspiration board using images pulled from Pinterest, which crafters use it as a jumping off point to their creativity. This month's board is absolutely stunning! Check it out. 


I was sent the new and wonderful Mondo Magnolia Essentials by Ellen stamp set and die set, designed by one of the cutest card makers I know, Julie Ebersol. Don't you just love it?

So, with my stamps and dies in hand and my inspiration in place, I set to work. I was asked to do A CARD, but I couldn't help but do a bit more than that. I ended up creating two cards and a layout. 


The key to each of my projects was vellum, which I stamped, heat embossed (some of the pieces) and die cut. I love the soft look vellum adds, and this delicious assortment by Doodlebug Design worked perfectly with this inspiration board! 

For the cards, I also used my watercolor paints to add a soft background. The cards are made using watercolor paper. 

And a little machine stitching and sequins were added to complete my designs. 

YOUR TURN

Want to win a $50 gift card to the Ellen Hutson store? Enter by participating in this Pin-Sights Challenge on the Ellen CLASSroom blog. To be eligible, you must use an Essentials by Ellen product and this inspiration board. You'll find info on the Ellen CLASSroom blog about uploading your design. A random participant will be selected. Good luck!

Thanks for stopping by. I hope this pretty inspiration piece and my projects have you inspired to create something sorbet-y sweet this summer. Hope to see you in the CLASSroom soon. :)

Cheers!
Megan  

Kids' Room Wall Art (+ my latest TV segment)

At 26 weeks pregnant, I've had nursery looks on my mind in a big way. Actually, with my almost-three-year-old moving into a new room so baby can occupy the nursery, I've been thinking multi-room makeovers. In researching ideas, I've come across some of the cutest places and spaces.

Places to shop for unique and adorable elements. Spaces made from these cutie elements. I'm excited to share a few of my favorite links as well as my own projects inspired by these links here!  But first, let's talk trends. 

3D Art Trend

In seeking out ideas, I started noticing a trend: 3D wall art. Sure, gallery walls of artwork and photos are still very popular, but those are being enhanced by adding items with more depth, such as decorative shelves, wall hangings, garlands, and more. 

Studio 5

I shared five projects I made that were each inspired by this trend today on Studio 5. You can view the segment here


Decorative Shelves: My Take

To create my shelves, I simply added a little acrylic paint to some inexpensive wooden crates, which I picked up at Michaels and Wal-Mart. I masked off where I wanted my paint to end using painter's tape and then applied my color. So simple! And now I can hang these up for a fresh take on shelving. 


Decorative Shelves: Shopping Links

Mox Kids Offering both hexagon shelves and happy houses, this is a great stop to make if you're in the market for sassy shelving. 


Textured Garland: My Take

Search "kids rooms" and you're bound to see garlands galore. They're so playful and make any wall happier. Wanting a very textured garland, I opted to combine wood beads, handmade yarn poms, and handmade yarn tassels. I then wrapped it around a twig from my yard. This little piece is now ready to hang. I just need to decide what to perch on top of the twig. A small stuffed animal, perhaps? Or maybe letters spelling something, like the sweet idea in the shopping section below. Hmmm... So many possibilities....


Textured Garland: Shopping Links

Essi & Co. Add a little twinkle to those walls with one of their charming star garlands! 

Image Credit: Essi & Co. 


Cloud Hanging: My Take

This puff started its life as a basic wire coat hanger. My husband and I tagged teamed this one, using wire cutters and pliers to shape it into the cloud design you see before you. I then used a puffier yarn to wrap the cloud a couple of times. After all, clouds need fluff. For my rain, I strung up some felt beads, a handmade yarn tassel, and a couple of handmade poms. 


Cloud Hanging: Shopping Links

Noodle Doll Nelly This Etsy shop is like a catch-all of the trends covered here. She has excellent signs, garlands, and, of course, cloud hangings. *swoon* 

Image Credit: Noodle Doll Nelly


Fabric Sign: My Take

She is love... She is all I need... I just adore the lyrics to this song. So I decided to make it the statement on this fabric wall hanging. This is such a cool trend. It seems to be the next way to add words, phrases and names to your walls, and it's a terrifically textured approach.

For my sign, I cut a piece of linen and stitched the sides back (using my sewing machine) to give it a clean finish. I then freehand-stitched the "she is" using a needle and some embroidery floss. If freehanding freaks you out, you can always lightly write your words on your fabric first using either a disappearing ink pen or a pencil.

For "LOVE," I applied stickers to backed fabric (fabric I had ironed fusible webbing to) and cut around the sticker templates. You could easily die cut your letters or freehand-cut them as well. The key here is the iron-on webbing. My favorite is by Therm O Web.

For the heart, I simply cut untreated fabric into a heart shape, used fabric glue to mat it on felt, cut around the felt, and stitched it into place at the bottom of the sign. 

The final touch: a dowel. I stitched a pocket across the top and slid my down in, adding a little embroidery floss and a tassel to complete the design. 


Fabric Sign: Shopping Links

I have two links that I adore. 

1. Little O & Co. Her work is ADORABLE! She does signs with sayings, names, and motifs. Simply tell her what you want or check out her ideas in her awesome shop. 

Image Credit: Little O & Co.

2. Sharp Tooth Studio With both sports pennant-style and this hanging style, you have may excellent options to choose from in this fab Etsy store! 

Image Credit: Sharp Tooth Studio

DIY Links

Want to make your own yarn tassels or puffy poms? Here are a few links that should help:

1. Tassels

2. Poms: A YouTube Video
Note: I used the pom pom maker from Clover to create my poms, which you can get at most major crafting stores. I used the Large size for the poms shown in this segment. Though, the small makes a pretty cute pom, too! 

Studio 5 and You

Thanks for checking out my ideas. I hope they leave you inspired to make your own on-the-walll statement soon. If so, I'd love to know what you plan on creating. In the meantime, I invite you to check out my Studio 5 segment for more details on my project and to see them in action. 

Cheers!
Megan

The Trendy Look of Laser Cuts (and my TV segment)

Have you seen the look of laser cuts that have come onto the crafting scene? This intricate design motif appears to be inspired by the look of doilies and die cuts, which have been popular for quite some time. Cut from various materials, including paper, fabric and wood, you can achieve a variety of textured looks using these cut cuties. 

Here are just a few of the projects I created for my latest Studio 5 segment, which is all about working with laser cuts. 

1. Laser Cut Wreath: I used the paper flowers to create a spring wreath, which would be nice for spring, a Mother's Day celebration, or a baby shower. 

Tip: One of the reasons laser cuts are cool is the way the light shines through them, so I purposefully selected a thin wreath base (embroidery hoop), which allows the bulk of the laser cut pieces to stand free so the light can pass through. 

2. Home Address Plate: The laser cut plaques offer great creative potential, from creating a menu frame to designing your own calendar. I decided to go with an outdoor piece--a home address plate. After all, this is the time of year that people are putting their energy outdoors to up their springtime curb appeal. 

Tip: With nothing more than a marker, you can tint wood cut pieces. I used an india ink marker (the Pitt Pen by Faber-Castell) to color the black elements on this plaque. For the green center, I watered down acrylic paint to create a colored stain--a great budget tip (colored stains can get expensive). 

3. Garden Pick: Decorative picks add personality to garden spaces, but they can also be quite expensive. This is a way to make your own--one that is completely customizable and charming. Get the kids in on the fun. My sweet Maggie Dawn painted this one. 

Tip: Use an outdoor sealant to help the wood withstand the elements, and looking at placing the pick in a pot that you hand water vs. a garden that will get regularly saturated by sprinklers. 

4. Coasters: The laser cut wood circles are just right for creating outdoor color in the form of coasters (or indoor). 

Tip: I sealed these with Mod Podge so they'll stand up to wet glasses. 

5. Luggage Tag: The travel-themed cuts are perfect for adding personality to your luggage. They're sturdy enough to hold up and eye-catching.

Tip: To include my info on the back, I simply used letter stickers, which I sealed using Mod Podge. 

6. Travel Album: I was instantly drawn to the travel-themed tags and knew they'd make an awesome mini album. 

Tip: Pair the travel-themed cuts with basic manilla shipping tags for an easy approach to documented travel memories. The wood adds rigidity and structure to the book, and a jump ring binds it all together. These would be so fun as family reunion favors. 

7. Handmade Gift Wrap: The laser-cut pieces make excellent stencils with their intricate cut-out designs, so I used one to dress up an ordinary canvas bag. Just use a dabbing motion and a sponge brush to apply acrylic paint. 

Tip: Not wanting the now painted laser-cut piece to go to waste, I added a wood piece to its center and turned it into a tag to go with the bag. 

8. DIY "Laser Cuts:" Create your own laser-cut look using punches or decorative-edge scissors and crepe paper. I just adore the look of Mexican party flags and this idea by Studio DIY is a terrific way to get them in bitty size. 

Tip: Simply fold the crepe paper accordion style, cut the bottom of the folded stack, and trim the sides to allow for tabs between each flag. 

As you can see, the laser look is pretty sweet, whether you use pre-made products or create your own "cuts." I hope you'll add a little la-la-laser to your spring and summer seasons. 

Cheers!
Megan